# keras
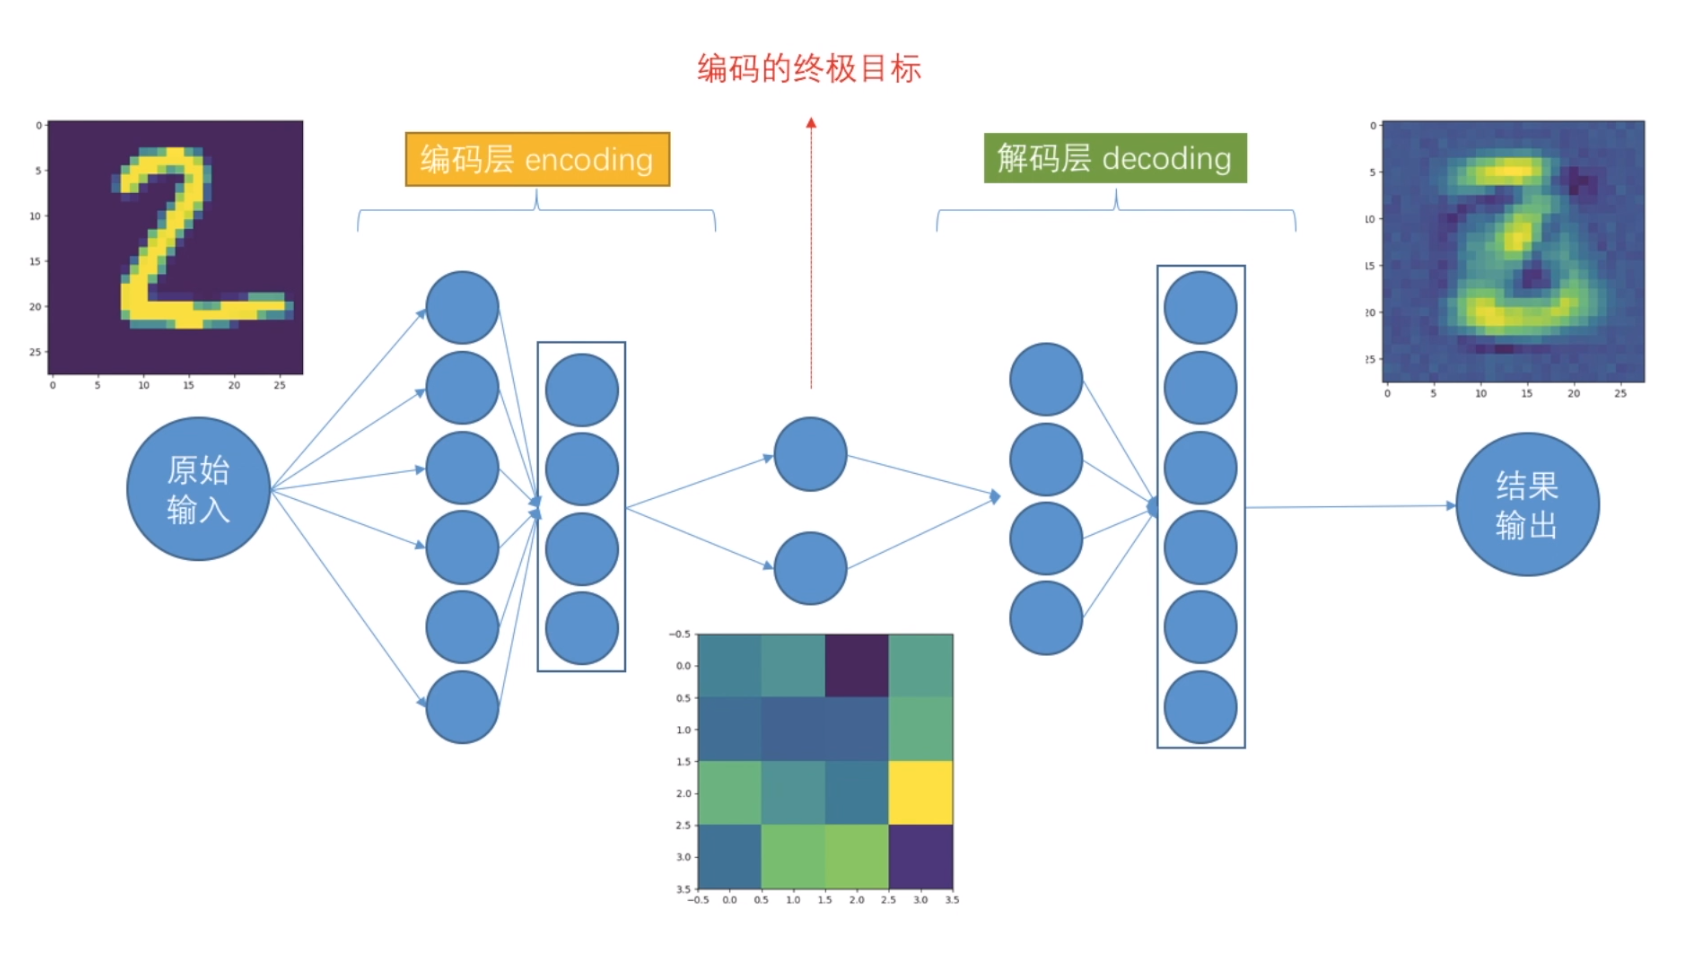
# Autoencoder 自编码非监督学习
# keras的函数Model结构 (非序列化Sequential)
# 训练模型
# mnist数据集
# 聚类
https://www.bilibili.com/video/av31910829?t=115
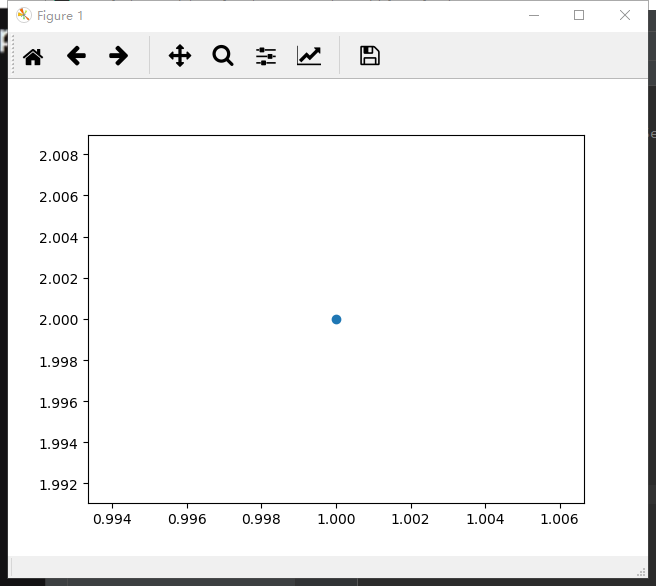
准备工作,array ——》 numpy ; plt.show()
import matplotlib.pyplot as plt
import numpy as np

a = [[1, 2]]
a = np.array(a)

c = a[:, 0]
b = a[:, 1]

print(c, b)
print(a.shape)

plt.scatter(c, b)
plt.show()
 1 # coding:utf-8
 2
 3 import numpy as np
 4 from keras.datasets import mnist
 5 from keras.models import Model
 6 from keras.layers import Dense, Input
 7 import matplotlib.pyplot as plt
 8
 9 '''
10 1st 加载数据集 x (60000, 28, 28) y (10000, 1)
11 '''
12 (x_train, y_train), (x_test, y_test) = mnist.load_data()
13
14 # 数据处理-归一化 转 浮点 , 不需要标签
15 x_train = x_train.astype('float32')/255.0
16 x_test = x_test.astype('float32')/255.0
17 # reshape 数据形状 适用于dense层,是input需要的
18 x_train = x_train.reshape(-1, 784)
19 x_test = x_test.reshape(-1, 784)
20
21 '''
22 2nd encoded & decoded
23 '''
24 # 定义encoding终极维度
25 encoding_dim = 4  # 因为我们输出的时候, 需要一个二维坐标,二维坐标只有两个值. 高维无法可视化
26
27 # 定义输入层input可以接受的数据shape,类似TensorFlow 的placeholder
28 input_img = Input(shape=(784,))
29
30 # 定义编码层 这里是把数据从大维度降低到小维度 如28*28或784 降低到2个维度
31 # 特别注意 keras 这次用API函数模式构建网络层
32
33 # ***第一层编码***
34 encoded = Dense(units=128, activation='relu')(input_img)
35 # ***第二层编码***
36 encoded = Dense(units=64, activation='relu')(encoded)  # 后面的encoded是第一层的
37 # ***第三层编码***
38 encoded = Dense(units=32, activation='relu')(encoded)  # 后面的encoded是第2层的
39 # ***第四层编码***(终极输出)和前面终极维度相对应 encoding_dim = 2,并给出解码层
40 encoded_output = Dense(units=encoding_dim)(encoded)  # 这里up主少了(encoded)
41
42 # ***可以输出结果 如果我想的话 2个维度结果*** 改为4个维度 2*2
43
44 # 定义解码层
45 # ***第一层解码***
46 decoded = Dense(units=32, activation='relu')(encoded_output)
47 # ***第二层解码***
48 decoded = Dense(units=64, activation='relu')(decoded)
49 # ***第三层解码***
50 decoded = Dense(units=128, activation='relu')(decoded)
51 # ***第四层解码***
52 decoded = Dense(units=784, activation='tanh')(decoded)
53
54 '''
55 3rd autoencoder
56 '''
57
58 # 构建自动编码模型结构
59 autoencoder = Model(inputs=input_img, outputs=decoded)
60
61 # 构建编码模型结构
62 encoder = Model(inputs=input_img, outputs=encoded_output)
63
64 # 编译模型
65
66 autoencoder.compile(optimizer='adam', loss='mse')  # mean square err
67 # adam可以实例化,自行改参数
68
69 # 训练
70 autoencoder.fit(
71     x=x_train,
72     y=x_train,  # 非监督学习,比的不是label,而是自己
73     epochs=20,
74     batch_size=512,
75     shuffle=True,  # 每个训练的epoch完成后,数据打乱每次结构 1 2 3 4 5 6 7 8 9这样的顺序会被打乱
76 )
77
78 # 打印结果
79 encoded_img = encoder.predict(x_test)
80
81 plt.scatter(x=encoded_img[:, 0], y=encoded_img[:, 1], c=y_test, s=3)  # y_test唯一用的地方
82 plt.show()
83
84 # 打印三个图对比
85
86 decoded_img = autoencoder.predict(x_test[1].reshape(1, 784))
87 encoded_img = encoder.predict(x_test[1].reshape(1, 784))
88
89 plt.figure(1)
90 plt.imshow(decoded_img[0].reshape(28, 28))
91 plt.figure(2)
92 plt.imshow(encoded_img[0].reshape(2, 2))
93 plt.figure(3)
94 plt.imshow(x_test[1].reshape(28, 28))
95 plt.show()
运行结果,省略前面的epoch。
D:Anaconda3envs	fpython.exe D:/adevelop/keras/autoencoder/ancoder.py
Using TensorFlow backend.
Epoch 1/20
2018-12-20 21:10:36.415134: I tensorflow/core/platform/cpu_feature_guard.cc:141] Your CPU supports instructions that this TensorFlow binary was not compiled to use: AVX AVX2
2018-12-20 21:10:36.589254: I tensorflow/core/common_runtime/gpu/gpu_device.cc:1432] Found device 0 with properties:
name: GeForce GTX 1060 6GB major: 6 minor: 1 memoryClockRate(GHz): 1.7845
pciBusID: 0000:01:00.0
totalMemory: 6.00GiB freeMemory: 4.97GiB
2018-12-20 21:10:36.589537: I tensorflow/core/common_runtime/gpu/gpu_device.cc:1511] Adding visible gpu devices: 0
2018-12-20 21:10:36.928535: I tensorflow/core/common_runtime/gpu/gpu_device.cc:982] Device interconnect StreamExecutor with strength 1 edge matrix:
2018-12-20 21:10:36.928694: I tensorflow/core/common_runtime/gpu/gpu_device.cc:988]      0
2018-12-20 21:10:36.928783: I tensorflow/core/common_runtime/gpu/gpu_device.cc:1001] 0:   N
2018-12-20 21:10:36.928967: I tensorflow/core/common_runtime/gpu/gpu_device.cc:1115] Created TensorFlow device (/job:localhost/replica:0/task:0/device:GPU:0 with 4720 MB memory) -> physical GPU (device: 0, name: GeForce GTX 1060 6GB, pci bus id: 0000:01:00.0, compute capability: 6.1)


.......
  512/60000 [..............................] - ETA: 0s - loss: 0.0291
 5120/60000 [=>............................] - ETA: 0s - loss: 0.0296
 9728/60000 [===>..........................] - ETA: 0s - loss: 0.0298
14336/60000 [======>.......................] - ETA: 0s - loss: 0.0298
19456/60000 [========>.....................] - ETA: 0s - loss: 0.0297
24064/60000 [===========>..................] - ETA: 0s - loss: 0.0296
28672/60000 [=============>................] - ETA: 0s - loss: 0.0297
33280/60000 [===============>..............] - ETA: 0s - loss: 0.0297
38400/60000 [==================>...........] - ETA: 0s - loss: 0.0297
43008/60000 [====================>.........] - ETA: 0s - loss: 0.0297
47616/60000 [======================>.......] - ETA: 0s - loss: 0.0297
52224/60000 [=========================>....] - ETA: 0s - loss: 0.0298
56832/60000 [===========================>..] - ETA: 0s - loss: 0.0297
60000/60000 [==============================] - 1s 11us/step - loss: 0.0297

Process finished with exit code 0


保存以及测试:终极编码
autoencoder.save('autoencoder.h5')

ex_img1 = Image.open('../mnist/4.png')
ex_img2 = Image.open('../mnist/7.jpg')

ex_img1 = np.array(ex_img1)
ex_img2 = np.array(ex_img2)

encoded_img1 = encoder.predict(ex_img1.reshape(1, 784))
encoded_img2 = encoder.predict(ex_img2.reshape(1, 784))

print(encoded_img1)
print(encoded_img2)
运行结果:
  512/60000 [..............................] - ETA: 0s - loss: 0.0293
 5632/60000 [=>............................] - ETA: 0s - loss: 0.0299
10752/60000 [====>.........................] - ETA: 0s - loss: 0.0299
15360/60000 [======>.......................] - ETA: 0s - loss: 0.0298
19968/60000 [========>.....................] - ETA: 0s - loss: 0.0298
25088/60000 [===========>..................] - ETA: 0s - loss: 0.0298
30208/60000 [==============>...............] - ETA: 0s - loss: 0.0299
34816/60000 [================>.............] - ETA: 0s - loss: 0.0299
39424/60000 [==================>...........] - ETA: 0s - loss: 0.0299
44544/60000 [=====================>........] - ETA: 0s - loss: 0.0299
49664/60000 [=======================>......] - ETA: 0s - loss: 0.0299
54784/60000 [==========================>...] - ETA: 0s - loss: 0.0299
59904/60000 [============================>.] - ETA: 0s - loss: 0.0299
60000/60000 [==============================] - 1s 11us/step - loss: 0.0299


[[  851.9073 -2038.2947  1888.9907 -3720.866 ]]
[[  462.43057 -2609.475    2269.1575  -5579.742  ]]