环境准备
1.conda创建虚拟环境
conda create -n 虚拟环境名字 python=版本
conda ccreate -n python3.6 python=3.6
2.查看虚拟环境
conda info -e
3.切换环境
Linux: source activate your_env_name(虚拟环境名称)
Windows: activate your_env_name(虚拟环境名称)
source activate python3.6
4.关闭环境
Linux: source deactivate
Windows: deactivate
安装airflow
1.升级pip
pip install --upgrade pip
2.安装gcc(有不用安装)
yum -y install gcc gcc-c++ kernel-devel
3.安装依赖
pip3 install paramiko
yum -y install zlib-devel bzip2-devel openssl-devel ncurses-devel sqlite-devel readline-devel tk-devel gdbm-devel db4-devel libpcap-devel xz-devel
4.安装airflow
pip3 install apache-airflow
5.安装pymysql
pip3 install pymysql
6.配置环境变量
# vi /etc/profile

  #airflow
  export AIRFLOW_HOME=/opt/airflow

# source /etc/profile
7.初始化数据库表(默认使用本地sqlite数据库)
airflow initdb
会在配置的airflow环境下生成如下文件
ls /opt/airflow

airflow.cfg airflow.db logs unittests.cfg
8.配置MySQL数据库
创建airflow数据库,并创建用户和授权,给airflow访问数据库使用
如果没有mysql查看之前的笔记 linux安装mysql
mysql> CREATE DATABASE airflow;
Query OK, 1 row affected (0.00 sec)

mysql> GRANT all privileges on root.* TO 'root'@'localhost'  IDENTIFIED BY 'root';
ERROR 1819 (HY000): Your password does not satisfy the current policy requirements
#这个错误与validate_password_policy的值有关。默认值是1,即MEDIUM,所以刚开始设置的密码必须符合长度,且必须含有数字,小写或大写字母,特殊字符。
 有时候,只是为了自己测试,不想密码设置得那么复杂,譬如说,我只想设置root的密码为root。

 必须修改两个全局参数:

  1)首先,修改validate_password_policy参数的值:

mysql> set global validate_password_policy=0;
Query OK, 0 rows affected (0.00 sec)
#这样,判断密码的标准就基于密码的长度了。这个由validate_password_length参数来决定。

mysql> select @@validate_password_length;
+----------------------------+
| @@validate_password_length |
+----------------------------+
|                          8 |
+----------------------------+
1 row in set (0.00 sec)

2)修改validate_password_length参数,设置密码仅由密码长度决定。
mysql> set global validate_password_length=1;
Query OK, 0 rows affected (0.00 sec)

mysql> select @@validate_password_length;
+----------------------------+
| @@validate_password_length |
+----------------------------+
|                          4 |
+----------------------------+
1 row in set (0.00 sec)

mysql> GRANT all privileges on root.* TO 'root'@'localhost'  IDENTIFIED BY 'root';
Query OK, 0 rows affected, 1 warning (0.35 sec)

  mysql> FLUSH PRIVILEGES;
  Query OK, 0 rows affected (0.01 sec)
9.更改数据库配置
mysql> set @@global.explicit_defaults_for_timestamp=on;
10.配置airflow
vim airflow/airflow.cfg
# The executor class that airflow should use. Choices include
# SequentialExecutor, LocalExecutor, CeleryExecutor, DaskExecutor, KubernetesExecutor
#executor = SequentialExecutor
executor = LocalExecutor

# The SqlAlchemy connection string to the metadata database.
# SqlAlchemy supports many different database engine, more information
# their website
#sql_alchemy_conn = sqlite:////data/airflow/airflow.db
sql_alchemy_conn = mysql+pymysql://root:root@localhost:3306/airflow
执行器executor 有如下选择
SequentialExecutor:单进程顺序执行任务,默认执行器,通常只用于测试
LocalExecutor:多进程本地执行任务
CeleryExecutor:分布式调度,生产常用
DaskExecutor :动态任务调度,主要用于数据分析
11.再次初始化数据库表
airflow initdb
12.查看创建的airflow数据表
mysql> use airflow;
mysql> show tables;
13.启动服务
airflow webserver
airflow scheduler

后台运行
# 打开airflow的webserver UI,为了使其后台运行,这里用了nohup
nohup airflow webserver -p 8080 > /opt/airflow/webLog.log 2>&1 &

# 打开airflow的调度器,以开始定时执行任务
nohup airflow scheduler > /opt/airflow/schedulerLog.log 2>&1 &
kill 进程
ps -ef|grep "airflow "|grep -v grep|cut -c 9-15|xargs kill -9

注释
"grep -v grep"是在列出的进程中去除含有关键字"grep"的进程。
"cut -c 9-15"是截取输入行的第9个字符到第15个字符,而这正好是进程号PID。
"xargs kill -9"中的xargs命令是用来把前面命令的输出结果(PID)作为"kill -9"命令的参数,并执行该令。
启动scheduler时如果出错
failed to log action with (sqlite3.operationalerror) no such table log
export AIRFLOW_HOME=/opt/airflow
airflow initdb
参考 点这里
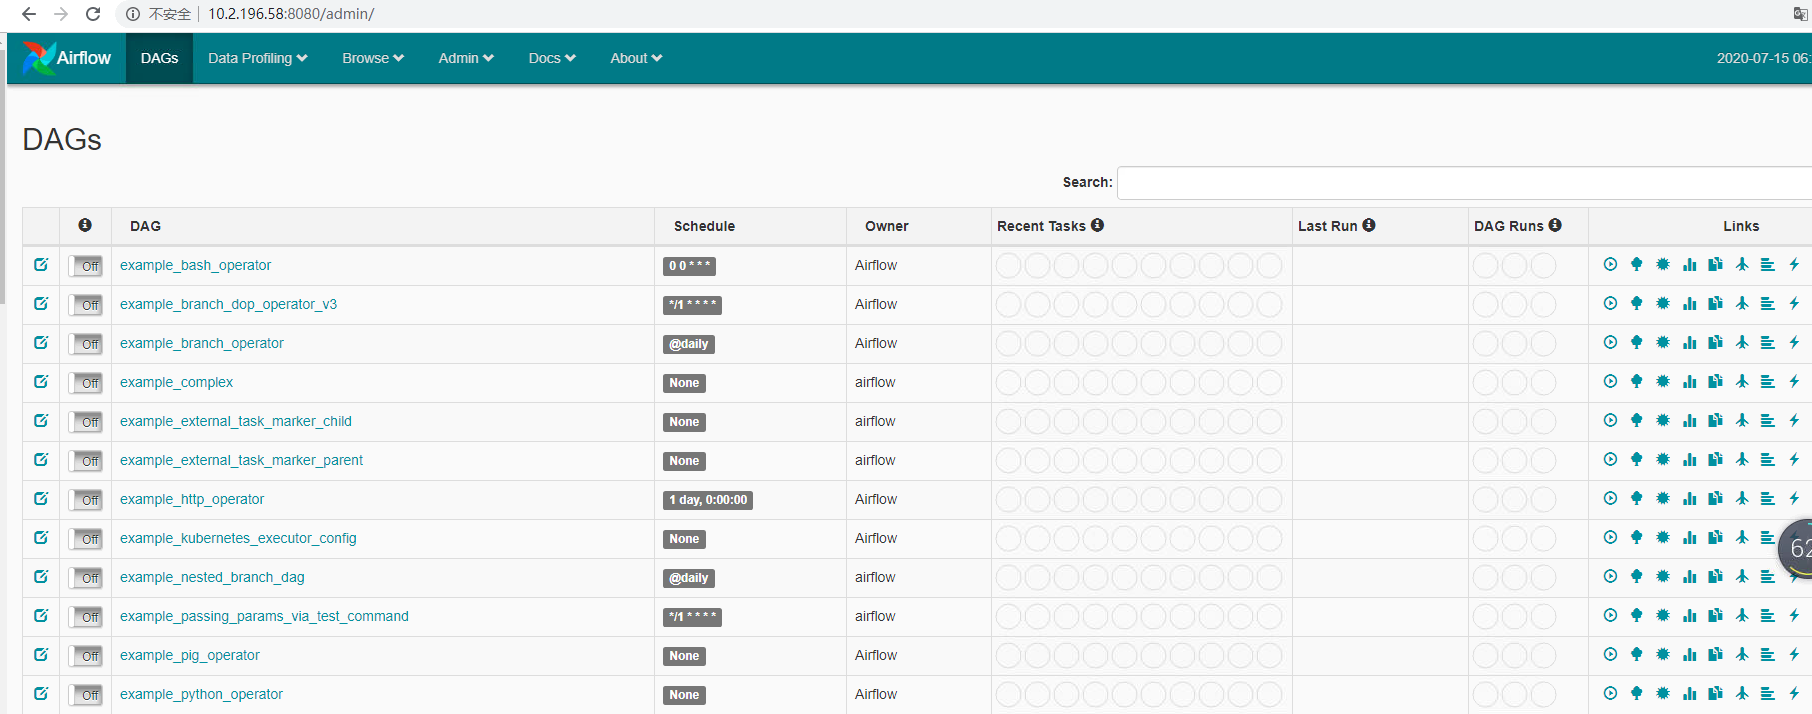
14.浏览器查看
参考 点这里