Linux 基础
实验三
一.实验过程
1.内核源代码编译
	mkdir LinuxKernel
	cd LinuxKernel
	wget https://www.kernel.org/pub/linux/kernel/v3.x/linux-3.18.6.tar.xz
	xz -d linux-3.18.6.tar.xz
	tar -xvf linux-3.18.6.tar
	cd linux-3.18.6
	make i386_defcongig
	make
2.制作根文件系统
mkdir rootfs
git clone https://github.com/mengning/menu.git
cd menu
gcc -pthread -o init linktable.c menu.c test.c -m32 -static
cd ../rootfs
cp ../menu/init ./
find . | cpio -o -Hnewc |gzip -9 > ../rootfs.img
gdb跟踪调试内核启动过程
①启动内核:
qemu -kernel linux-3.18.6/arch/x86/boot/bzImage-initrd rootfs.img -s -S
关于-s和-S选项的说明:
- -S freeze CPU at startup (use ’c’ to start execution) 在系统启动的时候冻结CPU,使用c键继续执行后续操作
-s shorthand for -gdb tcp::1234 打开远程调试端口,默认使用tcp协议1234端口,若不想使用1234端口,则可以使用-gdb tcp:xxxx来取代-s选项。
指令的作用是在开始的时候就让CPU停止在启动的那一刻,我们可以看到如下的界面:
接着进入gdb:
gdb
(gdb)filelinux-3.18.6/vmlinux # 在gdb界面中targe remote之前加载符号表
(gdb)target remote:1234 # 建立gdb和gdbserver之间的连接,按c 让qemu上的Linux继续运行
(gdb)breakstart_kernel # 断点的设置可以在target remote之前,也可以在之后
断点源代码如图:

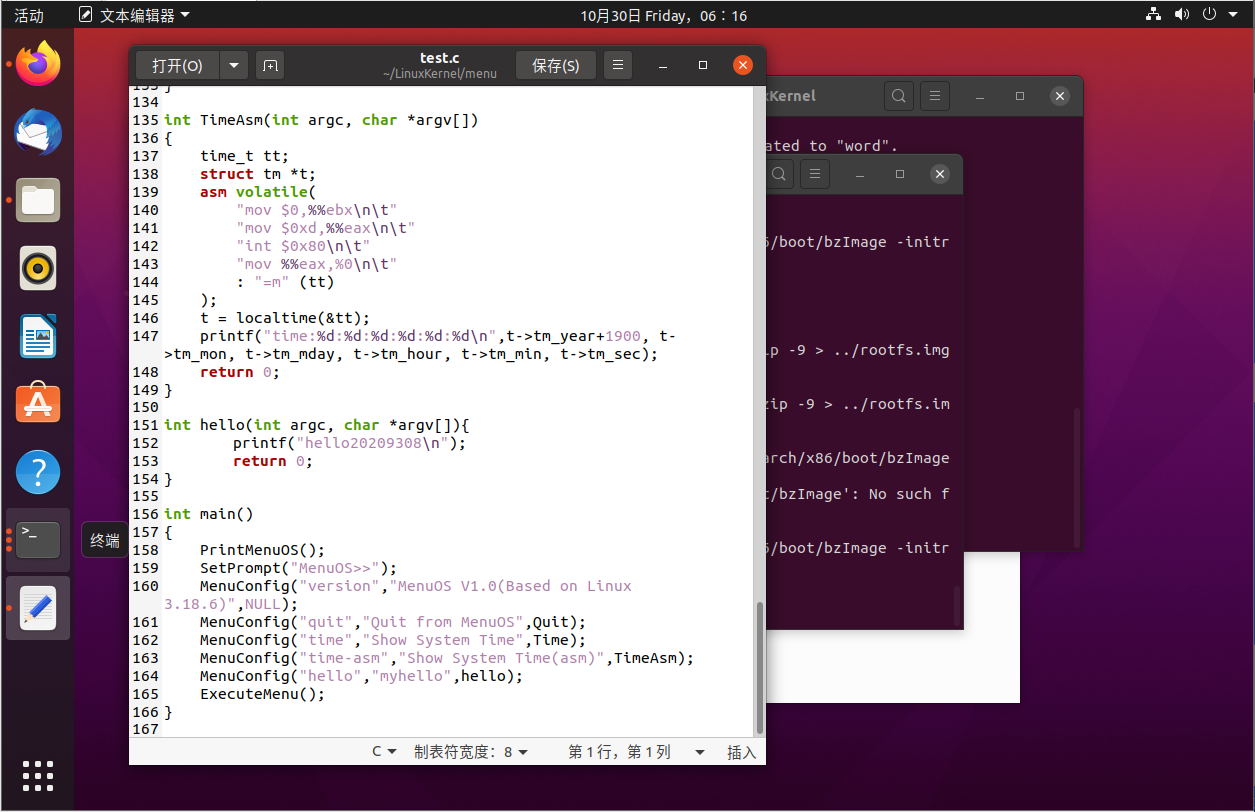
3.添加指令
//在test.c中添加hello函数并在main函数中添加相应的menuconfig
int hello(int argc, char *argv[]){
	printf("hello20209308
");
	return 0;
}

int main()
{
    PrintMenuOS();
    SetPrompt("MenuOS>>");
    MenuConfig("hello","myhello",hello);
    ExecuteMenu();
}
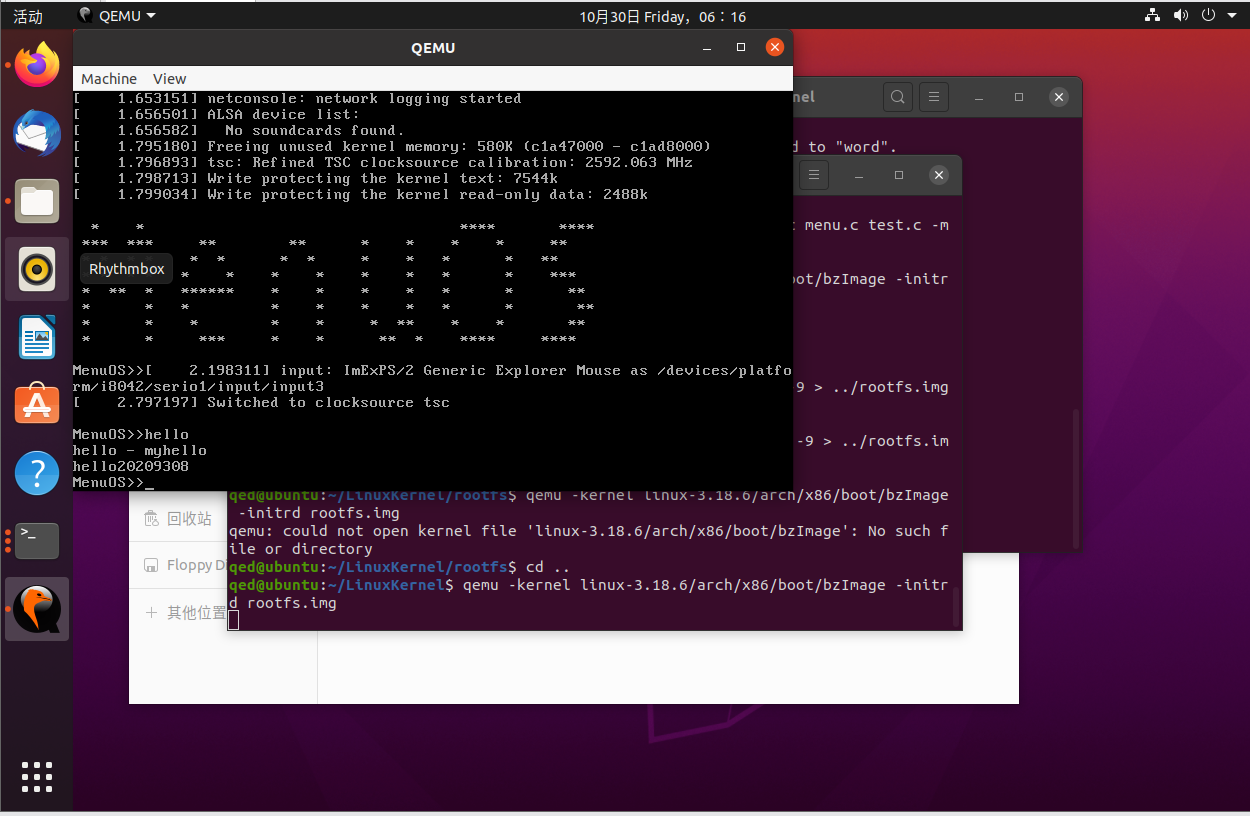
更改代码后重新执行
make
gcc -pthread -o init linktable.c menu.c test.c -m32 -static
cd ../rootfs
cp ../menu/init ./
find . | cpio -o -Hnewc |gzip -9 > ../rootfs.img
将代码的变化更新到rootfs.img镜像中,这样在qemu中才会有新指令。
二.实验代码分析
1.0号进程的创建
asmlinkage __visible void __init start_kernel(void)
{
    //命令行,存放bootloader传递过来的参数
    char *command_line;
    char *after_dashes;

    /*
     * Need to run as early as possible, to initialize the
     * lockdep hash:
     */
    lockdep_init();    //初始化内核调试模块
    set_task_stack_end_magic(&init_task);//init_task即手工创建的PCB
    smp_setup_processor_id();   //获取当前CPU的硬件ID
    debug_objects_early_init();    //初始化哈希桶

    /*
     * Set up the the initial canary ASAP:
     */
    boot_init_stack_canary();  //防止栈溢出

    cgroup_init_early();
void lockdep_init(void) 函数,lockdep是一个内核调试模块,用来检查内核互斥机制(尤其是自旋锁)潜在的死锁问题。接下来是看到init_task,其在文件linux-3.18.6/init/init_task.c中定义如下:
struct task_struct init_task = INIT_TASK(init_task);
可见它其实就是一个task_struct,与用户进程的task_struct一样。相当于《Linux内核分析(二)》中的PCB结构体。
init_task中保存了一个进程的所有基本信息,如进程状态,栈起始地址,进程号pid等,其特殊之处在于它的pid=0,也就是通常所说的0号进程,0号进程就是我们这样通过手工创建出来的。也就是start_kernel()创建了0号进程。
0号进程的任务范围是从最早的汇编代码一直到start_kernel()的执行结束。
2.1号进程的创建
static noinline void __init_refok rest_init(void)
{
    int pid;
    rcu_scheduler_starting();
    //很重要,创建一个内核线程,PID=1,创建好了,但不能去调度它
    kernel_thread(kernel_init, NULL, CLONE_FS);
    numa_default_policy();
    ...
}
在rest_init()函数中有这样一句话:
kernel_thread(kernel_init, NULL, CLONE_FS);
其中kernel_thread()的源码在文件linux-3.18.6/kernel/fork.c中定义,如下:
pid_t kernel_thread(int (*fn)(void *), void *arg, unsigned long flags)
{
    return do_fork(flags|CLONE_VM|CLONE_UNTRACED, (unsigned long)fn,
        (unsigned long)arg, NULL, NULL);
}
这里相当于fork出了新进程来执行kernel_init()函数。
3.0号进程的转变
static noinline void __init_refok rest_init(void)
{
    int pid;
    rcu_scheduler_starting();
    //很重要,创建一个内核线程,PID=1,创建好了,但不能去调度它
    kernel_thread(kernel_init, NULL, CLONE_FS);
    numa_default_policy();
    //很重要,创建第二个内核线程,PID=2,负责管理和调度其它内核线程。
    pid = kernel_thread(kthreadd, NULL, CLONE_FS | CLONE_FILES);
    rcu_read_lock();
    kthreadd_task = find_task_by_pid_ns(pid, &init_pid_ns);
    rcu_read_unlock();
    complete(&kthreadd_done);
    init_idle_bootup_task(current);
    schedule_preempt_disabled();
    cpu_startup_entry(CPUHP_ONLINE);
}
rest_init()在创建了1号、2号进程之后,系统可以正式对外工作了。
cpu_startup_entry(CPUHP_ONLINE)实际是一个while无限循环,也就是说,0号进程在fork了1号进程并且做了其余的启动工作之后,最后“进化”成为了idle进程。完成其使命,并一直处于内核态中无线循环。
三.遇到的问题
-
qemu无法正常使用:
- 下载qemu-system-i836代替可用
-
make menuconfig出错:
- 下载libncurses5-dev解决