准备工具:
1.eclipse
2.maven.
创建一个maven project
a.打开pom.xml.
加入需要的依赖:
<project xmlns="http://maven.apache.org/POM/4.0.0" xmlns:xsi="http://www.w3.org/2001/XMLSchema-instance" xsi:schemaLocation="http://maven.apache.org/POM/4.0.0 http://maven.apache.org/xsd/maven-4.0.0.xsd">
<modelVersion>4.0.0</modelVersion>
<groupId>top.codefree.springboot</groupId>
<artifactId>codefree-springboot</artifactId>
<version>0.0.1-SNAPSHOT</version>
<packaging>jar</packaging>
<parent>
<groupId>org.springframework.boot</groupId>
<artifactId>spring-boot-starter-parent</artifactId>
<version>1.5.8.RELEASE</version>
</parent>
<dependencies>
<dependency>
<groupId>org.springframework.boot</groupId>
<artifactId>spring-boot-starter-web</artifactId>
</dependency>
</dependencies>
<build>
<plugins>
<plugin>
<groupId>org.springframework.boot</groupId>
<artifactId>spring-boot-maven-plugin</artifactId>
</plugin>
</plugins>
</build>
</project>
---------------------
作者:houzhongfei
来源:CSDN
原文:https://blog.csdn.net/qq_27645299/article/details/78385533
版权声明:本文为博主原创文章,转载请附上博文链接!
然后就是创建自己的测试application,
import org.springframework.boot.SpringApplication;
import org.springframework.boot.autoconfigure.SpringBootApplication;
import org.springframework.stereotype.Controller;
import org.springframework.web.bind.annotation.RequestMapping;
import org.springframework.web.bind.annotation.ResponseBody;
@Controller
@SpringBootApplication
public class HelloApplication {
@RequestMapping(value = "hello")
@ResponseBody
public String hello() {
return "hello spring boot";
}
public static void main(String[] args) {
SpringApplication.run(HelloApplication.class, args);
}
}
注意:
@ResponseBody(让输出以json格式输出)
@SpringBootApplication(等价于@Configuration, @EnableAutoConfiguration, @ComponentScan)
启动:
run as --> java Application
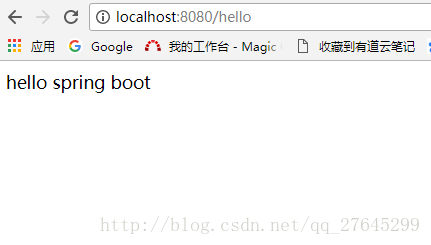
在浏览器输入: localhost:8080/hello