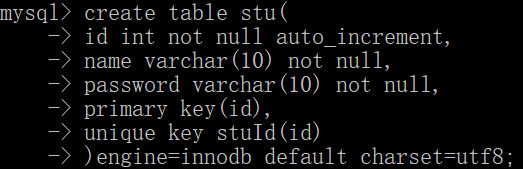
1、为方便测试首先创建数据库和表,然后插入测试数据


2、打开Tomcat服务器安装目录的conf/下的context.xml,配置context.xml文件。
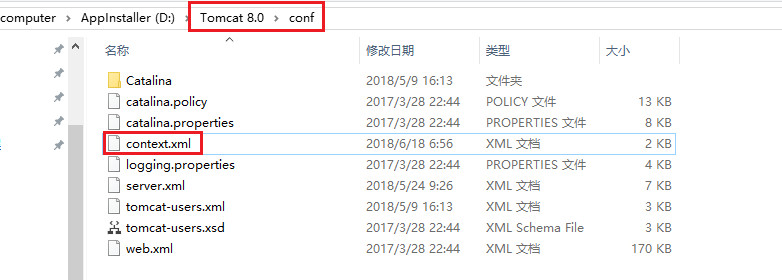
在<Context>标签里加入<Resource/>标签及相关属性
 1 <Resource
 2 name="jdbc/Struts2DB"
 3 auth="Container"
 4 type="javax.sql.DataSource"
 5 username="root"
 6 password="123456"
 7 driverClassName="com.mysql.jdbc.Driver"
 8 url="jdbc:mysql://localhost:3306/mydata"
 9 maxActive="8"
10 maxIdle="4" />
name:数据源名称
auth:连接池管理方式
type:资源类型
maxActive:连接池的最大连接数
maxIdle:连接池中最多可空闲的连接数
3、配置web.xml,在项目文件web.xml中添加指向
<resource-ref>
    <description>DB connection</description>
    <res-ref-name>jdbc/Struts2DB</res-ref-name>
    <res-type>javax.sql.DataSource</res-type>
    <res-auth>Container</res-auth>
</resource-ref>
注意:
<res-ref-name>标签里的内容要和context.xml中<Resource>标签中name属性的值对应
<res-type>标签里的内容要和context.xml中<Resource>标签中type属性的值对应
<res-auth>标签里的内容要和context.xml中<Resource>标签中auth属性的值对应
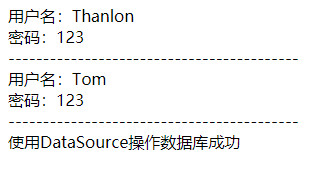
4、测试连接数据库是否正常。
testDataSource.jsp:
 1 <%@ page language="java" import="java.util.*" pageEncoding="UTF-8"%>
 2 <%
 3     String path = request.getContextPath();
 4     String basePath = request.getScheme() + "://"
 5             + request.getServerName() + ":" + request.getServerPort()
 6             + path + "/";
 7 %>
 8 <%@page import="java.sql.*,javax.sql.DataSource,javax.naming.*"%>
 9 <%
10     try {
11         Context iniContext = new InitialContext();//初始化查找命名空间
12         DataSource ds = (DataSource) iniContext
13                 .lookup("java:comp/env/jdbc/Struts2DB");//创建数据源对象,java:comp/env是固定路径,jdbc/Struts2DB是要查找的数据源名称
14         Connection conn = ds.getConnection();//获取连接对象
15         String sql = "select *from stu";
16         Statement stmt = conn.createStatement();
17         ResultSet rs = stmt.executeQuery(sql);
18         while (rs.next()) {
19             out.print("用户名:" + rs.getString("name")+"<br/>");
20             out.print("密码:" + rs.getString("password")+"<br/>");
21             out.print("------------------------------------------<br/>");
22         }
23         out.print("使用DataSource操作数据库成功");
24         rs.close();
25         stmt.close();
26         conn.close();
27     } catch (Exception e) {
28         out.print(e);
29     }
30 %>
31 <!DOCTYPE HTML PUBLIC "-//W3C//DTD HTML 4.01 Transitional//EN">
32 <html>
33 <head>
34 <base href="<%=basePath%>">
35
36 <title>My JSP 'index.jsp' starting page</title>
37 <meta http-equiv="pragma" content="no-cache">
38 <meta http-equiv="cache-control" content="no-cache">
39 <meta http-equiv="expires" content="0">
40 <meta http-equiv="keywords" content="keyword1,keyword2,keyword3">
41 <meta http-equiv="description" content="This is my page">
42 <!--
43     <link rel="stylesheet" type="text/css" href="styles.css">
44     -->
45 </head>
46
47 <body>
48
49 </body>
50 </html>