一次在实体服务器安装centos 7的过程记录
第一次在实体服务器上面安装服务器(centos 7),在此记录安装过程中遇到的一些坑。
系统版本:CentOS Linux release 7.6.1810 (Core)
设置Bios
将引导设置为U盘优先启动,不同电脑型号进入bios方法不同,调整引导顺序的方式也略有差异,故不做具体介绍。
编辑优盘卷标
在设置过bios为优盘优先启动后,重启,无需按任何键。将会进入如下grub菜单引导界面。
Install CentOS 7
Test this media & install CentOS 7
Troubleshooting -->


Use the ↑ and ↓ keys to change the selection.
Press ‘e’ to edit the selected item,or 'c' for a command prompt.
- 通过键盘上的上下方向键选中
Install CentOS 7,按e,进入如下界面
setparams 'Install CentOS 7'

	linuxefi /images/pxeboot/vmlinuz inst.stage2=hd:LABEL=Centos 7 quiet
	initrdefi /images/pxeboot/initrd.img

Press Ctrl-x to start,Ctrl-c for a command prompt or
Escape to discard edits and return to the menu.
Pressing Tab lists possible completions.
- 唯一需要修改的就是
linuxefi /images/pxeboot/vmlinuz inst.stage2=hd:LABEL=Centos 7 quiet这一行,将hd:后面的默认卷标改为所插入U盘的卷标名称。因为并不知道u盘的卷标名称,所以直接按ctrl+x进入类似如下界面。
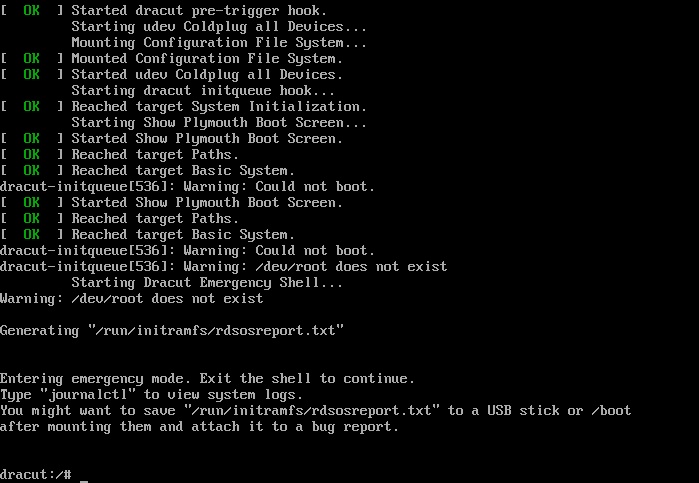
在这个临时的命令行界面就可以查看u盘卷标
dracut:/# ls /dev |grep sd
sda
sda1
sda2
sda3
sdb
sdb4
#重启服务器
darcut:/# reboot
sda表示第一块硬盘,sdb表示第二块硬盘,以此类推。sda1表示第一块硬盘下的第1个分区,sda2表示第一块硬盘下的第二个分区,以此类推。对于新增的硬盘,系统会默认分配给他一个卷标递增的号(sda,sdb,sdc等),因此很容易判断出sdb4就是我们所插入的u盘。
- 在重启服务器后,将再次进入安装引导界面
- 重启过程无需按任何键
Install CentOS 7
Test this media & install CentOS 7
Troubleshooting -->


Use the ↑ and ↓ keys to change the selection.
Press ‘e’ to edit the selected item,or 'c' for a command prompt.
2. 上下键选中`Install CentOS 7`,按e进入编辑
setparams 'Install CentOS 7'

	linuxefi /images/pxeboot/vmlinuz inst.stage2=hd:LABEL=Centos 7 quiet
	initrdefi /images/pxeboot/initrd.img

Press Ctrl-x to start,Ctrl-c for a command prompt or
Escape to discard edits and return to the menu.
Pressing Tab lists possible completions.
将linuxefi /images/pxeboot/vmlinuz inst.stage2=hd:LABEL=Centos 7 quiet这一行的卷标修改为我们之前查找到的u盘卷标,即/dev/sdb4(绝对路径)。
修改过后的结果为:linuxefi /images/pxeboot/vmlinuz inst.stage2=hd:/dev/sdb4 quiet
按ctrl+x启动服务器。
- 最后就进入图形安装界面了,如下:
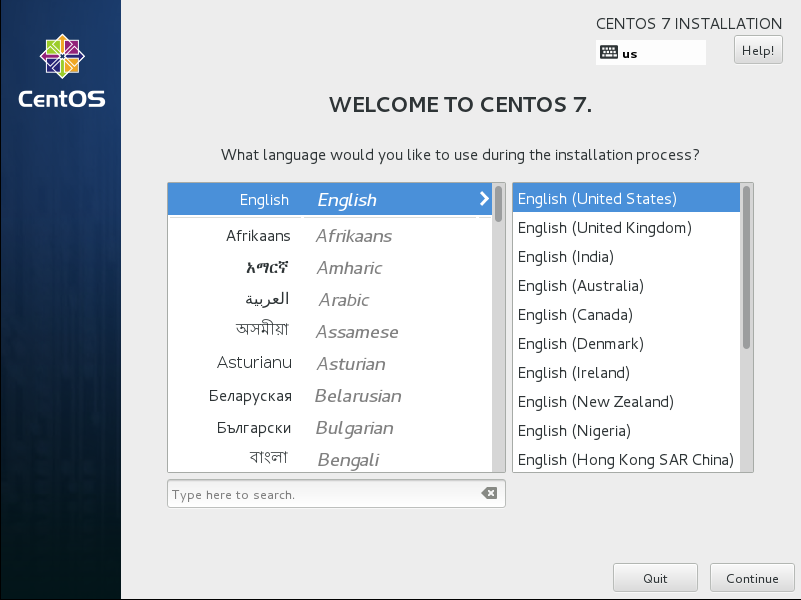
图形界面的安装基本就是无脑的next,不做赘述。