1.在SpringSecurity主配置文件中指定认证页面配置信息
<?xml version="1.0" encoding="UTF-8"?>
<beans xmlns="http://www.springframework.org/schema/beans"
       xmlns:xsi="http://www.w3.org/2001/XMLSchema-instance"
       xmlns:context="http://www.springframework.org/schema/context"
       xmlns:aop="http://www.springframework.org/schema/aop"
       xmlns:tx="http://www.springframework.org/schema/tx"
       xmlns:security="http://www.springframework.org/schema/security"
       xsi:schemaLocation="http://www.springframework.org/schema/beans
        http://www.springframework.org/schema/beans/spring-beans.xsd
        http://www.springframework.org/schema/context
        http://www.springframework.org/schema/context/spring-context.xsd
        http://www.springframework.org/schema/aop
        http://www.springframework.org/schema/aop/spring-aop.xsd
        http://www.springframework.org/schema/tx
        http://www.springframework.org/schema/tx/spring-tx.xsd
        http://www.springframework.org/schema/security
        http://www.springframework.org/schema/security/spring-security.xsd">

    <!-- 直接释放无需经过SpringSecurity过滤器的静态资源,和springMVC的释放静态资源没有关系,SpringMVC是拦截请求时释放 -->
    <security:http pattern="/css/**" security="none"/>
    <security:http pattern="/img/**" security="none"/>
    <security:http pattern="/plugins/**" security="none"/>
    <security:http pattern="/failer.jsp" security="none"/>
    <security:http pattern="/favicon.ico" security="none"/>

    <!--
     auto-config="true" 表示自动加载springSecurity的配置文件
     use-expressions="true" 表示使用spring的el表达式来配置springSecurity -->
    <security:http auto-config="true" use-expressions="true">
        <!-- 让认证页面可以匿名访问(访问失败,会经过后续的过滤器链,如果不需要经过直接配置成静态资源释放) -->
        <security:intercept-url pattern="/login.jsp" access="permitAll()"/>

        <!-- 拦截资源 -->
        <!--
        pattern="/**" 表示拦截所有资源
        access="hasAnyRole('ROLE_USER')" 表示只有ROLE_USER角色才能访问资源 -->
        <security:intercept-url pattern="/**" access="hasAnyRole('ROLE_USER')"/>

        <!-- 配置认证信息 -->
        <security:form-login login-page="/login.jsp"
                             login-processing-url="/login"
                             default-target-url="/index.jsp"
                             authentication-failure-url="/failer.jsp"
                             username-parameter="username"
                             password-parameter="password"/>

        <!-- 配置退出登录信息 -->
        <security:logout logout-url="/logout" logout-success-url="/login.jsp" invalidate-session="true"/>

        <!-- 去掉csrf拦截的过滤器
         CSRF(Cross-site request forgery)跨站请求伪造,是一种难以防范的网络攻击方式
         不建议去掉此过滤器 -->
         <!--<security:csrf disabled="true"/>-->
    </security:http>

    <!-- 设置Spring Security认证用户信息的来源(一般不会这么使用,这里只是测试) -->
    <!-- springSecurity默认的认证必须是加密的,加上{noop}表示不加密 -->
    <security:authentication-manager>
        <security:authentication-provider>
            <security:user-service>
                <security:user name="user" password="{noop}user" authorities="ROLE_USER"/>
                <security:user name="admin" password="{noop}admin" authorities="ROLE_ADMIN"/>
            </security:user-service>
        </security:authentication-provider>
    </security:authentication-manager>
</beans>
2.修改认证页面的请求地址 /login,要和配置文件中的配置一致
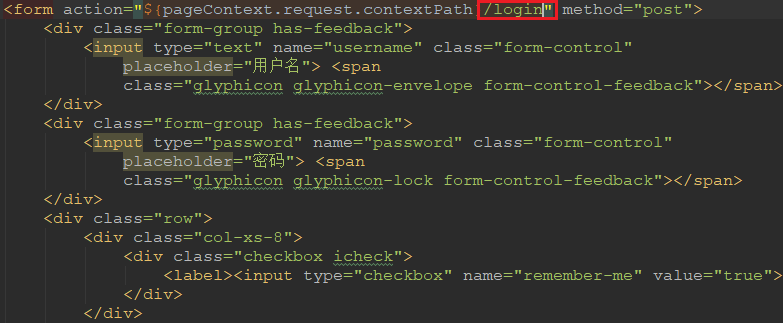
3.此时已经可以正常访问自己的登录页面了,但登录却会出现403,表示权限不足
这是由于缺少 name="_csrf" 的 input 隐藏输入框引起的,可以在配置文件中去掉 csrf 过滤器解决,
但不建议这么做,因为CSRF(Cross-site request forgery)跨站请求伪造,是一种难以防范的网络攻击方式,去掉可能会遭遇到攻击
SpringSecurity的csrf机制把请求方式分成两类来处理:
第一类:"GET", "HEAD", "TRACE", "OPTIONS"四类请求可以直接通过
第二类:除去上面四类,包括POST都要被验证携带token才能通过,例如平时我们退出登录时,直接通过超链接发送请求就可以了,而使用框架就不能这么做了
最佳解决方案:在jsp页面添加标签
<%@ taglib prefix="security" uri="http://www.springframework.org/security/tags" %>
在对应的form表单中添加
      <security:csrfInput/>
      <%--<security:csrfMetaTags/>--%> <%-- ajax请求使用,与meta标签同级配置 --%>
4.测试登录成功
  .........
5.退出登录
  在退出登录页面添加标签
  <%@ taglib prefix="security" uri="http://www.springframework.org/security/tags" %>
  注销按钮不能再使用超链接了,因为开启了CSRF,get请求会直接通过,不能验证token,还有注意请求地址 /logout 要和配置文件一致
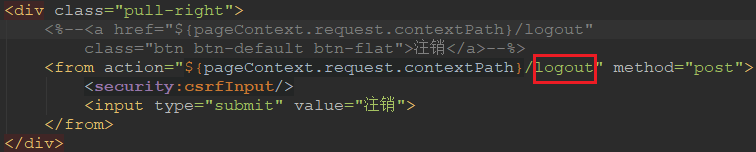
注意:一旦开启了csrf防护功能,logout处理器便只支持POST请求方式了!