springboot项目打包过程中包含第三方jar
开发IDE是IntelliJ IDEA,数据库是mysql,内置服务器tomcat。
打包步骤:
1. 确定项目调试运行没问题
2. 将第三方jar放在src/lib,lib是个自定义文件夹
3. 在pom.xml设置
<resources>
            <resource>
                <directory>src/main/resources</directory>
                <includes>
                    <include>**/*</include>
                </includes>
            </resource>
            <resource>
                <directory>src/lib</directory>
                <targetPath>BOOT-INF/lib/</targetPath>
                <includes>
                    <include>**/*.jar</include>
                </includes>
            </resource>
            <resource>
                <directory>src/main/resources</directory>
                <targetPath>BOOT-INF/classes/</targetPath>
            </resource>
</resources>
4.关闭开发工具,打开cmd窗口,进入项目所在文件夹根目录,输入mvn clean package
5.在java项目target文件夹可以发现有新生成的jar文件
6.继续在cmd窗口输入java -jar xxx.jar
7. 顺利的话,网站已经可以在浏览器上打开
原文出处:
chinet_bridge, springboot项目打包过程中包含第三方jar, https://blog.csdn.net/chinet_bridge/article/details/77982368
如何将spring boot项目打包成war包
一、修改打包形式
在pom.xml里设置
<packaging>war</packaging>
二、移除嵌入式tomcat插件
在pom.xml里找到
spring-boot-starter-web依赖节点,在其中添加如下代码,
<dependency>
    <groupId>org.springframework.boot</groupId>
    <artifactId>spring-boot-starter-web</artifactId>
    <!-- 移除嵌入式tomcat插件 -->
    <exclusions>
        <exclusion>
            <groupId>org.springframework.boot</groupId>
            <artifactId>spring-boot-starter-tomcat</artifactId>
        </exclusion>
    </exclusions>
</dependency>
三、添加servlet-api的依赖
下面两种方式都可以,任选其一
<dependency>
    <groupId>javax.servlet</groupId>
    <artifactId>javax.servlet-api</artifactId>
    <version>3.1.0</version>
    <scope>provided</scope>
</dependency>
<dependency>
    <groupId>org.apache.tomcat</groupId>
    <artifactId>tomcat-servlet-api</artifactId>
    <version>8.0.36</version>
    <scope>provided</scope>
</dependency>
四、修改启动类,并重写初始化方法
我们平常用main方法启动的方式,都有一个App的启动类,代码如下:
@SpringBootApplication
public class Application {
    public static void main(String[] args) {
        SpringApplication.run(Application.class, args);
    }
}
我们需要类似于web.xml的配置方式来启动spring上下文了,在Application类的同级添加一个SpringBootStartApplication类,其代码如下:
/**
 * 修改启动类,继承 SpringBootServletInitializer 并重写 configure 方法
 */
public class SpringBootStartApplication extends SpringBootServletInitializer {

    @Override
    protected SpringApplicationBuilder configure(SpringApplicationBuilder builder) {
        // 注意这里要指向原先用main方法执行的Application启动类
        return builder.sources(Application.class);
    }
}
五、打包部署
在项目根目录下(即包含pom.xml的目录),在命令行里输入:
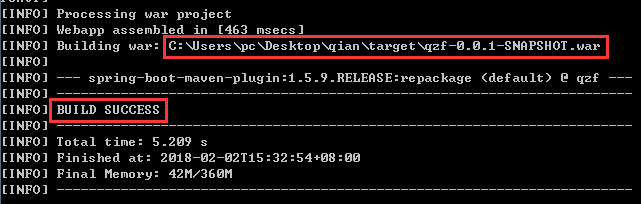
mvn clean package -Dmaven.test.skip=true即可, 等待打包完成,出现[INFO] BUILD SUCCESS即为打包成功。或者和打成jar包一样使用mvn clean package即可
然后把target目录下的war包放到tomcat的webapps目录下,启动tomcat,即可自动解压部署。
最后在浏览器中输入
http://localhost:[端口号]/[打包项目名]/发布成功
转载者注:
1、jar包内嵌tomcat,启动后,如果没有配置项目名称,则可以直接localhost:8080/student/list访问,而不需要加入项目名称。而打包成war包,则需要加上项目名称(war包名称),如localhost:8080/demo/student/list访问。
2、如果页面使用jsp的话,只能打包成war包,jar包内嵌Tomcat容器由于和jsp相关api的名称重复,故而无法兼容jsp


原文出处:
锋齐叶落, 如何将spring boot项目打包成war包, https://www.cnblogs.com/qianzf/p/8405479.html