一、什么是多线程
首先是多线程的概念:
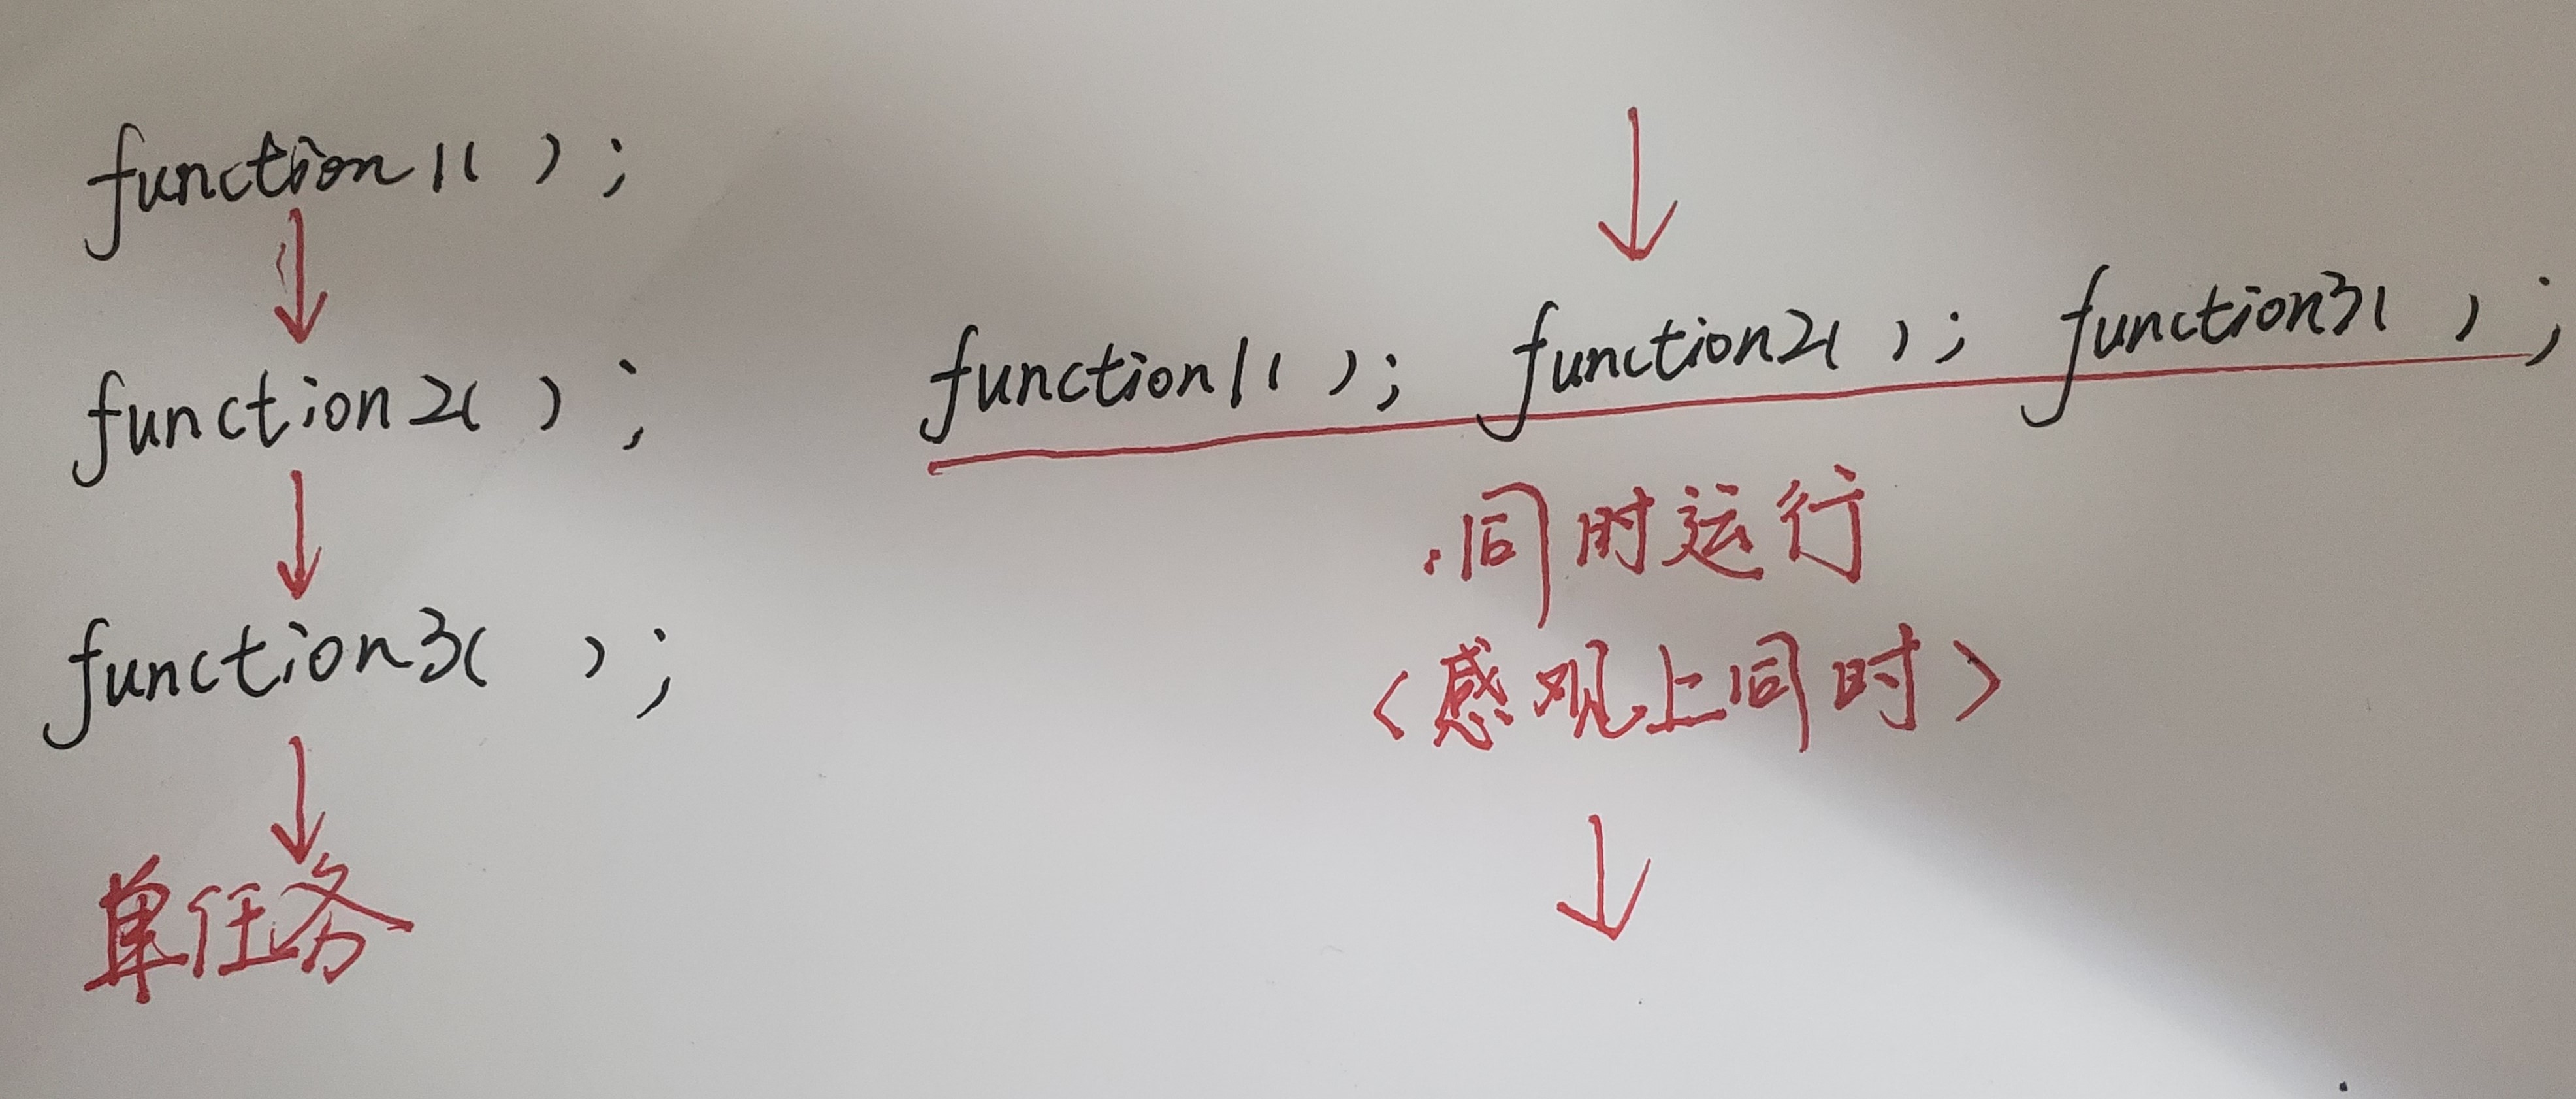
多线程是异步的,和单任务不同,并不一定按照代码的执行顺序(上图左)来运行,而是交错占用CPU运行(上图右);
二、如何使用多线程
JAVA多线程有两种实现方式:1、继承Thread类; 2、实现Runnable接口
其中实现Runnable接口是Java多线程的主要实现方法,因为JAVA的单继承特性,一旦继承了Thread类,就不能再继承别的类。而JAVA类可以继承多个接口。
1、继承Thread类实现方法:
public class Thread extends Thread {
    @Override
    public void run(){
        //super.run(); 调用父类的run方法
        System.out.println("success!");
    }
}

public class Run {
    public static void main(String[] args) {
        Thread a = new Thread();
        a.start();
        System.out.println("end!");
    }
}
其中 @Override 是JAVA注解,代码重写一个父类的函数,继承Thread类实现多线程,必须重写 run() 方法。
问题一:为什么要写 super.run();既然是重写父类的 run() 方法为什么还要写 super.run() 呢?
首先是 Thread run()方法 源码:
 //Thread类重写了Runnable接口的run()方法。
 //该run()方法首先判断当前是否有Runnable的实现target存在。 如果存在就执行target.run()

    private Runnable target;

    @Override
    public void run() {
        if (target != null) {
            target.run();
        }
    }
原来Thread类也是实现了Runnable接口;在run()方法中,首先会检查target是否为空,如果不是,则执行该target的run()方法。
首先上结论:
1、不管传入的Target是否为空,首先都会执行Thread自己的run()方法。如果重写了该方法且该方法中没有super.run(),那么是永远不会调用Runnable实现的run()方法;
2、如果没有重写该方法,则会去判断target是否为空,以此来决定调用target实现的run()方法;
3、如果重写了该方法,且该方法中有super.run(),在执行完该语句之前的所有代码后,会判断target是否为空,以此来决定调用target实现的run()方法
具体实验: https://blog.csdn.net/guguituzi/article/details/44593863
所以,super.run();正常情况下可以不写,但是我看到是书上都习惯性带上 super.run() ,知道为什么的小伙伴非常感谢能够给我留言告诉我答案。
问题二: .start() 源码
/*  JVM调用此线程的run方法。*/

 public synchronized void start() {
        /**
         * This method is not invoked for the main method thread or "system"
         * group threads created/set up by the VM. Any new functionality added
         * to this method in the future may have to also be added to the VM.
         *
         * A zero status value corresponds to state "NEW".
         */
        //此判断当前线程只能被启动一次,不能被重复启动
        if (threadStatus != 0)
            throw new IllegalThreadStateException();

        /* Notify the group that this thread is about to be started
         * so that it can be added to the group's list of threads
         * and the group's unstarted count can be decremented. */
        /*通知组该线程即将启动
          *这样它就可以添加到组的线程列表中
         *并且该组的未启动计数可以递减。*/
        group.add(this);

        boolean started = false;
        try {
            start0();
            started = true;
        } finally {
            try {
                // 如果线程启动失败,从线程组里面移除该线程
                if (!started) {
                    group.threadStartFailed(this);
                }
            } catch (Throwable ignore) {
                /* do nothing. If start0 threw a Throwable then
                  it will be passed up the call stack */
            }
        }
    }
另外,线程名.start() 的顺序,不代表线程的执行顺序!
- run()方法只是一个普通方法,调用之后程序会等待run()方法执行完毕,所以是串行执行,而不是并行执行。
- start()方法会启动一个线程,当线程得到CPU资源后会自动执行run()方法体中的内容,实现真正的并发执行。
2、实现Runnable接口的实现方法:
public class Thread_2 implements Runnable{
    @Override
    public void run(){
        System.out.println("i'm running!...");
    }
}
实现原理和继承Thread类似,不再赘述。
3、实现Callable接口:
首先,定义Callable接口的实现类并实现call()方法:
import java.util.Random;
import java.util.concurrent.Callable;

public class MyThirdThread implements Callable<Integer> {
    @Override
    public Integer call() throws Exception {
        Thread.sleep(6 * 1000);
        return new Random().nextInt();
    }
}
使用实现Callable接口的方式创建的线程,可以获取到线程执行的返回值、是否执行完成等信息。
Runnable和Callable的区别主要有以下几点:
- Runable的执行方法是run(),Callable的执行方法是call()
- call()方法可以抛出异常,run()方法如果有异常只能在内部消化
- 实现Runnable接口的线程没有返回值,实现Callable接口的线程能返回执行结果
- 实现Callable接口的线程,可以和FutureTask一起使用,获取到线程是否完成、线程是否取消、线程执行结果,也可以取消线程的执行。