1.创建一个SpringCloud
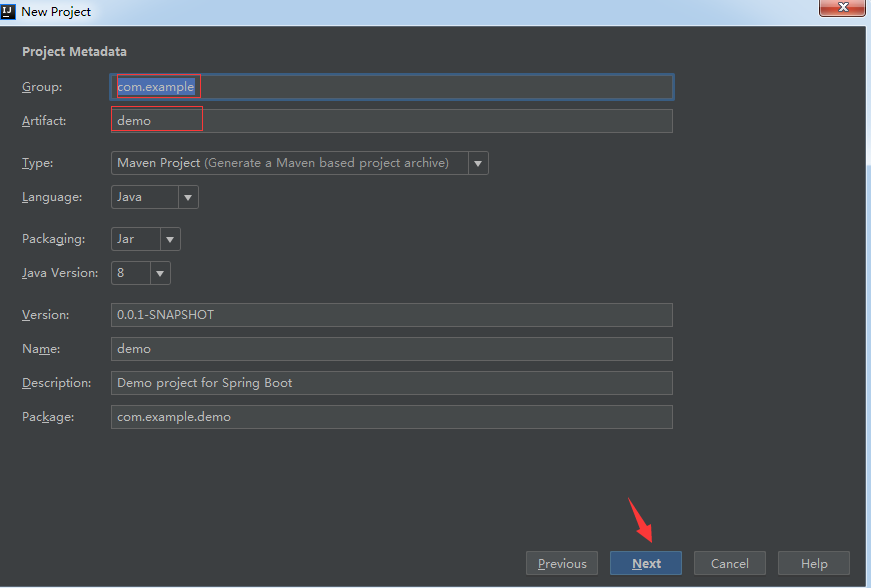
Idea工具:New Project -> Spring Initializr -> Next

然后填写对应名称 -> Next
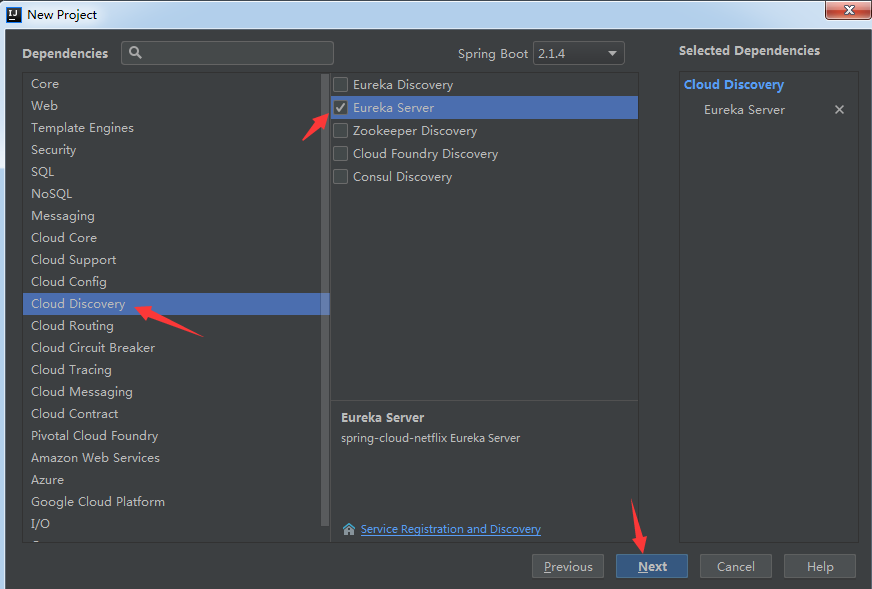
然后选择:Cloud Discovery -> 勾选 Eureka Server -> Next
然后填写对应的工程名,还有工程路径 -> Finish

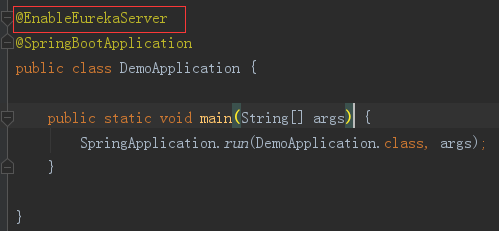
然后在springboot工程的启动application类上加 @EnableEurekaServer 注解
配置yml文件,习惯使用yml进行配置。修改application.properties 为 -> application.yml,然后加入如下配置:
server:
  port: 8761

eureka:
  instance:
    hostname: localhost
  client:
    registerWithEureka: false
    fetchRegistry: false
    serviceUrl:
      defaultZone: http://${eureka.instance.hostname}:${server.port}/eureka/
其中 port 服务注册中心的端口号,可根据实际情况修改
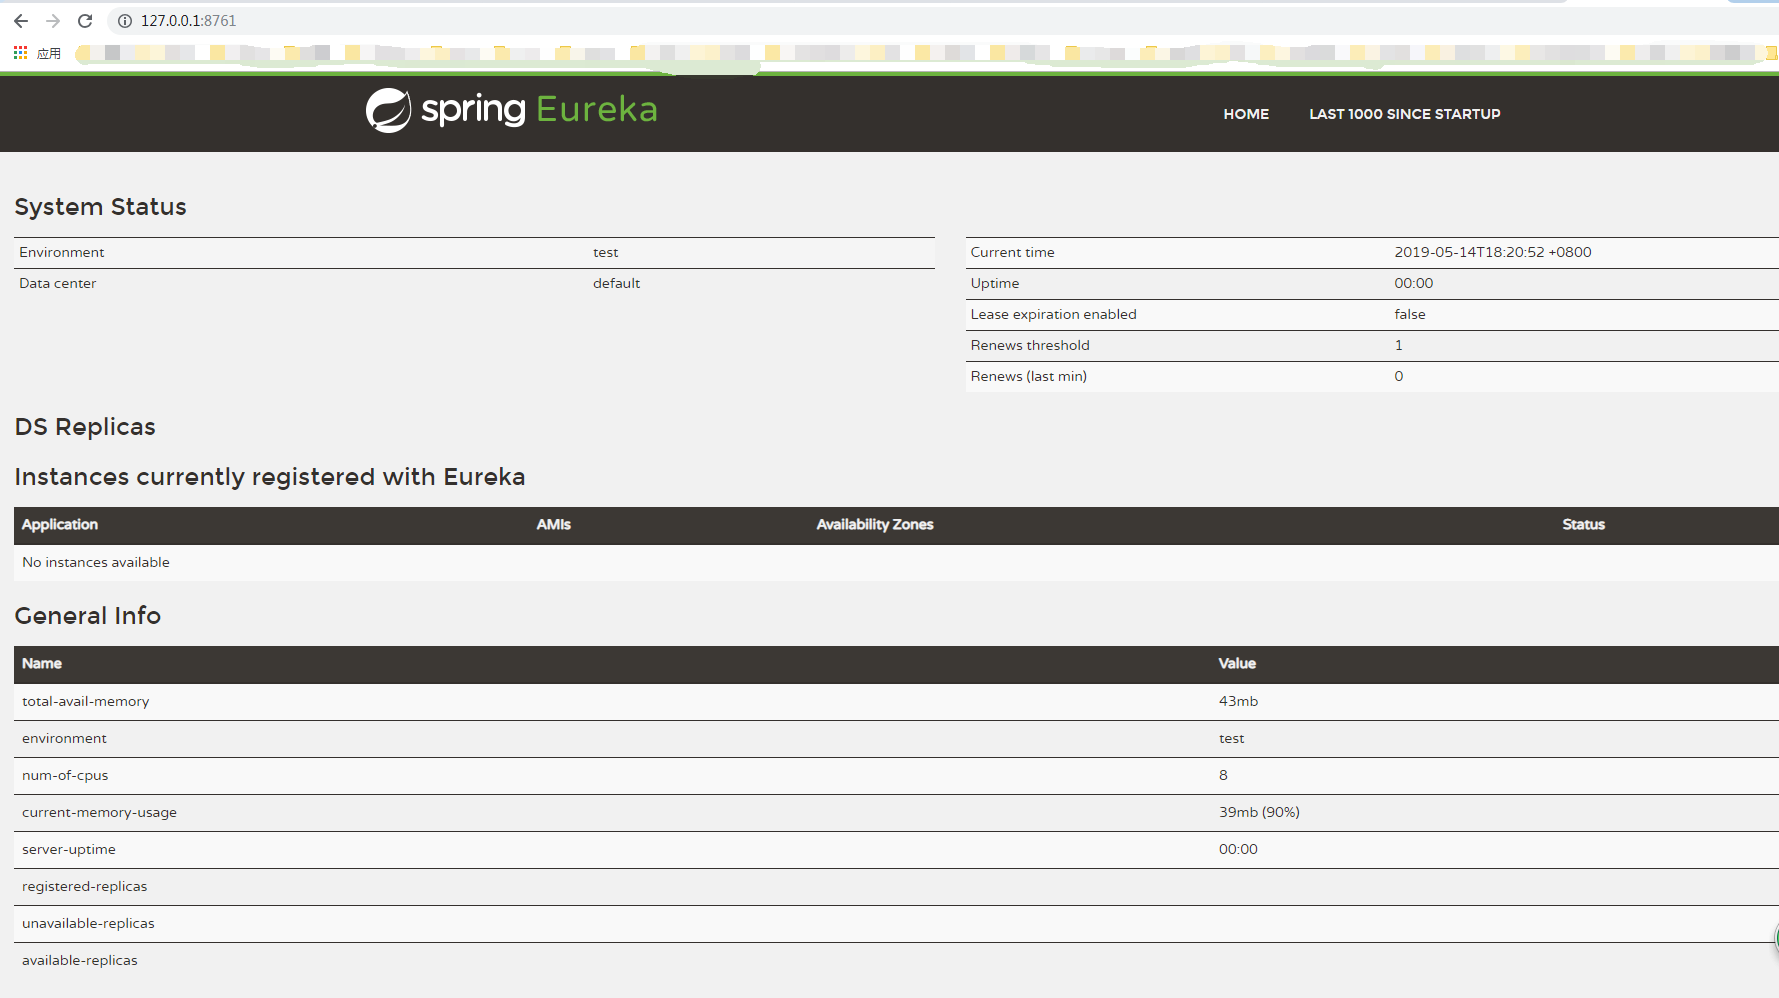
然后 启动服务后,使用 http://ip:8761 访问,ip为服务所在ip。 界面如下:
2. 创建.netcore服务
使用VS2017 创建一个 dotnet core web api程序。
新建项目 -> Visual C# -> .NET Core -> ASP.NET Core Web 应用程序 -> 修改名称和位置等 -> 确定

然后选择 API -> 去掉https -> 确定

然后,使用NuGet工具安装Pivotal.Discovery.ClientCore
VS ->工具 -> NuGet 包管理器 -> 程序包管理控制台 -> 然后再控制台中输入如下命令:
Install-Package Pivotal.Discovery.ClientCore
然后再配置文件appsettings.json中添加如下配置:
{
  "Logging": {
    "LogLevel": {
      "Default": "Warning"
    }
  },
  "AllowedHosts": "*",
  "spring": {
    "application": {
      "name": "WebApp1"
    }
  },
  "eureka": {
    "client": {
      "serviceUrl": "http://127.0.0.1:8761/eureka/",
      "shouldFetchRegistry": false,
      "shouldRegisterWithEureka": true
    },
    "instance": {
      "port": 5000,
      "preferIpAddress": true,
      "instanceId": "localhost"
    }
  }
}
其中 serviceUrl 为 服务注册的地址,根据实际的注册中心地址填写。这里默认都在同一个服务器上。
然后修改Startup.cs文件如下:
using System;
using System.Collections.Generic;
using System.Linq;
using System.Threading.Tasks;
using Microsoft.AspNetCore.Builder;
using Microsoft.AspNetCore.Hosting;
using Microsoft.AspNetCore.Mvc;
using Microsoft.Extensions.Configuration;
using Microsoft.Extensions.DependencyInjection;
using Microsoft.Extensions.Logging;
using Microsoft.Extensions.Options;
using Pivotal.Discovery.Client;

namespace WebApplication1
{
    public class Startup
    {
        public Startup(IConfiguration configuration)
        {
            Configuration = configuration;
        }

        public IConfiguration Configuration { get; }

        // This method gets called by the runtime. Use this method to add services to the container.
        public void ConfigureServices(IServiceCollection services)
        {
            services.AddDiscoveryClient(Configuration);
            services.AddMvc().SetCompatibilityVersion(CompatibilityVersion.Version_2_1);
        }

        // This method gets called by the runtime. Use this method to configure the HTTP request pipeline.
        public void Configure(IApplicationBuilder app, IHostingEnvironment env)
        {
            if (env.IsDevelopment())
            {
                app.UseDeveloperExceptionPage();
            }

            app.UseMvc();
            app.UseDiscoveryClient();
        }
    }
}
加粗的为新添加的代码。
启动服务后,使用 http:127.0.0.1:5000/api/values方位,如果 返回 的值 为 ["value1", "value2"] ,则成功。也可以在注册中心的web页面查看服务是否注册上来。
3.增加 配置文件,进行微服务的端口读取
微服务中默认端口是5000。以后为了方便,使用读取配置文件的方式进行获取端口。
在项目中新建json文件,名称为host.json
然后添加内容如下:
{
  "urls": "http://*:9098"
}
这是端口为9098。
然后修改代码 Program.cs 中的代码如下:
public static IWebHostBuilder CreateWebHostBuilder(string[] args)
{
     var config = new ConfigurationBuilder()
                   .SetBasePath(Directory.GetCurrentDirectory())
                   .AddJsonFile("host.json", optional: true, reloadOnChange: true)
                   .Build();

     return WebHost.CreateDefaultBuilder(args)
                .UseConfiguration(config)
                .UseStartup<Startup>();
}
注意:当修改host.json中的端口的时候,同步修改appsettings.json中 port 信息。
启动项目,监听端口就会变为9098
4.项目发布
右击工程 -> 发布 -> 文件夹 -> 更改发布到的目录 -> 高级 -> 修改如下:

点击保存 -> 点击发布。
把发布后的包直接拷贝到linux下,添加执行权限:
chmod u+x 程序名
然后进行到程序所在目录
./程序名
微服务即可起来。
5. 修改端口
在发布的文件中执行
ll *.json
显示:

然后修改host.json和appsettings.json中的端口,然后重启服务。