Vue总结第五天:vue-router
✿ 更详细的可以看官网: https://router.vuejs.org/zh/guide/
✿ 路由(器)目录:
□ vue中路由作用
□ vue-router基本使用
□ vue-router嵌套路由
□ vue-router参数传递
□ vue-router导航守卫
□ keep-alive
1、vue中路由:
(1)网页发展过程:后端路由阶段(后端渲染)【主要技术:jsp】-> 前后端分离阶段(前端渲染)【主要技术:ajax】-> 单页面富应用阶段(前端路由)【主要技术:vue-router】
(2)详细:https://blog.csdn.net/weixin_45630258/article/details/122145069
2、基本功能使用:
(1)❀使用模块化(创建Vue组件)机制编程:
▷第一步:创建Vue组件(作为路由映射的组件)
▷第二步:项目安装路由插件依赖:npm install vue-router –save
▷第三步:因为是模块化开发,需要导入 Vue 和 VueRouter,要调用Vue.use(VueRouter), 普通开发直接通过js标签的src引入vue-router插件即可
▷第四步:配置路由映射,创建和导出路有实例
▷第五步:挂载路由实例于Vue实例中
▷第六步:使用路由标签<router-link>和<router-view>
(一般还要搭配标签一起使用<router-view></router-view>,路由匹配到的组件将渲染在<router-view>标签所在的位置)
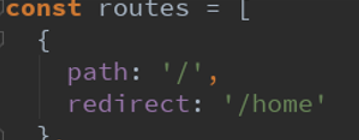
(2)路由的默认路径:
(3)demo展示路由使用:
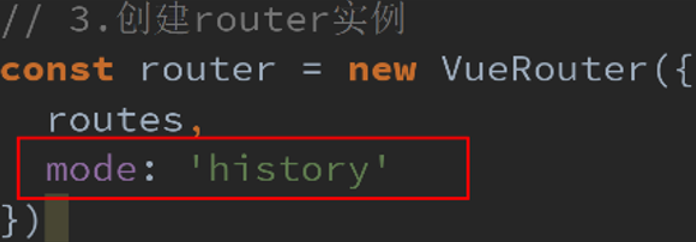
//导入vue-router路由
import VueRouter from "vue-router";
import  Vue from 'vue';
//通过vue的use方法安装路由器
Vue.use(VueRouter);

// import Home from "../components/Home";
// import About from "../components/About";
// import User from "../components/User";
//路由懒加载,通过箭头函数导入组件
const Home = () => import('../components/Home');
const About = () => import('../components/About');
const User = () => import('../components/User');
const HomeNews = () => import('../components/HomeNews');
const HomeMessage = () => import('../components/HomeMessage');
const Profile = () => import('../components/profile');

//路由映射
const routes = [
  {
    path: '',
    //使用重定向属性,定义打开默认为首页
    redirect: '/home'
  },
  {
    path: '/home',
    component: Home,
    meta: {
      title: '首页'
    },
   //使用children属性,映射子路由关系
    children: [
      {
        path: '',
        redirect: 'news'
      },
      {
        path: 'news',
         component: HomeNews,
        meta: {
          title: '新闻'
        }
      },
      {
        path: 'message',
        component: HomeMessage,
        meta: {
          title: '消息'
        }
      }
    ]
  },
  {
    path: '/about',
    component: About,
    meta: {
      title: '关于'
    }
  },
  {
    path: '/user/:userId',
    component: User,
    meta: {
      title: '用户'
    }
  },
  {
    path: '/profile',
    component: Profile,
    meta: {
      title: '档案'
    }
  }
]
//创建路由对象
const router = new VueRouter({
  //routes属性(注意属性的拼写是routes,不是routers):映射关系,配置路由和组件的映射关系
  routes,
  //修改路径url,默认是hash值(会带上#)
  mode: 'history'
})

//导出路由对象
export default router
(4)修改路由url:
① URL的hash (默认方式)
② HTML5的history:
(5)router-link 标签的属性:
① to:用于指定跳转的路径,例如:<router-link to="/about">关于</router-link>
② tag:渲染成什么组件,例如:<router-link to="/home" tag="button">
③ replace:不会留下history记录, 所以指定replace的情况下, 后退键返回不能返回到上一个页面中,例如:<router-link to="/about" replace>关于</router-link>
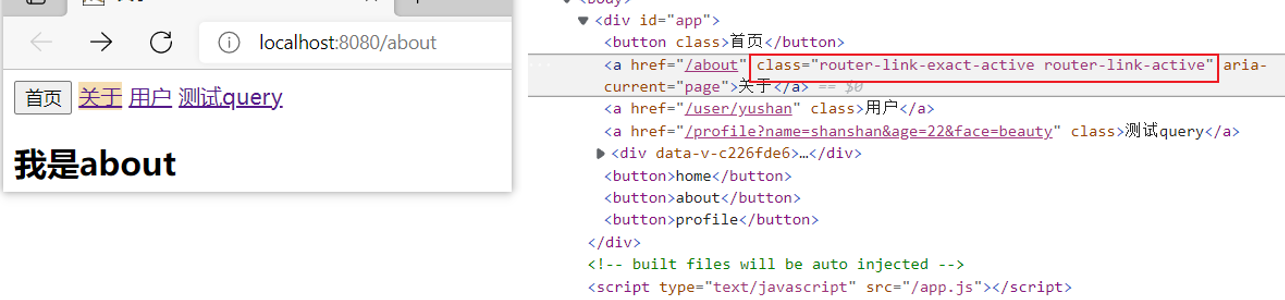
④ active-class:设置 链接激活时使用的 CSS 类名(不过咱一般使用默认的类属性值:.router-link-exact-active, .router-link-active)
(6)路由代码跳转:除了使用router-link 标签,也可以通过监听事件,事件指向自定义的方法,在方法内:全局路由对象添加路径this.$router.push('/home');
3、动态路由(也是一种路由的参数传递方式):
4、Vue插件挂载到Vue实例后,相当于在Vue实例范围内都可以使用:
✿ html拿到插件对象: $插件对象
✿ js拿到插件对象: this. $插件对象
5、懒加载:
(1)什么是懒加载:
路由懒加载的主要作用就是将路由对应的组件打包成一个个的js代码块.
只有在这个路由被访问到的时候, 才加载对应的组件.
(2)es6懒加载方式(箭头函数):
const Home = () => import('../components/Home.vue')
6、路由嵌套(子路由):
■ VueRouter的参数中使用 children 配置子路由:
//路由映射
const routes = [
  {
    path: '',
    //使用重定向属性,定义打开默认为首页
    redirect: '/home'
  },
  {
    path: '/home',
    component: Home,
    meta: {
      title: '首页'
    },
    children: [
      {
        path: '',
        redirect: 'news'
      },
      {
        path: 'news',
         component: HomeNews,
        meta: {
          title: '新闻'
        }
      },
      {
        path: 'message',
        component: HomeMessage,
        meta: {
          title: '消息'
        }
      }
    ]
  }
]
7、路由传递数据【params、query】:
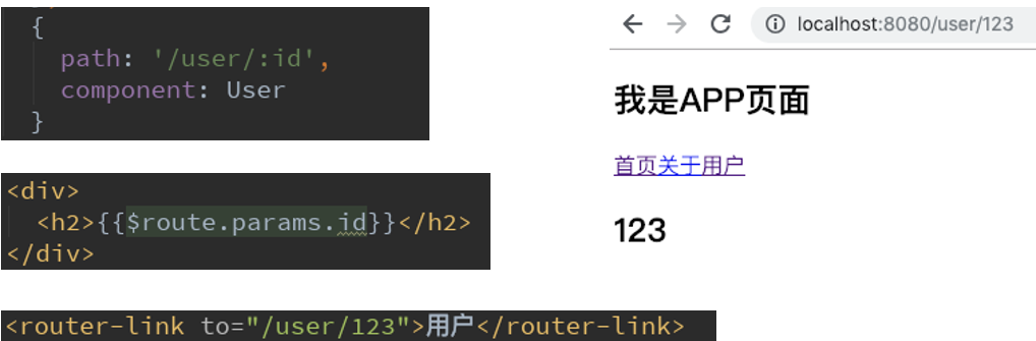
(1)方式一:使用params(动态路由):
▷配置路由格式: /router/:id,例如:
▷参数值会被设置到 this.$route.params,可以在对应的组件内使用。

■ 拼接动态路由变量的字符串:
<!-- 拼接字符串(to的属性值)-->
<router-link :to="/user/+userId" >用户</router-link>

data() {
  return{
    //实现动态路由的效果(拼接路径)
    userId: 'yushan'
  }
},

(2)方式二:使用query:
▷配置路由格式: /router, 也就是普通配置
▷对象中使用query的key作为传递方式
▷参数会被设置到this.$route.query、this.$route.params

① 使用使用 router-link的to 属性:
<router-link
  :to="{
     path: '/profile',
     query: {name: 'shanshan', age: '22', face: 'beauty'}
  }"
>测试query</router-link>

② 监听事件,事件指向自定义的方法,在方法内:全局路由对象this.$router添加对象(参数有path、query):
methods: {
  profileClick(){
    this.$router.push(
      {
        path: '/profile',
        query: {
          name: 'yu',
          love: 'money'
        }
      }
    );
  }
}

8、导航守卫:
(1) 导航守卫作用(例如:修改网页的标题):
● 首先,在钩子当中定义一些标题, 可以利用meta来定义
● 其次, 利用导航守卫,修改我们的标题.
(2)全局前置守卫:
① 导航钩子的三个参数解析:
● to: 即将要进入的目标的路由对象.
● from: 当前导航即将要离开的路由对象.
● next: 调用该方法后, 才能进入下一个钩子.

(3)导航守卫补充:
■ 补充一:如果是后置钩子, 也就是afterEach, 不需要主动调用next()函数.
■ 补充二: 上面我们使用的导航守卫, 被称之为全局守卫.
□ 路由独享的守卫.
□ 组件内的守卫.