硬件环境
本文适用的硬件环境如下
Linux版本:CentOS release 6.7 (Final)
Redis版本:3.2.1
Redis已经成功安装,安装路径为/home/idata/yangfan/local/redis-3.2.1。
我们要在单台机器上搭建Redis集群,方式是通过不同的TCP端口启动多个实例,然后组成集群。
1、启动Redis多个实例
我们在Redis安装目录下创建目录cluster,并编写7000.conf~7005.conf 6个配置文件,这6个配置文件用来启动6个实例,后面将使用这6个实例组成集群。
以7000.conf为例,配置文件需要填写如下几项。

port  7000                                        //端口7000,7002,7003
bind 10.93.84.53                                     //默认ip为127.0.0.1 需要改为其他节点机器可访问的ip 否则创建集群时无法访问对应的端口,无法创建集群
daemonize    yes                               //redis后台运行
pidfile  ./redis_7000.pid          //pidfile文件对应7000,7001,7002
cluster-enabled  yes                           //开启集群  把注释#去掉
cluster-config-file  nodes_7000.conf   //集群的配置  配置文件首次启动自动生成 7000,7001,7002
cluster-node-timeout  15000                //请求超时  默认15秒,可自行设置
appendonly  yes                           //aof日志开启  有需要就开启,它会每次写操作都记录一条日志
分别启动6个实例
./bin/redis-server cluster/conf/7000.conf
./bin/redis-server cluster/conf/7001.conf
./bin/redis-server cluster/conf/7002.conf
./bin/redis-server cluster/conf/7003.conf
./bin/redis-server cluster/conf/7004.conf
./bin/redis-server cluster/conf/7005.conf
启动成功后,看一下进程
# ps -ef | grep redis | grep cluster
idata    15711 22329  0 18:40 pts/10   00:00:00 ./bin/redis-server 10.93.84.53:7000 [cluster]
idata    15740 22329  0 18:40 pts/10   00:00:00 ./bin/redis-server 10.93.84.53:7001 [cluster]
idata    15810 22329  0 18:40 pts/10   00:00:00 ./bin/redis-server 10.93.84.53:7002 [cluster]
idata    17023 22329  0 18:42 pts/10   00:00:00 ./bin/redis-server 10.93.84.53:7003 [cluster]
idata    17030 22329  0 18:42 pts/10   00:00:00 ./bin/redis-server 10.93.84.53:7004 [cluster]
idata    17035 22329  0 18:42 pts/10   00:00:00 ./bin/redis-server 10.93.84.53:7005 [cluster]
至此,ip=10.93.84.53机器上创建了6个实例,端口号为port=7000~7005。
Redis 3.0以上的集群方式是通过Redis安装目录下的bin/redis-trib.rb脚本搭建。
这个脚本是用Ruby编写的,尝试运行,如果打印如下,你可以跳过本文的第二部分。
idata@qa-f1502-xg01.xg01:~/yangfan/local/redis-3.2.1/bin$ ruby redis-trib.rb
Usage: redis-trib <command> <options> <arguments ...>

  create          host1:port1 ... hostN:portN
                  --replicas <arg>
  check           host:port
  info            host:port
  fix             host:port
                  --timeout <arg>
  reshard         host:port
                  --from <arg>
                  --to <arg>
                  --slots <arg>
                  --yes
                  --timeout <arg>
                  --pipeline <arg>
  rebalance       host:port
                  --weight <arg>
                  --auto-weights
                  --use-empty-masters
                  --timeout <arg>
                  --simulate
                  --pipeline <arg>
                  --threshold <arg>
  add-node        new_host:new_port existing_host:existing_port
                  --slave
                  --master-id <arg>
  del-node        host:port node_id
  set-timeout     host:port milliseconds
  call            host:port command arg arg .. arg
  import          host:port
                  --from <arg>
                  --copy
                  --replace
  help            (show this help)

For check, fix, reshard, del-node, set-timeout you can specify the host and port of any working node in the cluster.
如果执行失败,那么不幸的是你的机器没有Ruby运行的环境,那么你需要安装Ruby。进入第二部分。
2、安装ruby
下面的过程都是在root权限下完成的。
1)yum安装ruby和依赖的包。
# yum -y install ruby ruby-devel rubygems rpm-build
一般来说,这一步是能正常完成的。
2)使用gem这个命令来安装redis接口
gem是ruby的一个工具包
# gem install redis
安装过程出错

郁闷,看样子要升级ruby版本。
3)升级Ruby的版本
安装rvm,我不知道这是个什么东西,但是感觉像是Ruby的一个包管理器。
# curl -L get.rvm.io | bash -s stable
WTF,又出问题了
气急败坏的照着他说的做
# gpg2 --recv-keys 409B6B1796C275462A1703113804BB82D39DC0E3
gpg: keyring `/root/.gnupg/secring.gpg' created
gpg: requesting key D39DC0E3 from hkp server keys.gnupg.net
gpg: /root/.gnupg/trustdb.gpg: trustdb created
gpg: key D39DC0E3: public key "Michal Papis (RVM signing) <mpapis@gmail.com>" imported
gpg: no ultimately trusted keys found
gpg: Total number processed: 1
gpg:               imported: 1  (RSA: 1)
然后重新下载rvm安装,成功了。
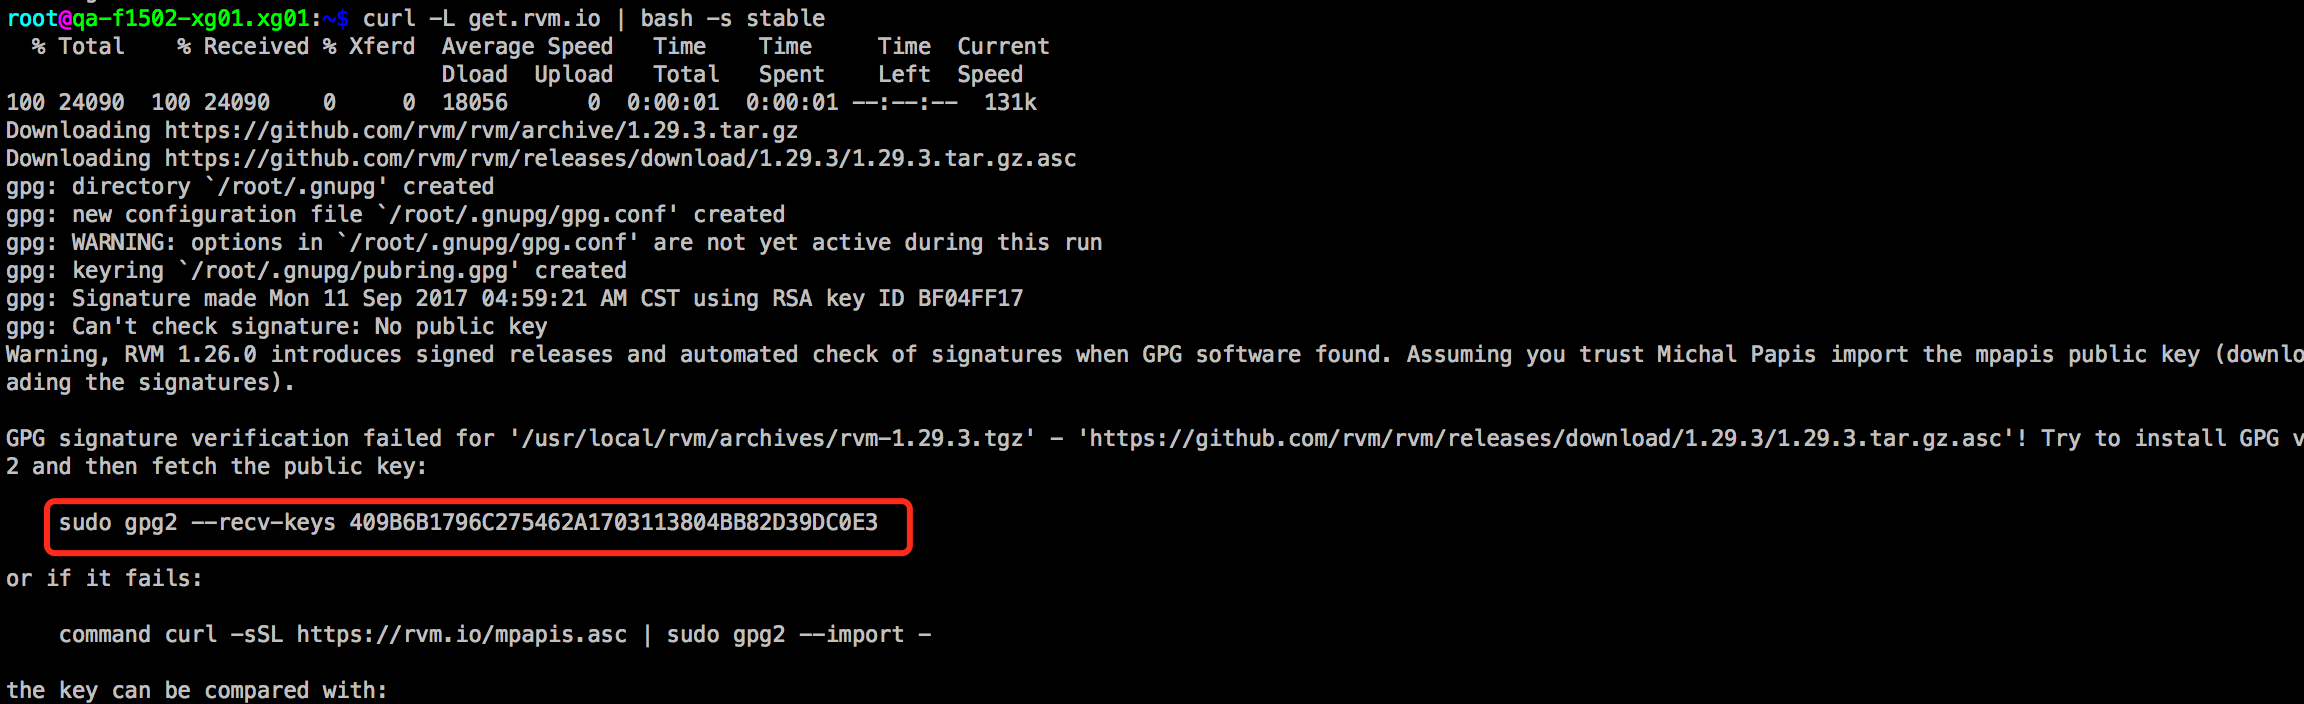
# curl -L get.rvm.io | bash -s stable
  % Total    % Received % Xferd  Average Speed   Time    Time     Time  Current
                                 Dload  Upload   Total   Spent    Left  Speed
100 24090  100 24090    0     0  18023      0  0:00:01  0:00:01 --:--:--  129k
Downloading https://github.com/rvm/rvm/archive/1.29.3.tar.gz
Downloading https://github.com/rvm/rvm/releases/download/1.29.3/1.29.3.tar.gz.asc
gpg: Signature made Mon 11 Sep 2017 04:59:21 AM CST using RSA key ID BF04FF17
gpg: Good signature from "Michal Papis (RVM signing) <mpapis@gmail.com>"
gpg:                 aka "Michal Papis <michal.papis@toptal.com>"
gpg:                 aka "[jpeg image of size 5015]"
gpg: WARNING: This key is not certified with a trusted signature!
gpg:          There is no indication that the signature belongs to the owner.
Primary key fingerprint: 409B 6B17 96C2 7546 2A17  0311 3804 BB82 D39D C0E3
     Subkey fingerprint: 62C9 E5F4 DA30 0D94 AC36  166B E206 C29F BF04 FF17
GPG verified '/usr/local/rvm/archives/rvm-1.29.3.tgz'
Creating group 'rvm'

Installing RVM to /usr/local/rvm/
Installation of RVM in /usr/local/rvm/ is almost complete:

  * First you need to add all users that will be using rvm to 'rvm' group,
    and logout - login again, anyone using rvm will be operating with `umask u=rwx,g=rwx,o=rx`.

  * To start using RVM you need to run `source /etc/profile.d/rvm.sh`
    in all your open shell windows, in rare cases you need to reopen all shell windows.
接着,source环境,让rvm可用。
# source /usr/local/rvm/scripts/rvm
查看Ruby可用版本
# rvm list known
# MRI Rubies
[ruby-]1.8.6[-p420]
[ruby-]1.8.7[-head] # security released on head
[ruby-]1.9.1[-p431]
[ruby-]1.9.2[-p330]
[ruby-]1.9.3[-p551]
[ruby-]2.0.0[-p648]
[ruby-]2.1[.10]
[ruby-]2.2[.7]
[ruby-]2.3[.4]
[ruby-]2.4[.1]
可以看到最新的版本是2.4.1,那么我们装最新的吧。
# rvm install 2.4.1
Searching for binary rubies, this might take some time.
No binary rubies available for: centos/6/x86_64/ruby-2.4.1.
Continuing with compilation. Please read 'rvm help mount' to get more information on binary rubies.
Checking requirements for centos.
Installing requirements for centos.
Installing required packages: libffi-devel, libyaml-devel......
Requirements installation successful.
Installing Ruby from source to: /usr/local/rvm/rubies/ruby-2.4.1, this may take a while depending on your cpu(s)...
ruby-2.4.1 - #downloading ruby-2.4.1, this may take a while depending on your connection...

curl: (35) SSL connect error
There was an error(35).
Checking fallback: https://ftp.ruby-lang.org/pub/ruby/2.4/ruby-2.4.1.tar.bz2
  % Total    % Received % Xferd  Average Speed   Time    Time     Time  Current
                                 Dload  Upload   Total   Spent    Left  Speed
100 11.9M  100 11.9M    0     0  1753k      0  0:00:07  0:00:07 --:--:-- 2919k
ruby-2.4.1 - #extracting ruby-2.4.1 to /usr/local/rvm/src/ruby-2.4.1....
ruby-2.4.1 - #applying patch /usr/local/rvm/patches/ruby/2.4.1/random_c_using_NR_prefix.patch.
ruby-2.4.1 - #configuring..................................................................
ruby-2.4.1 - #post-configuration..
ruby-2.4.1 - #compiling..............................................................................................
ruby-2.4.1 - #installing.........................
ruby-2.4.1 - #making binaries executable..
ruby-2.4.1 - #downloading rubygems-2.6.14
  % Total    % Received % Xferd  Average Speed   Time    Time     Time  Current
                                 Dload  Upload   Total   Spent    Left  Speed
100  751k  100  751k    0     0   443k      0  0:00:01  0:00:01 --:--:--  628k
No checksum for downloaded archive, recording checksum in user configuration.
ruby-2.4.1 - #extracting rubygems-2.6.14....
ruby-2.4.1 - #removing old rubygems.........
ruby-2.4.1 - #installing rubygems-2.6.14...........................
ruby-2.4.1 - #gemset created /usr/local/rvm/gems/ruby-2.4.1@global
ruby-2.4.1 - #importing gemset /usr/local/rvm/gemsets/global.gems...............................................
ruby-2.4.1 - #generating global wrappers........
ruby-2.4.1 - #gemset created /usr/local/rvm/gems/ruby-2.4.1
ruby-2.4.1 - #importing gemsetfile /usr/local/rvm/gemsets/default.gems evaluated to empty gem list
ruby-2.4.1 - #generating default wrappers........
ruby-2.4.1 - #adjusting #shebangs for (gem irb erb ri rdoc testrb rake).
Install of ruby-2.4.1 - #complete
Ruby was built without documentation, to build it run: rvm docs generate-ri
至此,我们升级了Ruby的版本。
4)安装gem redis接口,成功!
gem install redis
Fetching: redis-4.0.1.gem (100%)
Successfully installed redis-4.0.1
Parsing documentation for redis-4.0.1
Installing ri documentation for redis-4.0.1
Done installing documentation for redis after 0 seconds
1 gem installed
5)安装rubygems,成功!
# yum install -y rubygems
Loaded plugins: fastestmirror, security
Setting up Install Process
Loading mirror speeds from cached hostfile
base                                                                                                                                                   | 3.7 kB     00:00
didi_jenkins_enable                                                                                                                                    | 1.5 kB     00:00
didi_op_toa_enable                                                                                                                                     | 1.5 kB     00:00
didi_txjenkins_enable                                                                                                                                  | 1.5 kB     00:00
didi_update                                                                                                                                            | 1.5 kB     00:00
epel                                                                                                                                                   | 4.3 kB     00:00
extras                                                                                                                                                 | 3.4 kB     00:00
tmprepo                                                                                                                                                | 1.5 kB     00:00
updates                                                                                                                                                | 3.4 kB     00:00
Package rubygems-1.3.7-5.el6.noarch already installed and latest version
Nothing to do
至此,我们的Ruby和运行redis-trib.rb需要的环境安装完成了。
3、Redis集群搭建
有了Ruby执行环境,可以开始将之前的6个实例组建成集群了。
命令方式:
ruby ./bin/redis-trib.rb create --replicas 1 10.93.84.53:7000 10.93.84.53:7001 10.93.84.53:7002 10.93.84.53:7003 10.93.84.53:7004 10.93.84.53:7005
--replicas 1表示为集群的master节点创建1个副本。那么6个实例里,有三个master,有三个是slave。

后面跟上6个实例就好了,形式就是ip:port
执行情况:
# ruby ./bin/redis-trib.rb create --replicas 1 10.93.84.53:7000 10.93.84.53:7001 10.93.84.53:7002 10.93.84.53:7003 10.93.84.53:7004 10.93.84.53:7005
>>> Creating cluster
>>> Performing hash slots allocation on 6 nodes...
Using 3 masters:
10.93.84.53:7000
10.93.84.53:7001
10.93.84.53:7002
Adding replica 10.93.84.53:7003 to 10.93.84.53:7000
Adding replica 10.93.84.53:7004 to 10.93.84.53:7001
Adding replica 10.93.84.53:7005 to 10.93.84.53:7002
M: 6346ae8c7af7949658619fcf4021cc7aca454819 10.93.84.53:7000
   slots:0-5460 (5461 slots) master
M: 5ac973bceab0d486c497345fe884ff54d1bb225a 10.93.84.53:7001
   slots:5461-10922 (5462 slots) master
M: cc46a4a1c0ec3f621b6b5405c6c10b7cffe73932 10.93.84.53:7002
   slots:10923-16383 (5461 slots) master
S: 92f62ec93a0550d962f81213ca7e9b3c9c996afd 10.93.84.53:7003
   replicates 6346ae8c7af7949658619fcf4021cc7aca454819
S: 942c9f97dc68198c39f425d13df0d8e3c40c5a58 10.93.84.53:7004
   replicates 5ac973bceab0d486c497345fe884ff54d1bb225a
S: a92a81532b63652bbd862be6f19a9bd8832e5e05 10.93.84.53:7005
   replicates cc46a4a1c0ec3f621b6b5405c6c10b7cffe73932
Can I set the above configuration? (type 'yes' to accept): yes
>>> Nodes configuration updated
>>> Assign a different config epoch to each node
>>> Sending CLUSTER MEET messages to join the cluster
Waiting for the cluster to join...
>>> Performing Cluster Check (using node 10.93.84.53:7000)
M: 6346ae8c7af7949658619fcf4021cc7aca454819 10.93.84.53:7000
   slots:0-5460 (5461 slots) master
   1 additional replica(s)
S: a92a81532b63652bbd862be6f19a9bd8832e5e05 10.93.84.53:7005
   slots: (0 slots) slave
   replicates cc46a4a1c0ec3f621b6b5405c6c10b7cffe73932
M: 5ac973bceab0d486c497345fe884ff54d1bb225a 10.93.84.53:7001
   slots:5461-10922 (5462 slots) master
   1 additional replica(s)
S: 942c9f97dc68198c39f425d13df0d8e3c40c5a58 10.93.84.53:7004
   slots: (0 slots) slave
   replicates 5ac973bceab0d486c497345fe884ff54d1bb225a
S: 92f62ec93a0550d962f81213ca7e9b3c9c996afd 10.93.84.53:7003
   slots: (0 slots) slave
   replicates 6346ae8c7af7949658619fcf4021cc7aca454819
M: cc46a4a1c0ec3f621b6b5405c6c10b7cffe73932 10.93.84.53:7002
   slots:10923-16383 (5461 slots) master
   1 additional replica(s)
[OK] All nodes agree about slots configuration.
>>> Check for open slots...
>>> Check slots coverage...
[OK] All 16384 slots covered.
可以看到16384个slot都已经创建完成,并且建立了3个master和对应的replica:
Using 3 masters:
10.93.84.53:7000
10.93.84.53:7001
10.93.84.53:7002
Adding replica 10.93.84.53:7003 to 10.93.84.53:7000
Adding replica 10.93.84.53:7004 to 10.93.84.53:7001
Adding replica 10.93.84.53:7005 to 10.93.84.53:7002

。。。
[OK] All 16384 slots covered.
4、验证集群状态
登录集群客户端,-c标识以集群方式登录
./bin/redis-cli -h 10.93.84.53 -p 7000 -c
查看集群状态
10.93.84.53:7000> cluster info
cluster_state:ok
cluster_slots_assigned:16384
cluster_slots_ok:16384
cluster_slots_pfail:0
cluster_slots_fail:0
cluster_known_nodes:6
cluster_size:3
cluster_current_epoch:8
cluster_my_epoch:8
cluster_stats_messages_sent:215
cluster_stats_messages_received:215
10.93.84.53:7000> cluster nodes
942c9f97dc68198c39f425d13df0d8e3c40c5a58 10.93.84.53:7004 slave 5ac973bceab0d486c497345fe884ff54d1bb225a 0 1507806791940 5 connected
5ac973bceab0d486c497345fe884ff54d1bb225a 10.93.84.53:7001 master - 0 1507806788937 2 connected 5461-10922
a92a81532b63652bbd862be6f19a9bd8832e5e05 10.93.84.53:7005 slave cc46a4a1c0ec3f621b6b5405c6c10b7cffe73932 0 1507806790939 6 connected
cc46a4a1c0ec3f621b6b5405c6c10b7cffe73932 10.93.84.53:7002 master - 0 1507806789937 3 connected 10923-16383
6346ae8c7af7949658619fcf4021cc7aca454819 10.93.84.53:7000 myself,slave 92f62ec93a0550d962f81213ca7e9b3c9c996afd 0 0 1 connected
92f62ec93a0550d962f81213ca7e9b3c9c996afd 10.93.84.53:7003 master - 0 1507806792941 8 connected 0-5460
一些原理
redis cluster在设计的时候,就考虑到了去中心化,去中间件,也就是说,集群中的每个节点都是平等的关系,都是对等的,每个节点都保存各自的数据和整个集群的状态。每个节点都和其他所有节点连接,而且这些连接保持活跃,这样就保证了我们只需要连接集群中的任意一个节点,就可以获取到其他节点的数据。
Redis集群没有并使用传统的一致性哈希来分配数据,而是采用另外一种叫做哈希槽(hash slot)的方式来分配的,一致性哈希对向集群中新增和删除实例的支持很好,但是哈希槽对向集群新增实例或者删除实例的话,需要额外的操作,需要手动的将slot重新平均的分配到新集群的实例中。
redis cluster 默认分配了 16384 个slot,当我们set一个key时,会用CRC16算法来取模得到所属的slot,然后将这个key分到哈希槽区间的节点上,具体算法就是:CRC16(key)%16384。
Redis 集群会把数据存在一个master节点,然后在这个master和其对应的salve之间进行数据同步。当读取数据时,也根据一致性哈希算法到对应的master节点获取数据。只有当一个master 挂掉之后,才会启动一个对应的salve节点,充当master。
需要注意的是:必须要3个或以上的主节点,否则在创建集群时会失败,并且当存活的主节点数小于总节点数的一半时,整个集群就无法提供服务了。
5、python集群客户端
以Python Redis Cluster集群的使用方式为例,简单说明一下如何使用,让大家更直观的了解一下Redis集群。
Redis集群方式与单机方式在python客户端实现上是有很大不同的。
- 包不同,单机依赖包redis-py,集群依赖包redis-py-cluster
- 对同时操作多个keys的命令(mset, mget, sinter, ...),redis-py-cluster重写StriceRedis(单机Redis操作类)了其方法,而这些方法丧失了命令的原子性。
- Pipelines在集群中的表现也不同了。在单机版中,pipeline是批量batch提交redis批量执行的,但是在集群版中,是one by one提交redis执行完成直接返回,在客户端重新组合成一个列表返回。所以集群中只是看起来像是批量执行。
- 一些命令是会Fanout(扇形)发送到集群中各个shard中执行并汇总的,如ping,keys等。一些命令是不提倡使用(blocked),如watch,unwatch等。
我只是简单翻译了官网的一些内容,相信信息大家可以参考:
http://redis-py-cluster.readthedocs.io/en/master/commands.html
http://redis-py-cluster.readthedocs.io/en/master/limitations-and-differences.html
1)安装redis-py-cluster
简单的通过pip安装redis-py-cluster包。如果安装失败,可以自助下载安装。
# pip install redis-py-cluster
Collecting redis-py-cluster
  Downloading redis_py_cluster-1.3.4-py2.py3-none-any.whl
Requirement already satisfied: redis>=2.10.2 in /home/idata/pythonEnv/idataPlatEnv/lib/python2.7/site-packages/redis-2.10.5-py2.7.egg (from redis-py-cluster)
Installing collected packages: redis-py-cluster
Successfully installed redis-py-cluster-1.3.4
2)一个简单的demo
封装了RedisCluster操作类,实现了一些方法,其实就是做了一层封装。
封装的意义是:我喜欢对这些封装增加一些装饰器,控制异常和重试等逻辑。
# -*- coding:utf-8 -*-

from rediscluster import StrictRedisCluster

redis_nodes = [
        {'host': '10.93.84.53', 'port': 7000},
        {'host': '10.93.84.53', 'port': 7001},
        {'host': '10.93.84.53', 'port': 7002},
        {'host': '10.93.84.53', 'port': 7003},
        {'host': '10.93.84.53', 'port': 7004},
        {'host': '10.93.84.53', 'port': 7005},
    ]


class RedisCluster(object):

    def __init__(self, redis_nodes):
        self.cluster = StrictRedisCluster(startup_nodes=redis_nodes)

    # 无差别的方法
    def set(self, name, value, ex=None, px=None, nx=False, xx=False):
        return self.cluster.set(name, value, ex, px, nx, xx)

    # 无差别的方法
    def get(self, name):
        return self.cluster.get(name)

    # 扇形发送的命令
    def cluster_info(self):
        return self.cluster.cluster_info()

    # 重写StrictRedis的方法
    def mset(self, *args, **kwargs):
        return self.cluster.mset(args, kwargs)

    # 重写StrictRedis的方法
    def mget(self, keys, *args):
        return self.cluster.mget(keys, args)


cluster = RedisCluster(redis_nodes)
cluster.cluster_info()