目录
使用IDEA进行push
这里我创建了一个简单的工程并添加了一个模块,测试push这个模块
GitHub创建了一个新的远程库(今天发现的bug,如果push的文件和远程库已有的文件不一致,就不能视为更新版本)
Git的其他操作如clone、pull、解决冲突等操作在IDEA中都很可视化,很方便,这里我就不演示其他的操作了。
push的操作步骤:
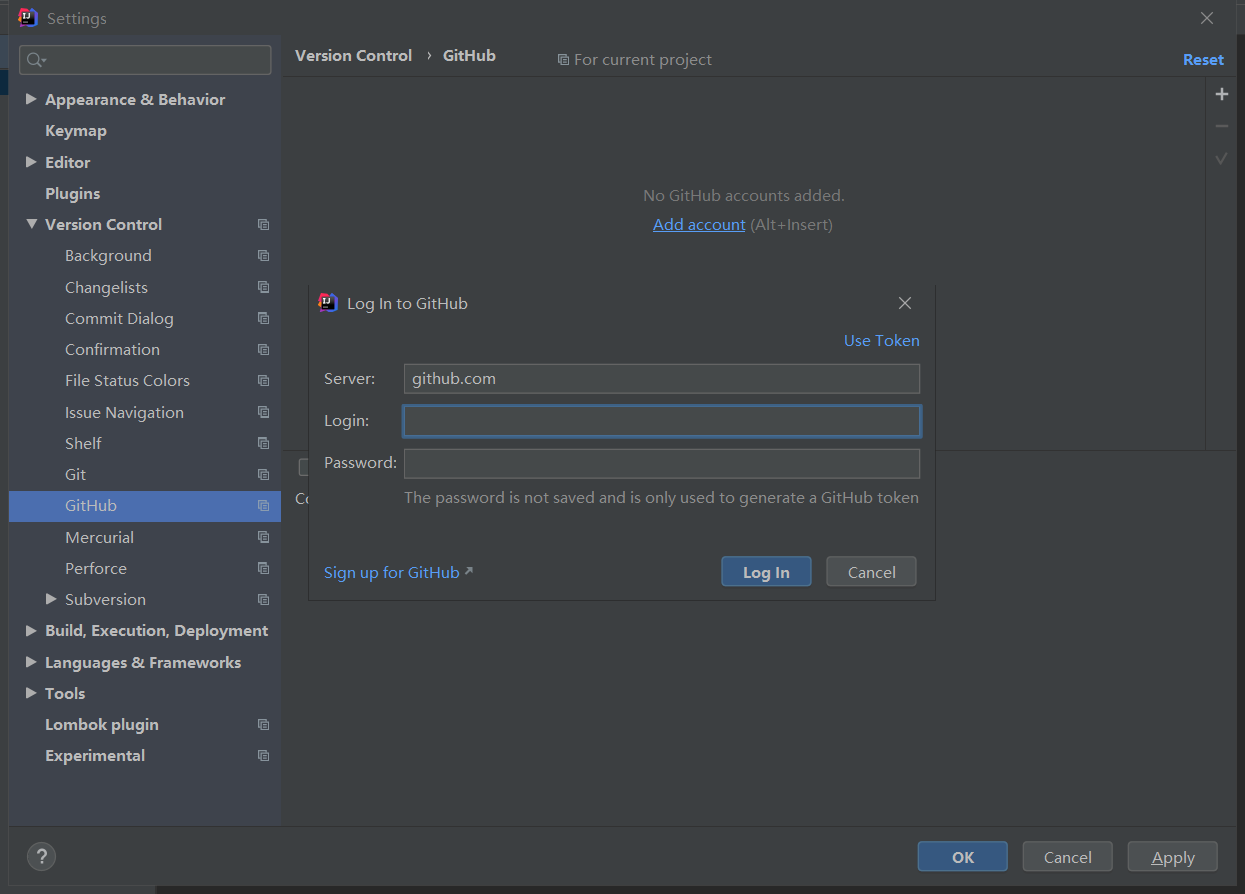
1、IDEA(或其他环境)中登陆GitHub
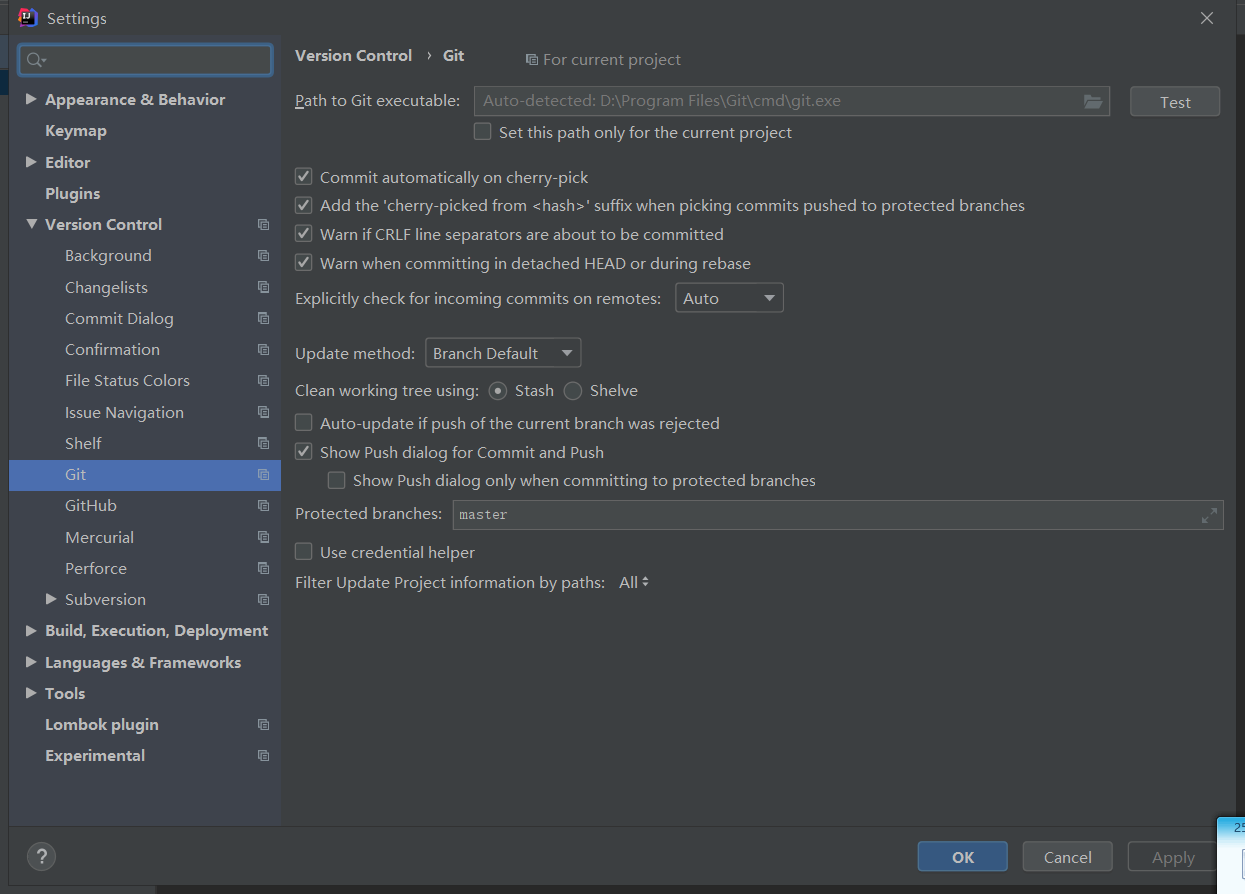
2、配置本地Git(一般会自动配置)
3、在IDEA中创建Git本地库
有必要说明的是,IDEA虽然集成了Git,但是操作步骤还是和Git输入命令大同小异。
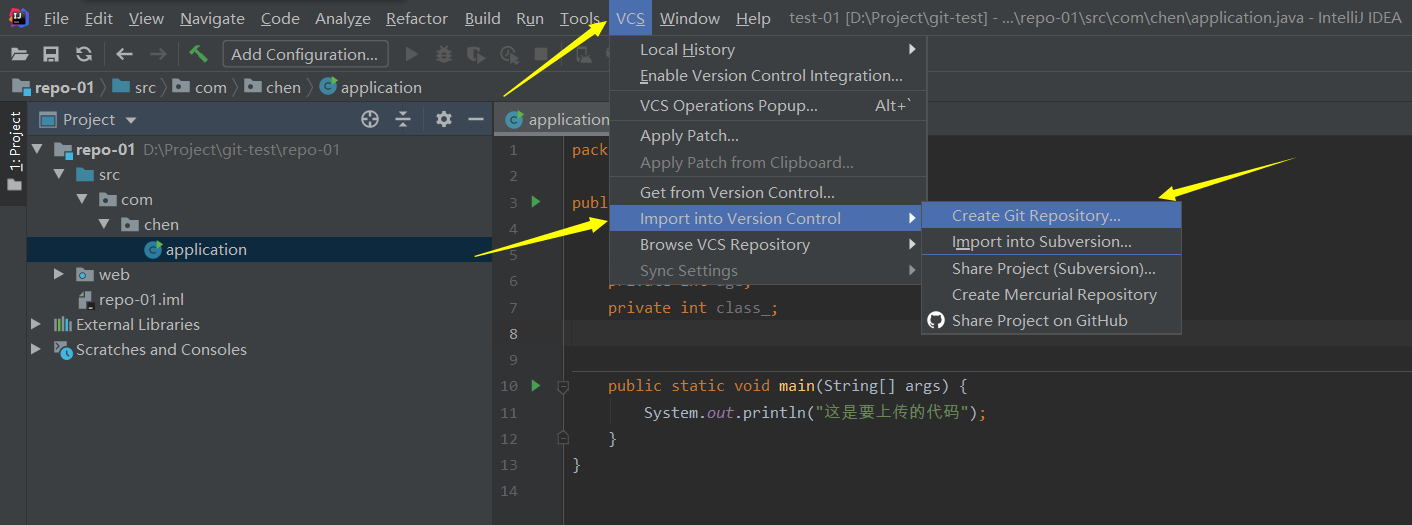
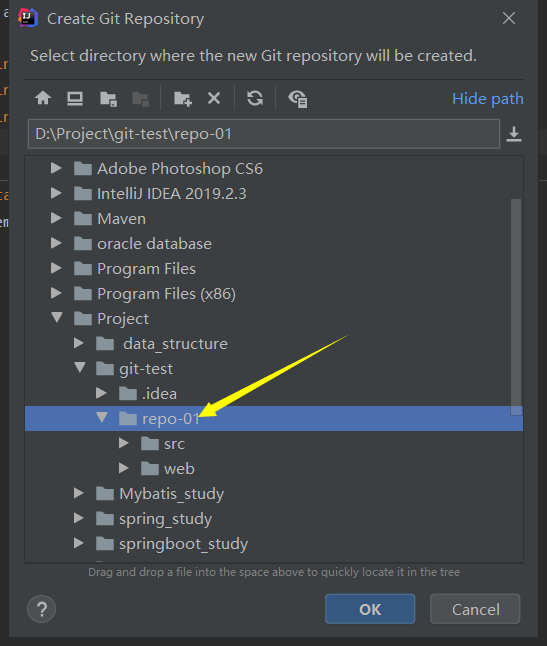
选择我们需要push的工程(或模块)的路径,在这里选择创建Git本地库,git init
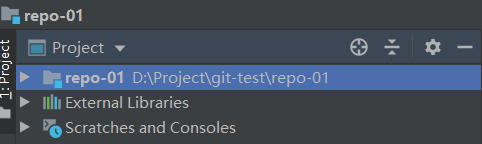
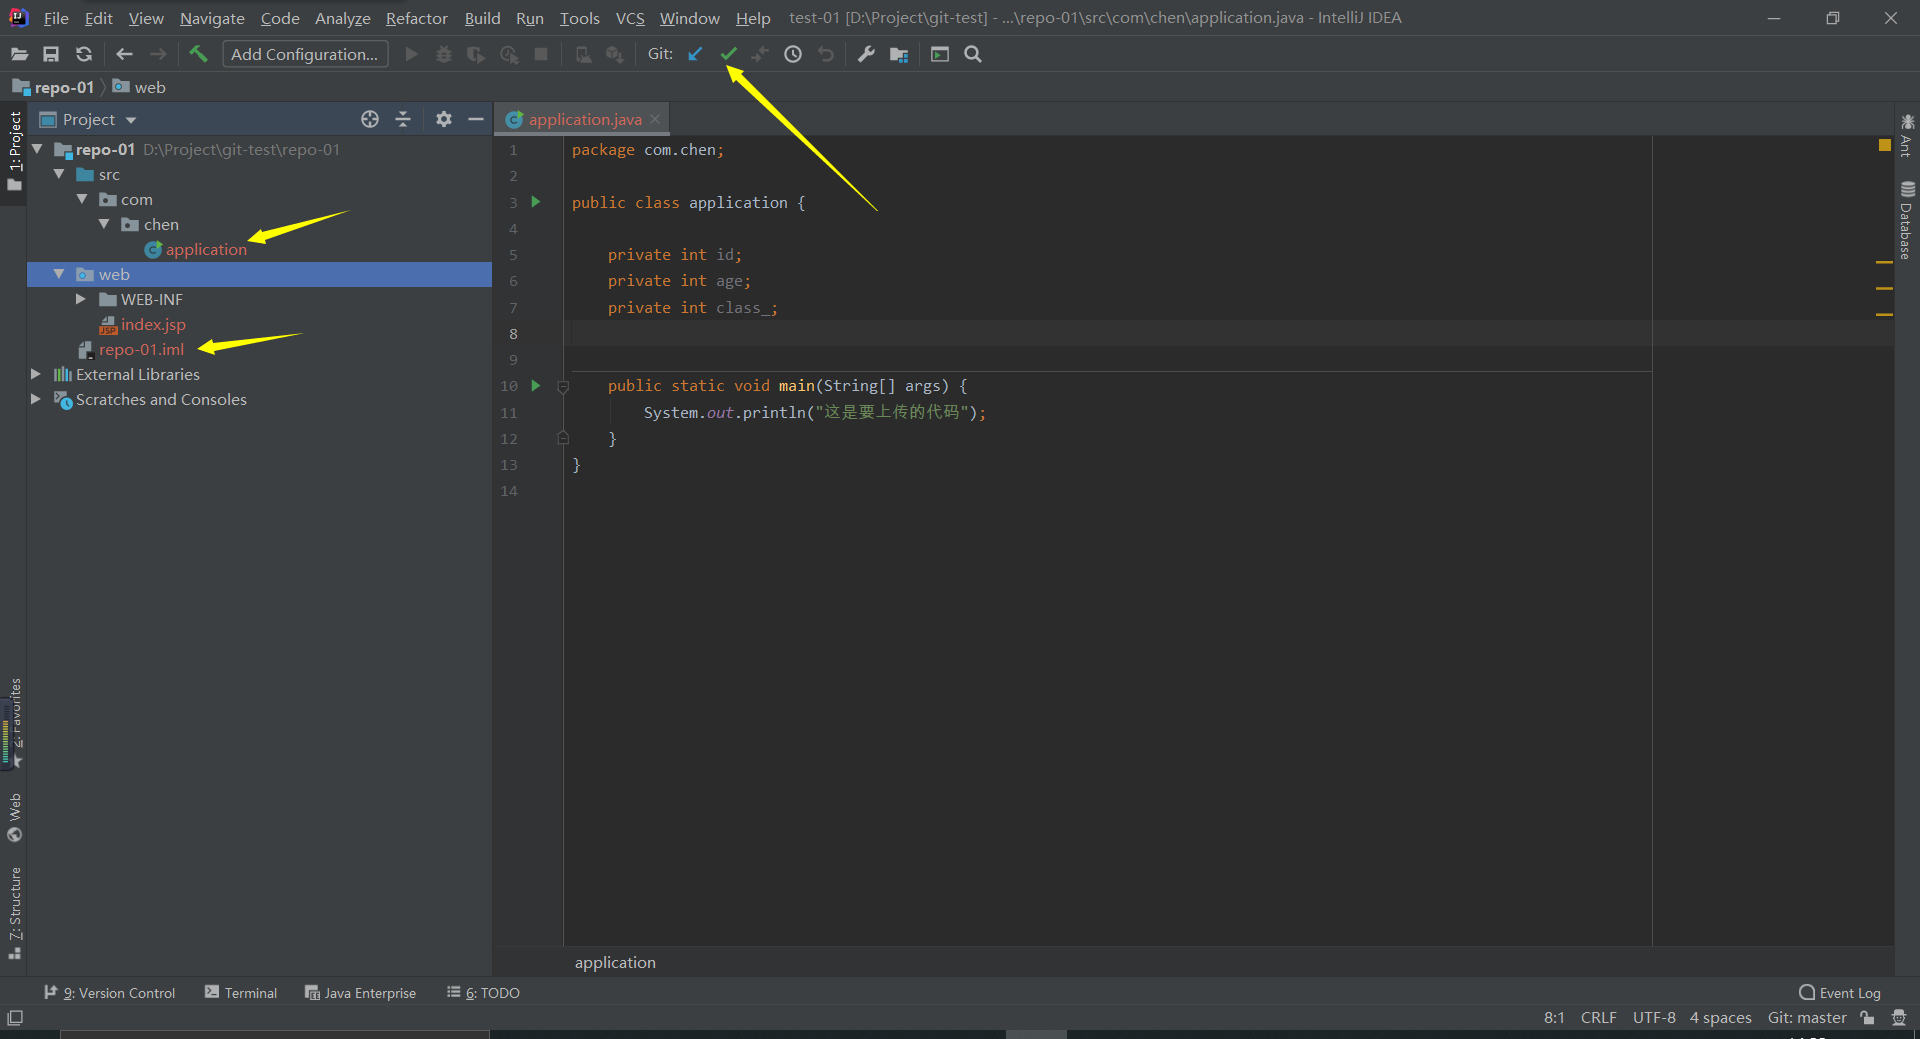
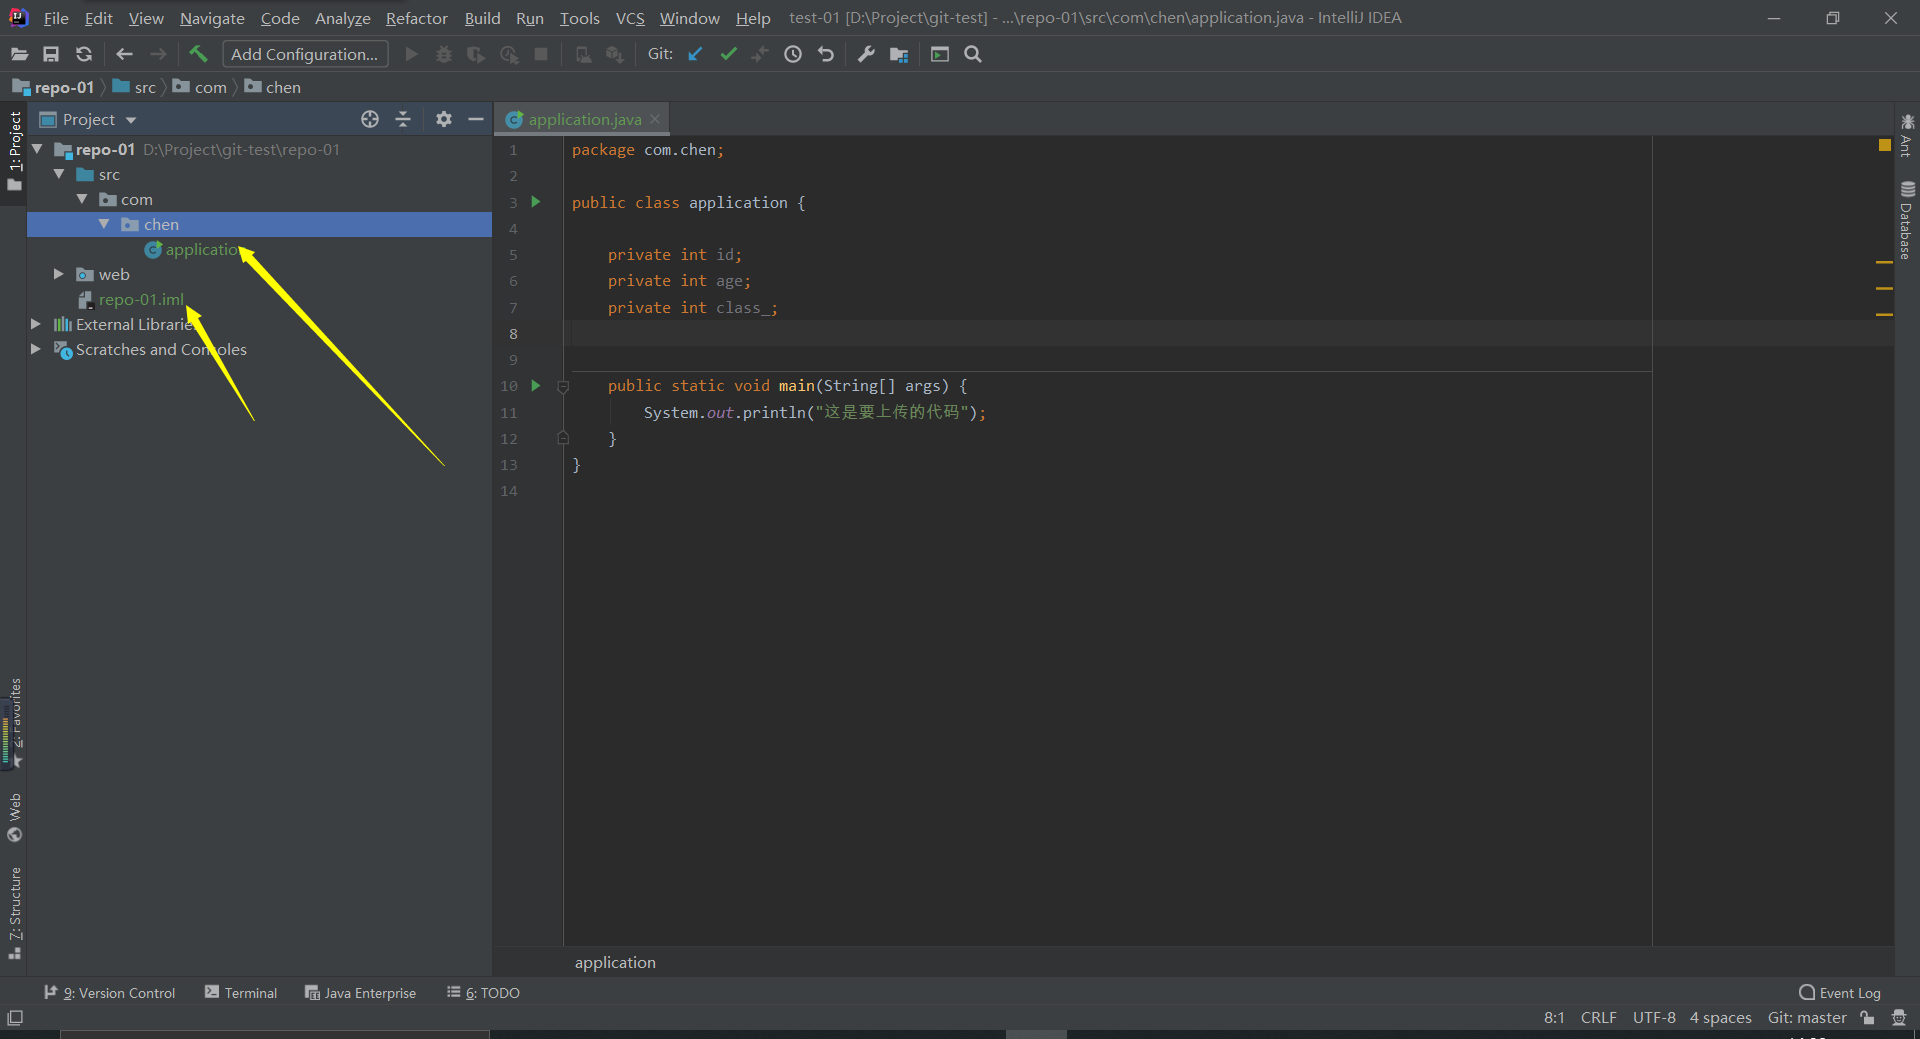
到这里我们会发现,IDEA界面发生了某些变化
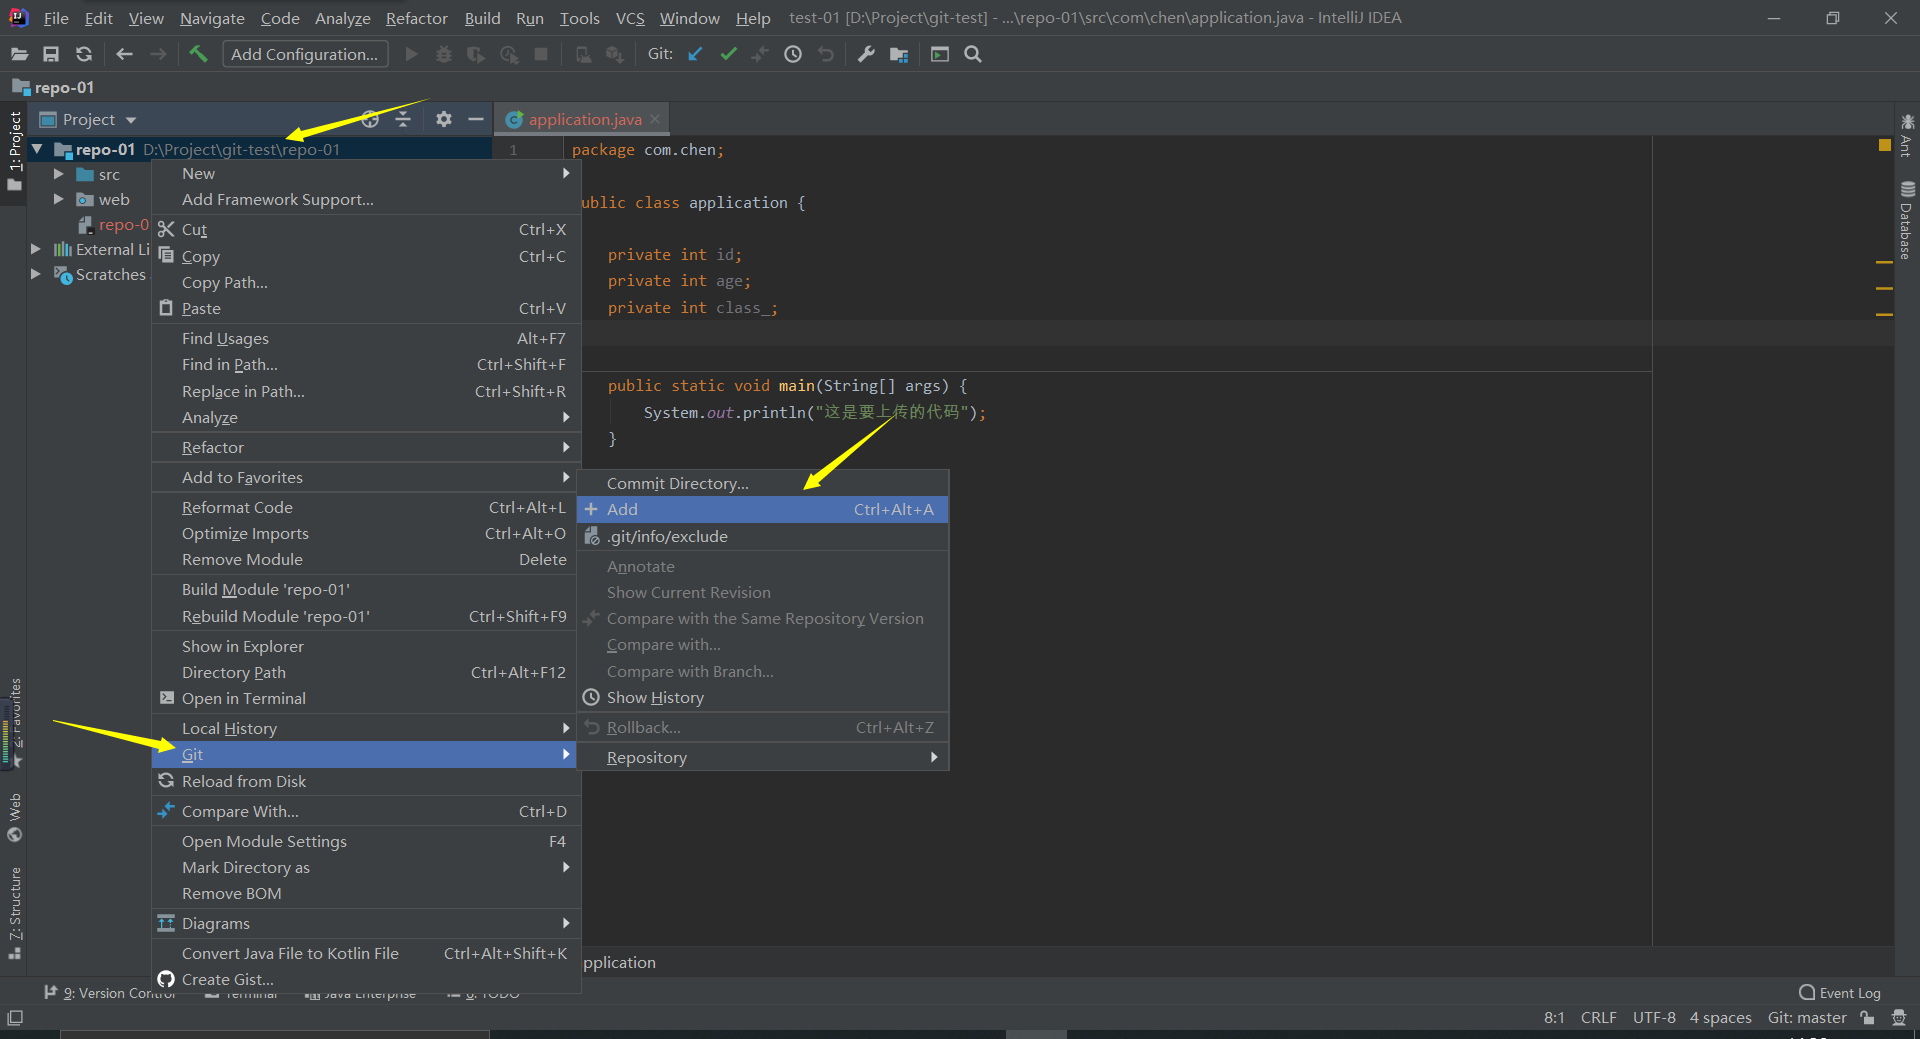
4、初始化完成之后,就要将文件(模块)添加到暂存区,git add
add之后,如果文件绿了,就说明添加成功了
如果要修改这个模块,可以将它移出暂存区

5、添加进暂存区之后,就该提交到本地库了,git commit
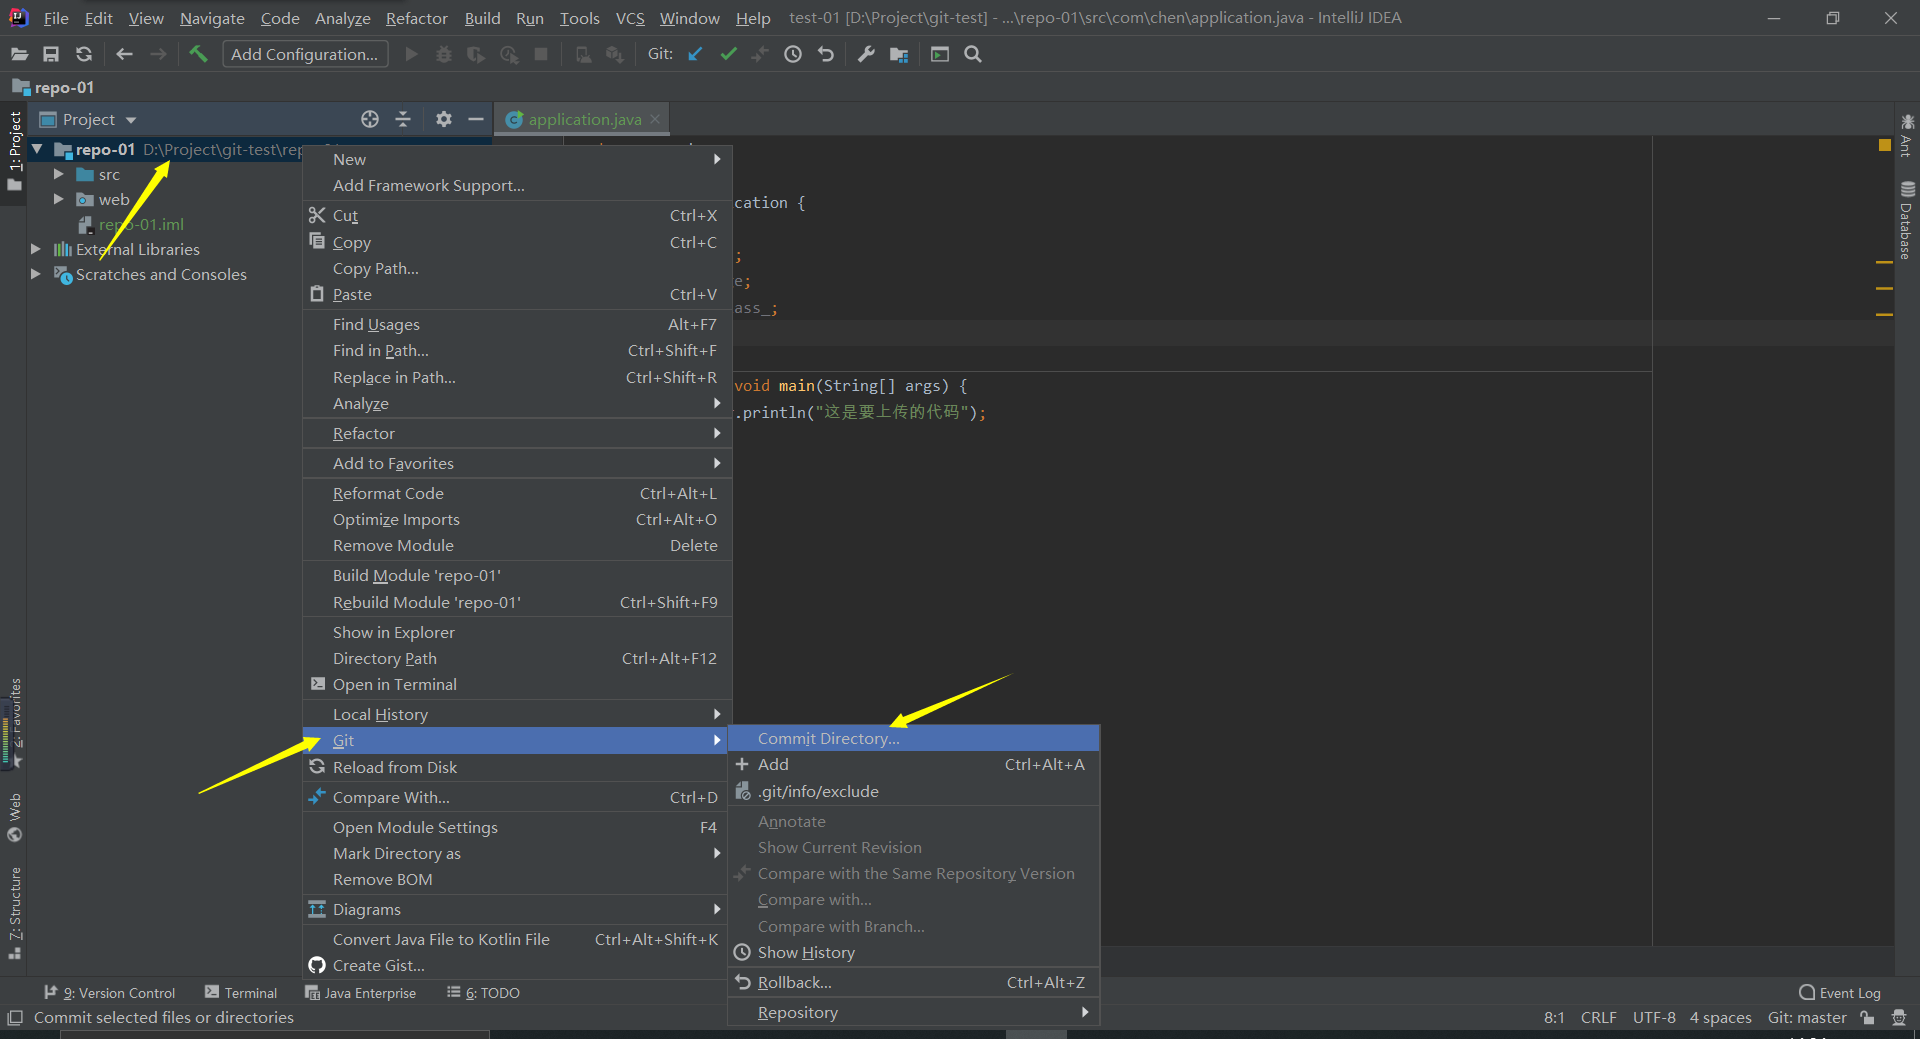
同Git命令行,如果想要push到本地库,必须要给一个message

选择commit的话,模块就进入了本地库;当然也可以直接选择commit and push。
代码颜色会变正常,IDEA下方会出现一个新的工具栏,version control

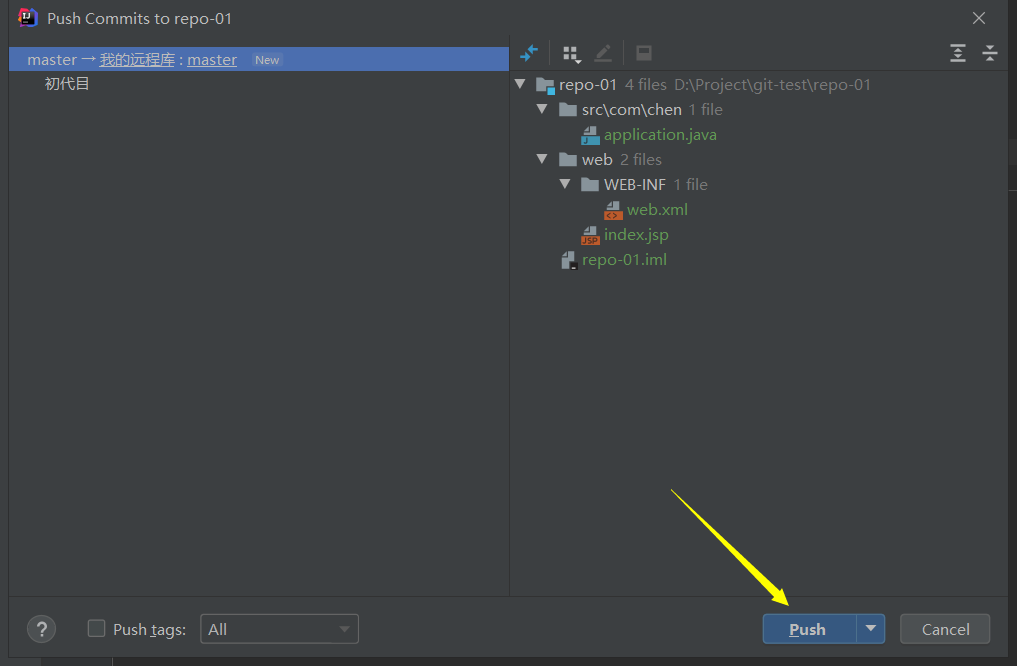
6、push到远程库
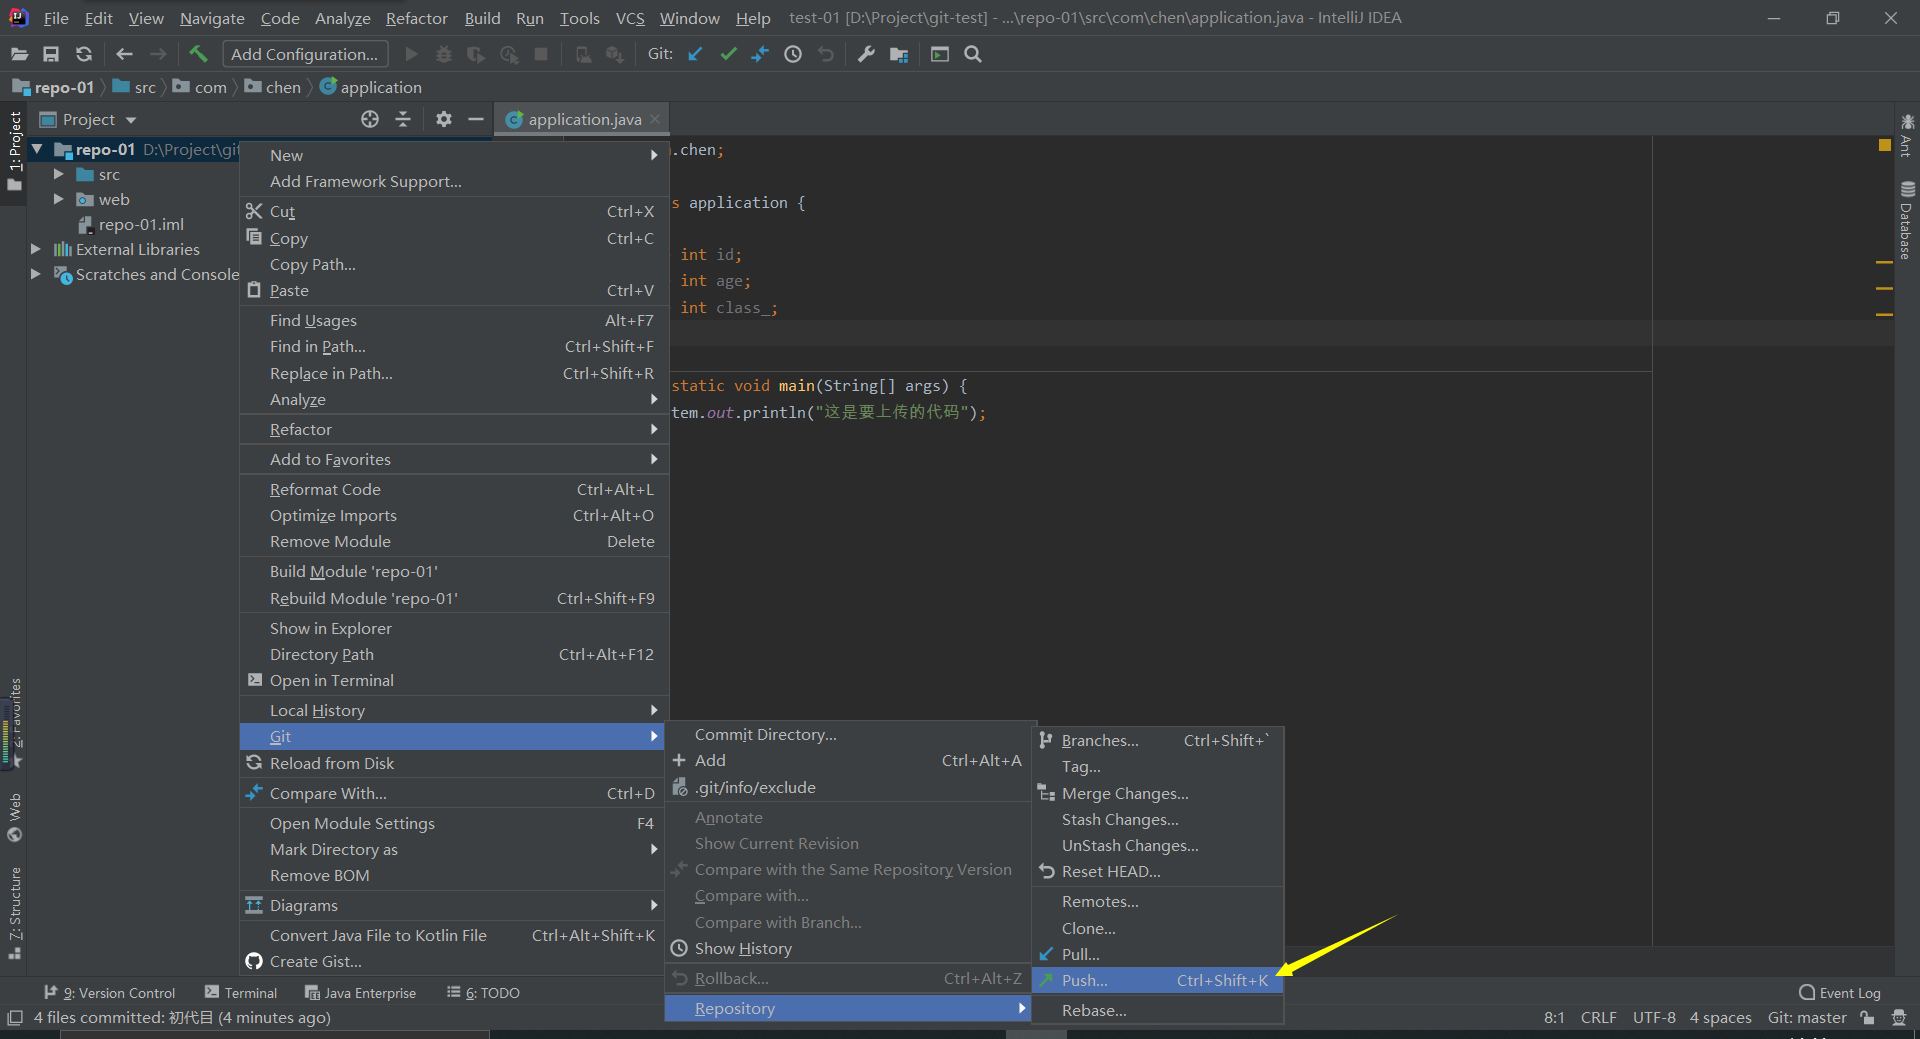
编辑要推送到的远程库的信息
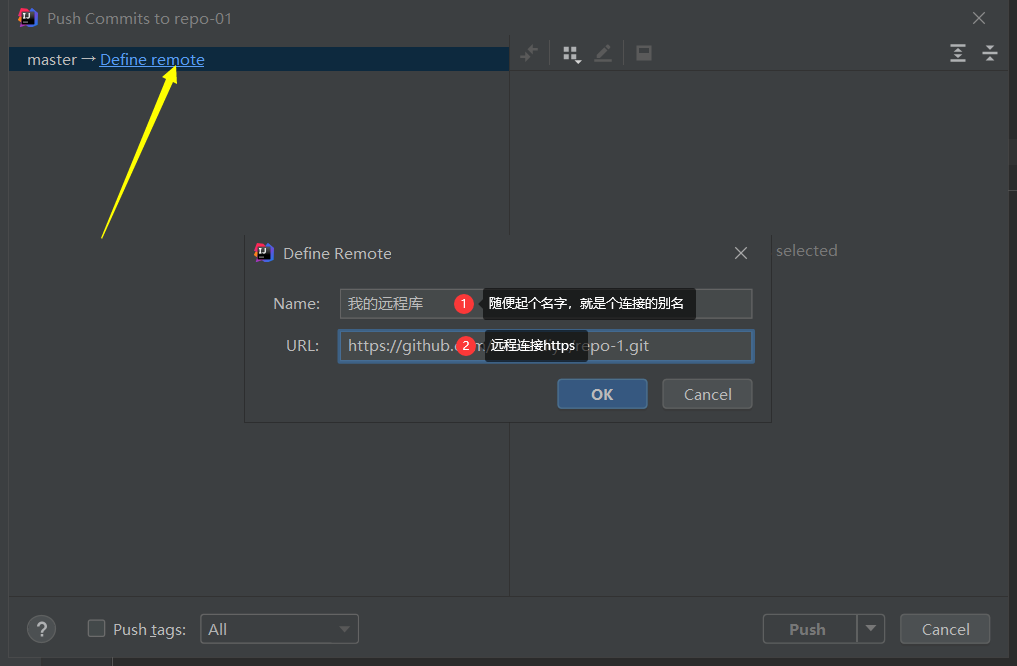
选中push