Nexus是一个强大的Maven仓库管理器,通过 nexus 可以搭建 Maven仓库。它极大地简化了自己内部仓库的维护和外部仓库的访问,利用Nexus你可以只在一个地方就能够完全控制访问和部署在你所维护仓库中的每个Artifact。Nexus是一套“开箱即用”的系统不需要数据库,并且还提供强大的仓库管理、构建、搜索等功能。它使用文件系统加Lucene来组织数据。Nexus使用ExtJS来开发界面,利用Restlet来提供完整的REST APIs,通过m2eclipse与Eclipse集成使用。Nexus支持WebDAV与LDAP安全身份认证。
1、环境介绍
1.1、kubernetes集群环境
# kubectl version
Client Version: version.Info{Major:"1", Minor:"15", GitVersion:"v1.15.0", GitCommit:"e8462b5b5dc2584fdcd18e6bcfe9f1e4d970a529", GitTreeState:"clean", BuildDate:"2019-06-19T16:40:16Z", GoVersion:"go1.12.5", Compiler:"gc", Platform:"linux/amd64"}
Server Version: version.Info{Major:"1", Minor:"15", GitVersion:"v1.15.0", GitCommit:"e8462b5b5dc2584fdcd18e6bcfe9f1e4d970a529", GitTreeState:"clean", BuildDate:"2019-06-19T16:32:14Z", GoVersion:"go1.12.5", Compiler:"gc", Platform:"linux/amd64"}
# kubectl get nodes
NAME           STATUS                     ROLES    AGE    VERSION
k8s-master-01   Ready,SchedulingDisabled   master   198d   v1.15.0
k8s-master-02   Ready,SchedulingDisabled   master   198d   v1.15.0
k8s-node-01     Ready                      node     198d   v1.15.0
k8s-node-02     Ready                      node     155d   v1.15.0
k8s-node-03     Ready                      node     133d   v1.15.0
k8s-node-04     Ready                      node     198d   v1.15.0
1.2、存储环境
本集群中kubernetes底层存储使用的是nfs,并且以nfs作为存储创建了storageclass便于动态创建pv
# kubectl get sc
NAME                            PROVISIONER      AGE
managed-nfs-storage (default)   fuseim.pri/ifs   198d
1.3、nexus版本
nexus版本:3.20.1
2、部署nexus
部署nexus使用官方的docker镜像,并且这里先对官方的dockerfile进行了分析,官方的dockerfile在github上,
dockerfile中指定运行容器进程的用户是nexus,声明了nexus的数据目录是/nexus-data,声明了jvm的参数是INSTALL4J_ADD_VM_PARAMS,容器暴露8081端口。内容如下:
FROM registry.access.redhat.com/ubi8/ubi

LABEL vendor=Sonatype
      maintainer="Sonatype <cloud-ops@sonatype.com>"
      com.sonatype.license="Apache License, Version 2.0"
      com.sonatype.name="Nexus Repository Manager base image"

ARG NEXUS_VERSION=3.20.1-01
ARG NEXUS_DOWNLOAD_URL=https://download.sonatype.com/nexus/3/nexus-${NEXUS_VERSION}-unix.tar.gz
ARG NEXUS_DOWNLOAD_SHA256_HASH=fba9953e70e2d53262d2bd953e5fbab3e44cf2965467df14a665b0752de30e51

# configure nexus runtime
ENV SONATYPE_DIR=/opt/sonatype
ENV NEXUS_HOME=${SONATYPE_DIR}/nexus
    NEXUS_DATA=/nexus-data
    NEXUS_CONTEXT=''
    SONATYPE_WORK=${SONATYPE_DIR}/sonatype-work
    DOCKER_TYPE='rh-docker'

ARG NEXUS_REPOSITORY_MANAGER_COOKBOOK_VERSION="release-0.5.20190212-155606.d1afdfe"
ARG NEXUS_REPOSITORY_MANAGER_COOKBOOK_URL="https://github.com/sonatype/chef-nexus-repository-manager/releases/download/${NEXUS_REPOSITORY_MANAGER_COOKBOOK_VERSION}/chef-nexus-repository-manager.tar.gz"

ADD solo.json.erb /var/chef/solo.json.erb

# Install using chef-solo
# Chef version locked to avoid needing to accept the EULA on behalf of whomever builds the image
RUN yum install -y --disableplugin=subscription-manager hostname procps
    && curl -L https://www.getchef.com/chef/install.sh | bash -s -- -v 14.12.9
    && /opt/chef/embedded/bin/erb /var/chef/solo.json.erb > /var/chef/solo.json
    && chef-solo
       --recipe-url ${NEXUS_REPOSITORY_MANAGER_COOKBOOK_URL}
       --json-attributes /var/chef/solo.json
    && rpm -qa *chef* | xargs rpm -e
    && rm -rf /etc/chef
    && rm -rf /opt/chefdk
    && rm -rf /var/cache/yum
    && rm -rf /var/chef
    && yum clean all

VOLUME ${NEXUS_DATA}

EXPOSE 8081
USER nexus

ENV INSTALL4J_ADD_VM_PARAMS="-Xms1200m -Xmx1200m -XX:MaxDirectMemorySize=2g -Djava.util.prefs.userRoot=${NEXUS_DATA}/javaprefs"

CMD ["sh", "-c", "${SONATYPE_DIR}/start-nexus-repository-manager.sh"]
根据上面的dockerfile文件,编写部署在k8s集群中的资源清单,通过nfs的storageclass来动态提供pv,将nexus的数据做持久化存储,并且以NodePort方式暴露服务。
# cat nexus3/nexus3.yaml
apiVersion: apps/v1
kind: Deployment
metadata:
  labels:
    k8s-app: nexus3
  name: nexus3
  namespace: kube-system
spec:
  replicas: 1
  selector:
    matchLabels:
      k8s-app: nexus3
  template:
    metadata:
      labels:
        k8s-app: nexus3
      name: nexus3
      namespace: kube-system
    spec:
      containers:
      - name: nexus3
        image: sonatype/nexus3:3.20.1
        imagePullPolicy: IfNotPresent
        ports:
          - containerPort: 8081
            name: web
            protocol: TCP
        livenessProbe:
          httpGet:
            path: /
            port: 8081
          initialDelaySeconds: 540
          periodSeconds: 30
          failureThreshold: 6
        readinessProbe:
          httpGet:
            path: /
            port: 8081
          initialDelaySeconds: 540
          periodSeconds: 30
          failureThreshold: 6
        resources:
          limits:
            cpu: 1000m
            memory: 2Gi
          requests:
            cpu: 500m
            memory: 512Mi
        volumeMounts:
        - name: nexus-data
          mountPath: /nexus-data
      volumes:
        - name: nexus-data
          persistentVolumeClaim:
            claimName: nexus-data-pvc

---
apiVersion: v1
kind: PersistentVolumeClaim
metadata:
  name: nexus-data-pvc
  namespace: kube-system
spec:
  accessModes:
    - ReadWriteMany
  storageClassName: "managed-nfs-storage"
  resources:
    requests:
      storage: 10Gi

---
apiVersion: v1
kind: Service
metadata:
  name: nexus3
  namespace: kube-system
  labels:
    k8s-app: nexus3
spec:
  selector:
    k8s-app: nexus3
  type: NodePort
  ports:
    - name: web
      protocol: TCP
      port: 8081
      targetPort: 8081
      nodePort: 30005
执行kubectl apply创建资源,并检查对应的pv,pvc以及日志
# kubectl apply -f nexus3.yaml
deployment.apps/nexus3 created
persistentvolumeclaim/nexus-data-pvc created
service/nexus3 created
# kubectl -n kube-system get pv,pvc|grep nexus
persistentvolume/pvc-70f810b4-824a-4c4c-8582-6253afe1a350   10Gi       RWX            Delete           Bound    kube-system/nexus-data-pvc                 managed-nfs-storage            1m

persistentvolumeclaim/nexus-data-pvc                 Bound    pvc-70f810b4-824a-4c4c-8582-6253afe1a350   10Gi       RWX            managed-nfs-storage   1m
# kubectl -n kube-system get pods|grep nexus
nexus3-59c8f8759-sktfv                    0/1     Running   0          2m
第一次部署nexus时需要初始化数据等,消耗的时间比较长,直到在日志中能看到如下字样表示nexus容器启动完成了,因此上面的部署yaml文件中的健康检查时间设置为经过测试的540s
2020-02-06 10:41:52,109+0000 INFO  [jetty-main-1] *SYSTEM org.eclipse.jetty.server.Server - Started @437947ms
2020-02-06 10:41:52,110+0000 INFO  [jetty-main-1] *SYSTEM org.sonatype.nexus.bootstrap.jetty.JettyServer -
-------------------------------------------------

Started Sonatype Nexus OSS 3.20.1-01

-------------------------------------------------
3、访问检查
当pod通过健康检查之后,可以通过NodePort方式访问到nexus
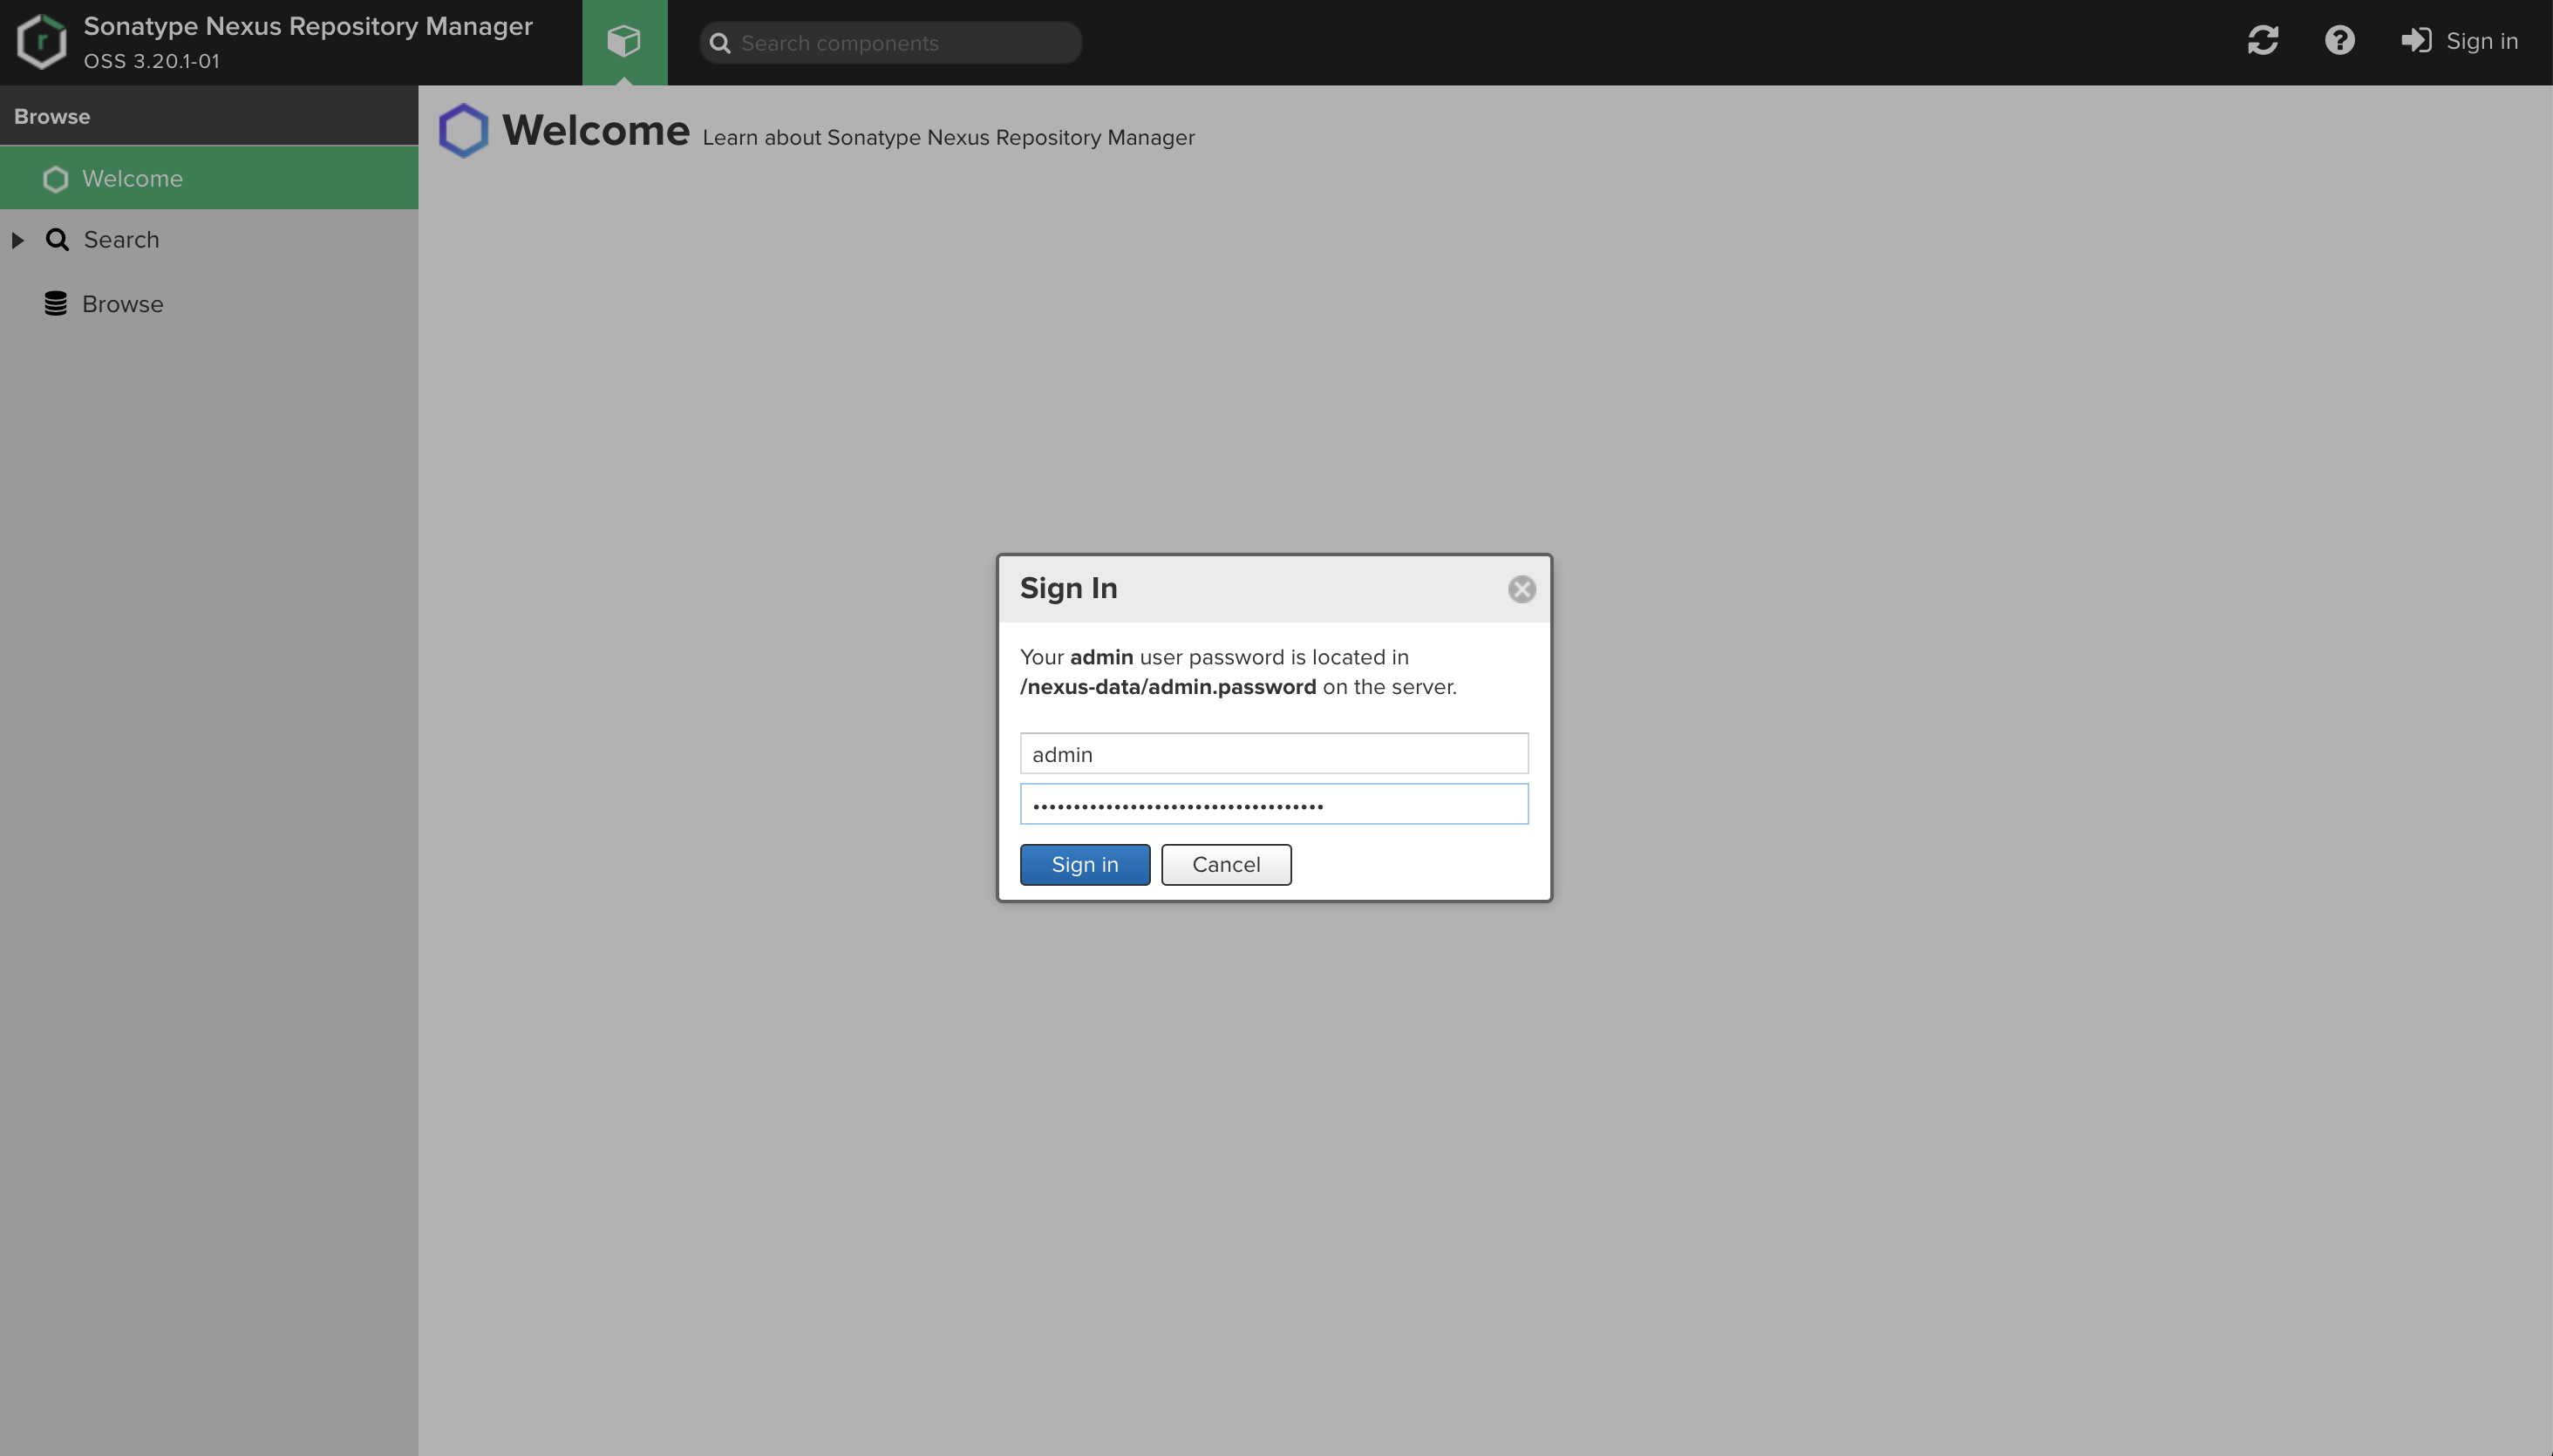
第一次点击登录会提示修改密码,且默认的初始密码在服务器的/nexus-data/admin.password文件中
# kubectl -n kube-system exec nexus3-59c8f8759-sktfv -it cat /nexus-data/admin.password
fe8da3fb-b35b-4a8b-95f4-e39ccdc7f760
登录后进入到页面
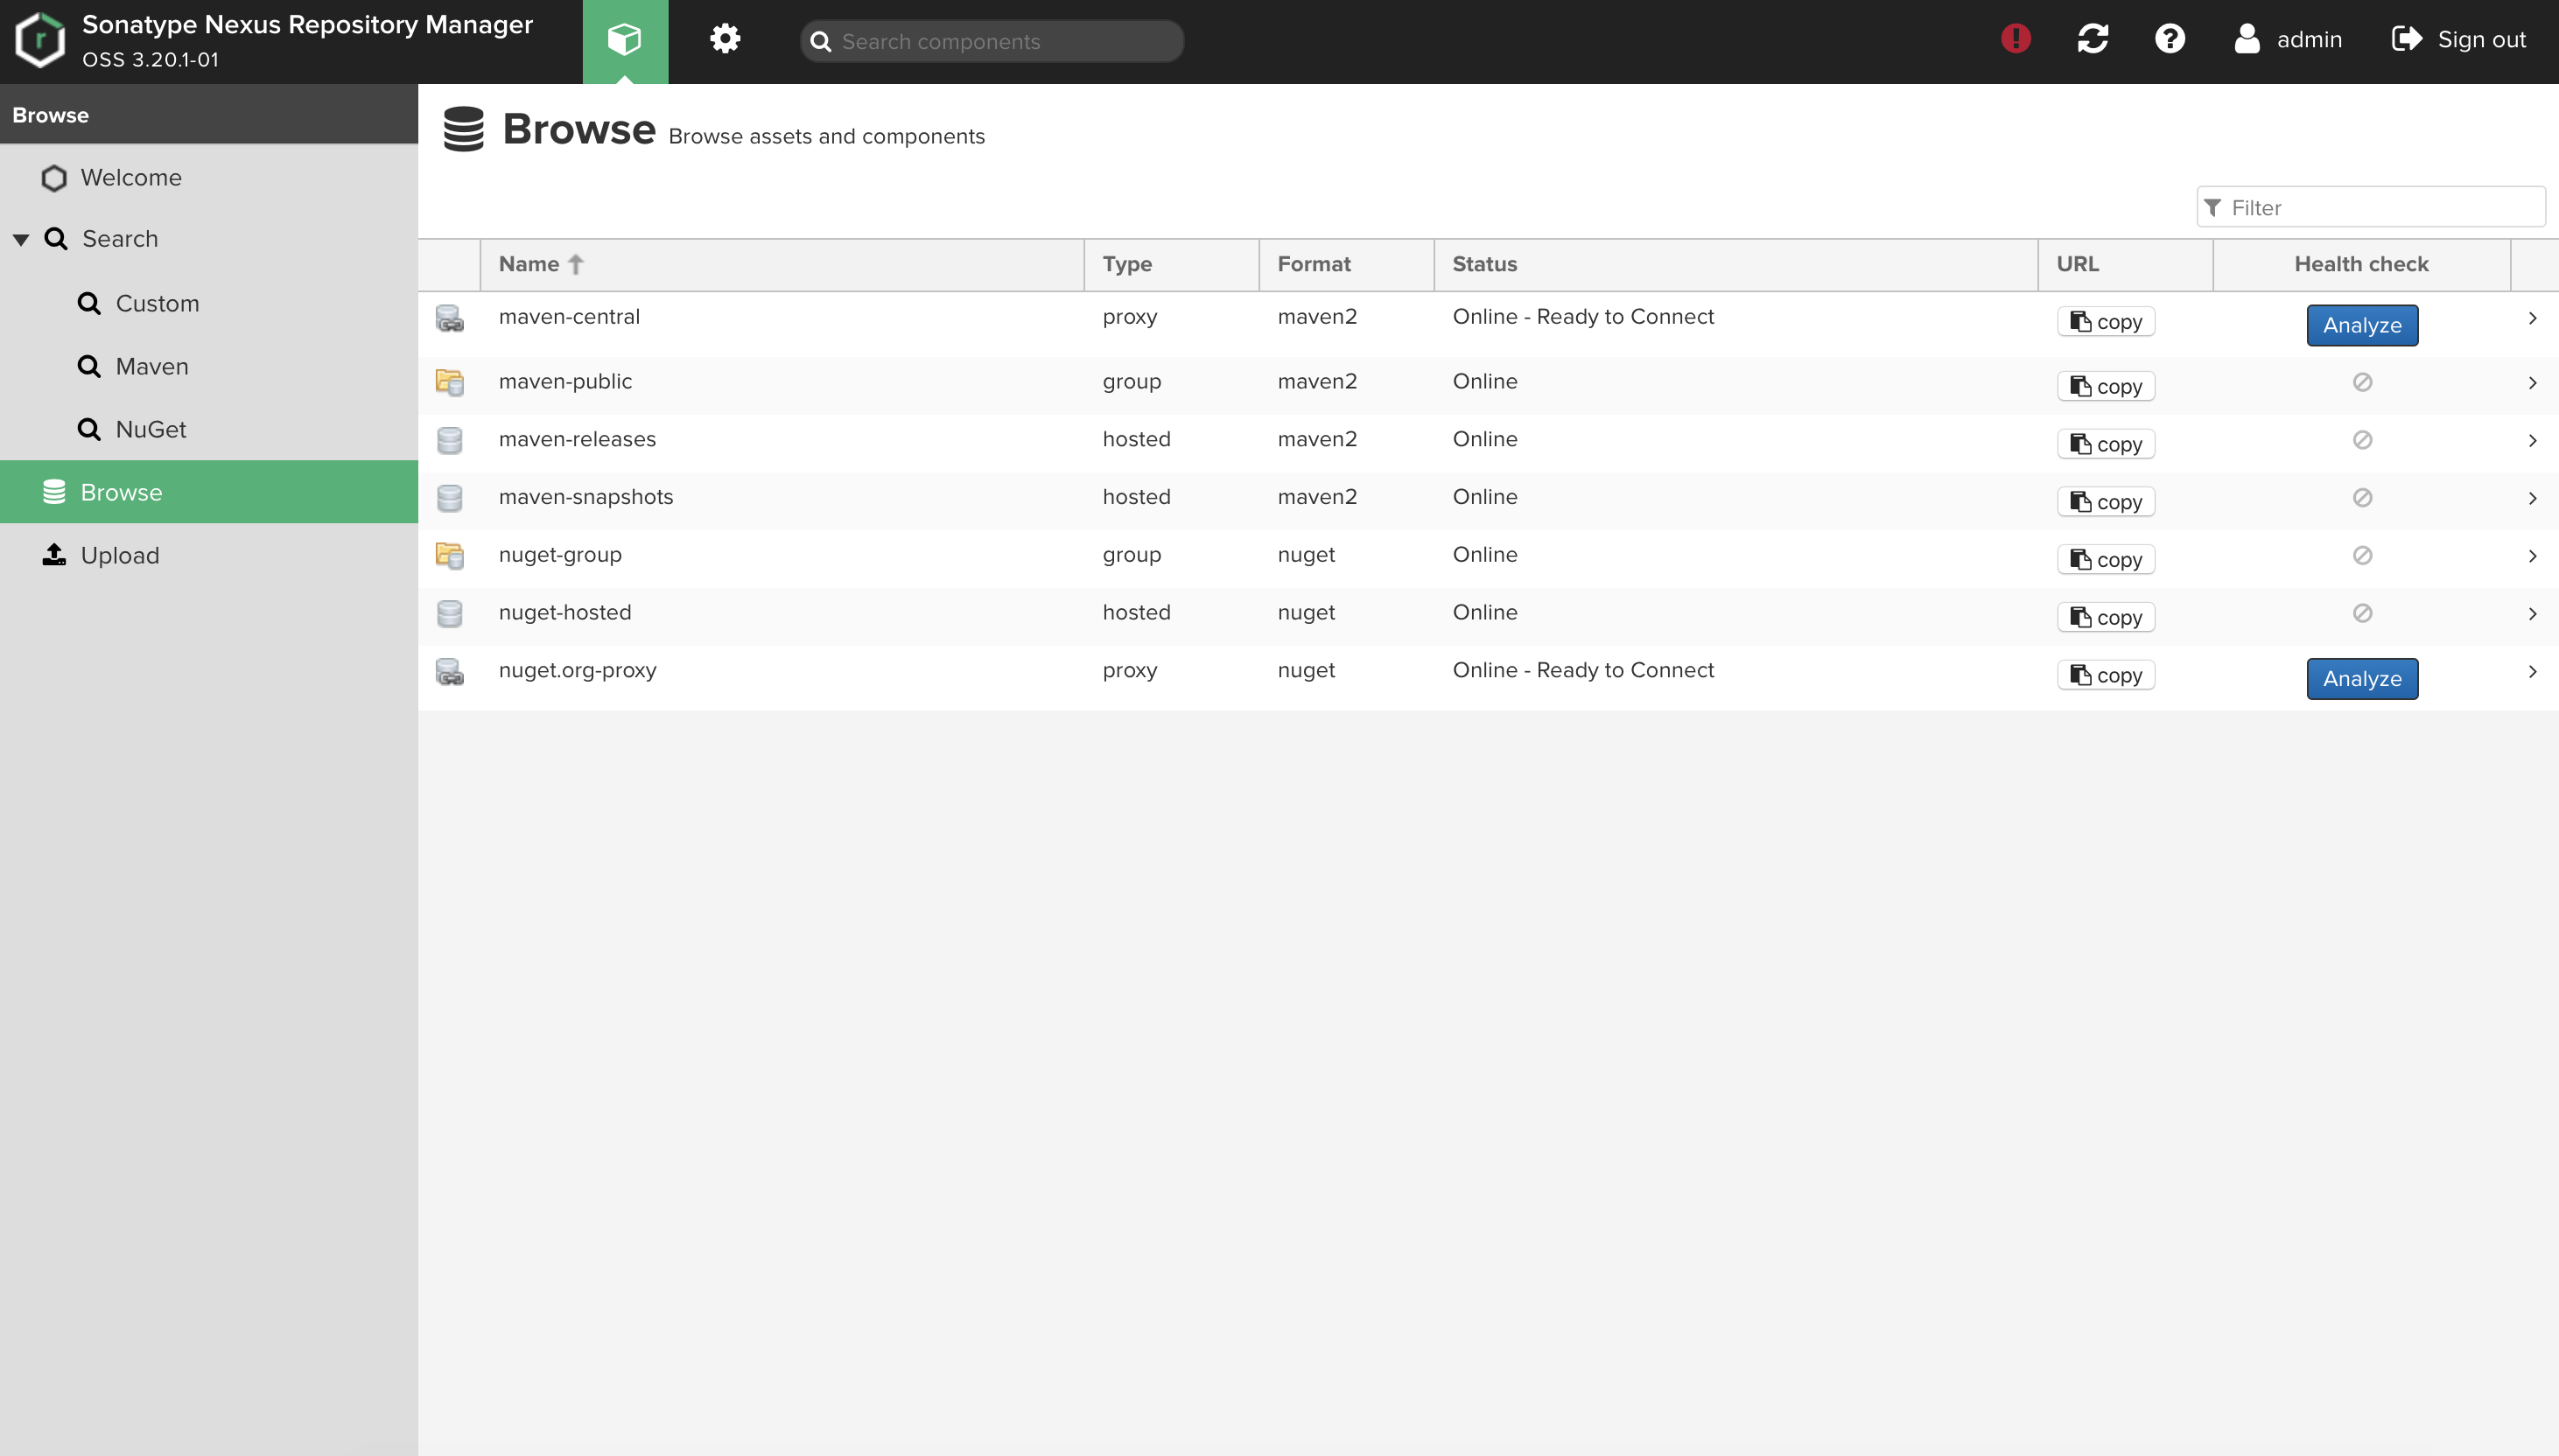
至此,在k8s中部署nexus完成,使用文章后续会发布