BDD简介
BDD(Behavior Driven Development),即行为驱动开发。BDD是ATDD验收测试驱动开发的一种升级版,根据明确的预期行为(一组场景)来进行开发和测试。
这种预期行为使用一种特定规的范格式进行描述,旨在消除需求从客户,到产品经理,再到开发/测试时的信息失真问题。
如一个后台登录功能,可以描述如下。
Feature: 登录功能
  Scenario: 正常登录
    Given 用户名 admin 密码 123456
    When 打开后台页面
    And  输入用户名
    And  输入密码
    And  点击登录按钮
    Then 页面中应不包含 您输入的帐号信息不正确

Scenario: 账号为空登录
    Given 用户名为空 密码 123456
    When 打开后台页面
    And  输入用户名
    And  输入密码
    And  点击登录按钮
    Then 页面中应包含 您输入的帐号信息不正确

Scenario: 密码为空登录
    Given 用户名 admin 密码为空
    When 打开后台页面
    And  输入用户名
    And  输入密码
    And  点击登录按钮
    Then 页面中应包含 您输入的帐号信息不正确
产品整理完用户需求,梳理出如上明确的行为场景,开发根据这些行为场景进行开发,测试根据这些场景进行测试,也可以扩展更多的场景。
在BDD中,常用的概念如下
- Epic: 史诗,一般指一个版本或一批功能更新
- Feature: 特性,一般指一个功能点,如登录,添加商品,查询商品等,在测试中对应一个测试套件
- Scenario:场景,即Story,一个明确的场景,对应一个测试用例
- Step: 步骤,测试步骤有Given/When/Then三种
- Given: 假设,给定数据或前置条件,对应测试中的setup
- When: 当...时,对应一个测试步骤
- Then: 然后,即期望结果,对应一个测试断言
- And: 同上,可以用于Given/When/Then后
行为驱动多用于UI层的测试。因此BDD框架的自动化一般结合Selenium使用。
behave基本使用
常用的BDD框架有
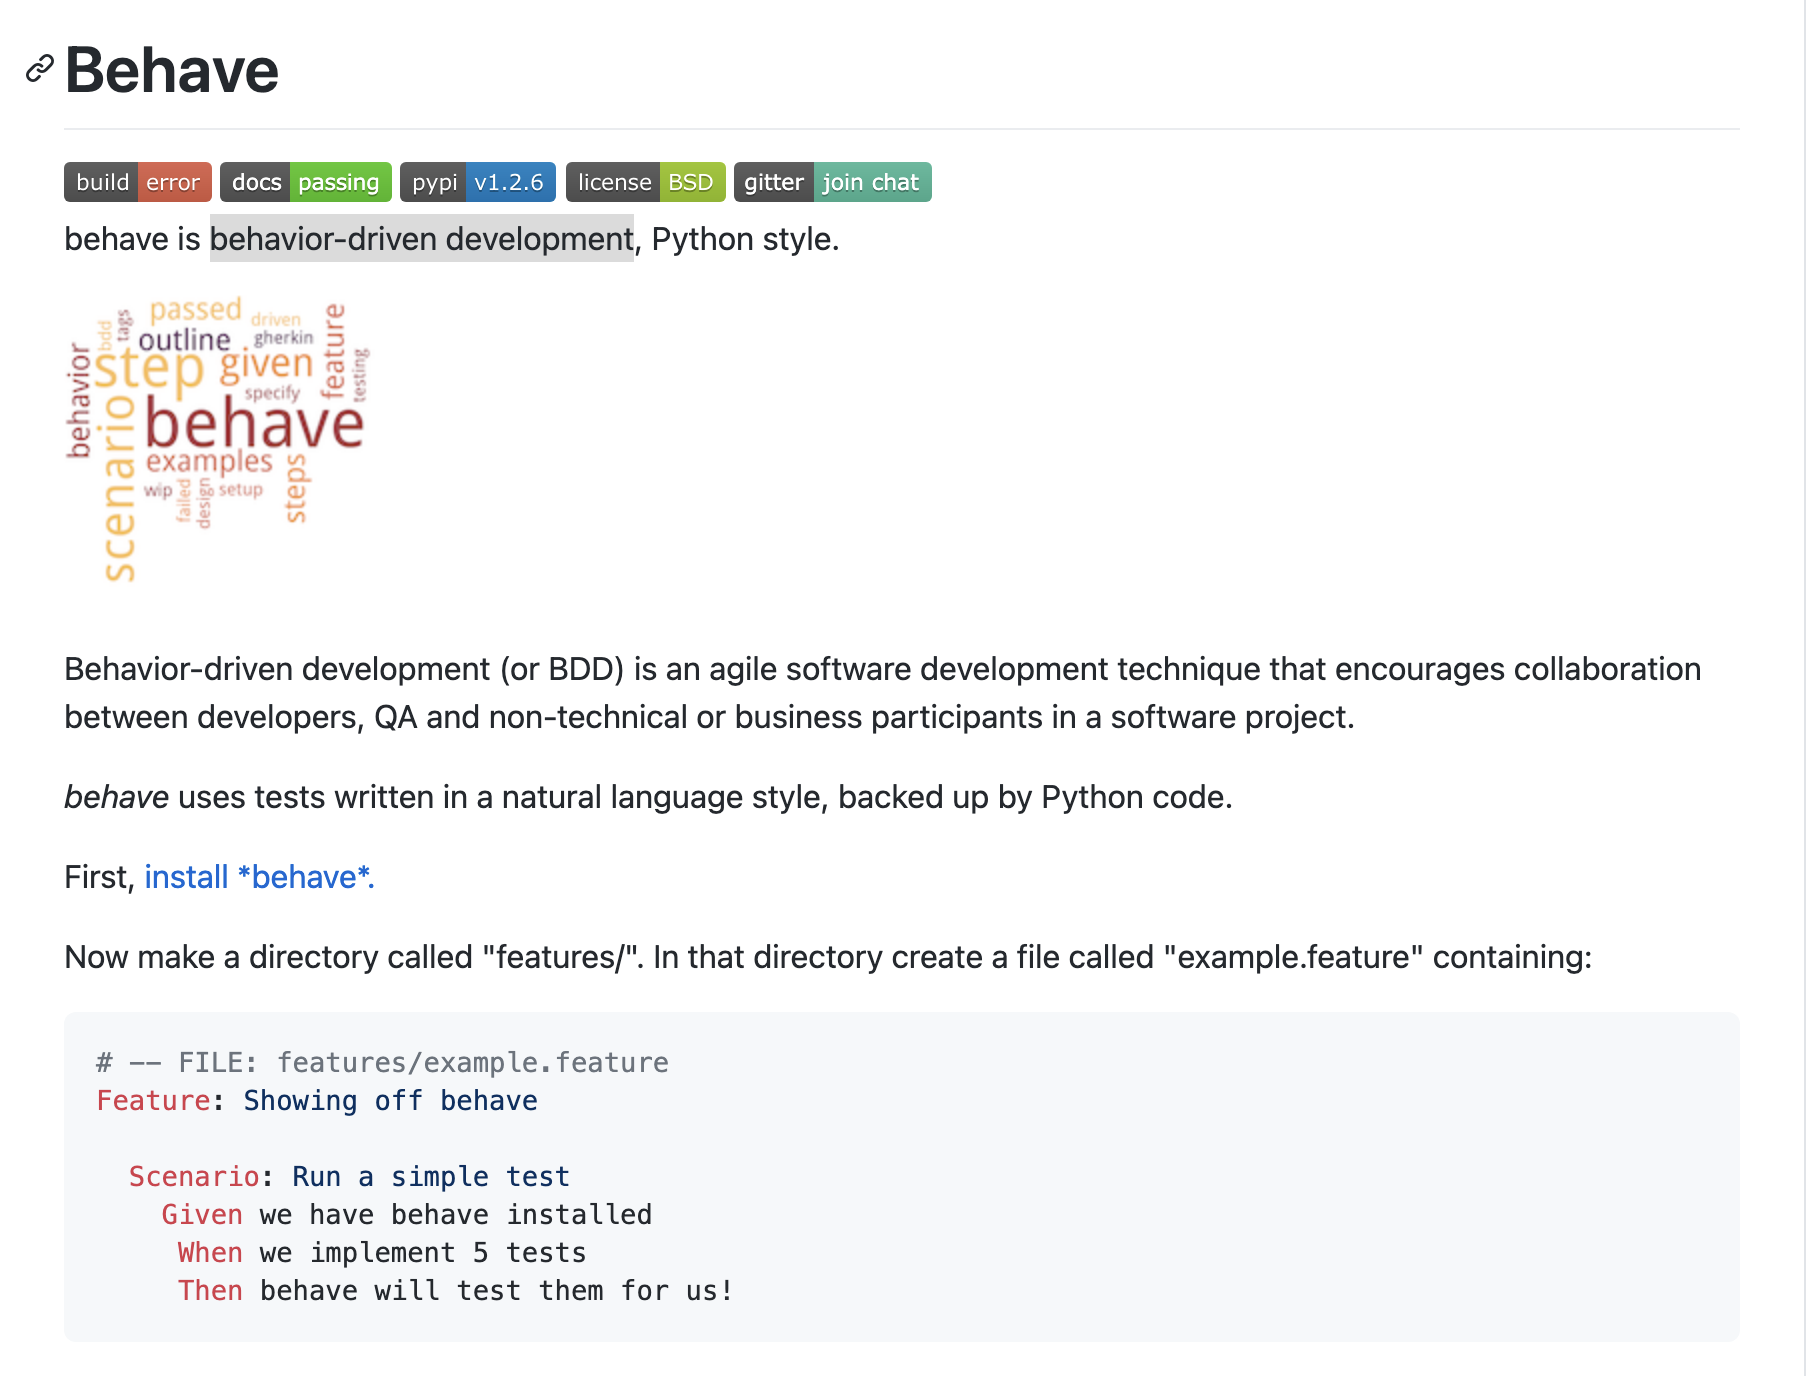
最出名的BDD框架应该是Cucumber,使用Ruby语言,Python中常用的有behave、pytest-bdd和lettuce,其中lettuce不支持Python3。
behave是比较易用的一款BDD测试框架,github地址为:https://github.com/behave/behave

使用BDD进行测试的基本步骤为:
使用方法如下,以百度搜索为例。
安装behave和selenium
- 使用PyCharm新建一个空白项目behave_bdd
- 安装behave和selenium:
pip install behave
pip install selenium
编写场景文件
- 在目录中新建一个名为features的目录,咋features中新建一个baidu.feature的文件,内容如下。
Feature: 百度搜索
  Scenario: 搜索关键词
    Given 关键词 behave
    When 打开百度页面
    And  输入关键词
    And  点击百度一下按钮
    Then 页面标题中应包含关键词
实现场景步骤
在features中新建steps目录,在steps目录中新建baidu_steps.py
- 从behave中导入given,when,then等关键字
- 对应场景的每个步骤编写一个step_impl(context)函数,上方有对应的关键字装饰器匹配对应的场景步骤,如
from behave import given, when, then

@given('关键词 {keyword}')    # 对应步骤  Given 关键词 behave, 参数放在{}中
def step_impl(context, keyword):   # context是上下文对象,有参数的话,加上对应参数
    context.keyword = keyword  # 将参数绑定上下文对象,以便其他步骤使用
其他步骤一一实现即可,完整代码如下
from behave import given, when, then
from selenium import webdriver
from time import sleep

@given('关键词 {keyword}')    # 对应步骤  Given 关键词 behave, 参数放在{}中
def step_impl(context, keyword):   # context是上下文对象,有参数的话,加上对应参数
    context.keyword = keyword  # 将参数绑定上下文对象,以便其他步骤使用

@when('打开百度页面')
def step_impl(context):
    context.driver = driver = webdriver.Chrome()  # 同样绑定上下文对象
    driver.implicitly_wait(10)
    driver.get('https://www.baidu.com')


@when('输入关键词')
def step_impl(context):
    context.driver.find_element('id', 'kw').send_keys(context.keyword)


@when('点击百度一下按钮')
def step_impl(context):
    context.driver.find_element('id', 'su').click()
    sleep(0.5)


@then('页面标题中应包含关键词')
def step_impl(context):
    assert context.keyword in context.driver.title
测试场景
打开命令行,cd到项目所在目录,输入behave运行即可,项目结构及效果如下。

结合allure生成报告
安装allure-behave:pip install allure-behave
behave -f allure_behave.formatter:AllureFormatter -o allure_data
其中
-o是指定allure报告数据输出目录
allure_data中生成的是json格式的报告数据,需要使用allure命令行工具才能转为html报告,
allure命令行工具,mac系统可以使用brew安装
allure命令行工具依赖JAVA,需要配置JAVA_HOME
brew tap qameta/allure
brew install allure
Windows系统可以下载allure-commandline源码,v2.13.6下载链接
解压后,将其中的bin目录配置到环境变量Path中即可。
allure命令行工具安装或配置好后,使用以下命令生成html报告。
allure generate allure_data -o allure_html
参考:
- Behave GitHub: https://github.com/behave/behave
- Allure官方文档:https://docs.qameta.io/allure/#_behave