一、简介
GitLab是一个利用 Ruby on Rails 开发的开源应用程序,实现一个自托管的Git项目仓库,可通过Web界面进行访问公开的或者私人项目。
GitLab拥有与Github类似的功能,能够浏览源代码,管理缺陷和注释。可以管理团队对仓库的访问,它非常易于浏览提交过的版本并提供一个文件历史库。它还提供一个代码片段收集功能可以轻松实现代码复用,便于日后有需要的时候进行查找。
二、基础环境准备
2.1 安装依赖包
如想使用Postfix来发送邮件,在安装期间请选择’Internet Site’. 您也可以用sendmai或者 配置SMTP服务 并 使用SMTP发送邮件.在 Centos 6 系统上, 下面的命令将在系统防火墙里面开放HTTP和SSH端口.
[root@db01 ~]# yum install curl policycoreutils openssh-server openssh-clients postfix
[root@db01 ~]# /etc/init.d/postfix   start
2.2 添加GitLab仓库
[root@ db01 ~]# curl -sS https://packages.gitlab.com/install/repositories/gitlab/gitlab-ce/script.rpm.sh | sudo bash
[root@ db01 ~]# yum install -y gitlab-ce
2.3 可更换国内源
[root@linux-node2 ~]# vim /etc/yum.repos.d/gitlab-ce.repo
[gitlab-ce]
name=gitlab-ce
baseurl=http://mirrors.tuna.tsinghua.e ... m/el7
repo_gpgcheck=0
gpgcheck=0
enabled=1
gpgkey=https://packages.gitlab.com/gpg.key
[root@linux-node2 ~]# yum makecache
[root@linux-node2 ~]# yum install gitlab-ce
2.4配置并启动gitlab-ce
#注意:在配置gitlab之前保证80端口没有被占用
[root@db01 ~]# gitlab-ctl reconfigure
2.5 检查状态


[root@db01 src]# gitlab-ctl status
run: gitaly: (pid 23978) 37s; run: log: (pid 23342) 134s
run: gitlab-monitor: (pid 23998) 37s; run: log: (pid 23576) 122s
run: gitlab-workhorse: (pid 23958) 38s; run: log: (pid 23067) 152s
run: logrotate: (pid 23245) 140s; run: log: (pid 23244) 140s
run: nginx: (pid 23156) 146s; run: log: (pid 23155) 146s
run: node-exporter: (pid 23518) 128s; run: log: (pid 23517) 128s
run: postgres-exporter: (pid 24042) 34s; run: log: (pid 23757) 104s
run: postgresql: (pid 22636) 220s; run: log: (pid 22635) 220s
run: prometheus: (pid 24021) 35s; run: log: (pid 23688) 110s
run: redis: (pid 22503) 226s; run: log: (pid 22502) 226s
run: redis-exporter: (pid 23632) 116s; run: log: (pid 23631) 116s
run: sidekiq: (pid 22998) 158s; run: log: (pid 22997) 158s
run: unicorn: (pid 22930) 164s; run: log: (pid 22929) 164s
[root@db01 src]#
2.6 管理gitlab
 ifconfig eth0|awk -F '[ :]+' 'NR==2{print $4}'
# 获取网卡地址
三、安装汉化包
3.1 准备环境
[root@db01 ~]# cd /data/src/
[root@db01 src]# git clone https://gitlab.com/xhang/gitlab.git
-bash: git: command not found
[root@db01 src]# yum -y install git
[root@db01 src]# git clone https://gitlab.com/xhang/gitlab.git
3.2 停止gitlab
[root@db01 ~]# gitlab-ctl stop
3.3 汉化操作
# 查看改汉化补丁版本
[root@db01 src]# cat gitlab/VERSION
10.7.3
3.4 获取gitlab汉化包
[root@db01 src]# cd gitlab/
[root@db01 gitlab]# git diff origin/10-7-stable origin/10-7-stable-zh > /tmp/10.7.diff
[root@db01 gitlab]#
3.5 更新补丁到gitlab中
[root@db01 gitlab]# yum -y install patch
[root@db01 gitlab]# cd /tmp/
[root@db01 tmp]# patch -d/opt/gitlab/embedded/service/gitlab-rails -p1 < 10.7.diff
3.6 重新配置gitlab
[root@db01 tmp]# gitlab-ctl reconfigure
[root@db01 tmp]# gitlab-ctl start
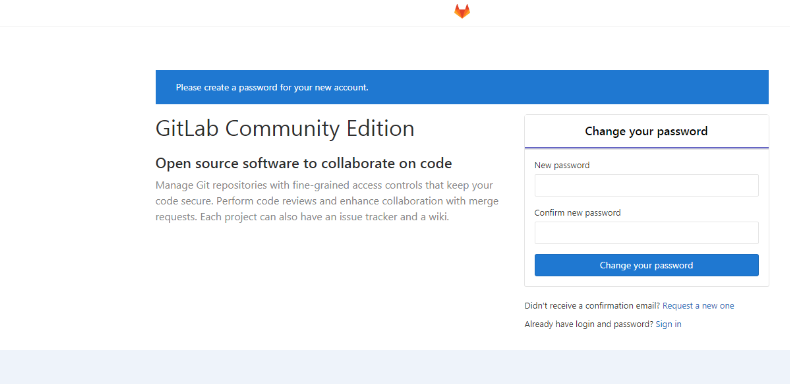
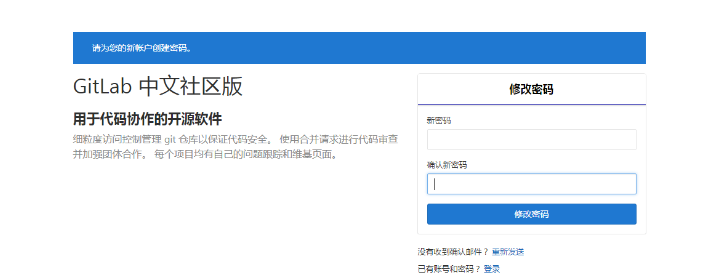
四、gitlal管理设置
4.1 设置管理密码
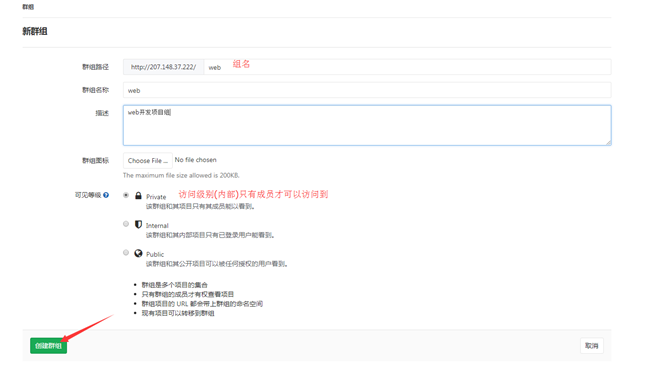
4.2 创建gitlab群组

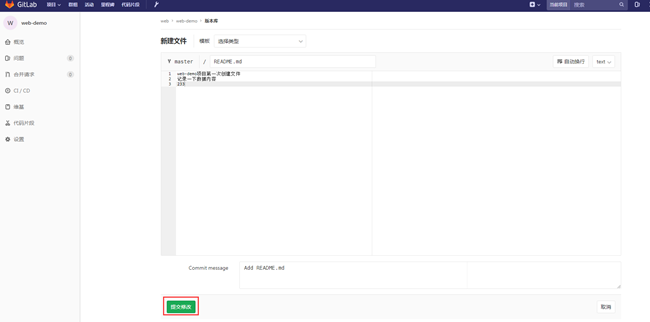
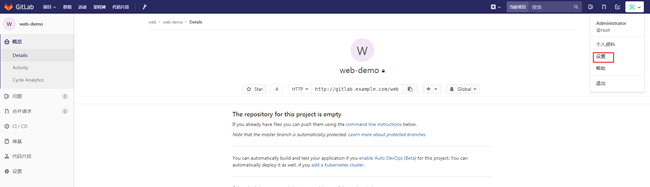
4.3 给群组创建项目


创建完成之后它提示我们可以创建一个key对它进行管理
我们点击上面的README然后我们随便在里面写点东西
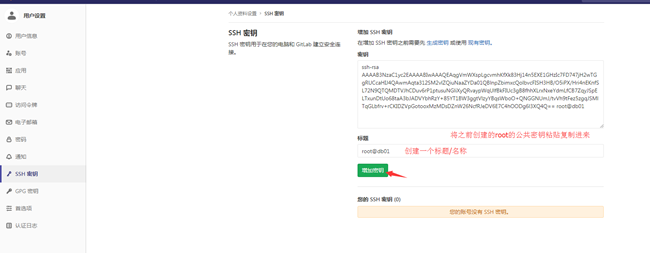
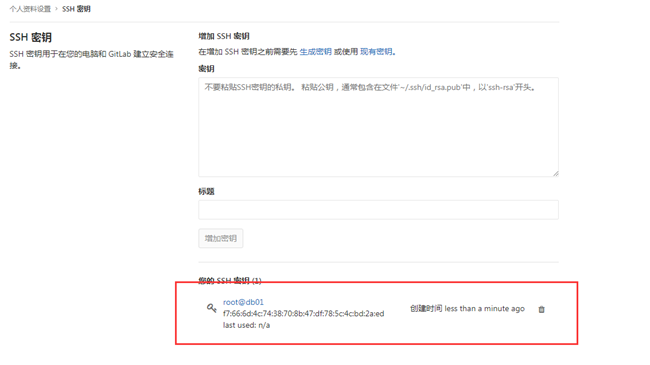
4.4 添加密钥
[root@db01 ~]# ssh-keygen -t rsa
Generating public/private rsa key pair.
Enter file in which to save the key (/root/.ssh/id_rsa):
Created directory '/root/.ssh'.
Enter passphrase (empty for no passphrase):
Enter same passphrase again:
Your identification has been saved in /root/.ssh/id_rsa.
Your public key has been saved in /root/.ssh/id_rsa.pub.
The key fingerprint is:
f7:66:6d:4c:74:38:70:8b:47:df:78:5c:4c:bd:2a:ed root@db01
The key's randomart image is:
+--[ RSA 2048]----+
|            . oo+|
|             = *=|
|            . B B|
|             o = |
|        S . . o  |
|         . o *   |
|            * +  |
|           o E   |
|                 |
+-----------------+
[root@db01 ~]#
查看公共密钥
[root@db01 ~]# cat .ssh/id_rsa.pub
ssh-rsa AAAAB3NzaC1yc2EAAAABIwAAAQEAqgVmWXspLgcvmhKfXk83Hj14n5EXE1GHzIc7FD747jH2wTGgRUCcaHIJ4QAwmAqta312SM2vlZQiuNaaZYDa01QBlnpZbimxcQolbvcFISH3HB/O5iPX/Hri4nEKnfSL72N9QTQMDTVJhCDuv6rP1ptusuNGliXyQRvaypWqUlfBkFIUc3gB8fhhXLrxNxeYdmLfCB7ZqyJSpELTxunDtUo68taA3bJADVYbhRzY+85YT1BW3ggtVlzyYBqsWboO+QNGGNUmJ/tvVh9tFez5zgqJSMlTqGLbfrv+rCKIDZVpGotooxMzMDsDZnW26NcfRJeDV6E7C4hOODg6l3XQ4Q== root@db01
[root@db01 ~]#
4.5 添加免密验证
4.6 拉取代码
1. 创建代码目录
[root@db01 ~]# mkdir /data/code -p
[root@db01 ~]# cd /data/code/
[root@db01 code]#
2. git拉取代码
没有安装git直接yum
yum  -y install  git
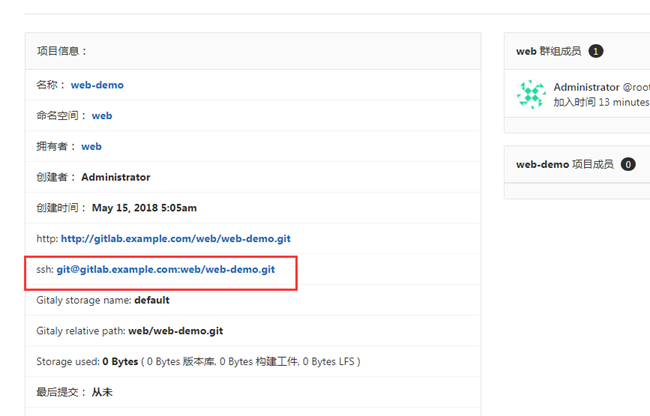
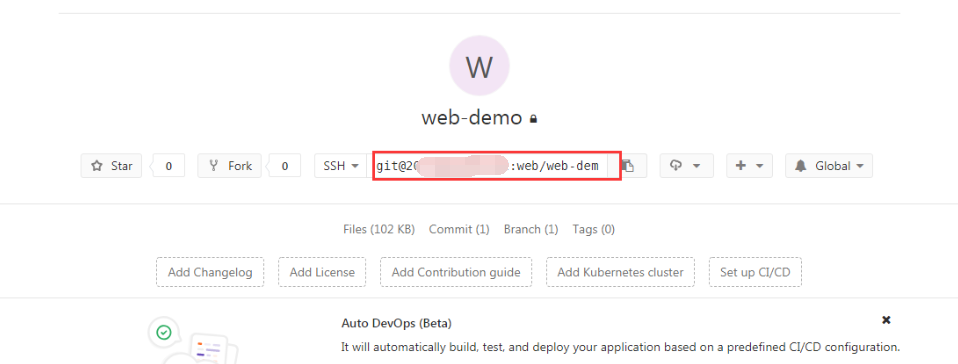
[root@db01 code]# git clone git@gitlab.example.com:web/web-demo.git
Initialized empty Git repository in /data/code/web-demo/.git/
The authenticity of host 'gitlab.example.com (2x7.xxx.3x.xxx)' can't be established.
RSA key fingerprint is 58:61:9a:f3:c9:b0:cf:xx:16:7e:d3:8c:xx:d9:aa:xx.
Are you sure you want to continue connecting (yes/no)? yes
Warning: Permanently added 'gitlab.example.com,2x7.xxx.xx.xxx' (RSA) to the list of known hosts.
warning: You appear to have cloned an empty repository.
[root@db01 code]# ll
total 4
drwxr-xr-x. 3 root root 4096 May 15 13:21 web-demo
[root@db01 code]#
3. 先hosts修改制定一下域名,后续修改成地址
[root@db01 code]# tail -1 /etc/hosts
2xx.xxx.xx.xxx      gitlab.example.com
[root@db01 code]# ping gitlab.example.com
PING gitlab.example.com (xx.xxx.xx.xxx) 56(84) bytes of data.
64 bytes from gitlab.example.com (2xx.xxx.xx.xxx): icmp_seq=1 ttl=64 time=0.012 ms
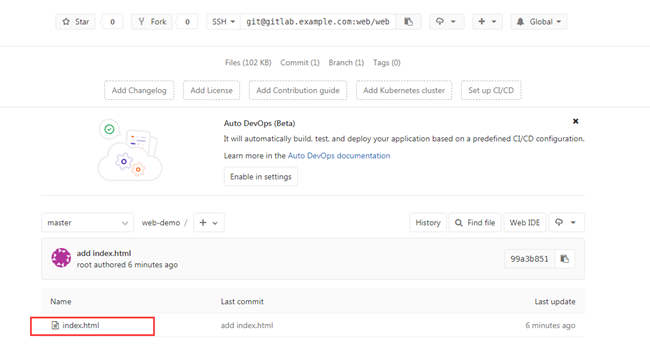
4.7 提交代码
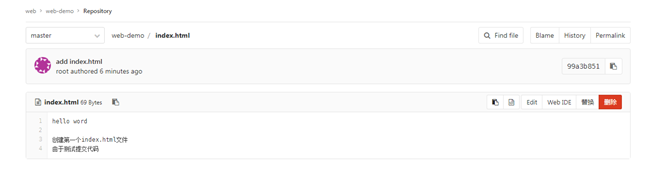
4.7.1 新建文件
[root@db01 code]# cat web-demo/index.html
hello word

创建第一个index.html文件
由于测试提交代码
[root@db01 code]#git add .
[root@db01 code]#git commit -m 'add index.html'
4.7.2 添加别名
[root@db01 web-demo]# git remote add origin git@gitlab.example.com:web/web-demo.git
fatal: remote origin already exists.
[root@db01 web-demo]# git pull origin master
fatal: Couldn't find remote ref master
fatal: The remote end hung up unexpectedly
[root@db01 web-demo]# git push origin master
Counting objects: 3, done.
Delta compression using up to 8 threads.
Compressing objects: 100% (2/2), done.
Writing objects: 100% (3/3), 281 bytes, done.
Total 3 (delta 0), reused 0 (delta 0)
To git@gitlab.example.com:web/web-demo.git
 * [new branch]      master -> master
[root@db01 web-demo]#
4.8 修改gitlab主机名

#改成相应的IP地址或者域名即可
[root@db01 web-demo]# cat -n /etc/gitlab/gitlab.rb |grep '222'
    13    external_url 'http://2xx.xxx.xx.xxx'
[root@db01 web-demo]#gitlab-ctl reconfigure
#提示:修改完需要从新配置才会生效
附录:总结及服务器配置
1. gitlab由于是java开发的所以比较占内存;
2. 如果内存比较小的话建议修改配置文件
    unicorn['worker_processes'] = 1  #默认为2,1不能在线创建文件或修改
3. 配置
    CPU:8核
    内存:8G
    磁盘:500G
    系统:CentOS6.5