由于tesseract的中文语言包“chi_sim”对中文字体或者环境比较复杂的图片,识别正确率不高,因此需要针对特定情况用自己的样本进行训练,提高识别率,通过训练,也可以形成自己的语言库。
工具:
-
Java虚拟机,由于jTessBoxEditor的运行依赖Java运行时环境,所以需要安装Java虚拟机。下载地址:http://www.oracle.com/technetwork/java/javase/downloads/jdk8-downloads-2133151.html
-
jTessBoxEditor2.0工具,用于调整图片上文字的内容和位置,下载地址:https://sourceforge.net/projects/vietocr/files/jTessBoxEditor/
- 安装包解压后双击里边的“jTessBoxEditor.jar”,或者双击该目录下的“train.bat”脚本文件,就可以打开该工具了
第一步:合成图片集
- 打开jTessBoxEditor,选择 Tools->Merge TIFF,进入训练样本所在文件夹,选中要参与训练的样本图片:进行训练的样本图片数量越多越好
-
点击 “打开” 后弹出保存对话框,选择保存在当前路径下,文件命名为: “demo.test.exp0.tif” ,格式只有一种 “TIFF” 可选。
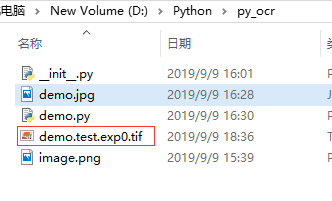
- tif文面命名格式:[lang].[fontname].exp[num].tif
- lang:是语言,fontname:是字体,num:为自定义数字。
- 比如我们要训练自定义字库 demo,字体名 test,那么我们把图片文件命名为 demo.test.exp0.tif
第二步:生成box文件
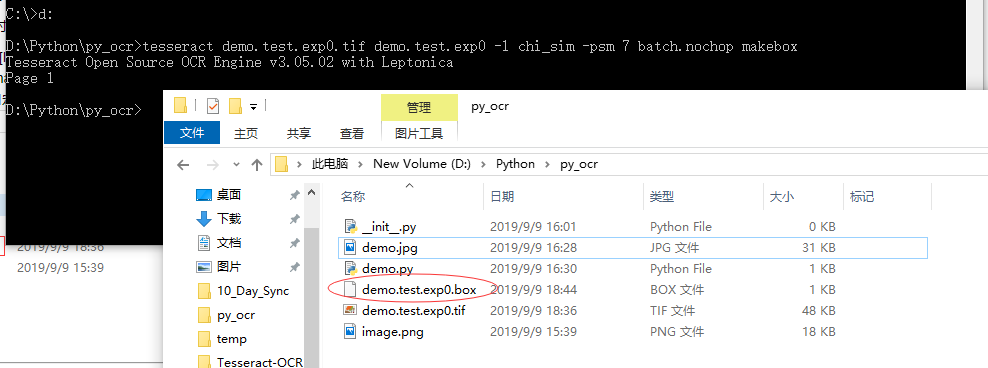
- 在上一步骤生成的 .tif 文件所在目录下打开命令行程序,执行下面命令,执行完之后会生成 .box文件, .BOX文件为Tessercat识别出的文字和其坐标。
- 命令:tesseract demo.test.exp0.tif demo.test.exp0 -l chi_sim -psm 7 batch.nochop makebox
第三步:矫正.box文件的错误
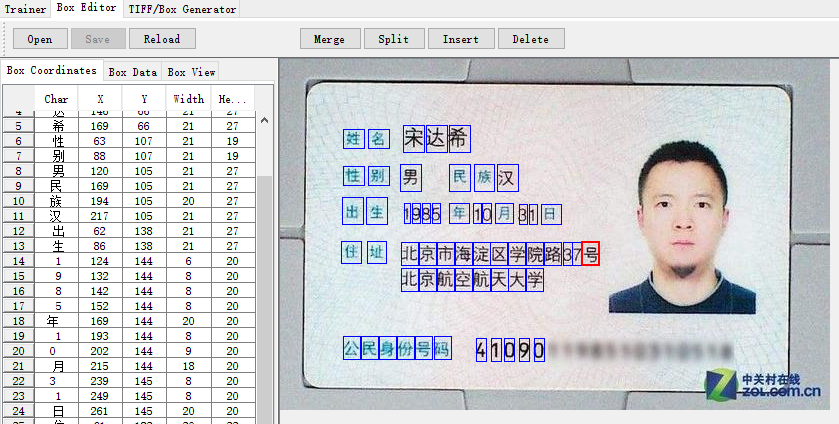
- .box文件记录了每个字符在图片上的位置和识别出的内容,训练前需要使用jTessBoxEditor调整字符的位置和内容。(注:图片dpi > 300 时效果更好)
- 打开jTessBoxEditor点击Box Editor ->Open,打开步骤2中生成的 .tif,会自动关联到 .box 文件,这两文件要求在同一目录下。调整完点击“save”保存修改。
第四步:生成font_properties文件(该文件没有后缀名)
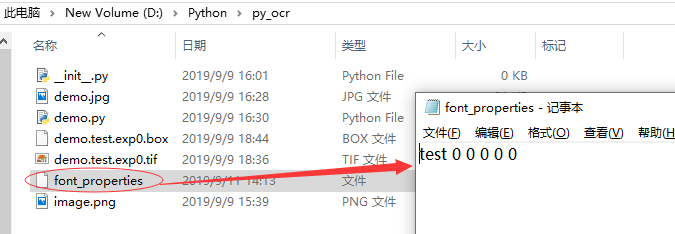
- 执行命令,会在当前目录生成font_properties文件,命令:echo test 0 0 0 0 0 >font_properties
- 执行完成之后,在当前文件夹下生成font_properties文件
-
也可以手动在该文件夹下建立一个名为 “font_properties” 的文件,这个文件没有后缀名称,输入内容 “font 0 0 0 0 0” , 表示字体 font 的粗体、倾斜等共计5个属性全都设置为0。注意 : 这里输入的 “font” 名称必须与 “demo.test.exp0.box” 中两个点号之间的 “test” 名称保持一致。
第五步:生成.tr训练文件
- 执行生成 demo.test.exp0.tr 文件,命令:tesseract demo.test.exp0.tif demo.test.exp0 nobatch box.train

第六步:生成字符集文件
- 执行命令,生成一个名为“unicharset”的文件;命令:unicharset_extractor demo.test.exp0.box

第七步:生成shape文件
- 执行命令,生成 shapetable 和 demo.unicharset 两个文件。命令:shapeclustering -F font_properties -U unicharset -O demo.unicharset demo.test.exp0.tr

第八步:生成聚字符特征文件
- 执行命令,会生成 inttemp、pffmtable、shapetable和demo.unicharset四个文件。命令:mftraining -F font_properties -U unicharset -O demo.unicharset demo.test.exp0.tr

第九步:生成字符正常化特征文件
- 执行命令,生成 normproto 文件。命令:cntraining demo.test.exp0.tr

第十步:文件重命名
- 重新命名inttemp、pffmtable、shapetable和normproto这四个文件的名字为[lang].xxx。这里修改为demo.inttemp、demo.pffmtable、demo.shapetable和demo.normproto
rename normproto demo.normproto
rename inttemp demo.inttemp
rename pffmtable demo.pffmtable
rename shapetable demo.shapetable
rename unicharset demo.unicharset
第十一步:合并训练文件
- 执行下面命令,会生成demo.traineddata文件。命令:combine_tessdata demo.
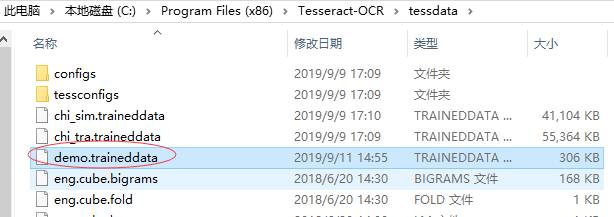
- 将生成的“demo.traineddata”语言包文件复制到Tesseract-OCR 安装目录下的tessdata文件夹中,就可以使用训练生成的语言包进行图像文字识别了。
测试
import pytesseract
from PIL import Image as img


class Languages:
    CHS = 'chi_sim'
    CHT = 'chi_tra'
    ENG = 'eng'
    DM = 'demo'


text = pytesseract.image_to_string(img.open('demo.jpg'), lang=Languages.DM)
print(text)
参考资料:
