【练习】spring的简易实现(一)
在第一部分我们实现读取xml的配置,然后实例化xml中的bean
首先定义一个xml和相关的class类
<?xml version="1.0" encoding="UTF-8"?>
<beans xmlns="http://www.springframework.org/schema/beans"
       xmlns:xsi="http://www.w3.org/2001/XMLSchema-instance"
       xsi:schemaLocation="http://www.springframework.org/schema/beans
           http://www.springframework.org/schema/beans/spring-beans.xsd">

  <bean id="petStore"
        class="org.litespring.service.v1.PetStoreService" >
  </bean>
 <bean id="invalidBean"
        class="xxx.xxxxx" >
  </bean>
</beans>
package org.litespring.service.v1;

public class PetStoreService {

}
我们先把目标写出来,即测试用例。就是先把我们想要达到的效果展示出来,然后再一步步的代码去实现
package org.litespring.test.v1;

import org.junit.Assert;
import org.junit.Test;
import org.litespring.context.ApplicationContext;
import org.litespring.context.support.ClassPathXmlApplicationContext;
import org.litespring.context.support.FileSystemXmlApplicationContext;
import org.litespring.service.v1.PetStoreService;

public class ApplicationContextTest {

	@Test
	public void testGetBean() {
		ApplicationContext ctx = new ClassPathXmlApplicationContext("petstore-v1.xml");
		PetStoreService petStore = (PetStoreService)ctx.getBean("petStore");
		Assert.assertNotNull(petStore);
	}

}
看到这里,我们发现自己只要可以读取xml(借助dom4j.jar),以及通过反射实例化一个对象那么就可以实现了。按照这个思路,我们可以很容易地实现下面这样的代码。
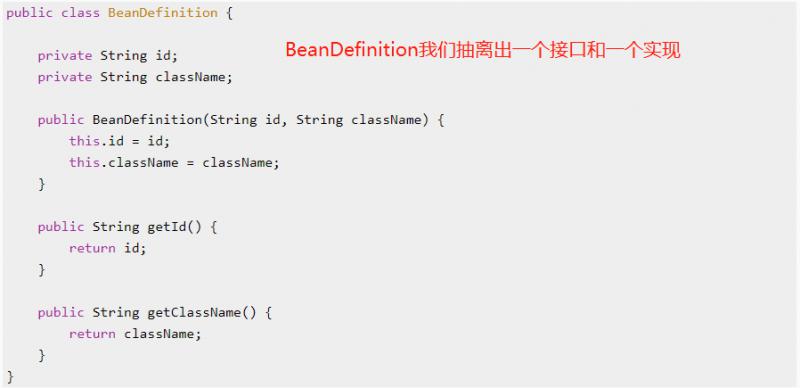
首先定义一个BeanDefinition,它用来存储xml中的bean定义
public class BeanDefinition {

    private String id;
    private String className;

    public BeanDefinition(String id, String className) {
        this.id = id;
        this.className = className;
    }

    public String getId() {
        return id;
    }

    public String getClassName() {
        return className;
    }
}
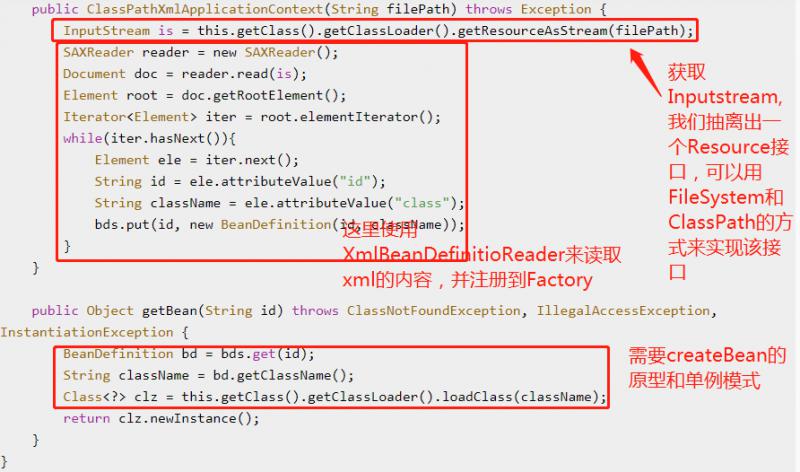
然后,我们实现主体的逻辑部分
import org.dom4j.Document;
import org.dom4j.DocumentException;
import org.dom4j.Element;
import org.dom4j.io.SAXReader;

import java.io.InputStream;
import java.util.*;

public class ClassPathXmlApplicationContext {

    private Map<String, BeanDefinition> bds = new HashMap<>();

    public ClassPathXmlApplicationContext(String filePath) throws Exception {
        InputStream is = this.getClass().getClassLoader().getResourceAsStream(filePath);
        SAXReader reader = new SAXReader();
        Document doc = reader.read(is);
        Element root = doc.getRootElement();
        Iterator<Element> iter = root.elementIterator();
        while(iter.hasNext()){
            Element ele = iter.next();
            String id = ele.attributeValue("id");
            String className = ele.attributeValue("class");
            bds.put(id, new BeanDefinition(id, className));
        }
    }

    public Object getBean(String id) throws ClassNotFoundException, IllegalAccessException, InstantiationException {
        BeanDefinition bd = bds.get(id);
        String className = bd.getClassName();
        Class<?> clz = this.getClass().getClassLoader().loadClass(className);
        return clz.newInstance();
    }
}
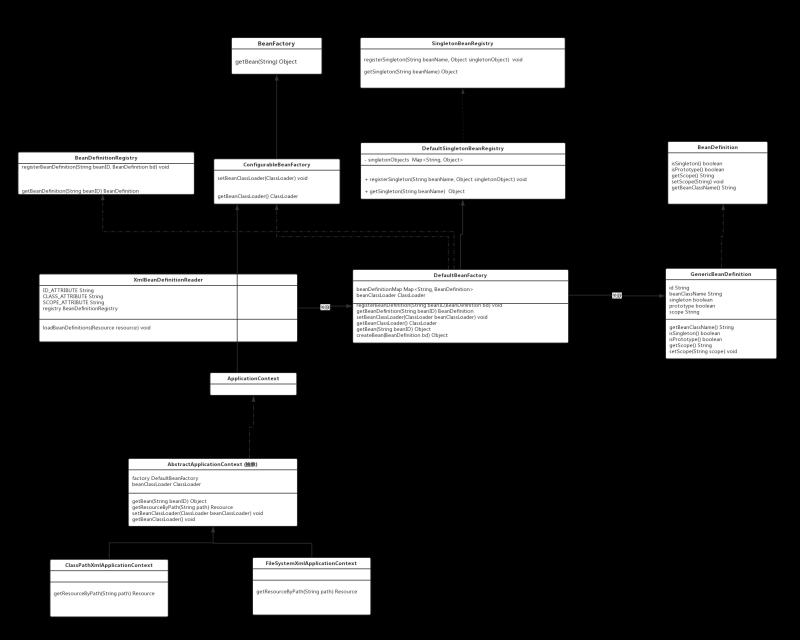
然后,我们欣喜的看到测试用例可以成功。最后,我们反思一下自己写的代码,并且和spring的实现对比。会发现,有很多可以重构的地方


我们直接画一个UML类图来看吧

代码实现见:https://github.com/Theone21/mylitespring BeanFactory分支
本文由博客一文多发平台 OpenWrite 发布!