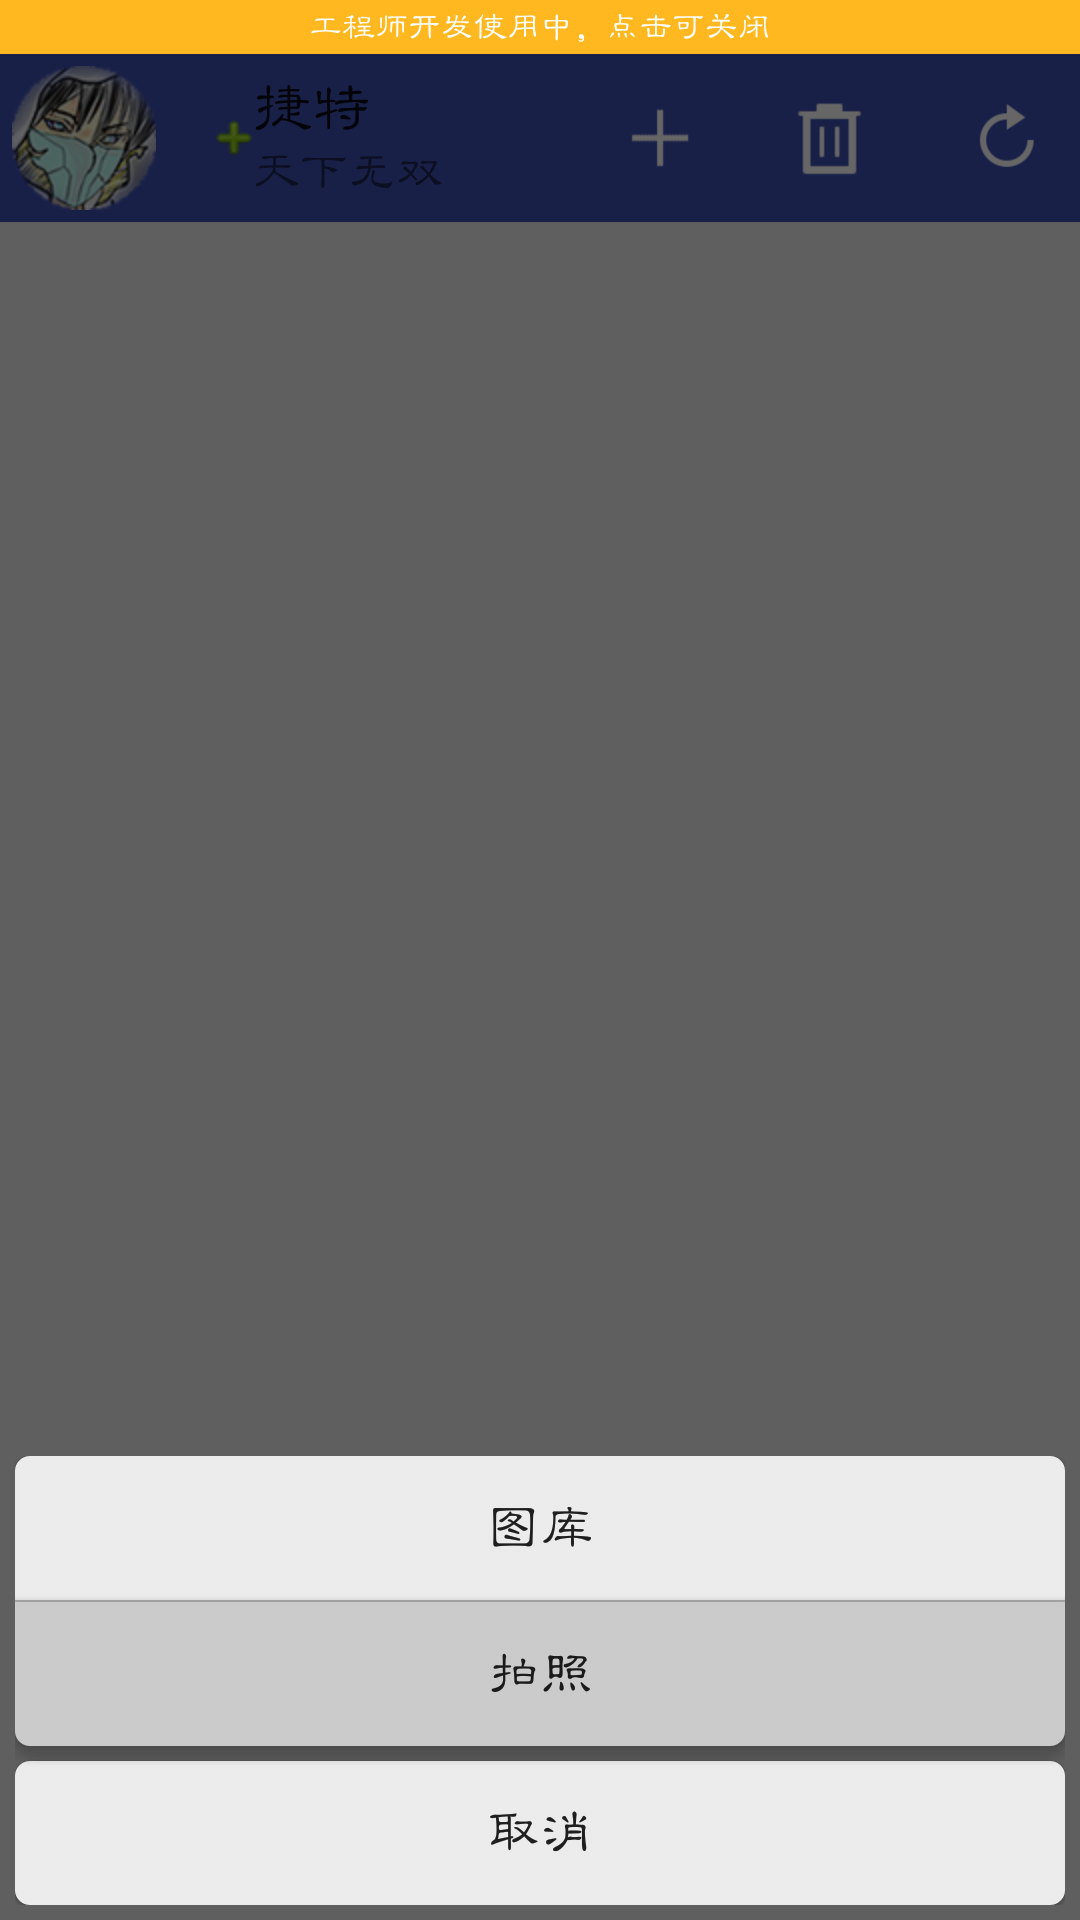
运行效果:
一 资源准备:
1.弹出的按钮:
(1)图库按钮(drawable中)-上角有弧度
正常状态:gallery_normal.xml
<?xml version="1.0" encoding="UTF-8"?>
<shape xmlns:android="http://schemas.android.com/apk/res/android"
    android:shape="rectangle" >

    <gradient
        android:angle="90"
        android:endColor="#EBEBEB"
        android:startColor="#EBEBEB" />
    <corners
        android:bottomLeftRadius="0dp"
        android:bottomRightRadius="0dp"
        android:topLeftRadius="5dp"
        android:topRightRadius="5dp" />

</shape>
按下状态:gallery_pressed.xml
<?xml version="1.0" encoding="UTF-8"?>
<shape xmlns:android="http://schemas.android.com/apk/res/android"
    android:shape="rectangle" >

    <gradient
        android:angle="90"
        android:endColor="#CACACB"
        android:startColor="#CACACB" />
    <corners
        android:bottomLeftRadius="0dp"
        android:bottomRightRadius="0dp"
        android:topLeftRadius="5dp"
        android:topRightRadius="5dp" />

</shape>
状态选择器:selector_gallery.xml
<?xml version="1.0" encoding="UTF-8"?>
<selector xmlns:android="http://schemas.android.com/apk/res/android">

    <item android:drawable="@drawable/gallery_pressed" android:state_focused="true"/>
    <item android:drawable="@drawable/gallery_pressed" android:state_focused="false" android:state_pressed="true"/>
    <item android:drawable="@drawable/gallery_normal" android:state_focused="false"/>

</selector>正常状态:camera_normal.xml
<?xml version="1.0" encoding="UTF-8"?>
<shape xmlns:android="http://schemas.android.com/apk/res/android"
       android:shape="rectangle">
    <gradient
        android:angle="90"
        android:endColor="#EBEBEB"
        android:startColor="#EBEBEB"/>
    <corners
        android:bottomLeftRadius="5dp"
        android:bottomRightRadius="5dp"
        android:topLeftRadius="0dp"
        android:topRightRadius="0dp"/>
</shape><?xml version="1.0" encoding="UTF-8"?>
<shape xmlns:android="http://schemas.android.com/apk/res/android"
android:shape="rectangle" >
<gradient
android:angle="90"
android:endColor="#CACACB"
android:startColor="#CACACB" />
<corners
android:bottomLeftRadius="5dp"
android:bottomRightRadius="5dp"
android:topLeftRadius="0dp"
android:topRightRadius="0dp" />
</shape><?xml version="1.0" encoding="UTF-8"?>
<selector xmlns:android="http://schemas.android.com/apk/res/android">
<item android:drawable="@drawable/camera_pressed" android:state_focused="true"/>
<item android:drawable="@drawable/camera_pressed" android:state_focused="false" android:state_pressed="true"/>
<item android:drawable="@drawable/camera_normal" android:state_focused="false"/>
</selector>(3)取消按钮(drawable中)-四角有弧度
正常状态:cancel_normal.xml
<?xml version="1.0" encoding="UTF-8"?>
<shape xmlns:android="http://schemas.android.com/apk/res/android"
    android:shape="rectangle" >

    <gradient
        android:angle="90"
        android:endColor="#EBEBEB"
        android:startColor="#EBEBEB" />
    <corners
        android:bottomLeftRadius="5dp"
        android:bottomRightRadius="5dp"
        android:topLeftRadius="5dp"
        android:topRightRadius="5dp" />
</shape><?xml version="1.0" encoding="UTF-8"?>
<shape xmlns:android="http://schemas.android.com/apk/res/android"
android:shape="rectangle" >
<gradient
android:angle="90"
android:endColor="#CACACB"
android:startColor="#CACACB" />
<corners
android:bottomLeftRadius="5dp"
android:bottomRightRadius="5dp"
android:topLeftRadius="5dp"
android:topRightRadius="5dp" />
</shape>状态选择器:selector_cancel.xml
<?xml version="1.0" encoding="UTF-8"?>
<selector xmlns:android="http://schemas.android.com/apk/res/android">

    <item android:drawable="@drawable/cancel_pressed" android:state_focused="true"/>
    <item android:drawable="@drawable/cancel_pressed" android:state_focused="false" android:state_pressed="true"/>
    <item android:drawable="@drawable/cancel_normal" android:state_focused="false"/>

</selector>
(4)对话框的布局
<?xml version="1.0" encoding="utf-8"?>
<LinearLayout xmlns:android="http://schemas.android.com/apk/res/android"
    android:layout_width="match_parent"
    android:layout_height="match_parent"
    android:background="#00000000"
    android:gravity="bottom"
    android:orientation="vertical"
    android:padding="5dip" >

    <Button
        android:id="@+id/but_open_photo"
        android:layout_width="match_parent"
        android:layout_height="wrap_content"
        android:background="@drawable/selector_gallery"
        android:paddingBottom="10dip"
        android:paddingTop="10dip"
        android:text="图库"
        android:textSize="16sp" />

    <TextView
        android:layout_width="match_parent"
        android:layout_height="0.5dip"
        android:background="#DAD9DB" />

    <Button
        android:id="@+id/but_take_photo"
        android:layout_width="match_parent"
        android:layout_height="wrap_content"
        android:background="@drawable/selector_camera"
        android:paddingBottom="10dip"
        android:paddingTop="10dip"
        android:text="拍照"
        android:textSize="16sp" />

    <Button
        android:id="@+id/but_cancel"
        android:layout_width="match_parent"
        android:layout_height="wrap_content"
        android:layout_marginTop="5dip"
        android:background="@drawable/selector_cancel"
        android:paddingBottom="10dip"
        android:paddingTop="10dip"
        android:text="取消"
        android:textSize="16sp" />

</LinearLayout>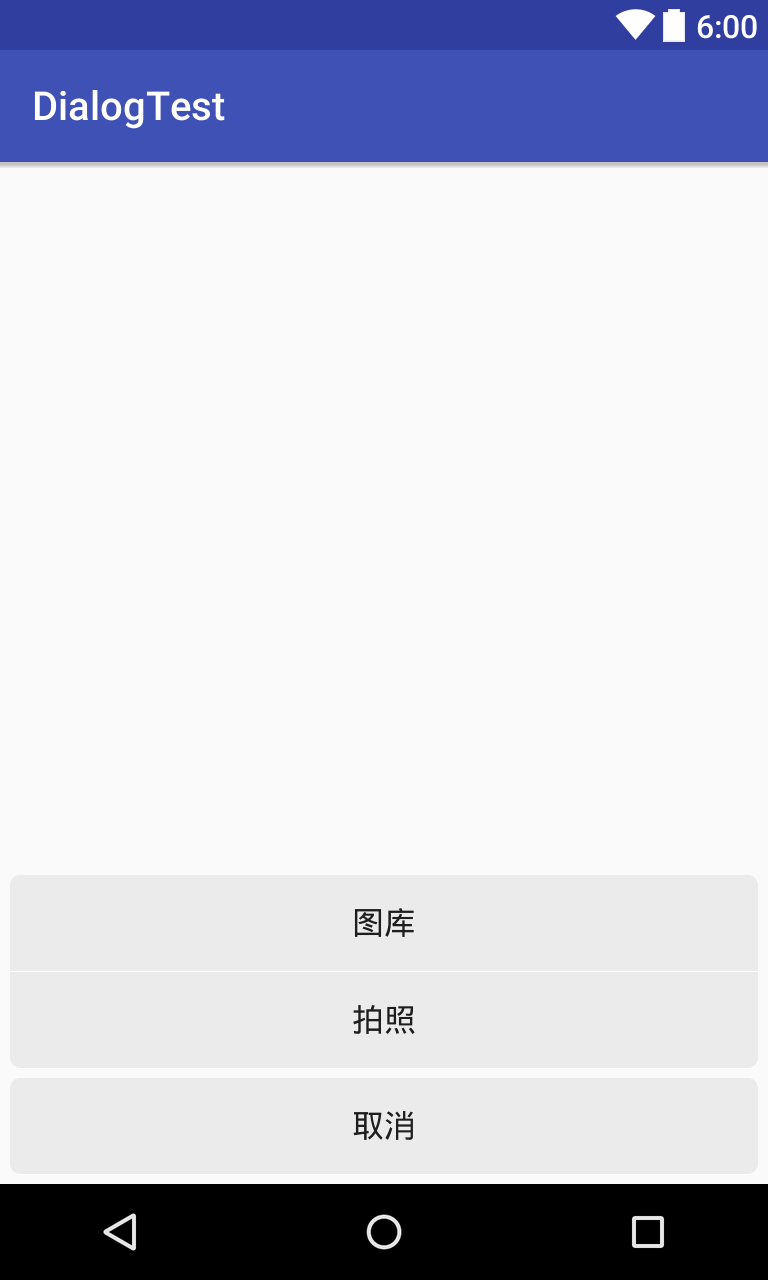
2.对话框进出动画(anim文件夹中)
(1)对话框弹出动画dialog_in_anim.xml:(进出时长300ms)
<?xml version="1.0" encoding="utf-8"?>
<set xmlns:android="http://schemas.android.com/apk/res/android" >

    <translate
        android:duration="300"
        android:fromXDelta="0"
        android:fromYDelta="1000"
        android:toXDelta="0"
        android:toYDelta="0" />

</set>
(2)对话框消失动画dialog_in_anim.xml
<?xml version="1.0" encoding="utf-8"?>
<set xmlns:android="http://schemas.android.com/apk/res/android" >

    <translate
        android:duration="300"
        android:fromXDelta="0"
        android:fromYDelta="0"
        android:toXDelta="0"
        android:toYDelta="1000" />

</set> <style name="style_anim_dialog">
<item name="android:windowEnterAnimation">@anim/dialog_in_anim</item>
<item name="android:windowExitAnimation">@anim/dialog_out_anim</item>
</style>二 主代码编写
此处将逻辑抽取到方法里,在需要的地方调用即可:
   /**
     *对话框使用逻辑
     */
    protected void showQQDialog() {
        //加载对话框布局
        View view = getLayoutInflater().inflate(R.layout.dialog_qq_item, null);
        final Dialog dialog = new Dialog(this);
        dialog.setContentView(view, new ViewGroup.LayoutParams(
                ViewGroup.LayoutParams.FILL_PARENT, ViewGroup.LayoutParams.WRAP_CONTENT));

        Window window = dialog.getWindow();//获取窗口
        window.setWindowAnimations(R.style.style_anim_dialog); // 设置显示动画
        //设置对话框背景为透明 <color name="trans">#00000000</color>
        window.setBackgroundDrawableResource(R.color.trans);
        WindowManager.LayoutParams wl = window.getAttributes();

        wl.y = getWindowManager().getDefaultDisplay().getHeight();
        // 以下这两句是为了保证按钮可以水平满屏
        wl.width = Toolbar.LayoutParams.MATCH_PARENT;
        wl.height = Toolbar.LayoutParams.WRAP_CONTENT;
        dialog.onWindowAttributesChanged(wl); // 设置显示位置
        dialog.setCanceledOnTouchOutside(true); // 设置点击外围解散
        dialog.show();//展示对话框

        view.findViewById(R.id.but_cancel).setOnClickListener(new View.OnClickListener() {
            @Override
            public void onClick(View v) {
                dialog.dismiss();
            }
        });
        view.findViewById(R.id.but_open_photo).setOnClickListener(new View.OnClickListener() {

            @Override
            public void onClick(View v) {

                Intent intent = new Intent(Intent.ACTION_GET_CONTENT);
                intent.setType("image/*");
                startActivity(intent); //打开系统图库
            }
        });
        view.findViewById(R.id.but_take_photo).setOnClickListener(new View.OnClickListener() {
            @Override
            public void onClick(View v) {

                Intent intent = new Intent(MediaStore.ACTION_IMAGE_CAPTURE);
                startActivity(intent);// 打开系统拍照
            }
        });
    }