本文目的是使用scrapy爬取京东上所有的手机数据,并将数据保存到MongoDB中。
一、项目介绍
主要目标
1、使用scrapy爬取京东上所有的手机数据
2、将爬取的数据存储到MongoDB
环境
win7、python2、pycharm
技术
1、数据采集:scrapy
2、数据存储:MongoDB
难点分析
和其他的电商网站相比,京东的搜索类爬取主要有以下几个难点:
1、搜索一个商品时,一开始显示的商品数量为30个,当下拉这一页 时,又会出现30个商品,这就是60个商品了,前30个可以直接 从原网页上拿到,后30个却在另一个隐藏链接中,要访问这两个 链接,才能拿到一页的所有数据。
2、隐藏链接的构造,发现最后的那个show_items字段其实是前30 个商品的id。
3、直接反问隐藏链接被拒绝访问,京东的服务器会检查链接的来源, 只有来自当前页的链接他才会允许访问。
4、前30个商品的那一页的链接page字段的自增是1、3、5。。。这 样的,而后30个的自增是2、4、6。。。这样的。
下面看具体的分析。
二、网页分析
首先打开京东的首页搜索“手机”:
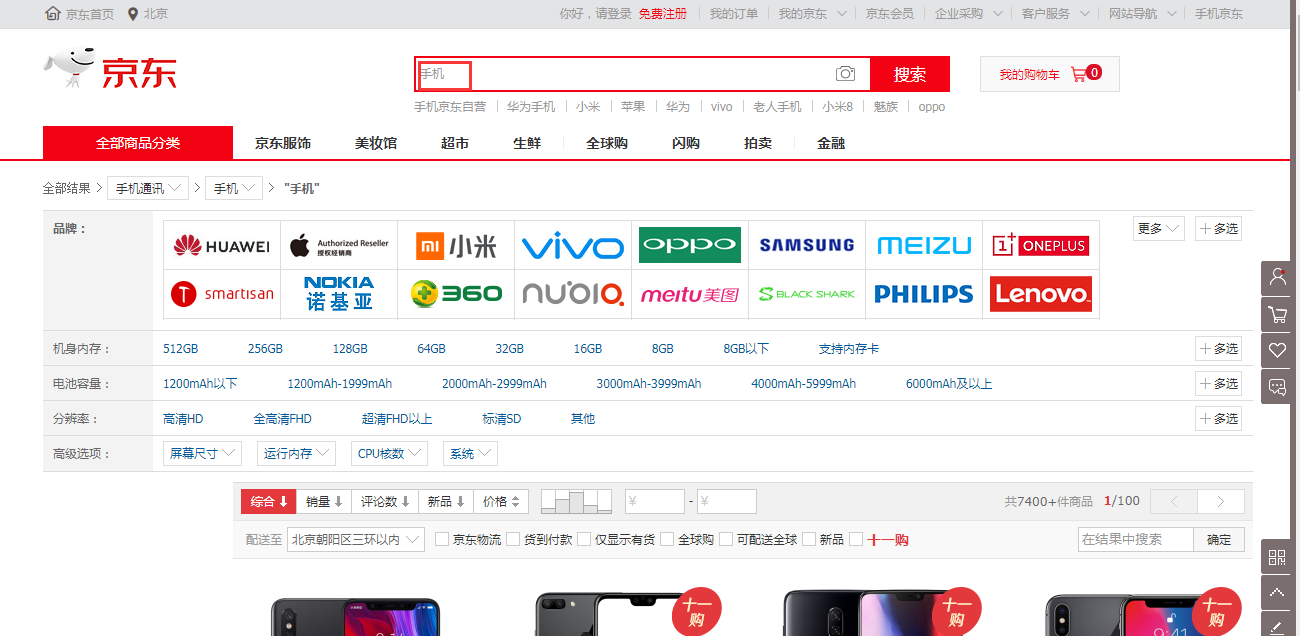
一开始他的地址是这样的:
转到第2页,会看到,他的地址变成这样子了:

后面的字段全变了,那么第2页的url明显更容易看出信息,主要修改的字段其实就是keyword,page,其实还有一个wq字段,这个得值和keyword是一样的。
那么我们就可以使用第二页的url来抓取数据,可以看出第2页的url中page字段为3。
但是查看原网页的时候却只有30条数据,还有30条数据隐藏在一个网页中:

从这里面可以看到他的Request url。
再看一下他的response:

里面正好就是我们需要的信息。
看一下他的参数请求:
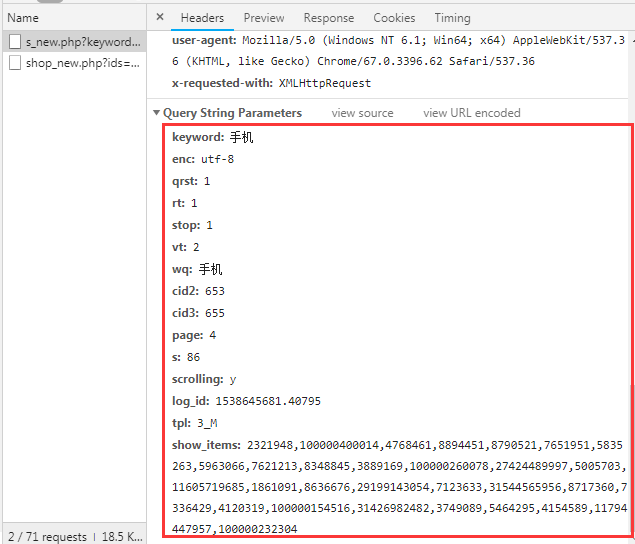
这些参数不难以构造,一些未知的参数可以删掉,而那个show_items参数,其实就是前30个商品的id:
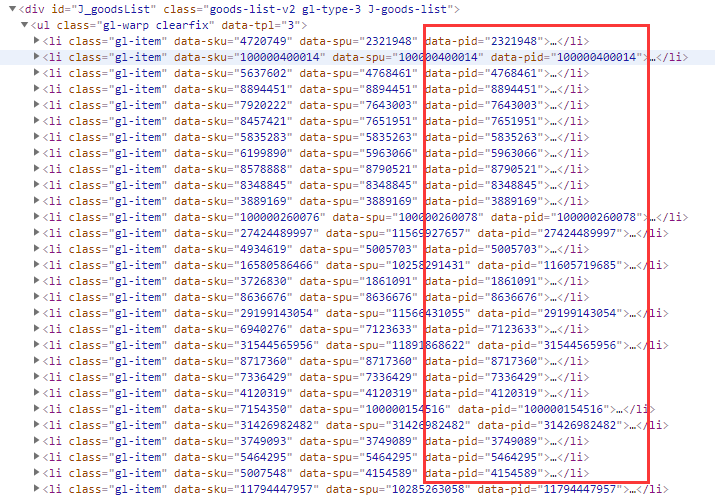
准确来说是data-pid
此时如果我们直接在浏览器上访问这个Request url,他会跳转到https://www.jd.com/?se=deny页面,并没有我们需要的信息,其实这个主要是请求头中的referer参数
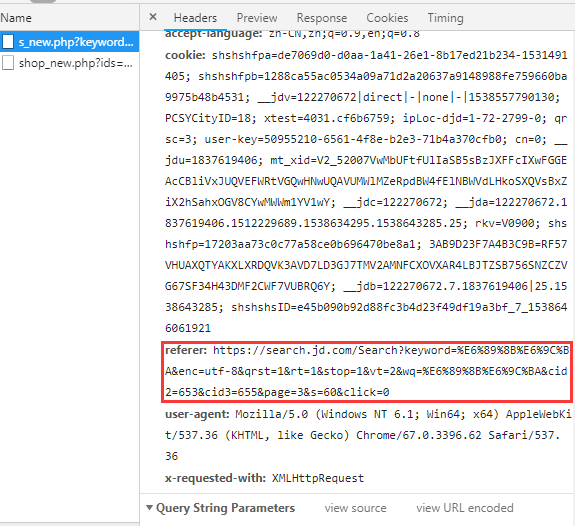
这个参数就是在地址栏上的那个url,当然在爬取的时候我们还可以加个user-agent,那么分析完毕,我们开始敲代码。
三、爬取
创建一个scrapy爬虫项目:
scrapy startproject jdphone
生成一个爬虫:
scrapy genspider jd jd.com
文件结构:
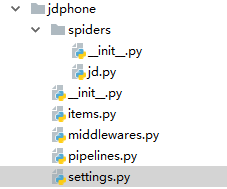
items: items.py
# -*- coding: utf-8 -*-
import scrapy


class JdphoneItem(scrapy.Item):
    # define the fields for your item here like:
    title = scrapy.Field()  # 标题

    price = scrapy.Field()  # 价格

    comment_num = scrapy.Field()  # 评价条数

    url = scrapy.Field()  # 商品链接

    info = scrapy.Field()  # 详细信息
spiders: jd.py
# -*- coding: utf-8 -*-
import scrapy
from ..items import JdphoneItem
import sys

reload(sys)
sys.setdefaultencoding("utf-8")


class JdSpider(scrapy.Spider):
    name = 'jd'
    allowed_domains = ['jd.com']  # 有的时候写个www.jd.com会导致search.jd.com无法爬取
    keyword = "手机"
    page = 1
    url = 'https://search.jd.com/Search?keyword=%s&enc=utf-8&qrst=1&rt=1&stop=1&vt=2&wq=%s&cid2=653&cid3=655&page=%d&click=0'
    next_url = 'https://search.jd.com/s_new.php?keyword=%s&enc=utf-8&qrst=1&rt=1&stop=1&vt=2&wq=%s&cid2=653&cid3=655&page=%d&scrolling=y&show_items=%s'

    def start_requests(self):
        yield scrapy.Request(self.url % (self.keyword, self.keyword, self.page), callback=self.parse)

    def parse(self, response):
        """
        爬取每页的前三十个商品,数据直接展示在原网页中
        :param response:
        :return:
        """
        ids = []
        for li in response.xpath('//*[@id="J_goodsList"]/ul/li'):
            item = JdphoneItem()

            title = li.xpath('div/div/a/em/text()').extract()  # 标题
            price = li.xpath('div/div/strong/i/text()').extract()  # 价格
            comment_num = li.xpath('div/div/strong/a/text()').extract()  # 评价条数
            id = li.xpath('@data-pid').extract()  # id
            ids.append(''.join(id))

            url = li.xpath('div/div[@class="p-name p-name-type-2"]/a/@href').extract()  # 需要跟进的链接

            item['title'] = ''.join(title)
            item['price'] = ''.join(price)
            item['comment_num'] = ''.join(comment_num)
            item['url'] = ''.join(url)

            if item['url'].startswith('//'):
                item['url'] = 'https:' + item['url']
            elif not item['url'].startswith('https:'):
                item['info'] = None
                yield item
                continue

            yield scrapy.Request(item['url'], callback=self.info_parse, meta={"item": item})

        headers = {'referer': response.url}
        # 后三十页的链接访问会检查referer,referer是就是本页的实际链接
        # referer错误会跳转到:https://www.jd.com/?se=deny
        self.page += 1
        yield scrapy.Request(self.next_url % (self.keyword, self.keyword, self.page, ','.join(ids)),
                             callback=self.next_parse, headers=headers)

    def next_parse(self, response):
        """
        爬取每页的后三十个商品,数据展示在一个特殊链接中:url+id(这个id是前三十个商品的id)
        :param response:
        :return:
        """
        for li in response.xpath('//li[@class="gl-item"]'):
            item = JdphoneItem()
            title = li.xpath('div/div/a/em/text()').extract()  # 标题
            price = li.xpath('div/div/strong/i/text()').extract()  # 价格
            comment_num = li.xpath('div/div/strong/a/text()').extract()  # 评价条数
            url = li.xpath('div/div[@class="p-name p-name-type-2"]/a/@href').extract()  # 需要跟进的链接

            item['title'] = ''.join(title)
            item['price'] = ''.join(price)
            item['comment_num'] = ''.join(comment_num)
            item['url'] = ''.join(url)

            if item['url'].startswith('//'):
                item['url'] = 'https:' + item['url']
            elif not item['url'].startswith('https:'):
                item['info'] = None
                yield item
                continue

            yield scrapy.Request(item['url'], callback=self.info_parse, meta={"item": item})

        if self.page < 200:
            self.page += 1
            yield scrapy.Request(self.url % (self.keyword, self.keyword, self.page), callback=self.parse)

    def info_parse(self, response):
        """
        链接跟进,爬取每件商品的详细信息,所有的信息都保存在item的一个子字段info中
        :param response:
        :return:
        """
        item = response.meta['item']
        item['info'] = {}
        type = response.xpath('//div[@class="inner border"]/div[@class="head"]/a/text()').extract()
        name = response.xpath('//div[@class="item ellipsis"]/text()').extract()
        item['info']['type'] = ''.join(type)
        item['info']['name'] = ''.join(name)

        for div in response.xpath('//div[@class="Ptable"]/div[@class="Ptable-item"]'):
            h3 = ''.join(div.xpath('h3/text()').extract())
            if h3 == '':
                h3 = "未知"
            dt = div.xpath('dl/dt/text()').extract()
            dd = div.xpath('dl/dd[not(@class)]/text()').extract()
            item['info'][h3] = {}
            for t, d in zip(dt, dd):
                item['info'][h3][t] = d
        yield item
item pipeline: pipelines.py
# -*- coding: utf-8 -*-
from scrapy.conf import settings
from pymongo import MongoClient


class JdphonePipeline(object):
    def __init__(self):
        # 获取setting中主机名,端口号和集合名
        host = settings['MONGODB_HOST']
        port = settings['MONGODB_PORT']
        dbname = settings['MONGODB_DBNAME']
        col = settings['MONGODB_COL']

        # 创建一个mongo实例
        client = MongoClient(host=host,port=port)

        # 访问数据库
        db = client[dbname]

        # 访问集合
        self.col = db[col]

    def process_item(self, item, spider):
        data = dict(item)
        self.col.insert(data)
        return item
setting: setting.py
# -*- coding: utf-8 -*-
BOT_NAME = 'jdphone'

SPIDER_MODULES = ['jdphone.spiders']
NEWSPIDER_MODULE = 'jdphone.spiders'


# Crawl responsibly by identifying yourself (and your website) on the user-agent
USER_AGENT = 'Mozilla/5.0 (Windows NT 6.1; Win64; x64) AppleWebKit/537.36 (KHTML, like Gecko) Chrome/67.0.3396.62 Safari/537.36'

# Obey robots.txt rules
ROBOTSTXT_OBEY = True

# 主机环回地址
MONGODB_HOST = '127.0.0.1'
# 端口号,默认27017
MONGODB_POST = 27017
# 设置数据库名称
MONGODB_DBNAME = 'JingDong'
# 设置集合名称
MONGODB_COL = 'JingDongPhone'

ITEM_PIPELINES = {
   'jdphone.pipelines.JdphonePipeline': 300,
}
其他的文件都不做改变。
运行爬虫:
scrapy crawl jd
等待几分钟后,数据都存储到了MongoDB中了,现在来看一看MongoDB中的数据。
四、检查数据
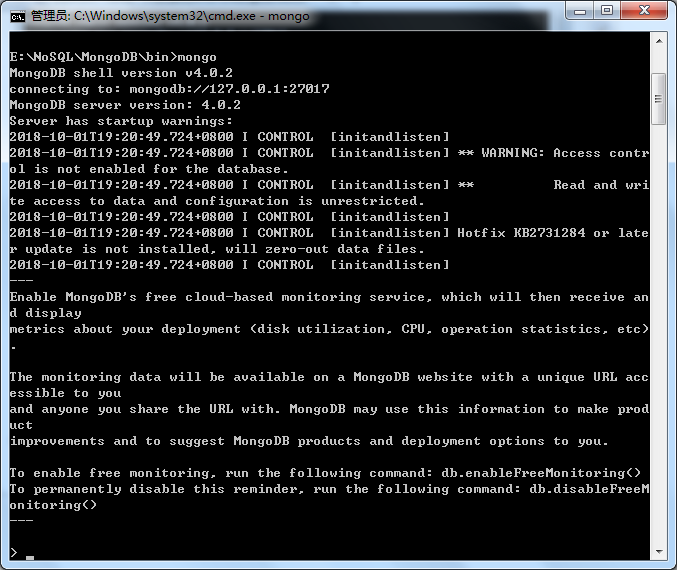
在命令行中开启mongo:
看一下数据库:
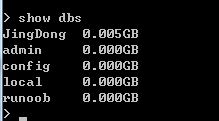
发现JingDong中有5M数据。
看一下具体状态:
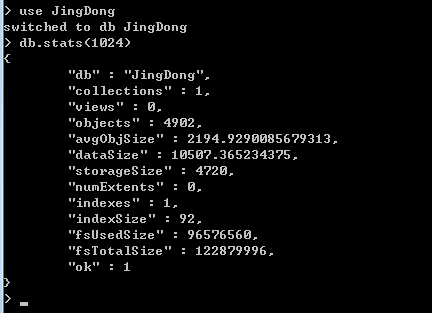
硬盘上的数据大小为4720KB,共4902条数据
最后来看一下数据:

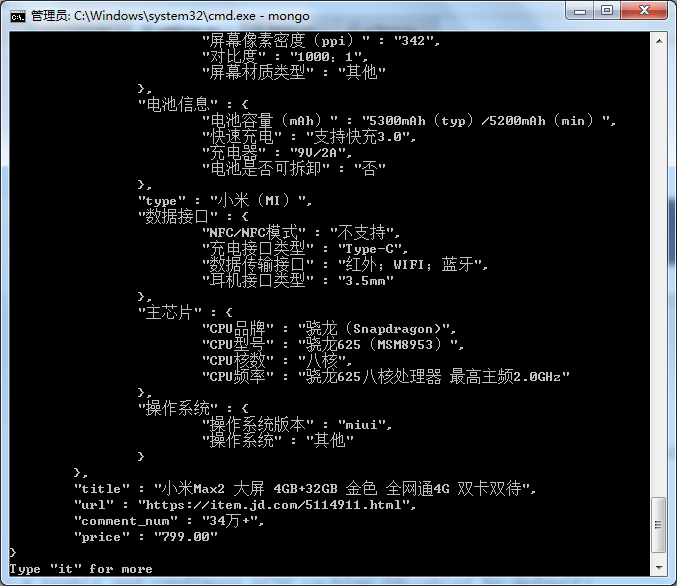
数据保存成功!