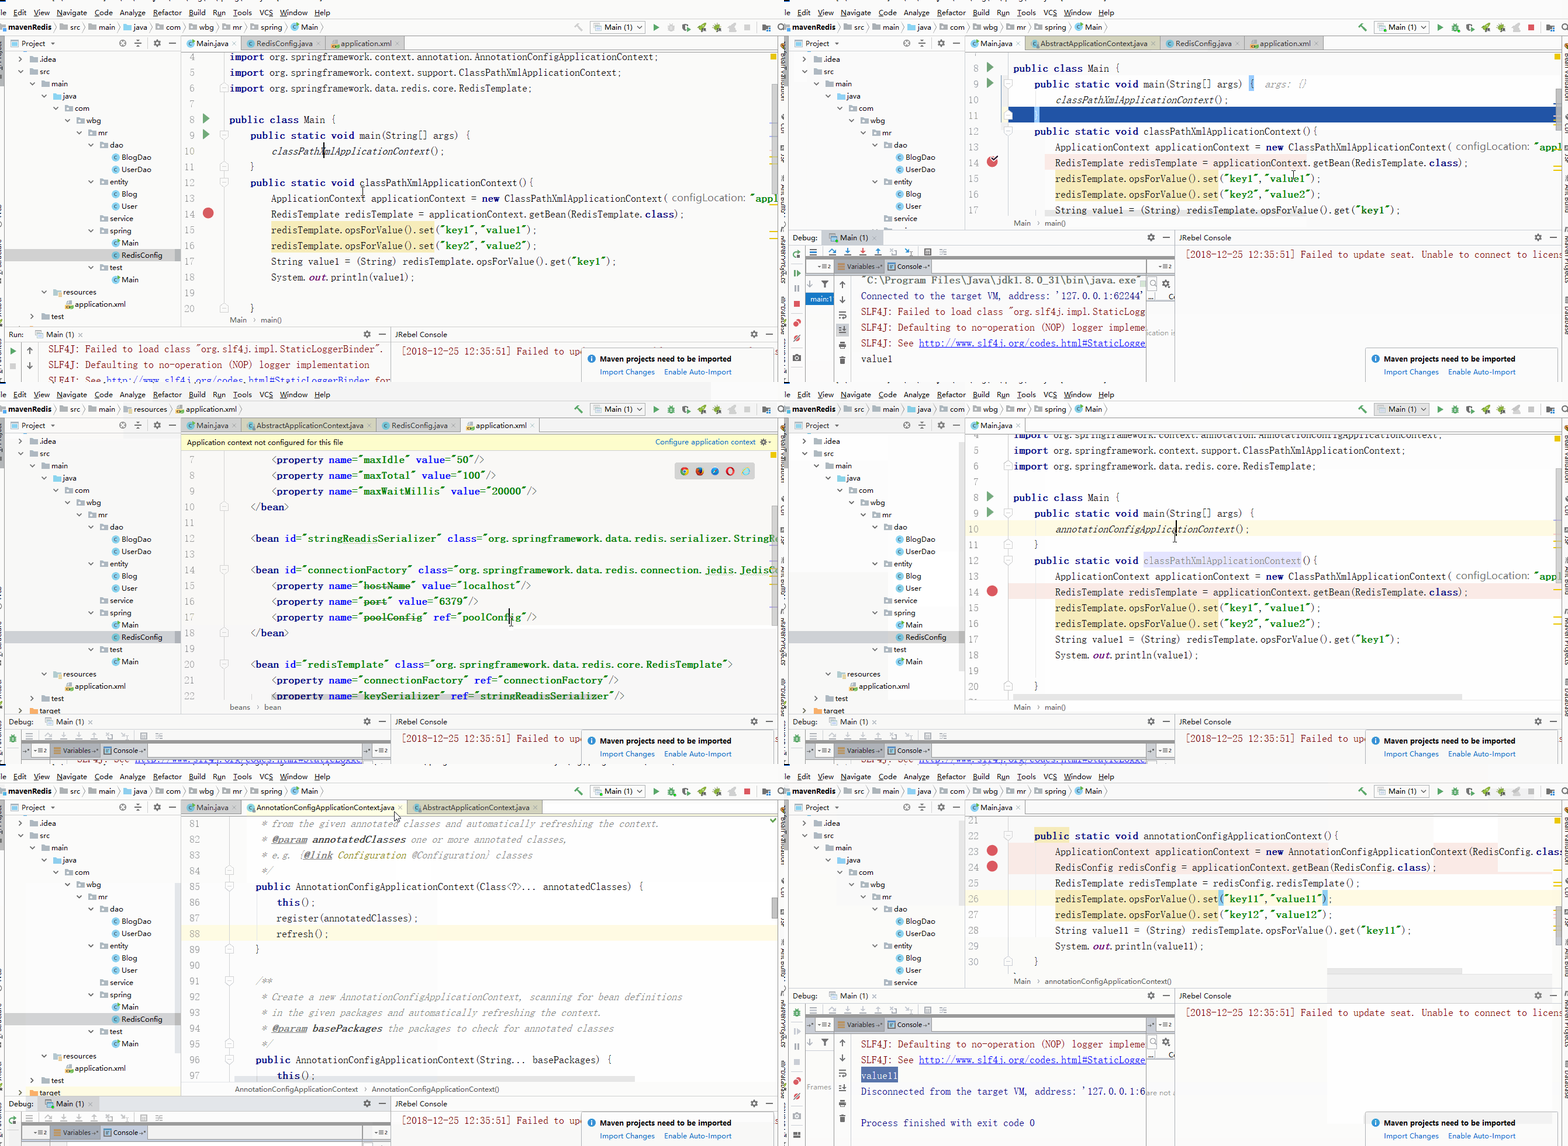
条件:引用好架包
 <dependency>
            <groupId>org.springframework.data</groupId>
            <artifactId>spring-data-redis</artifactId>
            <version>2.1.3.RELEASE</version>
        </dependency>
        <dependency>
            <groupId>redis.clients</groupId>
            <artifactId>jedis</artifactId>
            <version>2.9.0</version>
        </dependency>
一、使用xml进行配置
1、xml进行配置JedisPoolConfig、JedisConnectionFactory、Spring RedisTemplate-
<?xml version="1.0" encoding="UTF-8"?>
<beans xmlns="http://www.springframework.org/schema/beans"
       xmlns:xsi="http://www.w3.org/2001/XMLSchema-instance"
       xsi:schemaLocation="http://www.springframework.org/schema/beans http://www.springframework.org/schema/beans/spring-beans.xsd">
    <!-- 配置JedisPoolConfig-->
    <bean id="poolConfig" class="redis.clients.jedis.JedisPoolConfig">
        <property name="maxIdle" value="50"/>
        <property name="maxTotal" value="100"/>
        <property name="maxWaitMillis" value="20000"/>
    </bean>
    <!--配置JedisConnectionFactory-->
    <bean id="connectionFactory" class="org.springframework.data.redis.connection.jedis.JedisConnectionFactory">
        <property name="hostName" value="localhost"/>
        <property name="port" value="6379"/>
        <property name="poolConfig" ref="poolConfig"/>
    </bean>
    <!--使用字符串进行序列化-->
    <bean id="stringReadisSerializer" class="org.springframework.data.redis.serializer.StringRedisSerializer"/>
    <!--使用JDK的序列化器进行转化-->
    <bean id="jdkSerializationRedisSerializer" class="org.springframework.data.redis.serializer.JdkSerializationRedisSerializer"/>
    <!--配置Spring RedisTemplate-->
    <bean id="redisTemplate" class="org.springframework.data.redis.core.RedisTemplate">
        <property name="connectionFactory" ref="connectionFactory"/>
        <property name="keySerializer" ref="stringReadisSerializer"/>
        <property name="valueSerializer" ref="stringReadisSerializer"/>
    </bean>
</beans>
2、使用:
   ApplicationContext applicationContext = new ClassPathXmlApplicationContext("application.xml");
        RedisTemplate redisTemplate = applicationContext.getBean(RedisTemplate.class);
        redisTemplate.opsForValue().set("key1","value1");
        redisTemplate.opsForValue().set("key2","value2");
        String value1 = (String) redisTemplate.opsForValue().get("key1");
        System.out.println(value1);
二、使用java方式
1、创建RedisConfg配置类
package com.wbg.mr.spring;

import org.springframework.context.annotation.Bean;
import org.springframework.context.annotation.Configuration;
import org.springframework.data.redis.connection.jedis.JedisConnectionFactory;
import org.springframework.data.redis.core.RedisTemplate;
import org.springframework.data.redis.serializer.StringRedisSerializer;

@Configuration
public class RedisConfig {

    @Bean
    public JedisConnectionFactory jedisConnectionFactory(){
        JedisConnectionFactory jcf = new JedisConnectionFactory();
        jcf.setHostName("localhost");
        return jcf;
    }
    @Bean
    public RedisTemplate redisTemplate(){
        RedisTemplate rt = new RedisTemplate();
        rt.setConnectionFactory(jedisConnectionFactory());
        rt.setKeySerializer(new StringRedisSerializer());
        rt.setValueSerializer(new StringRedisSerializer());
        return rt;
    }

}
2、使用
  ApplicationContext applicationContext = new AnnotationConfigApplicationContext(RedisConfig.class);
        RedisConfig redisConfig = applicationContext.getBean(RedisConfig.class);
        RedisTemplate redisTemplate = redisConfig.redisTemplate();
        redisTemplate.opsForValue().set("key11","value11");
        redisTemplate.opsForValue().set("key12","value12");
        String value11 = (String) redisTemplate.opsForValue().get("key11");
        System.out.println(value11);
测试:

package com.wbg.mr.spring;

import org.springframework.context.ApplicationContext;
import org.springframework.context.annotation.AnnotationConfigApplicationContext;
import org.springframework.context.support.ClassPathXmlApplicationContext;
import org.springframework.data.redis.core.RedisTemplate;

public class Main {
    public static void main(String[] args) {
        annotationConfigApplicationContext();
    }
    public static void classPathXmlApplicationContext(){
        ApplicationContext applicationContext = new ClassPathXmlApplicationContext("application.xml");
        RedisTemplate redisTemplate = applicationContext.getBean(RedisTemplate.class);
        redisTemplate.opsForValue().set("key1","value1");
        redisTemplate.opsForValue().set("key2","value2");
        String value1 = (String) redisTemplate.opsForValue().get("key1");
        System.out.println(value1);

    }

    public static void annotationConfigApplicationContext(){
        ApplicationContext applicationContext = new AnnotationConfigApplicationContext(RedisConfig.class);
        RedisConfig redisConfig = applicationContext.getBean(RedisConfig.class);
        RedisTemplate redisTemplate = redisConfig.redisTemplate();
        redisTemplate.opsForValue().set("key11","value11");
        redisTemplate.opsForValue().set("key12","value12");
        String value11 = (String) redisTemplate.opsForValue().get("key11");
        System.out.println(value11);
    }
}

