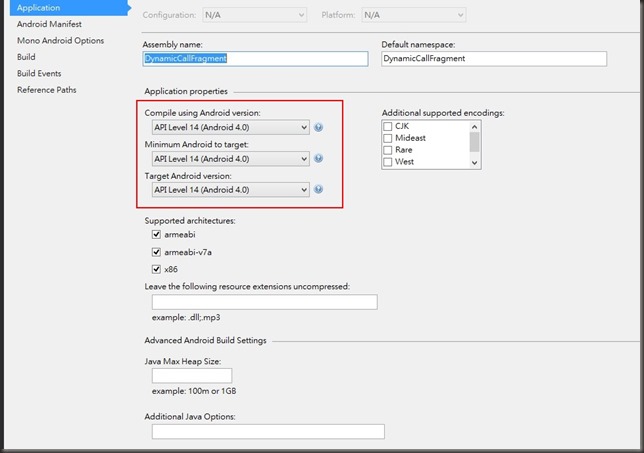
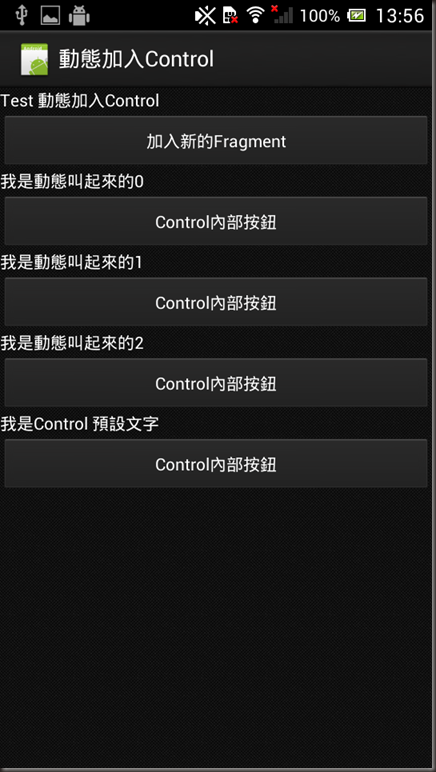
這篇我們來動態加入,一樣務求好懂簡單
2.首先建立自定Control的Layout ResourcesLayoutMyControlLayout1.axml
主要我要設定此元件有一個按鈕 按下去後,可以改變上方TextView (textView1) 的文字內容,當然這文字內容可能是由主要的Activity給予的
MyControlLayout1.axml Code :
<?xml version="1.0" encoding="utf-8"?>
<LinearLayout xmlns:android="http://schemas.android.com/apk/res/android"
android:layout_width="match_parent"
android:layout_height="match_parent"
android:orientation="vertical">
<TextView
android:id="@+id/textView1"
android:layout_width="wrap_content"
android:layout_height="wrap_content"
android:text="我是Control 預設文字" />
<Button
android:text="Control內部按鈕"
android:layout_width="fill_parent"
android:layout_height="wrap_content"
android:id="@+id/btnChangeText" />
</LinearLayout>
3. 來開一個Fragment 來操控 MyControlLayout1 的Layout MyControlFragment.cs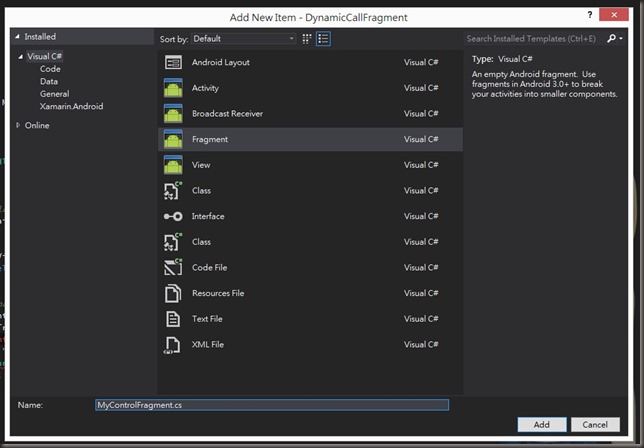
MyControlFragment.cs Code :
using Android.App;
using Android.OS;
using Android.Views;
using Android.Widget;
namespace DynamicCallFragment
{
public class MyControlFragment : Fragment
{
/// <summary>
/// Poroperty DisplayContext
/// 欲呈現的文字
/// </summary>
public string DisplayContext { get; set; }
public override View OnCreateView(LayoutInflater inflater, ViewGroup container, Bundle savedInstanceState)
{
View v = inflater.Inflate(Resource.Layout.MyControlLayout1, container, false);
var btnChangeText = v.FindViewById<Button>(Resource.Id.btnChangeText);
//設定 btnChangeText 點擊後將 textView1 的內容設為 DisplayContext
btnChangeText.Click += delegate
{
var textView1 = v.FindViewById<TextView>(Resource.Id.textView1);
textView1.Text = DisplayContext;
};
return v;
}
}
}
4.主Activity Layout ResourcesLayoutMain.axml
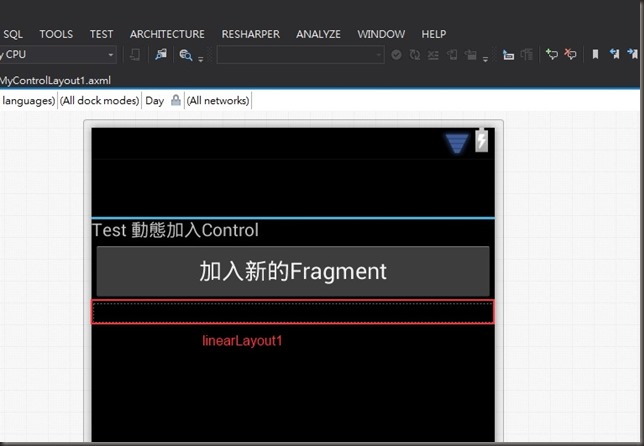
其中我放入一個LinearLayout (linearLayout1)拿來放生出來的Control Main.axml :
<?xml version="1.0" encoding="utf-8"?>
<LinearLayout xmlns:android="http://schemas.android.com/apk/res/android"
xmlns:tools="http://schemas.android.com/tools"
android:layout_width="fill_parent"
android:orientation="vertical"
android:layout_height="fill_parent">
<TextView
android:id="@+id/textView1"
android:layout_width="fill_parent"
android:layout_height="wrap_content"
android:text="Test 動態加入Control" />
<Button
android:text="加入新的Fragment"
android:layout_width="fill_parent"
android:layout_height="wrap_content"
android:id="@+id/btnDynamicAddFragment" />
<LinearLayout
android:orientation="vertical"
android:minWidth="25px"
android:minHeight="25px"
android:layout_width="fill_parent"
android:layout_height="wrap_content"
android:id="@+id/linearLayout1" />
</LinearLayout>
5.接下來就是 MainActivity 來做動態生成的部分拉:
using Android.App;
using Android.Widget;
using Android.OS;
namespace DynamicCallFragment
{
[Activity(Label = "動態加入Control", MainLauncher = true, Icon = "@drawable/icon")]
public class Activity1 : Activity
{
private int count { get; set; }
protected override void OnCreate(Bundle bundle)
{
base.OnCreate(bundle);
// Set our view from the "main" layout resource
SetContentView(Resource.Layout.Main);
// --- 動態呼叫
var btnDynamicAddFragment = FindViewById<Button>(Resource.Id.btnDynamicAddFragment);
btnDynamicAddFragment.Click += delegate
{
var fragmentManager = FragmentManager;
FragmentTransaction fragmentTransaction = fragmentManager.BeginTransaction();
var d_fragment1 = new MyControlFragment();
//加上計數作為辨識
d_fragment1.DisplayContext = "我是動態叫起來的" + count;
fragmentTransaction.Add(Resource.Id.linearLayout1, d_fragment1);
fragmentTransaction.Commit();
count++;
};
}
}
}
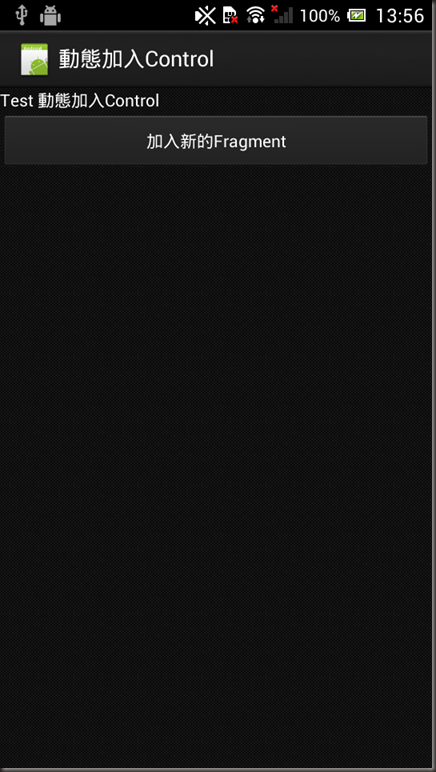
結果: 執行起來
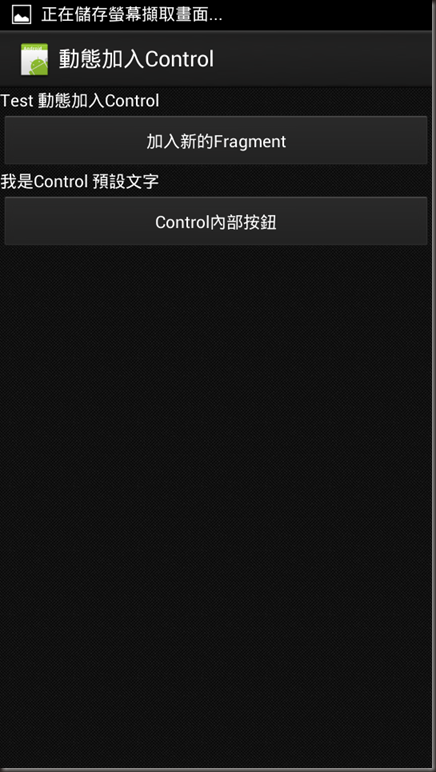
按下Control內部按鈕:
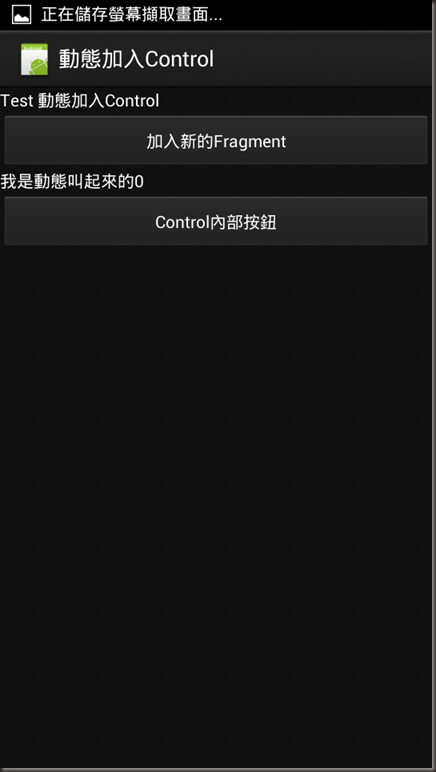
多測試幾個
是不是比之前單純Inflate好管理多了呢 :)
Reference: http://docs.xamarin.com/guides/android/platform_features/fragments
http://blog.kenyang.net/2013/03/android-fragment-activity.html
