1、下载protobuf3.8.0
https://github.com/protocolbuffers/protobuf/releases/tag/v3.8.0
2、准备工作
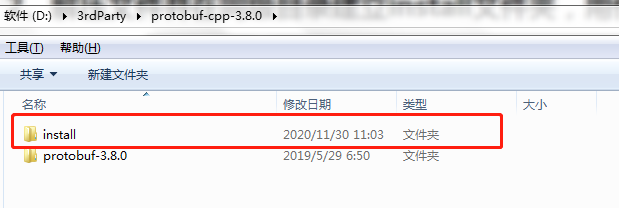
解压文件并在同级目录建立install文件夹,用作编译完成后方include ,lib等文件
3、编译工作
使用VS开发人员命令行工具进入protobuf目录,创建build目录
D:3rdPartyprotobuf-cpp-3.8.0protobuf-3.8.0cmake>mkdir build & cd build
D:3rdPartyprotobuf-cpp-3.8.0protobuf-3.8.0cmakeuild>
创建debug版本的编译目录:
D:3rdPartyprotobuf-cpp-3.8.0protobuf-3.8.0cmakeuild>mkdir debug & cd debug
D:3rdPartyprotobuf-cpp-3.8.0protobuf-3.8.0cmakeuilddebug>cmake -G "NMake Makefiles" -DCMAKE_BUILD_TYPE=Debug -DCMAKE_INSTALL_PREFIX=../../../../install ../..
3.1、创建生成的visual studio工程文件夹
D:3rdPartyprotobuf-cpp-3.8.0protobuf-3.8.0cmakeuild>mkdir solution & cd solution
D:3rdPartyprotobuf-cpp-3.8.0protobuf-3.8.0cmakeuildsolution>cmake -G "Visual Studio 16 2019" -DCMAKE_INSTALL_PREFIX=../../../../install ../..
注:因为安装了visual studio 2019而决定的,这是所谓的generator,不同编译器是不同的,具体类型可见: http://www.cmake.org/cmake/help/latest/manual/cmake-generators.7.html#visual-studio-generators
通过上述步骤后,可以在响应的目录中都生成了Makefile文件,接下来就是执行nmake进行编译
D:3rdPartyprotobuf-cpp-3.8.0protobuf-3.8.0cmakeuilddebug>nmake
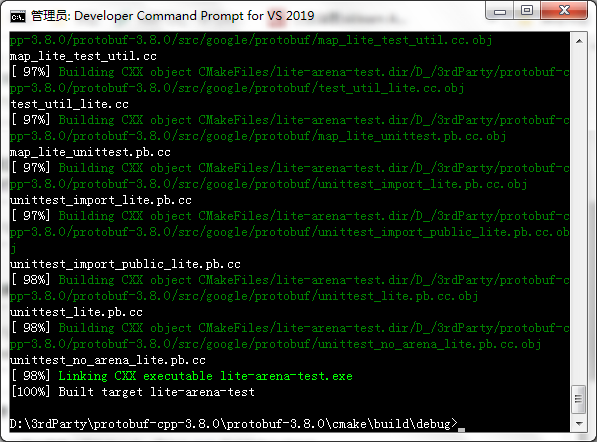
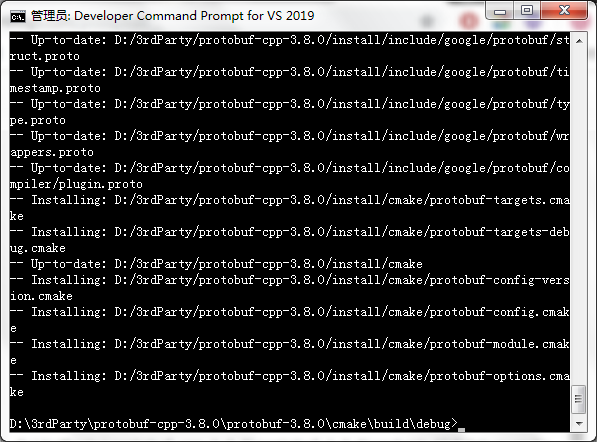
至此debug版本都编译成功,release版本同样的操作即可。
然后将install目录下的include、lib文件包含到工程中即可