初玩 spring boot,记录创建过程
1.File -- New -- Project

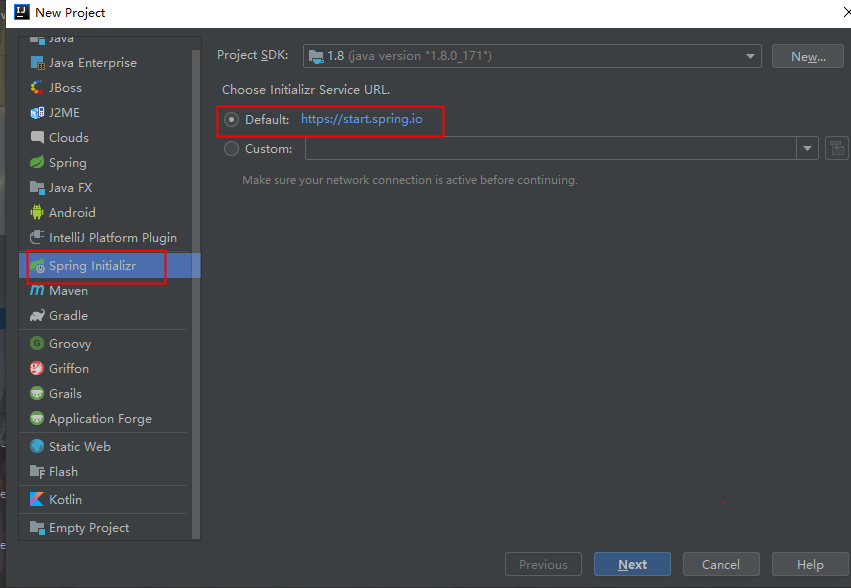
2. 选择 Spring Initializr,点击 Next
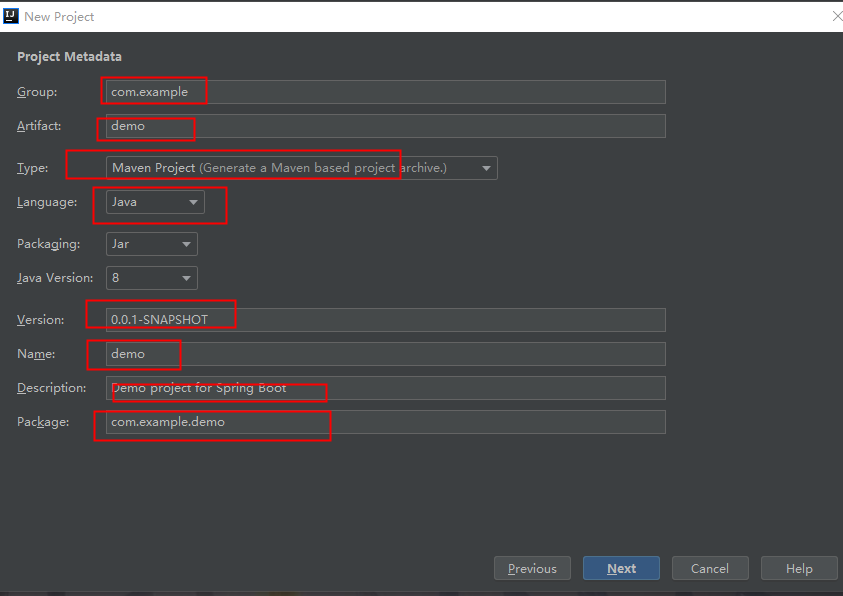
3.等待加载完成,图中圈的地方可以自定义修改,点Next
4. 选择Web -- Spring Web ,点击 Next

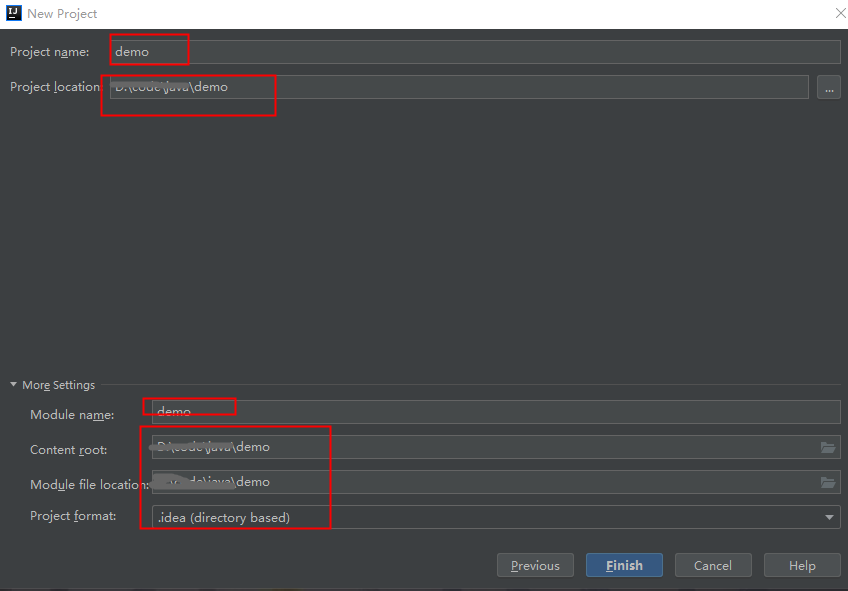
5.项目名和工程路径,点击 Finish
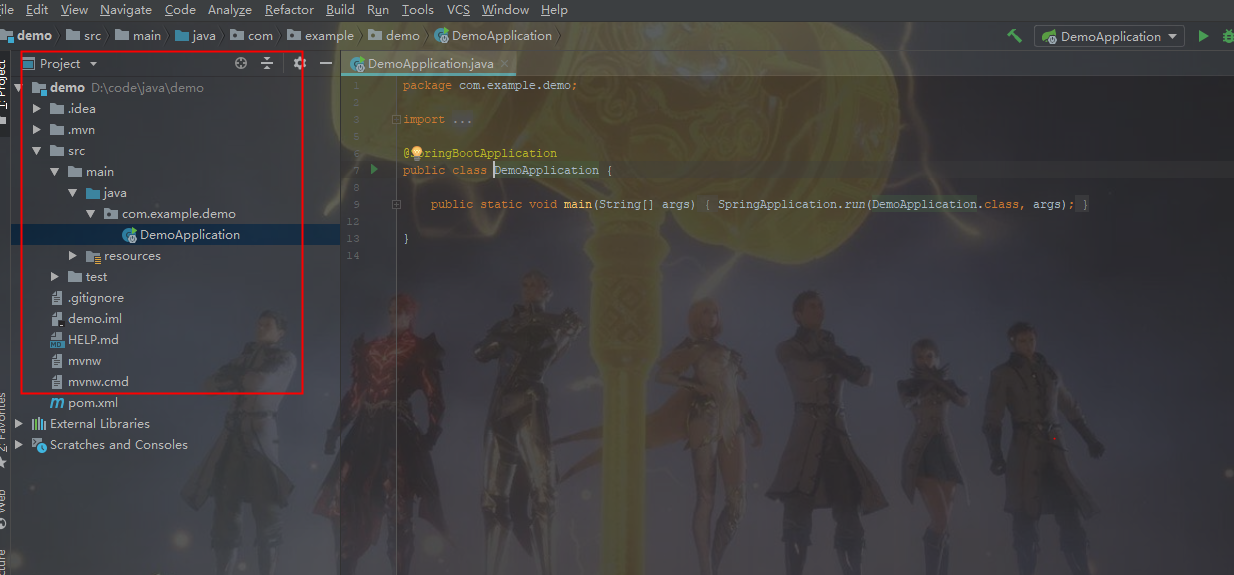
6.等待加载完,目录如下:
pom文件:


 1 <?xml version="1.0" encoding="UTF-8"?>
 2 <project xmlns="http://maven.apache.org/POM/4.0.0" xmlns:xsi="http://www.w3.org/2001/XMLSchema-instance"
 3          xsi:schemaLocation="http://maven.apache.org/POM/4.0.0 https://maven.apache.org/xsd/maven-4.0.0.xsd">
 4     <modelVersion>4.0.0</modelVersion>
 5     <parent>
 6         <groupId>org.springframework.boot</groupId>
 7         <artifactId>spring-boot-starter-parent</artifactId>
 8         <version>2.3.0.RELEASE</version>
 9         <relativePath/> <!-- lookup parent from repository -->
10     </parent>
11     <groupId>com.example</groupId>
12     <artifactId>demo</artifactId>
13     <version>0.0.1-SNAPSHOT</version>
14     <name>demo</name>
15     <description>Demo project for Spring Boot</description>
16
17     <properties>
18         <java.version>1.8</java.version>
19     </properties>
20
21     <dependencies>
22         <dependency>
23             <groupId>org.springframework.boot</groupId>
24             <artifactId>spring-boot-starter-web</artifactId>
25         </dependency>
26
27         <dependency>
28             <groupId>org.springframework.boot</groupId>
29             <artifactId>spring-boot-starter-test</artifactId>
30             <scope>test</scope>
31             <exclusions>
32                 <exclusion>
33                     <groupId>org.junit.vintage</groupId>
34                     <artifactId>junit-vintage-engine</artifactId>
35                 </exclusion>
36             </exclusions>
37         </dependency>
38     </dependencies>
39
40     <build>
41         <plugins>
42             <plugin>
43                 <groupId>org.springframework.boot</groupId>
44                 <artifactId>spring-boot-maven-plugin</artifactId>
45             </plugin>
46         </plugins>
47     </build>
48
49 </project>
7.新建 controller 目录,在此目录下新建 HelloController 文件,内容如下:
 1 package com.example.demo.controller;
 2
 3
 4 import org.springframework.web.bind.annotation.*;
 5
 6
 7 /**
 8  * created by why
 9  * @date 20200531
10  *
11  */
12
13
14 @RestController
15 public class HelloController {
16
17     @GetMapping("/hello")
18     public String say(){
19         return "Hello Spring boot";
20     }
21
22     @GetMapping("add1")
23     public String h1(){
24         return "这add1";
25     }
26 }
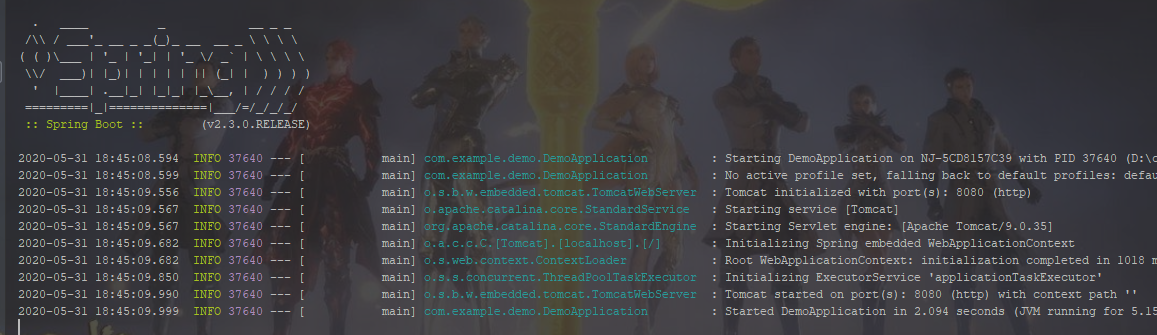
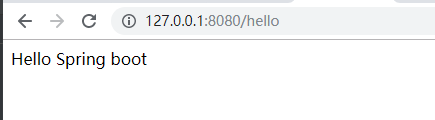
8.运行 DemoApplication,如图,打开链接 http://127.0.0.1:8080/hello
9.启动后的端口 是 8080,可以在 application.properties 文件中 添加如图,修改启动端口
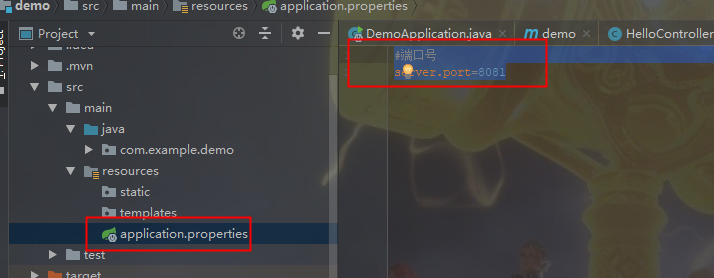
1 #端口号
2 server.port=8081
参考:https://www.cnblogs.com/xichji/p/11211514.html