三、Ansible基础命令
Ansible命令执行过程及状态
过程:
- 加载自己的配置文件,默认/etc/ansible/ansible.cfg
- 加载自己对应的模块文件,如command ping
- 通过ansible将模块或命令生成对应的临时py文件,并将该文件传输至远程服务器
- 给文件+x权限
- 执行并返回结果
- 删除临时py文件,sleep 10 退出
状态:
- 绿色:执行成功并且不需要做改变的动作
- 黄色:执行成功并且对目标主机做变更
- 红色:执行失败
1、Ansible命令用法
1)Ansible命令
ansible ansible-doc ansible-playbook ansible-vault ansible-console ansible-galaxy ansible-pull
- Ansible-doc 显示模块帮助
ansible-doc [options] [module...]
-a 显示所有模块的文档
-l --list 列出可用模块
-s --snippet 显示制定模块的playbook片段
示例:
ansible-doc -l 列出所有模块
ansible-doc ping 查看制定模块帮助用法
ansible-doc -s ping 查看制定模块帮助用法
- Ansible命令用法
ansible <host-pattern> [-m module_name] [-a args]
--version 显示版本
-m module 制定模块默认为 command
-v 详细过程 -vv -vvv更详细
--list-hosts 显示主机列表 可以简写为--list
-k --ask-pass 提示数据ssh连接密码 默认key验证
-K --ask-become-pass 提示输入sodu的口令
-C check 检查并不执行
-T --timeout=TIMEOUT 执行命令的超时时间 默认10s
-u --user=REMOTE_USER 执行远程执行的用户
-b --become 代替旧版的sudo切换
试验:使用white用户连接web组下的服务器查看root家目录下的内容:
[root@ansible ~]# ansible web -u white -k -m command -a 'ls /root'
SSH password:
172.16.111.7 | FAILED | rc=2 >>
ls: cannot open directory /root: Permission deniednon-zero return code

172.16.111.8 | FAILED | rc=2 >>
ls: cannot open directory /root: Permission deniednon-zero return code
显示没有权限
[root@ansible ~]# ansible web -m command -a 'ls /root' -u white -k -b  -K
SSH password:
SUDO password[defaults to SSH password]:
172.16.111.8 | FAILED! => {
    "changed": false,
    "module_stderr": "Shared connection to 172.16.111.8 closed.
",
    "module_stdout": "
We trust you have received the usual lecture from the local System
Administrator. It usually boils down to these three things:

    #1) Respect the privacy of others.
    #2) Think before you type.
    #3) With great power comes great responsibility.


Sorry, user white is not allowed to execute '/bin/sh -c echo BECOME-SUCCESS-mpdogqixumfmgqlscdyojejjgicjppfi; /usr/bin/python /home/white/.ansible/tmp/ansible-tmp-1540363523.36-270983856118240/command.py; rm -rf "/home/white/.ansible/tmp/ansible-tmp-1540363523.36-270983856118240/" > /dev/null 2>&1' as root on node2.
",
    "msg": "MODULE FAILURE",
    "rc": 1
}
172.16.111.7 | SUCCESS | rc=0 >>
a
anaconda-ks.cfg
CentOS-Base.repo
checkout
elasticsearch-6.0.0.rpm
nginx-1.12.2
nginx-1.12.2.tar.gz
update
此时发现 node1可以 2 不可以 查询由于white用户在node2没有sudo授权 ,visudo修改 visudo -c检测
[root@ansible ~]# ansible web -m command -a 'ls /root' -u white -k -b  -K
SSH password:
SUDO password[defaults to SSH password]:
172.16.111.7 | SUCCESS | rc=0 >>
a
anaconda-ks.cfg
CentOS-Base.repo
checkout
elasticsearch-6.0.0.rpm
nginx-1.12.2
nginx-1.12.2.tar.gz
update

172.16.111.8 | SUCCESS | rc=0 >>
315586643?lang=zh-CN
anaconda-ks.cfg
elasticsearch-2.3.5.rpm
elasticsearch-6.0.0.rpm
kibana-4.5.4-1.x86_64.rpm
logstash-2.3.4-1.noarch.rpm
nginx-1.12.2
nginx-1.12.2.tar.gz
rh-nginx112-nginx-1.12.1-2.el7.x86_64.rpm
以上均是用口令验证 并且需要使用root权限,存在安全隐患,生产上推荐基于KEY的验证
2)基于key验证配置
在ansible主控端生成公钥,发送到所有被控端
[root@ansible ~]# ssh-keygen
Generating public/private rsa key pair.
Enter file in which to save the key (/root/.ssh/id_rsa):
Enter passphrase (empty for no passphrase):
Enter same passphrase again:
Your identification has been saved in /root/.ssh/id_rsa.
Your public key has been saved in /root/.ssh/id_rsa.pub.
The key fingerprint is:
SHA256:dOv+zF1JdDLy9dpJzfGf1cYl1zGuPC9m2w/0nsLFGPc root@ansible
The key's randomart image is:
+---[RSA 2048]----+
|               o |
|              . +|
|        . . . ++*|
|       . . ..+oXO|
|        S .  +Bo@|
|         .   o=BE|
|          . .++==|
|         . oo+++.|
|          ..+.oo+|
+----[SHA256]-----+
You have new mail in /var/spool/mail/root
[root@ansible ~]# ssh-copy-id 172.16.111.7
/bin/ssh-copy-id: INFO: Source of key(s) to be installed: "/root/.ssh/id_rsa.pub"
/bin/ssh-copy-id: INFO: attempting to log in with the new key(s), to filter out any that are already installed
/bin/ssh-copy-id: INFO: 1 key(s) remain to be installed -- if you are prompted now it is to install the new keys
root@172.16.111.7's password:

Number of key(s) added: 1

Now try logging into the machine, with:   "ssh '172.16.111.7'"
and check to make sure that only the key(s) you wanted were added.

[root@ansible ~]# ssh-copy-id 172.16.111.8
/bin/ssh-copy-id: INFO: Source of key(s) to be installed: "/root/.ssh/id_rsa.pub"
/bin/ssh-copy-id: INFO: attempting to log in with the new key(s), to filter out any that are already installed
/bin/ssh-copy-id: INFO: 1 key(s) remain to be installed -- if you are prompted now it is to install the new keys
root@172.16.111.8's password:

Number of key(s) added: 1

Now try logging into the machine, with:   "ssh '172.16.111.8'"
and check to make sure that only the key(s) you wanted were added.


[root@ansible ~]# ssh-copy-id 172.16.111.9
/bin/ssh-copy-id: INFO: Source of key(s) to be installed: "/root/.ssh/id_rsa.pub"
/bin/ssh-copy-id: INFO: attempting to log in with the new key(s), to filter out any that are already installed
/bin/ssh-copy-id: INFO: 1 key(s) remain to be installed -- if you are prompted now it is to install the new keys
root@172.16.111.9's password:

Number of key(s) added: 1

Now try logging into the machine, with:   "ssh '172.16.111.9'"
and check to make sure that only the key(s) you wanted were added.
验证
[root@ansible ~]# ansible all -m ping
172.16.111.9 | SUCCESS => {
    "changed": false,
    "ping": "pong"
}
172.16.111.7 | SUCCESS => {
    "changed": false,
    "ping": "pong"
}
172.16.111.8 | SUCCESS => {
    "changed": false,
    "ping": "pong"
}
3)Ansible的Host-pattern
匹配主机的列表
-
ALL :表示所有Inverntory中的所有主机
ansible all -m ping
-
* :通配符
ansible "*" -m ping
ansible 172.16.111.* -m ping
ansible "web" -m ping
-
逻辑或
ansible "web:app" -m ping
ansible "172.16.111.7:172.16.111.9" -m ping
-
逻辑与
ansible "web:&app" -m ping
-
逻辑非
ansible 'web:!app' -m ping
!!!注意!!!逻辑与或非分别为:& 、: 、:! 非这里只能为但引号 不能是双引号
-
综合逻辑
ansible 'web:&app:!db' -m ping
-
正则表达式
ansible "web:&app:!db" -m ping #注意区别综合逻辑
ansible "~(web|db).*.white.com" -m ping
4)Ansible常用模块
-
command:在主机执行命令,默认模块 可以忽略 -m 选项
ansible web -m command -a 'ls /data'
此命令不支持@VARNAME < > | ; &等,需要用shell模块实现
[root@ansible ~]# ansible-doc command - chdir #切换目录 - creates #如果如果文件创建,则不执行命令 = free_form # - removes #如果文件不存在 则不执行命令 ansible web -m command -a 'removes =/data ls /data' -
shell :和command类似 用shell执行命令
ansible web -m shell -a 'echo white|passwd -stdin wange'
调用bash执行命令 类似 cat /tmp/stanley.md|aws -F '|' '{print$1,$2}' &> /tmp/asd.txt 这些复杂命令 ,即使使用shell也可能会失败,解决办法:写到脚本时,copy到远程 执行 再把需要的结果拉回执行命令的机器
-
Script:运行脚本
-a "/PATH/TO/SCRIPT_FILE"
ansible web -m script -a f1.sh
-
Copy:从服务器复制文件到客户端
ansible all -m copy -a 'src=/etc/hosts dest=/etc/hosts backup=yes'
src 源 dest目标 backup 备份 onwer 所有者 mode权限
-
Fetch:从客户端取文件到服务端,与copy相反
ansibles web -m fetch -a 'src=/root/a.sh dest=/data/scripts/'
默认只支持单个文件,不支持多个文件或目录,做个文件建议放进目录内tar打包后进行拉取
此时抓取的文件会在/data/scripts/hostname/内hostname是被控端主机的主机名
-
File:设置文件属性 state比较重要,可以根据state不同值实现不同效果
ansible web -m file -a "path=/root/a.sh owner=white mode=755"
ansible web -m file -a 'src=/app/testfile dest=/app/testfile-link state=link'
#创建文件
[root@ansible ~]# ansible all -m file -a 'path=/tmp/ads state=touch'
[root@ansible ~]# ansible all -m shell -a 'ls -l /tmp|grep ads'
172.16.111.9 | SUCCESS | rc=0 >>
-rw-r--r--. 1 root root  0 Oct 25 00:48 ads

172.16.111.7 | SUCCESS | rc=0 >>
-rw-r--r--. 1 root          root             0 Oct 24 16:48 ads

172.16.111.8 | SUCCESS | rc=0 >>
-rw-r--r--. 1 root          root           0 Oct 24 16:48 ads
#删除文件
[root@ansible ~]# ansible all -m file -a 'path=/tmp/ads state=absent'

[root@ansible ~]# ansible all -m shell -a 'ls -l /tmp|grep ads'
172.16.111.9 | FAILED | rc=1 >>
non-zero return code

172.16.111.7 | FAILED | rc=1 >>
non-zero return code

172.16.111.8 | FAILED | rc=1 >>
non-zero return code
如果要创建文件夹 state=directory 删除也是用absent
#创建软链接 [root@ansible ~]# ansible all -m file -a 'src=/etc/fstab dest=/data/fstab.link state=link' [root@ansible ~]# ansible all -m shell -a 'ls -l /data' 172.16.111.9 | SUCCESS | rc=0 >> total 0 lrwxrwxrwx. 1 root root 10 Oct 25 00:58 fstab.link -> /etc/fstab 172.16.111.7 | SUCCESS | rc=0 >> total 0 lrwxrwxrwx. 1 root root 10 Oct 24 16:58 fstab.link -> /etc/fstab drwxr-xr-x. 3 root root 21 Oct 22 17:10 svndata 172.16.111.8 | SUCCESS | rc=0 >> total 0 lrwxrwxrwx. 1 root root 10 Oct 24 16:58 fstab.link -> /etc/fstab drwxr-xr-x. 3 root root 21 Oct 22 16:33 svndata #删除软链接 [root@ansible ~]# ansible all -m file -a 'dest=/data/fstab.link state=absent' -
Hostname: 修改主机名
ansible 172.16.111.7 -m hostname -a 'name=web01'
此时的修改是配置文件和临时同时修改。重启后仍然有效。
-
Cron:计划任务模块
1)创建任务计划
ansible all -m cron -a 'minute=* weekday=1,3,5 job="/usr/bin/wall FBI warining" name=warningcron'
2)取消任务计划 禁用
ansible all -m cron -a 'disabled=true job="/usr/bin/wall FBI warining" name=warningcron'
#取消任务计划时,job和name一定要有 如果没有name,则会新建一个计划任务然后注释掉
3)再次打开任务计划
disabled=false
true 也可以用yes
false也可以用no
4)删除计划任务
ansible all -m cron -a 'job="/usr/bin/wall FBI warining" name=warningcron state=absent'
-
Yum:管理包模块
默认是安装 present 或者installed都可以,多个包用,隔开
ansible all -m yum -a 'name=vsftpd'
也可以安装独立的二进制包,先用copy模块把包复制到每个被控制端主机,然后name=/data/***路径 安装
查看已经安装的
ansible all -m yum -a 'list=installed'
卸载 removed和absent都可以
ansible all -m yum -a 'name=vsftpd state=removed'
可以用shell 模块 rpm -q查看
-
Service:服务模块
控制远程开启服务并加入开启自启动
ansible all -m service -a 'name=vsftpd state=started enabled=yes'
enabled 加入开机自启动
state=started 开启服务
-
User:用户管理
创建用户
ansible all -m user -a 'name=nginx shell=/sbin/nologin system=yes home=/var/nginx groups=root,bin group=nginx uid=1005 comment="nginx serveice"'
home 家目录
group 主组 groups 辅助组
删除用户
ansible all -m user -a 'name=nginx state=absent remove=yes'
remove=yes删除家目录
-
Group:组的管理
用法与user类似
创建组
ansible all -m group -a 'name=nginx system=yes gid=80'
删除组
ansible all -m group -a 'name=nginx state=absent'
2、Ansible-galaxy
-
连接https://galaxy.ansible.com下载相应的roles
-
列出所有已安装的galaxy
ansible-galaxy list
-
安装galaxy
ansible-galaxy install geerlingguy.redis
-
删除galaxy
ansible-galaxy remove geerlingguy.redis
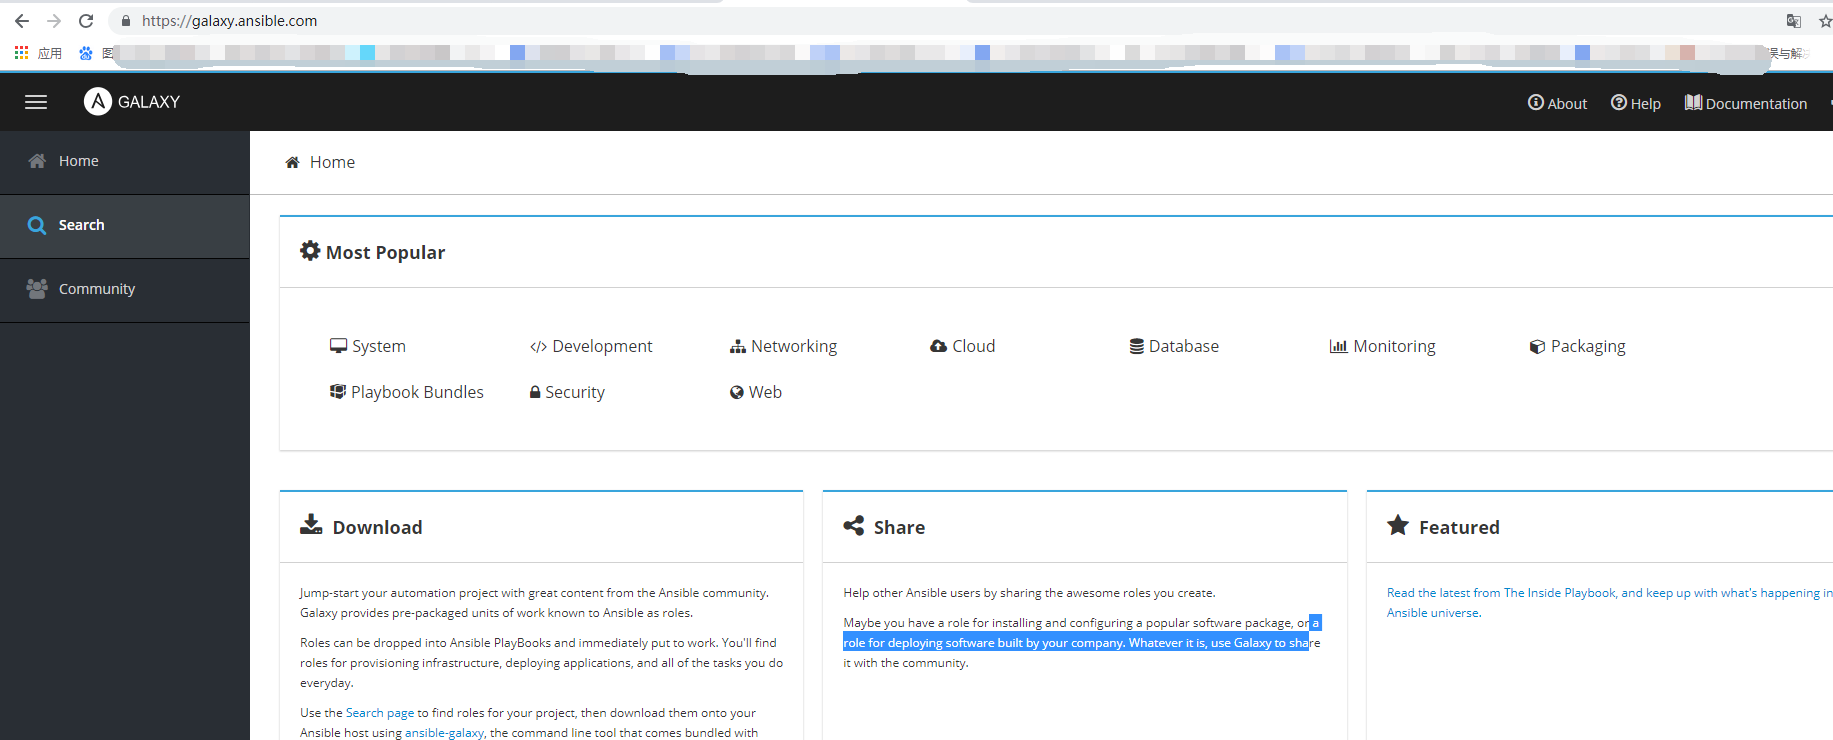
进去后可搜索需要的工具,然后点击进入,会提示安装方法的
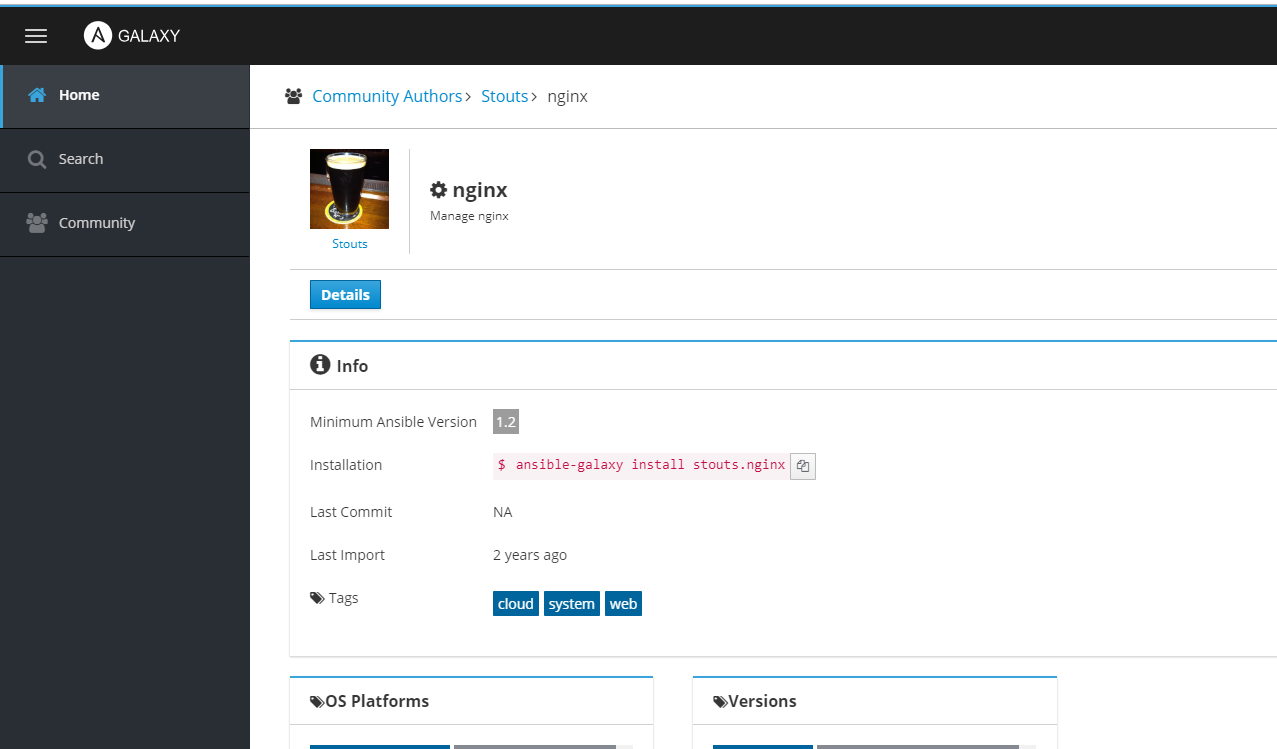
[root@ansible ~]# ansible-galaxy install stouts.nginx
- downloading role 'nginx', owned by stouts
- downloading role from https://github.com/Stouts/Stouts.nginx/archive/2.1.1.tar.gz
- extracting stouts.nginx to /etc/ansible/roles/stouts.nginx #部署位置
- stouts.nginx (2.1.1) was installed successfully
[root@ansible ~]# ansible-galaxy list
- stouts.nginx, 2.1.1
[root@ansible ~]# tree /etc/ansible/roles/stouts.nginx/
/etc/ansible/roles/stouts.nginx/
├── CONTRIBUTORS
├── defaults
│   └── main.yml
├── files
│   └── nginx.repo
├── handlers
│   └── main.yml
├── LICENSE
├── Makefile
├── meta
│   └── main.yml
├── README.md
├── runtests.sh
├── tasks
│   ├── install.deb.yml
│   ├── install.red.yml
│   ├── main.yml
│   └── nginx.yml
├── templates
│   └── nginx.conf.j2
├── test.yml
└── vars
    ├── Debian.yml
    └── Ubuntu.yml

7 directories, 17 files
3、Ansible-pull
- 推送命令至远程,效率无线提升,对运维要求较高
对应ansible-push操作,方向相反
4、Ansible-playbook
ansible-playbook hello.yml h后缀是yml或者yaml
[root@ansible ansible]# cat hello.yml
---
- hosts: web
  remote_user: root


  tasks:
    - name: hello
      command: hostname
[root@ansible ansible]# ansible-playbook hello.yml
###执行剧本
PLAY [web] *********************************************************************

TASK [Gathering Facts] *********************************************************
ok: [172.16.111.8]
ok: [172.16.111.7]

TASK [hello] *******************************************************************
changed: [172.16.111.7]
changed: [172.16.111.8]

PLAY RECAP *********************************************************************
172.16.111.7               : ok=2    changed=1    unreachable=0    failed=0
172.16.111.8               : ok=2    changed=1    unreachable=0    failed=0
5、Ansible-vault
对剧本文件进行加密
[root@ansible ansible]# ansible-vault encrypt hello.yml
New Vault password:
Confirm New Vault password:
Encryption successful
[root@ansible ansible]# cat hello.yml
$ANSIBLE_VAULT;1.1;AES256
35323762353637376337376338636534653933626364386632623763616538366361656437386335
3463326637303661333665303863326636313662643835610a363764303435333539323166623364
37343935313437336635343566303763623264643737616665626566323136346333393164353731
6164343333643238620a633666333438353130613937333539393832306461613932323566623863
36666661356135376534666636386161323663346331336165623133393163393061353432336530
36336635663834346261393530383765626362353365666136333565313832373430303835333834
33636663666535356563626535663637396230373435336461623130333264663461323461633765
34626333383938653430366232306535636130643165363535343038333939303332643266343535
3834
[root@ansible ansible]# ansible-playbook hello.yml
ERROR! Attempting to decrypt but no vault secrets found
加密后文件内容无法直接cat查看也不能直接运行 需要先解密,护着使用ansible-vault view 查看加密的内容,需提供口令,使用ansible-vault edit 编辑加密的内容,需提供口令,使用ansible-vault rekey 修改原来的口令
[root@ansible ansible]# ansible-vault decrypt hello.yml
Vault password:
Decryption successful
[root@ansible ansible]# ansible-playbook hello.yml

PLAY [web] *********************************************************************

TASK [Gathering Facts] *********************************************************
^[[Aok: [172.16.111.8]
ok: [172.16.111.7]

TASK [hello] *******************************************************************
changed: [172.16.111.7]
changed: [172.16.111.8]

PLAY RECAP *********************************************************************
172.16.111.7               : ok=2    changed=1    unreachable=0    failed=0
172.16.111.8               : ok=2    changed=1    unreachable=0    failed=0
[root@ansible ansible]# cat  hello.yml
---
- hosts: web
  remote_user: root


  tasks:
    - name: hello
      command: hostname
解密后恢复正常
6、Ansible-console
交互式
[root@ansible ansible]# ansible-console
Vault password:
Welcome to the ansible console.
Type help or ? to list commands.

root@all (3)[f:5]$
root@all (3)[f:5]$ 中 root 账户 all :hosts内所有主机 (3)hosts内主机个数 [f:5] 并发数
交互式控制内,可以使用cd命令切换组,被控制端 ,然后直接执行命令
root@172.16.111.9 (1)[f:5]$ list
172.16.111.9
root@172.16.111.9 (1)[f:5]$ cd all
root@all (3)[f:5]$ list
172.16.111.7
172.16.111.8
172.16.111.9
root@all (3)[f:5]$ cd web
root@web (2)[f:5]$ list
172.16.111.7
172.16.111.8
root@web (2)[f:5]$ yum name=httpd state=present
172.16.111.7 | SUCCESS => {
    "changed": false,
    "msg": "",
    "rc": 0,
    "results": [
        "httpd-2.4.6-80.el7.centos.1.x86_64 providing httpd is already installed"
    ]
}
172.16.111.8 | SUCCESS => {
    "changed": false,
    "msg": "",
    "rc": 0,
    "results": [
        "httpd-2.4.6-80.el7.centos.1.x86_64 providing httpd is already installed"
    ]
}
root@web (2)[f:5]$ service name=httpd state=started