一、准备
我这边有一个网站放在了 Google VM 上面,所以打算在购买一台服务器安装 ELK 来处理分析 nginx 的访问日志。
- 操作系统版本:CentOS 7
- ELK版本:7.1
1.1、服务器环境准备
我们这里还是采用官方的 yum 源进行安装,简单省事,首先配置官方 yum 仓库。
rpm --import https://artifacts.elastic.co/GPG-KEY-elasticsearch
cat >> /etc/yum.repos.d/elasticsearch.repo <<EOF
[elasticsearch-7.x]
name=Elasticsearch repository for 7.x packages
baseurl=https://artifacts.elastic.co/packages/7.x/yum
gpgcheck=1
gpgkey=https://artifacts.elastic.co/GPG-KEY-elasticsearch
enabled=1
autorefresh=1
type=rpm-md
EOF
关闭防火墙。
systemctl stop firewalld.service
systemctl disable firewalld.service
二、安装 ES
Elasticsearch 的软件包自带一个版本的 OpenJDK,所以我们这里不需要单独去安装 JDK 了,直接使用官方的就行。
yum install elasticsearch -y
因为默认是监听 IP 是127.0.0.1,我们需要开启配置文件/etc/elasticsearch/elasticsearch.yml的一个参数network.host,写上自己的本地IP即可。
2.1、遇到小问题
如此修改了一下配置文件之后,我发现无法启动了,日志也没有看到什么错误,我就手动执行查看问题。
[root@elk ~]# su - elasticsearch -s /bin/sh -c "/usr/share/elasticsearch/bin/elasticsearch"
su: warning: cannot change directory to /nonexistent: No such file or directory
OpenJDK 64-Bit Server VM warning: Option UseConcMarkSweepGC was deprecated in version 9.0 and will likely be removed in a future release.
[2019-05-31T03:20:42,902][INFO ][o.e.e.NodeEnvironment    ] [elk] using [1] data paths, mounts [[/ (rootfs)]], net usable_space [7.7gb], net total_space [9.9gb], types [rootfs]
[2019-05-31T03:20:42,908][INFO ][o.e.e.NodeEnvironment    ] [elk] heap size [990.7mb], compressed ordinary object pointers [true]
.................................
[2019-05-31T03:20:50,083][INFO ][o.e.x.s.a.s.FileRolesStore] [elk] parsed [0] roles from file [/etc/elasticsearch/roles.yml]
[2019-05-31T03:20:50,933][INFO ][o.e.x.m.p.l.CppLogMessageHandler] [elk] [controller/5098] [Main.cc@109] controller (64 bit): Version 7.1.1 (Build fd619a36eb77df) Copyright (c) 2019 Elasticsearch BV
[2019-05-31T03:20:51,489][DEBUG][o.e.a.ActionModule       ] [elk] Using REST wrapper from plugin org.elasticsearch.xpack.security.Security
[2019-05-31T03:20:51,881][INFO ][o.e.d.DiscoveryModule    ] [elk] using discovery type [zen] and seed hosts providers [settings]
[2019-05-31T03:20:53,019][INFO ][o.e.n.Node               ] [elk] initialized
[2019-05-31T03:20:53,020][INFO ][o.e.n.Node               ] [elk] starting ...
[2019-05-31T03:20:53,178][INFO ][o.e.t.TransportService   ] [elk] publish_address {10.154.0.3:9300}, bound_addresses {10.154.0.3:9300}
[2019-05-31T03:20:53,187][INFO ][o.e.b.BootstrapChecks    ] [elk] bound or publishing to a non-loopback address, enforcing bootstrap checks
ERROR: [2] bootstrap checks failed
[1]: max file descriptors [4096] for elasticsearch process is too low, increase to at least [65535]
[2]: the default discovery settings are unsuitable for production use; at least one of [discovery.seed_hosts, discovery.seed_providers, cluster.initial_master_nodes] must be configured
[2019-05-31T03:20:53,221][INFO ][o.e.n.Node               ] [elk] stopping ...
[2019-05-31T03:20:53,243][INFO ][o.e.n.Node               ] [elk] stopped
[2019-05-31T03:20:53,244][INFO ][o.e.n.Node               ] [elk] closing ...
[2019-05-31T03:20:53,259][INFO ][o.e.n.Node               ] [elk] closed
[2019-05-31T03:20:53,264][INFO ][o.e.x.m.p.NativeController] [elk] Native controller process has stopped - no new native processes can be started
我们可以看到下面的两个错误,一个是说最大文件打开数比较小,一个说还必须开启一个 discovery 设置,那我们分别操作一下。
#临时修改,立刻生效
ulimit -n 655350
#永久修改
echo "* soft nofile 655360" >> /etc/security/limits.conf
echo "* hard nofile 655360" >> /etc/security/limits.conf
我修改后的配置文件如下:
node.name: node-1
path.data: /var/lib/elasticsearch
path.logs: /var/log/elasticsearch
network.host: 10.154.0.3
cluster.initial_master_nodes: ["node-1", "node-2"]
然后我们就可以启动了。
systemctl daemon-reload
systemctl enable elasticsearch.service
systemctl start elasticsearch.service
访问一下页面。
{
  "name" : "node-1",
  "cluster_name" : "elasticsearch",
  "cluster_uuid" : "P0GGZU9pRzutp-zHDZvYuQ",
  "version" : {
    "number" : "7.1.1",
    "build_flavor" : "default",
    "build_type" : "rpm",
    "build_hash" : "7a013de",
    "build_date" : "2019-05-23T14:04:00.380842Z",
    "build_snapshot" : false,
    "lucene_version" : "8.0.0",
    "minimum_wire_compatibility_version" : "6.8.0",
    "minimum_index_compatibility_version" : "6.0.0-beta1"
  },
  "tagline" : "You Know, for Search"
}
三、安装 Kibana
为了节省机器资源,我们这里使用安装在一台机器上面,因为环境上面已经配置好,我们这里直接进行安装。
yum install kibana -y
编辑配置文件/etc/kibana/kibana.yml,修改如下内容:
server.port: 5601
server.host: "10.154.0.3"
elasticsearch.hosts: ["http://10.154.0.3:9200"]
启动服务。
systemctl daemon-reload
systemctl enable kibana.service
systemctl start kibana.service
访问画面正常显示即我们安装完成。
四、安装 Logstash
yum install logstash -y
创建配置文件/etc/logstash/conf.d/logstash.conf,增加如下内容:
input {
  beats {
    port => 5044
  }
}

filter {
  if [fields][type] == "nginx_access" {
    grok {
      match => { "message" => "%{NGINXACCESS}" }
    }
  }
  if [fields][type] == "apache_access" {
    grok {
      match => { "message" => "%{COMBINEDAPACHELOG}" }
    }
  }
  mutate {
    remove_field =>["message"]
    remove_field =>["host"]
    remove_field =>["input"]
    remove_field =>["prospector"]
    remove_field =>["beat"]
  }

  geoip {
    source => "clientip"
  }
  date {
    match => [ "timestamp" , "dd/MMM/yyyy:HH:mm:ss Z" ]
  }
}

output {
  if [fields][type] == "nginx_access" {
    elasticsearch {
      hosts => "172.18.8.200:9200"
      index => "%{[fields][type]}-%{+YYYY.MM.dd}"
    }
  }

  if [fields][type] == "apache_access" {
    elasticsearch {
      hosts => "172.18.8.200:9200"
      index => "%{[fields][type]}-%{+YYYY.MM.dd}"
    }
  }
}
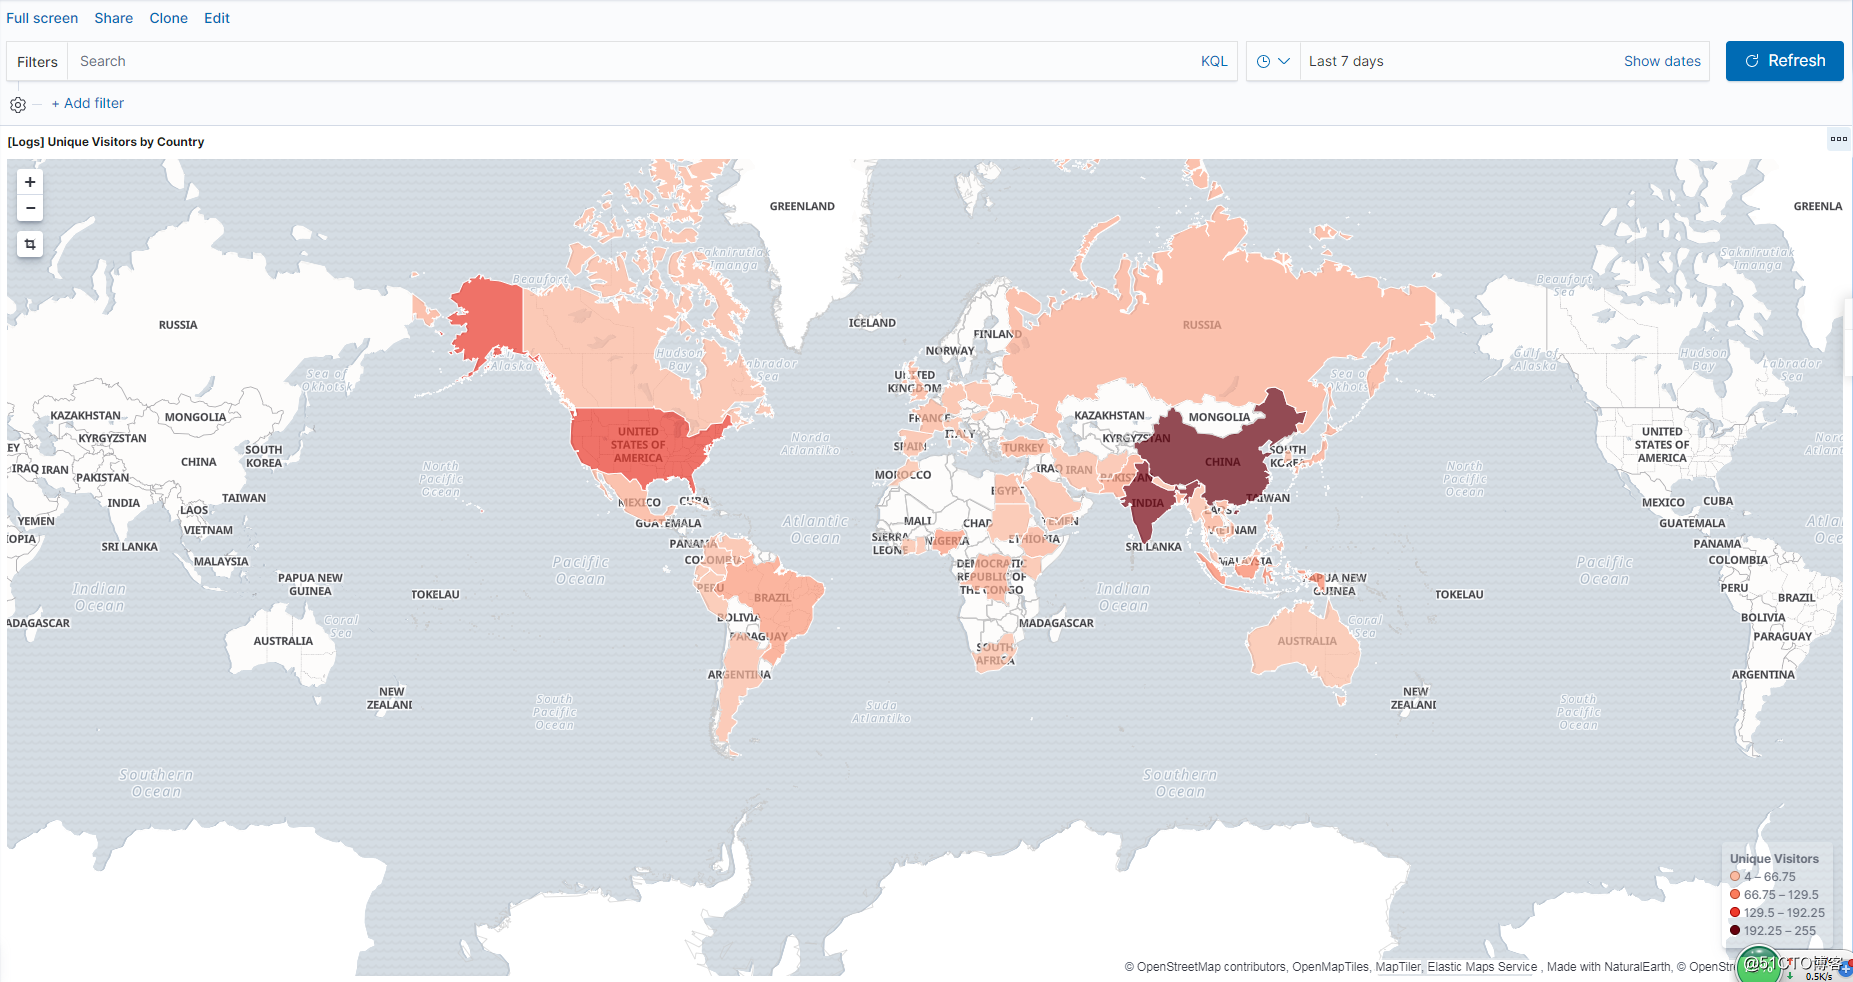
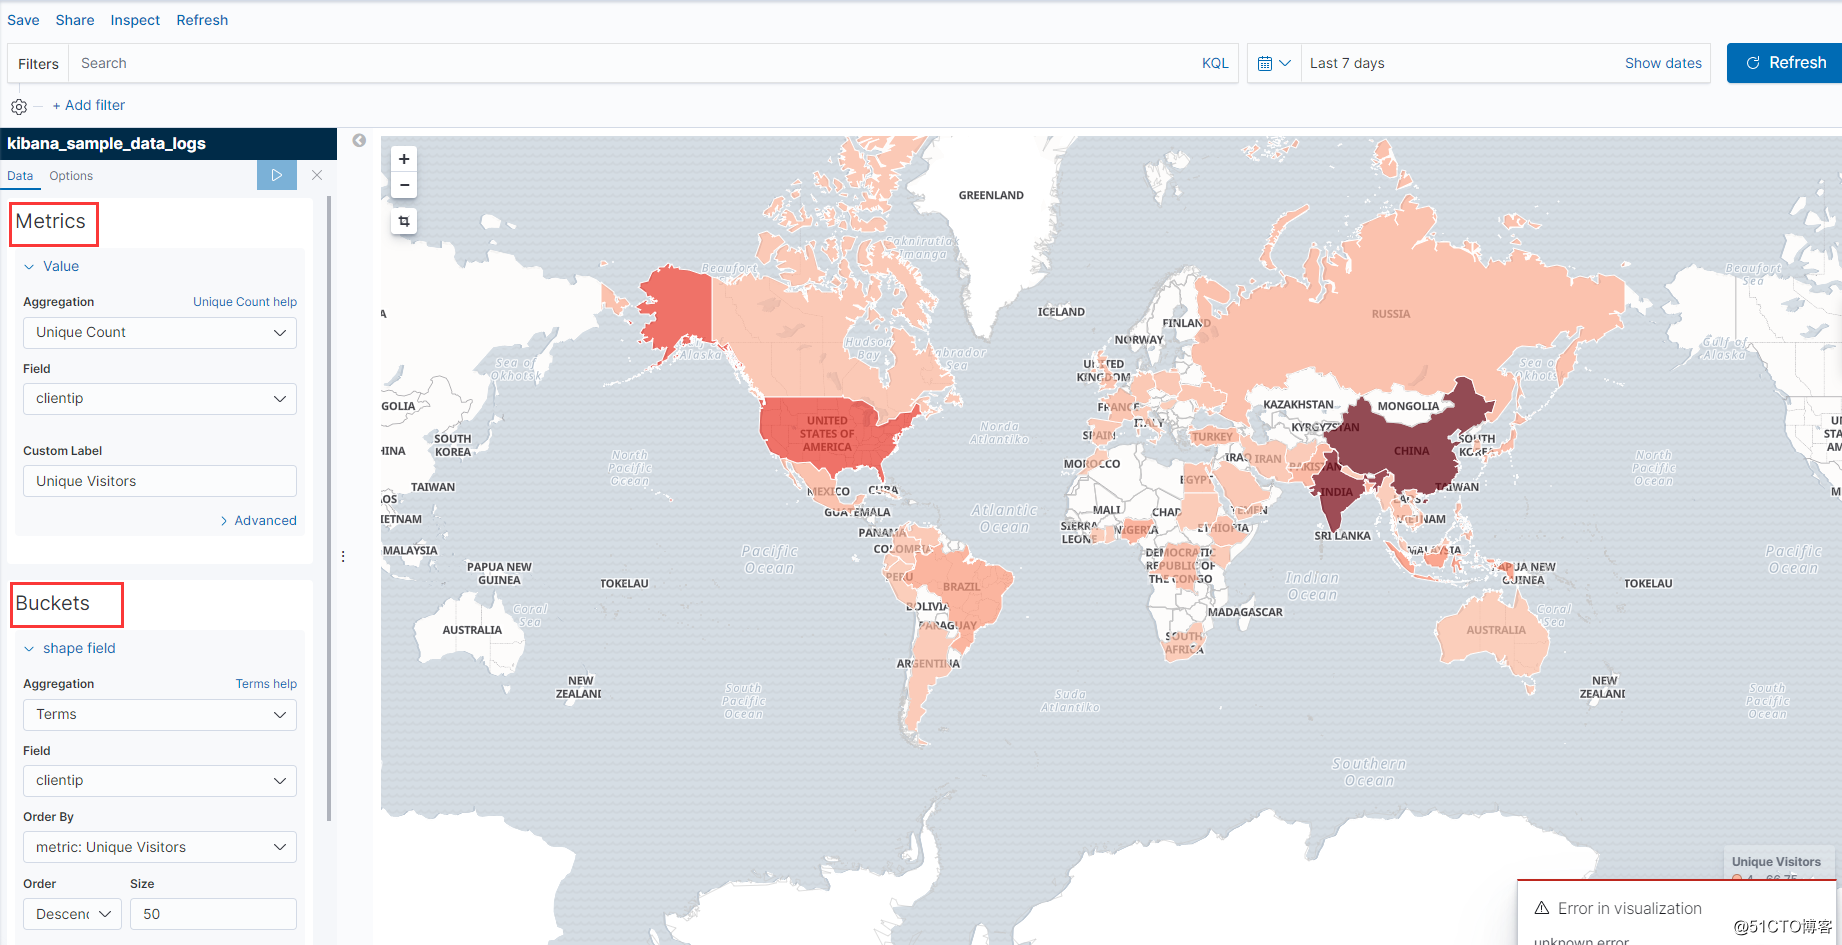
未完待续。。。
最终效果图如下: