Tips:本篇已加入系列文章阅读目录,可点击查看更多相关文章。
前言
上一篇【.Net Core微服务入门全纪录(一)——项目搭建】讲到要做到服务的灵活伸缩,那么需要有一种机制来实现它,这个机制就是服务注册与发现。当然这也并不是必要的,如果你的服务实例很少,并且很稳定,那么就没有必要使用服务注册与发现。
服务注册与发现
- 服务注册:简单理解,就是有一个注册中心,我们的每个服务实例启动时,都去注册中心注册一下,告诉注册中心我的地址,端口等信息。同样的服务实例要删除时,去注册中心删除一下,注册中心负责维护这些服务实例的信息。
- 服务发现:既然注册中心维护了各个服务实例的信息,那么客户端通过注册中心就很容易发现服务的变化了。
有了服务注册与发现,客户端就不用再去配置各个服务实例的地址,改为从注册中心统一获取。
那注册中心又是怎么保证每个地址的可用状态呢,假如某个实例挂了怎么办呢?原则上挂掉的实例不应该被客户端获取到,所以就要提到:健康检查 。
- 健康检查:每个服务都需要提供一个用于健康检查的接口,该接口不具备业务功能。服务注册时把这个接口的地址也告诉注册中心,注册中心会定时调用这个接口来检测服务是否正常,如果不正常,则将它移除,这样就保证了服务的可用性。
常见注册中心有 Consul、ZooKeeper、etcd、Eureka。
Consul
Consul官网:https://www.consul.io/
Consul的主要功能有服务注册与发现、健康检查、K-V存储、多数据中心等。
- Consul安装:很简单,直接在官网下载解压即可。
- Consul运行:在consul.exe目录下打开命令行执行
consul.exe agent -dev - 浏览器访问:http://localhost:8500/
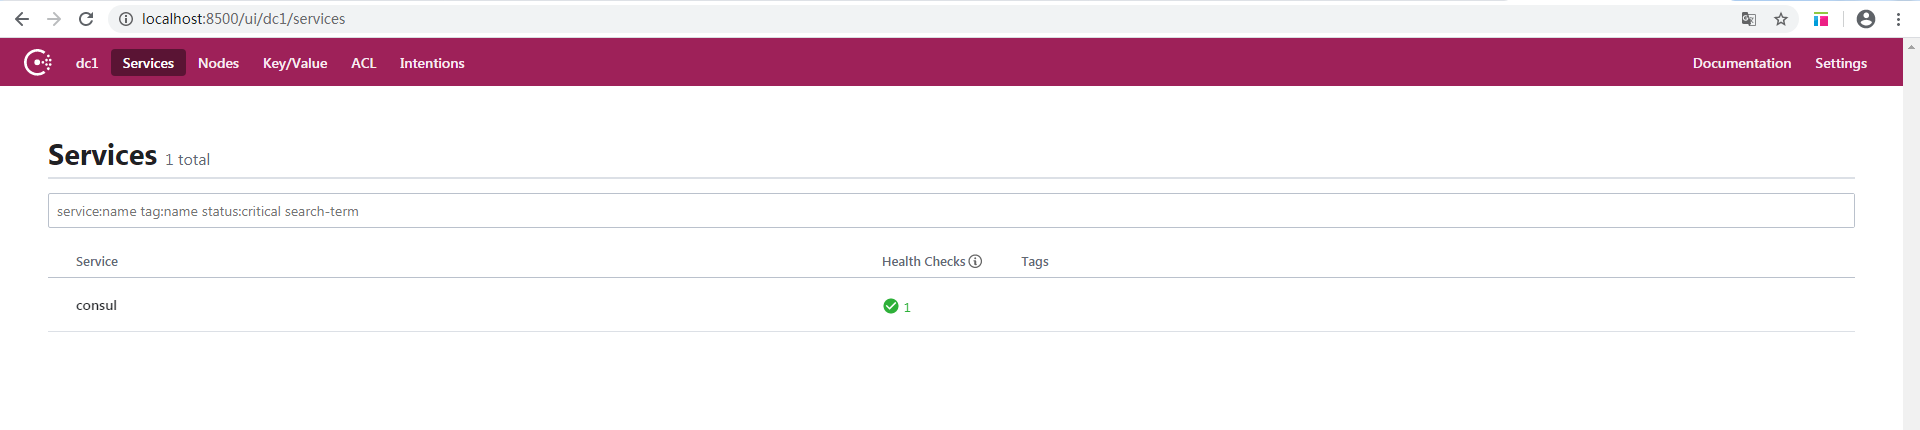
Consul已成功运行。
服务注册
-
首先Nuget安装一下Consul:

这个类库里封装了Consul的api操作,方便我们直接使用。当然自己去写http调用Consul的接口也不是不行。。。接口说明:https://www.consul.io/api-docs -
改造一下订单服务的代码:
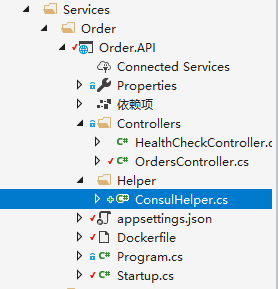
ConsulHelper.cs:
    public static class ConsulHelper
    {
        /// <summary>
        /// 服务注册到consul
        /// </summary>
        /// <param name="app"></param>
        /// <param name="lifetime"></param>
        public static IApplicationBuilder RegisterConsul(this IApplicationBuilder app, IConfiguration configuration, IHostApplicationLifetime lifetime)
        {
            var consulClient = new ConsulClient(c =>
            {
                //consul地址
                c.Address = new Uri(configuration["ConsulSetting:ConsulAddress"]);
            });

            var registration = new AgentServiceRegistration()
            {
                ID = Guid.NewGuid().ToString(),//服务实例唯一标识
                Name = configuration["ConsulSetting:ServiceName"],//服务名
                Address = configuration["ConsulSetting:ServiceIP"], //服务IP
                Port = int.Parse(configuration["ConsulSetting:ServicePort"]),//服务端口 因为要运行多个实例,端口不能在appsettings.json里配置,在docker容器运行时传入
                Check = new AgentServiceCheck()
                {
                    DeregisterCriticalServiceAfter = TimeSpan.FromSeconds(5),//服务启动多久后注册
                    Interval = TimeSpan.FromSeconds(10),//健康检查时间间隔
                    HTTP = $"http://{configuration["ConsulSetting:ServiceIP"]}:{configuration["ConsulSetting:ServicePort"]}{configuration["ConsulSetting:ServiceHealthCheck"]}",//健康检查地址
                    Timeout = TimeSpan.FromSeconds(5)//超时时间
                }
            };

            //服务注册
            consulClient.Agent.ServiceRegister(registration).Wait();

            //应用程序终止时,取消注册
            lifetime.ApplicationStopping.Register(() =>
            {
                consulClient.Agent.ServiceDeregister(registration.ID).Wait();
            });

            return app;
        }
    }
appsettings.json:
{
  "Logging": {
    "LogLevel": {
      "Default": "Information",
      "Microsoft": "Warning",
      "Microsoft.Hosting.Lifetime": "Information"
    }
  },
  "AllowedHosts": "*",
  "ConsulSetting": {
    "ServiceName": "OrderService",
    "ServiceIP": "localhost",
    "ServiceHealthCheck": "/healthcheck",
    "ConsulAddress": "http://host.docker.internal:8500"//注意,docker容器内部无法使用localhost访问宿主机器,如果是控制台启动的话就用localhost
  }
}
Startup.cs:
    public class Startup
    {
        public Startup(IConfiguration configuration)
        {
            Configuration = configuration;
        }

        public IConfiguration Configuration { get; }

        // This method gets called by the runtime. Use this method to add services to the container.
        public void ConfigureServices(IServiceCollection services)
        {
            services.AddControllers();
        }

        // This method gets called by the runtime. Use this method to configure the HTTP request pipeline.
        public void Configure(IApplicationBuilder app, IWebHostEnvironment env, IHostApplicationLifetime lifetime)
        {
            if (env.IsDevelopment())
            {
                app.UseDeveloperExceptionPage();
            }

            app.UseRouting();

            app.UseAuthorization();

            app.UseEndpoints(endpoints =>
            {
                endpoints.MapControllers();
            });

            //服务注册
            app.RegisterConsul(Configuration, lifetime);
        }
    }
OrdersController.cs:
    [Route("[controller]")]
    [ApiController]
    public class OrdersController : ControllerBase
    {
        private readonly ILogger<OrdersController> _logger;
        private readonly IConfiguration _configuration;

        public OrdersController(ILogger<OrdersController> logger, IConfiguration configuration)
        {
            _logger = logger;
            _configuration = configuration;
        }

        [HttpGet]
        public IActionResult Get()
        {
            string result = $"【订单服务】{DateTime.Now.ToString("yyyy-MM-dd HH:mm:ss")}——" +
                $"{Request.HttpContext.Connection.LocalIpAddress}:{_configuration["ConsulSetting:ServicePort"]}";
            return Ok(result);
        }
    }
HealthCheckController.cs:
    [Route("[controller]")]
    [ApiController]
    public class HealthCheckController : ControllerBase
    {
        /// <summary>
        /// 健康检查接口
        /// </summary>
        /// <returns></returns>
        [HttpGet]
        public IActionResult Get()
        {
            return Ok();
        }
    }
至此就完成了服务注册,取消注册,健康检查等功能的代码编写。
- 同样的改造一下产品服务,代码差不多一样,就不贴了。
运行服务
继续在docker中运行服务实例,不习惯docker的话用控制台启动也行。--ConsulSetting:ServicePort参数就是传入容器的端口信息。
docker build -t orderapi:1.0 -f ./Order.API/Dockerfile .
docker run -d -p 9060:80 --name orderservice orderapi:1.0 --ConsulSetting:ServicePort="9060"
docker run -d -p 9061:80 --name orderservice1 orderapi:1.0 --ConsulSetting:ServicePort="9061"
docker run -d -p 9062:80 --name orderservice2 orderapi:1.0 --ConsulSetting:ServicePort="9062"

docker build -t productapi:1.0 -f ./Product.API/Dockerfile .
docker run -d -p 9050:80 --name productservice productapi:1.0 --ConsulSetting:ServicePort="9050"
docker run -d -p 9051:80 --name productservice1 productapi:1.0 --ConsulSetting:ServicePort="9051"
docker run -d -p 9052:80 --name productservice2 productapi:1.0 --ConsulSetting:ServicePort="9052"

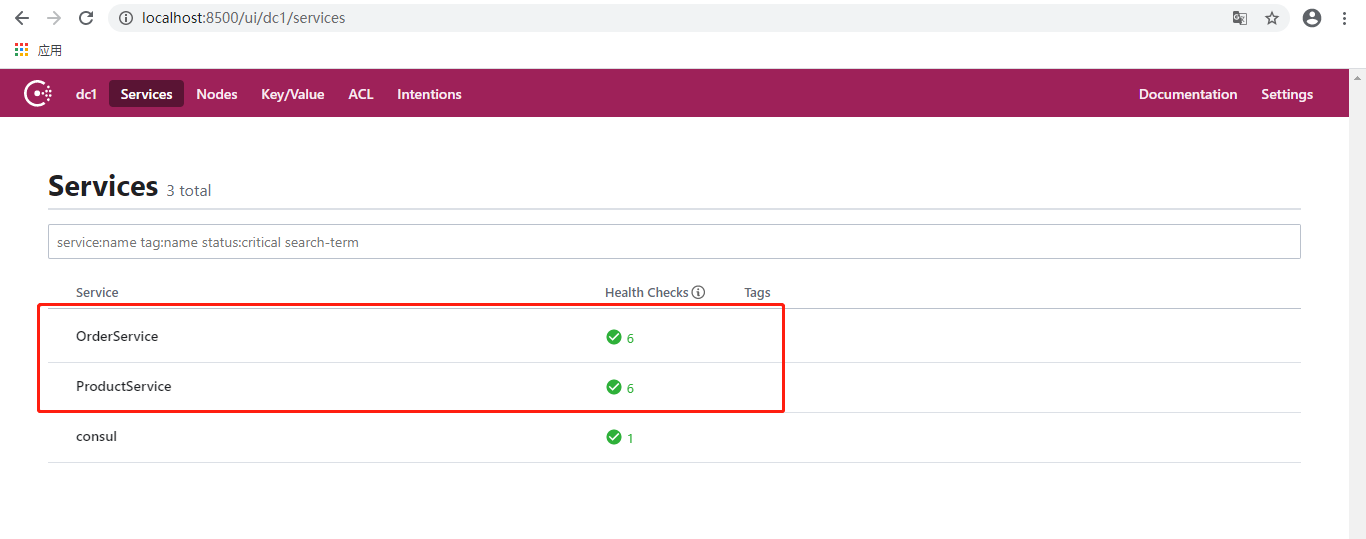
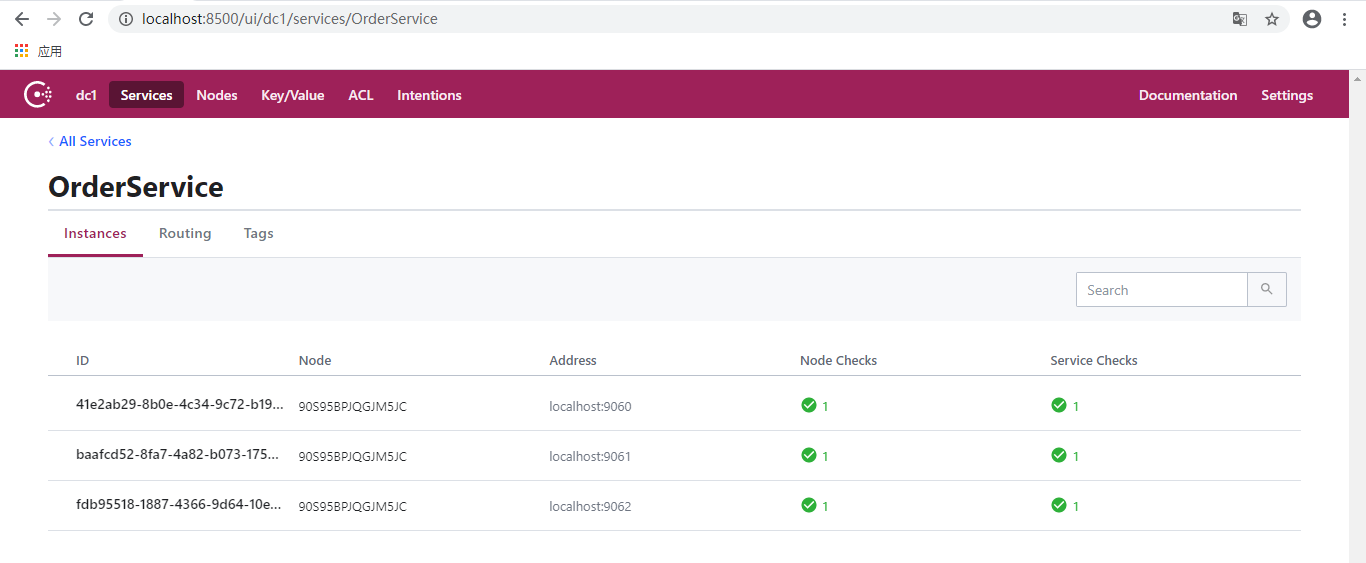
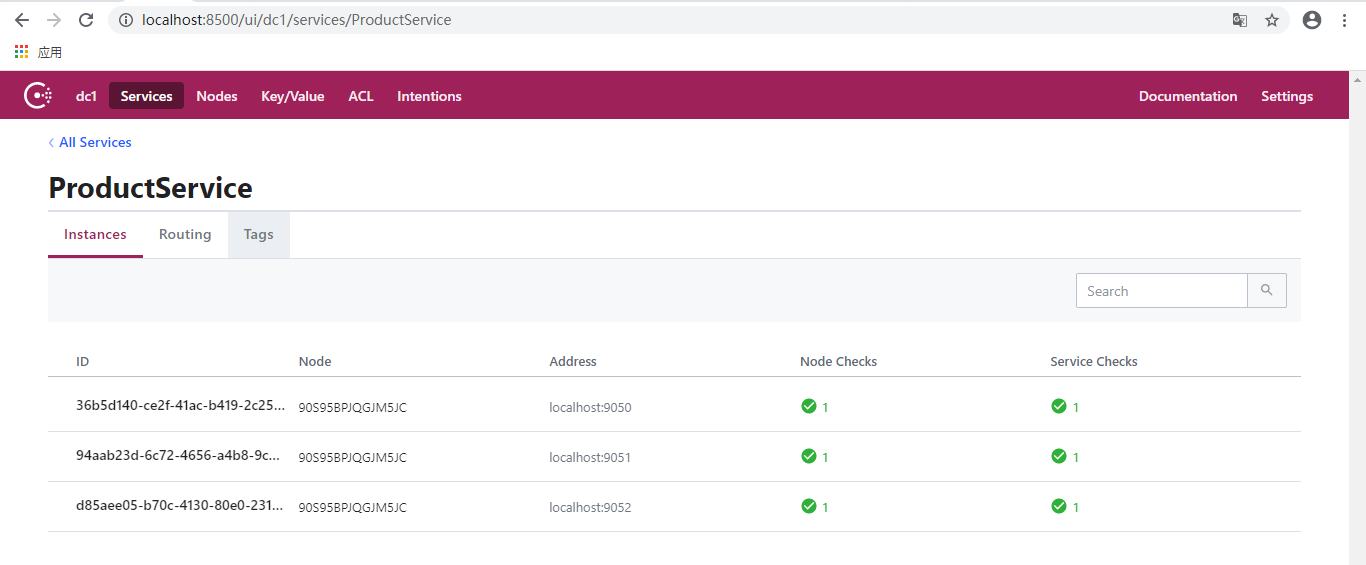
至此,6个服务器实例都已运行,并且成功注册到Consul。
随便停止2个服务:

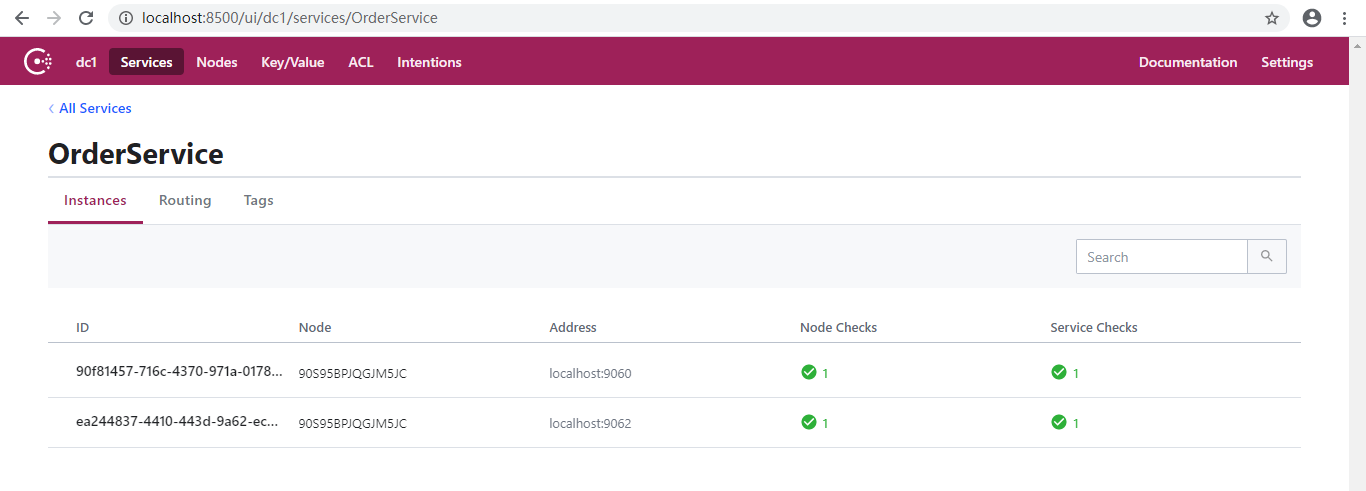
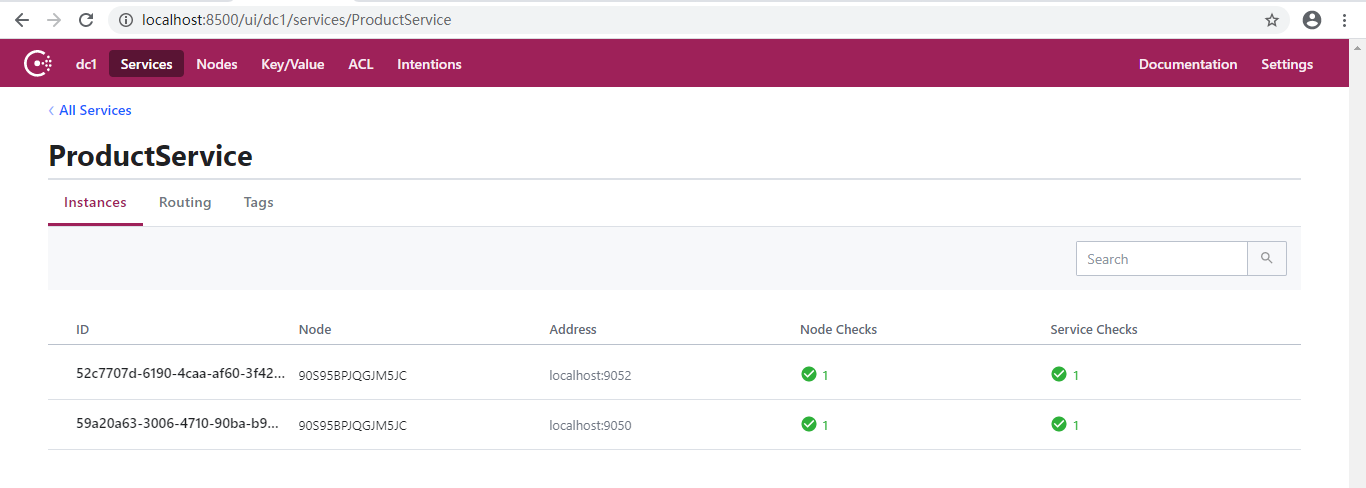
可以看到停止的服务已经在Consul中被移除。注意,这个是我们停止程序时主动调用Consul移除的。
//应用程序终止时,取消注册
lifetime.ApplicationStopping.Register(() =>
{
    consulClient.Agent.ServiceDeregister(registration.ID).Wait();
});
当然程序发生异常,健康检查不能正确响应的话,Consul也会移除,有一点区别。
那么注册,发现,健康检查功能都完成了,下一步就该考虑客户端如何拿到这些服务实例的地址了。
代码放在:https://github.com/xiajingren/NetCoreMicroserviceDemo
未完待续...