一、需要安装的工具目录
- 安装 python3.7
- 我这里采用的是 python3.7 (目前慢慢市场在推广 python3.0 版本了)
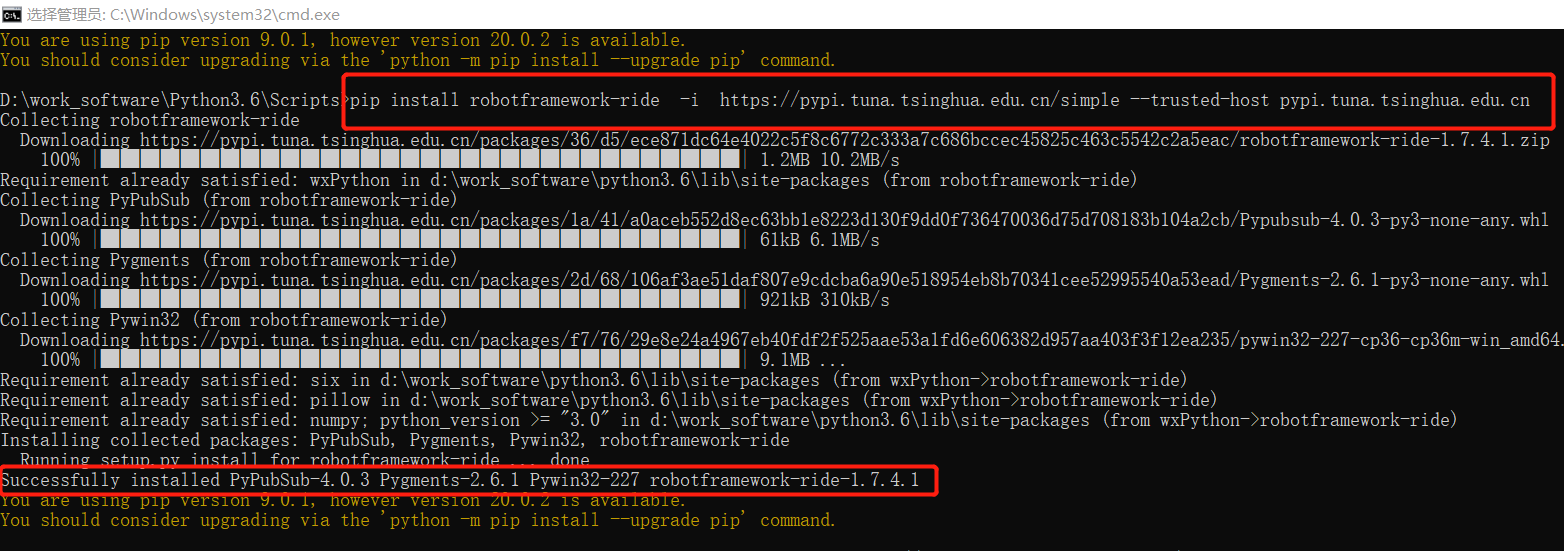
- 安装
-
-
- 注意:安装 robotframework-ride 后,wxPython 可以不需要再去安装
- pip install -U wxPython -i https://pypi.tuna.tsinghua.edu.cn/simple --trusted-host pypi.tuna.tsinghua.edu.cn
-
-
-
-
二、安装步骤如下
-
- 下载注意,需要下载与电脑和 python 解释器版本匹配的 exe 文件
- 下载完成后双击安装即可,会自动识别你安装Python的目录,不需要你另外选择安装路径
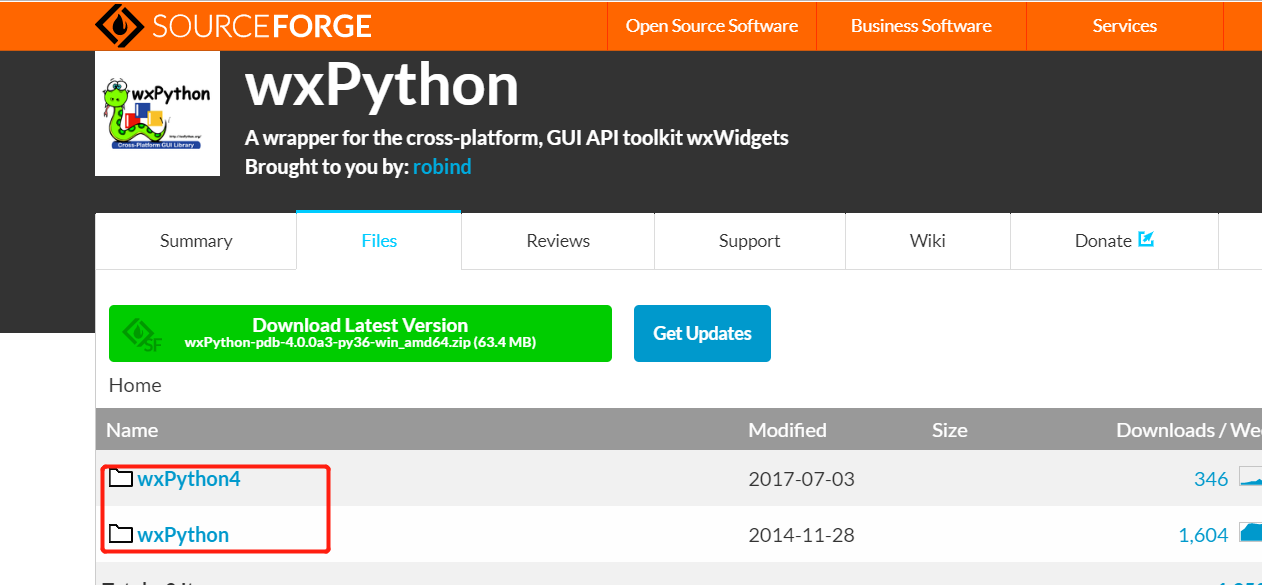
- 地址:https://sourceforge.net/projects/wxpython/files/
-
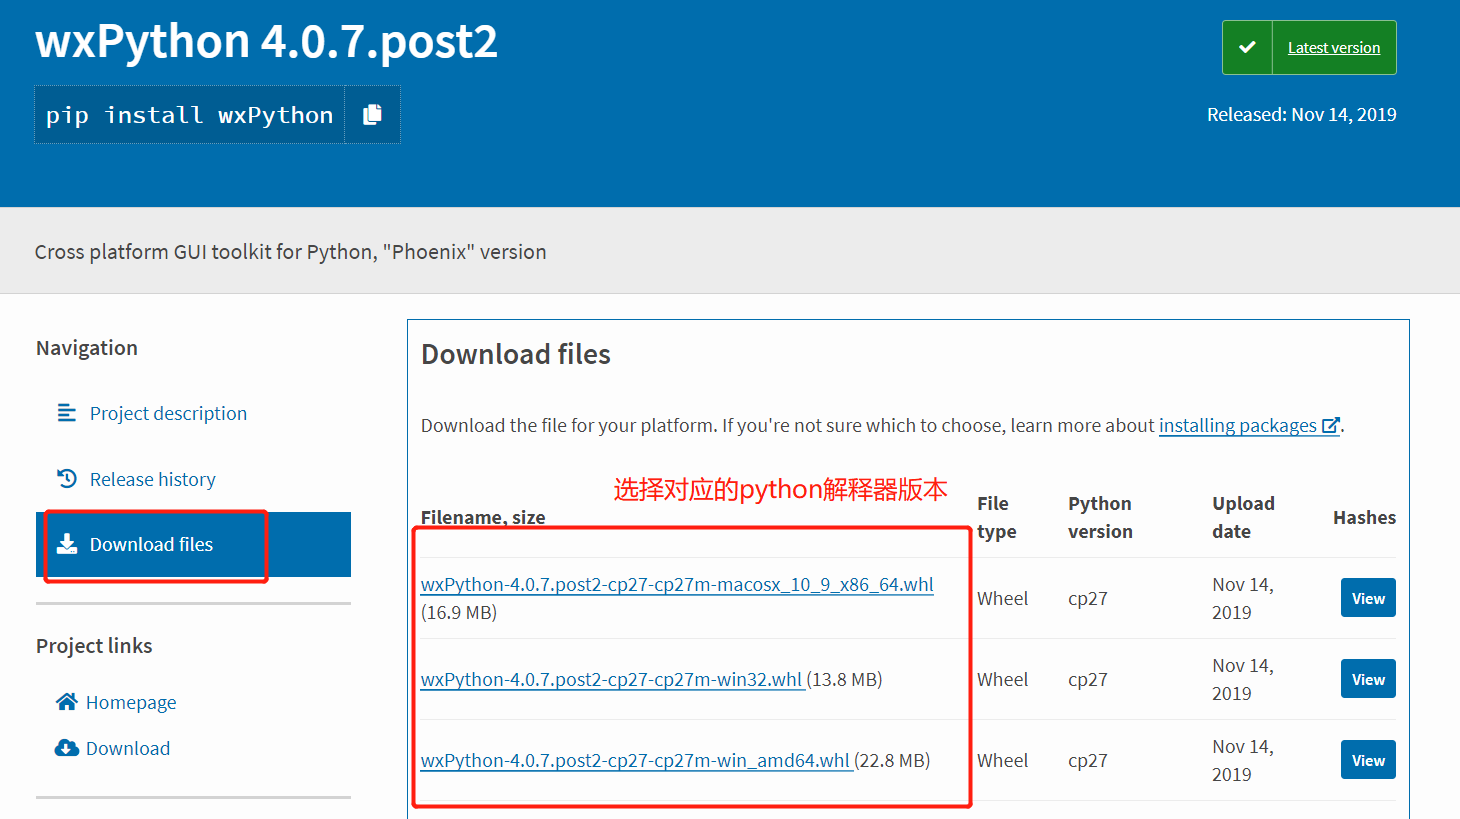
- 去官网下载后缀为 whl 的文件,需要下载与自己电脑系统和 Python 版本相应的 whl 文件
- 下载网址:https://pypi.org/project/wxPython/#files
- 将 whl 文件放在 Python 安装目录下的 scripts 文件夹下
- 在 CMD 命令窗口进入 scripts 目录下,输入:pip install XX-XXX-XXX.whl -i https://pypi.tuna.tsinghua.edu.cn/simple --trusted-host pypi.tuna.tsinghua.edu.cn(XX-XXX-XXX.whl 是你下载的 whl 文件名)
- 稍等片刻即可安装完毕
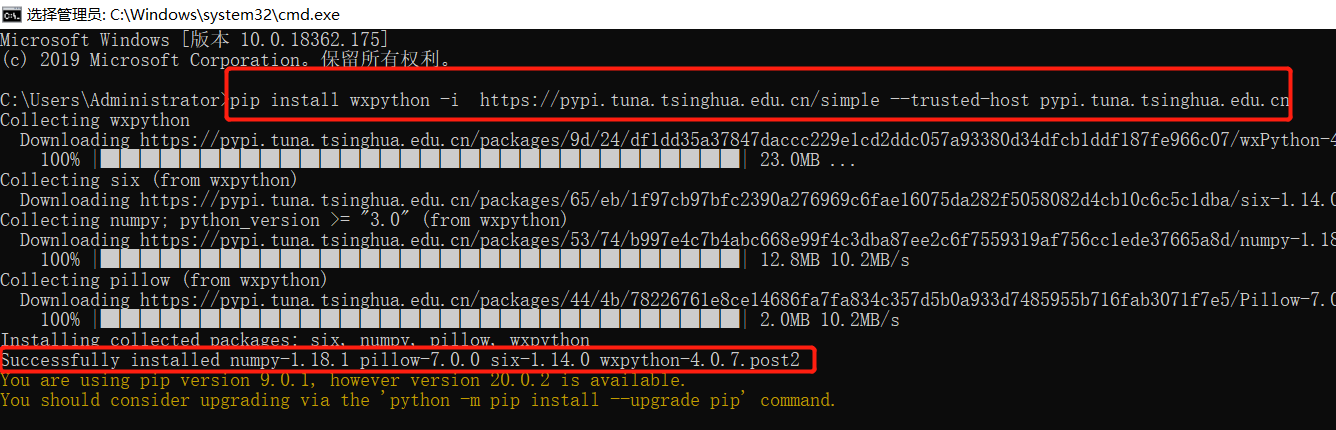
- 方法三:直接通过命令安装(推荐使用)
- 如下直接通过命令 pip install -U wxPython -i https://pypi.tuna.tsinghua.edu.cn/simple --trusted-host pypi.tuna.tsinghua.edu.cn 完成
3、安装

4、安装
5、安装

三、pip 安装报错
1、常出现 "connection to pypi.org time out" 问题
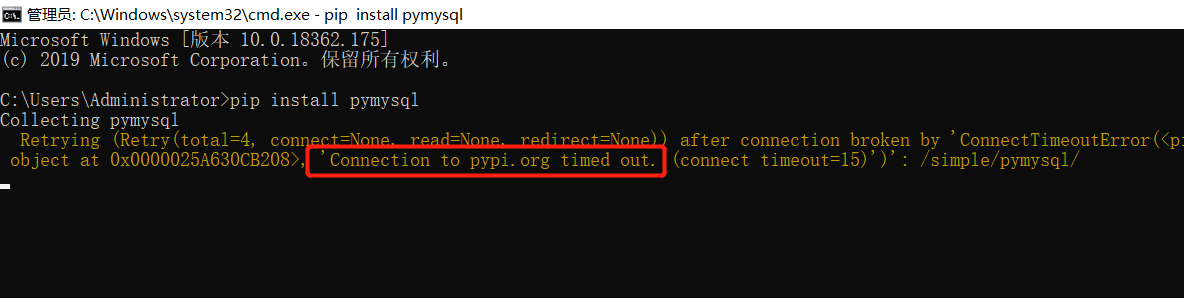
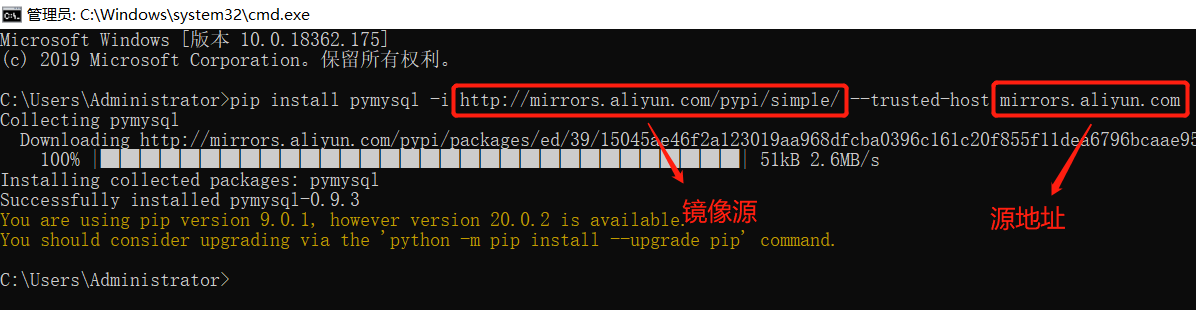
- 原因:是因为没有指定镜像源,需要在后面加上 -i 参数,然后指定镜像源,并且要添加信任(--trusted-host 源地址)
- 国内常用的镜像源
- 阿里云:http://mirrors.aliyun.com/pypi/simple/
- 豆瓣: http://pypi.douban.com/simple/
- 清华大学:https://pypi.tuna.tsinghua.edu.cn/simple/
- 中国科学技术大学:http://pypi.mirrors.ustc.edu.cn/simple/
- 解决如下:pip install pymysql -i http://mirrors.aliyun.com/pypi/simple/ --trusted-host mirrors.aliyun.com