今天我们来使用JPA做分页项目并且做讲解#
如果是新来的朋友请回上一篇
上一篇:微项目(一)
maven整合#
在pom文件的dependencies依赖中导入以下依赖
        <dependency>
            <groupId>org.springframework.boot</groupId>
            <artifactId>spring-boot-starter-web</artifactId>
        </dependency>
然后重启项目
我们可以看到项目跑起来后运行出来一个tomcat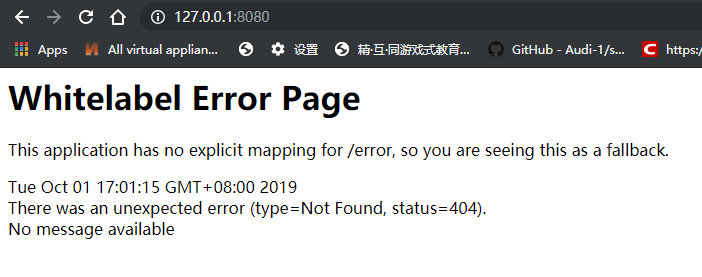
我们可以看到这里出现了404错误。虽然是错误但是出来这个就对了。
下面我们来配置对项目的增和查
在做增查之前,我们需要新建俩个包。
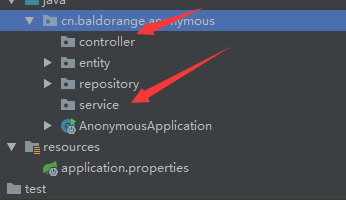
下面我们逐一填东西。
service#
service是逻辑层,包括数据处理的方向,和过程。
这里第一个方法好理解,就是向数据库内添加文章。
第二个方法查代表的含义是将数据库分页,
为什么这么做呢?很简单,如果数据过多无法展示我们只能这么做。按照ID倒序排列。
package cn.baldorange.anonymous.service;

import cn.baldorange.anonymous.entity.Wall;
import cn.baldorange.anonymous.repository.WallRepo;
import org.springframework.beans.factory.annotation.Autowired;
import org.springframework.data.domain.Page;
import org.springframework.data.domain.PageRequest;
import org.springframework.data.domain.Sort;
import org.springframework.stereotype.Service;
import java.util.Date;

@Service
public class WallService {
    @Autowired
    WallRepo wallRepo;

    /**
     * 增加吐槽
     * @param title
     * @param content
     * @return
     */
    public Boolean saveNewWall(String title,String content){
        try {
            String summary = "";
            if (content.length() > 100)
                summary = content.substring(0, 99);
            else summary = content;
            Wall wall = new Wall(title, content, new Date(), summary, "0");
            wallRepo.save(wall);
            return true;
        }catch (Exception e){
            return false;
        }
    }


    /**
     * 获得匿名墙的所有文章
     * @return
     */
    public Page<Wall> findAllWalls(Integer page,Integer size){
        if(page == null) page = 0;
        if(size == null) size =10;
        PageRequest pageable = PageRequest.of(page, size, Sort.Direction.DESC, "id");
        return wallRepo.findAll(pageable);
    }
}
controller#
至于Controller层就比较简单了,
但是从servlet过来的同学要注意了,@PutMapping这里可能会给你们带来疑惑,实际上现在http请求常用的不仅仅是get和post 还有 put delete 等等我们没见过的,规定是人定的,人也能改。
package cn.baldorange.anonymous.controller;

import cn.baldorange.anonymous.entity.Wall;
import cn.baldorange.anonymous.service.WallService;
import org.springframework.beans.factory.annotation.Autowired;
import org.springframework.data.domain.Page;
import org.springframework.web.bind.annotation.*;

@RestController
@RequestMapping("/walls")
public class Controller {
    @Autowired
    WallService wallService;

    @PutMapping("/saveNewWall")
    public Boolean saveNewWall(@RequestParam String title,@RequestParam String content){
        return wallService.saveNewWall(title,content);
    }


    @GetMapping("/findAllWalls")
    public Page<Wall> findAllWalls(Integer page, Integer size){
        return wallService.findAllWalls(page,size);
    }

}
配置好后我们启动后访问这里:
http://127.0.0.1:8080/walls/findAllWalls
这就是我们所见到的json数据
虽然很乱,但是我们不难发现这里面有我们数据库中的内容。还有一些其他的东西。
我们下面就需要配置接口文件了。
swagger#
相信无论是前端还是后端开发,都或多或少地被接口文档折磨过。前端经常抱怨后端给的接口文档与实际情况不一致。后端又觉得编写及维护接口文档会耗费不少精力,经常来不及更新。其实无论是前端调用后端,还是后端调用后端,都期望有一个好的接口文档。但是这个接口文档对于程序员来说,就跟注释一样,经常会抱怨别人写的代码没有写注释,然而自己写起代码起来,最讨厌的,也是写注释。所以仅仅只通过强制来规范大家是不够的,随着时间推移,版本迭代,接口文档往往很容易就跟不上代码了。
首先将maven中引入swagger
        <dependency>
            <groupId>io.springfox</groupId>
            <artifactId>springfox-swagger2</artifactId>
            <version>2.9.2</version>
        </dependency>
        <dependency>
            <groupId>io.springfox</groupId>
            <artifactId>springfox-swagger-ui</artifactId>
            <version>2.9.2</version>
        </dependency>
然后我们新建个包最终目录如下: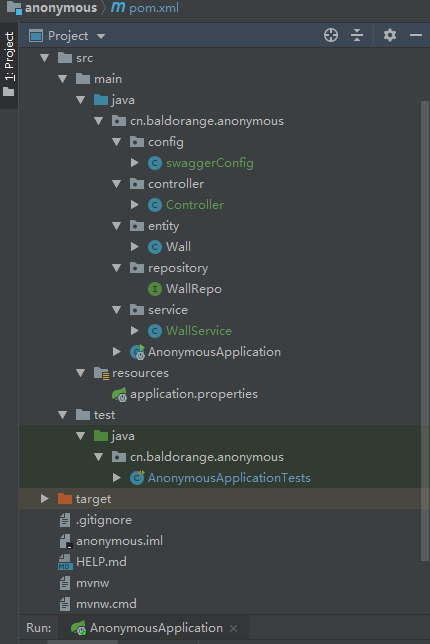
swaggerConfig配置文件如下:
package cn.baldorange.anonymous.config;

import org.springframework.context.annotation.Bean;
import org.springframework.context.annotation.Configuration;
import springfox.documentation.builders.ApiInfoBuilder;
import springfox.documentation.builders.PathSelectors;
import springfox.documentation.builders.RequestHandlerSelectors;
import springfox.documentation.spi.DocumentationType;
import springfox.documentation.spring.web.plugins.Docket;
import springfox.documentation.swagger2.annotations.EnableSwagger2;

@Configuration
@EnableSwagger2
public class swaggerConfig {
    @Bean
    Docket docket(){
        return new Docket(DocumentationType.SWAGGER_2)
                .select()
                .apis(RequestHandlerSelectors.any())
                .paths(PathSelectors.any())
                .build()
                .apiInfo(new ApiInfoBuilder().description("项目").build());
    }
}
OK我们现在重启项目:
并访问这里
OK我们现在可以使用swagger进行接口测试了,炒鸡棒。
分页技术#
数据库分页也是在数据库里写查询语句,不同的是查询的都是指定条数到指定条数的数据,不是一次性把数据全查出来。
当size=2时,返回如下
当size=2,page=2时,返回如下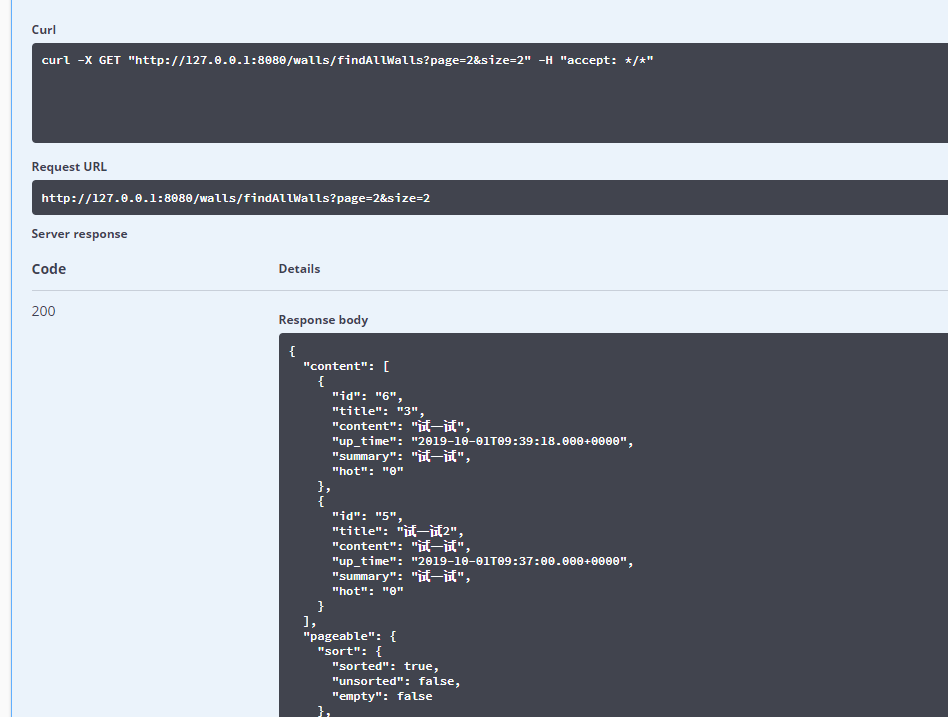
当size或者page越界时,返回如下
这里的分页后的字段描述如下:
{
    "content": [{}], // 数据列表
    "last": true, // 是否最后一页
    "totalPages": 1, // 总页数
    "totalElements": 1, // 数据总数
    "sort": null, // 排序
    "first": true, // 是否首页
    "numberOfElements": 1, // 本页数据条数
    "size": 10, // 每页长度
    "number": 0 // 当前页序号
}
不难看出,JPA的分页机制特别好用,简直不要太爽。
git推上去#

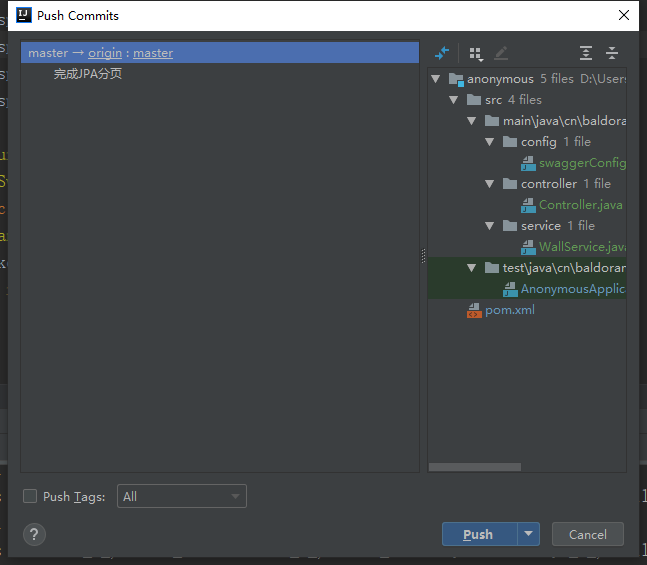
OK今天的活就完工了。
作者: 秃桔子
出处:https://www.cnblogs.com/godoforange/p/11615740.html
版权:本站使用「CC BY 4.0」创作共享协议,转载请在文章明显位置注明作者及出处。