1. 概述:
ViewStub组件和<include>标签的作用类似,主要是为了提高布局的重用性,及布局的模块化。它们之间最大的差别 是,ViewStub中的布局不会随着它所在布局的渲染而渲染,而<include>标签中的布局会随着它所在布局的渲染而渲 染,ViewStub中的布局只有在你需要的时候才会渲染到主界面中。
2. 效果图:
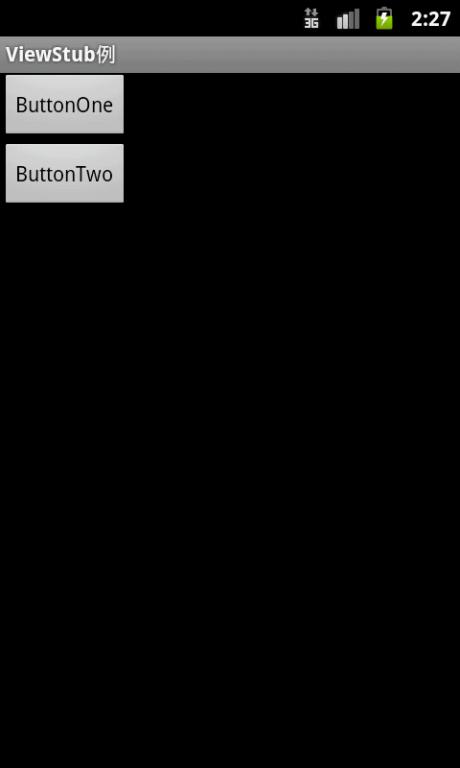
(1)在ButtonOne与ButtonTwo之间存在一个ViewStub布局,如下图:
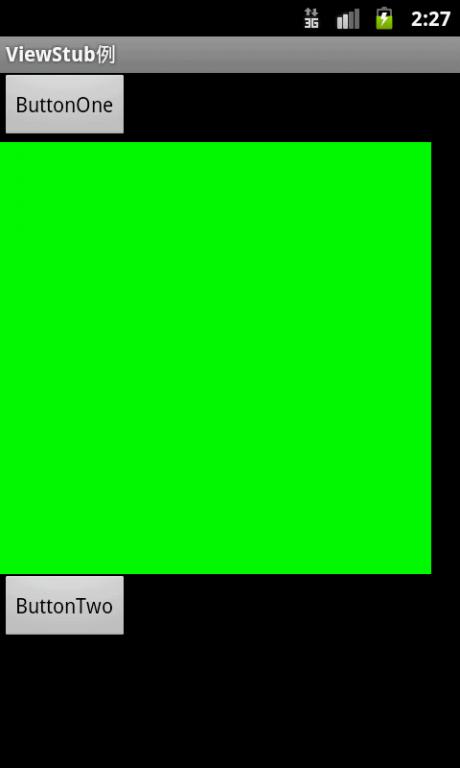
(2)单击ButtonOne后渲染ViewStub中的布局,如下图:
3. 实现代码:
(1)res/layout/main.xml实现:
- <?xml version="1.0" encoding="utf-8"?>
- <LinearLayout xmlns:android = "http://schemas.android.com/apk/res/android"
- android:orientation = "vertical"
- android:layout_width = "fill_parent"
- android:layout_height = "fill_parent"
- >
- <Button
- android:id = "@+id/show"
- android:text = "ButtonOne"
- android:layout_width = "wrap_content"
- android:layout_height = "wrap_content"
- />
- <ViewStub
- android:id = "@+id/viewStub"
- android:layout = "@layout/green_layout"
- android:layout_width = "300dip"
- android:layout_height = "300dip"
- />
- <Button
- android:layout_width = "wrap_content"
- android:layout_height = "wrap_content"
- android:text = "ButtonTwo"
- />
- </LinearLayout>
(2)main.xml中ViewStub组件里的布局实现:
- <?xml version="1.0" encoding="utf-8"?>
- <LinearLayout
- xmlns:android = "http://schemas.android.com/apk/res/android"
- android:layout_width = "match_parent"
- android:layout_height = "match_parent"
- android:background = "@color/green">
- </LinearLayout>
(4)主Activity实现:
- package com.focus.fishme;
- import android.app.Activity;
- import android.os.Bundle;
- import android.view.View;
- import android.view.ViewStub;
- import android.view.View.OnClickListener;
- import android.widget.Button;
- public class ViewStubActivity extends Activity {
- private ViewStub mViewStub;
- private Button mShow;
- @Override
- public void onCreate(Bundle savedInstanceState) {
- super.onCreate(savedInstanceState);
- setContentView(R.layout.main);
- mViewStub = (ViewStub) findViewById(R.id.viewStub);
- mShow = (Button) findViewById(R.id.show);
- mShow.setOnClickListener(new OnClickListener() {
- public void onClick(View view) {
- if (mViewStub != null) {
- mViewStub.inflate();
- }
- }
- });
- }
- }