在上一篇,我们已经搭建了spring cloud微服务中的注册中心.但只有一个注册中心还远远不够.
接下来我们就来尝试提供服务.
注:这一个系列的开发环境版本为 java1.8, spring boot2.x, spring cloud Greenwich.SR2, IDE为 Intelli IDEA
服务提供
假设我们现在有个需求,需要一个接口,当我们传入一个名字,它会返回一句问好的话.如传入body,输入则为hello body!.
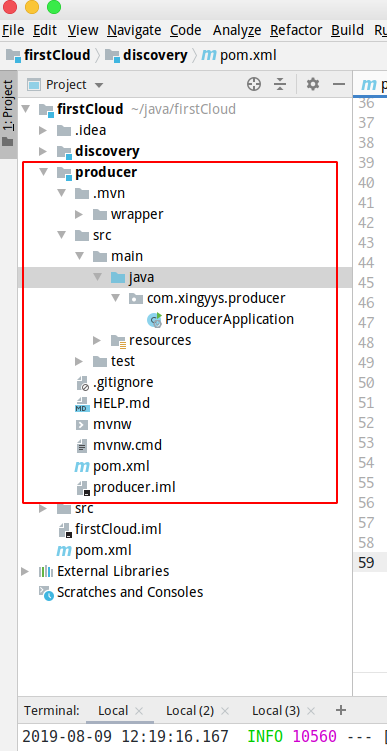
创建一个spring cloud的工程项目
具体的步骤这里就不在详细介绍了,需要的可以看[spring cloud微服务实践二]里面的内容.
步骤如下:
- Idea中选择之前的目录
firstCloud, 右击>New>Module, 选择Spring Initialzr. - 工程中 Group
- Project Metadata中Group为
com.xingyys, Artifact为producer - 直接next,直到完成.
pom 配置
在producer目录下,修改 pom.xml文件,添加依赖:
<?xml version="1.0" encoding="UTF-8"?>
<project xmlns="http://maven.apache.org/POM/4.0.0" xmlns:xsi="http://www.w3.org/2001/XMLSchema-instance"
         xsi:schemaLocation="http://maven.apache.org/POM/4.0.0 http://maven.apache.org/xsd/maven-4.0.0.xsd">
    <modelVersion>4.0.0</modelVersion>
    <parent>
        <groupId>org.springframework.boot</groupId>
        <artifactId>spring-boot-starter-parent</artifactId>
        <version>2.1.7.RELEASE</version>
        <relativePath/> <!-- lookup parent from repository -->
    </parent>
    <groupId>com.xingyys</groupId>
    <artifactId>producer</artifactId>
    <version>0.0.1-SNAPSHOT</version>
    <name>producer</name>
    <description>Demo project for Spring Boot</description>

    <properties>
        <java.version>1.8</java.version>
        <spring-cloud.version>Greenwich.SR2</spring-cloud.version>
    </properties>

    <dependencies>
        <dependency>
            <groupId>org.springframework.boot</groupId>
            <artifactId>spring-boot-starter</artifactId>
        </dependency>

        <dependency>
            <groupId>org.springframework.cloud</groupId>
            <artifactId>spring-cloud-starter-netflix-eureka-server</artifactId>
        </dependency>

        <dependency>
            <groupId>org.springframework.boot</groupId>
            <artifactId>spring-boot-starter-test</artifactId>
            <scope>test</scope>
        </dependency>
    </dependencies>

    <dependencyManagement>
        <dependencies>
            <dependency>
                <groupId>org.springframework.cloud</groupId>
                <artifactId>spring-cloud-dependencies</artifactId>
                <version>${spring-cloud.version}</version>
                <type>pom</type>
                <scope>import</scope>
            </dependency>
        </dependencies>
    </dependencyManagement>

    <build>
        <plugins>
            <plugin>
                <groupId>org.springframework.boot</groupId>
                <artifactId>spring-boot-maven-plugin</artifactId>
            </plugin>
        </plugins>
    </build>

</project>
配置文件
修改 resources下的配置文件 application.properties.
spring.application.name=producer

server.port=9000

eureka.client.service-url.defaultZone=http://localhost:8000/eureka/
启动类
修改com.xingyys.producer下的 ProducerApplication.java:
@SpringBootApplication
@EnableDiscoveryClient
public class ProducerApplication {

    public static void main(String[] args) {
        SpringApplication.run(ProducerApplication.class, args);
    }

}
有了@EnableDiscoveryClient,就表示producer具有注册服务的功能了.
添加Controller
这里添加一个controller提供我们需要的服务 com.xingyys.producer/controller/HelloController.java:
@RestController
public class HelloController {

    @RequestMapping("/hello")
    public String hello(@RequestParam String name) {
        return "Hello " + name + " !";
    }
}
编译运行
producer代码和配置文件这样就可以了,接下来运行producer看看效果:
cd producer

mvn clean package -Dmaven.test.skip=true

java -jar target/producer-0.0.1-SNAPSHOT.jar
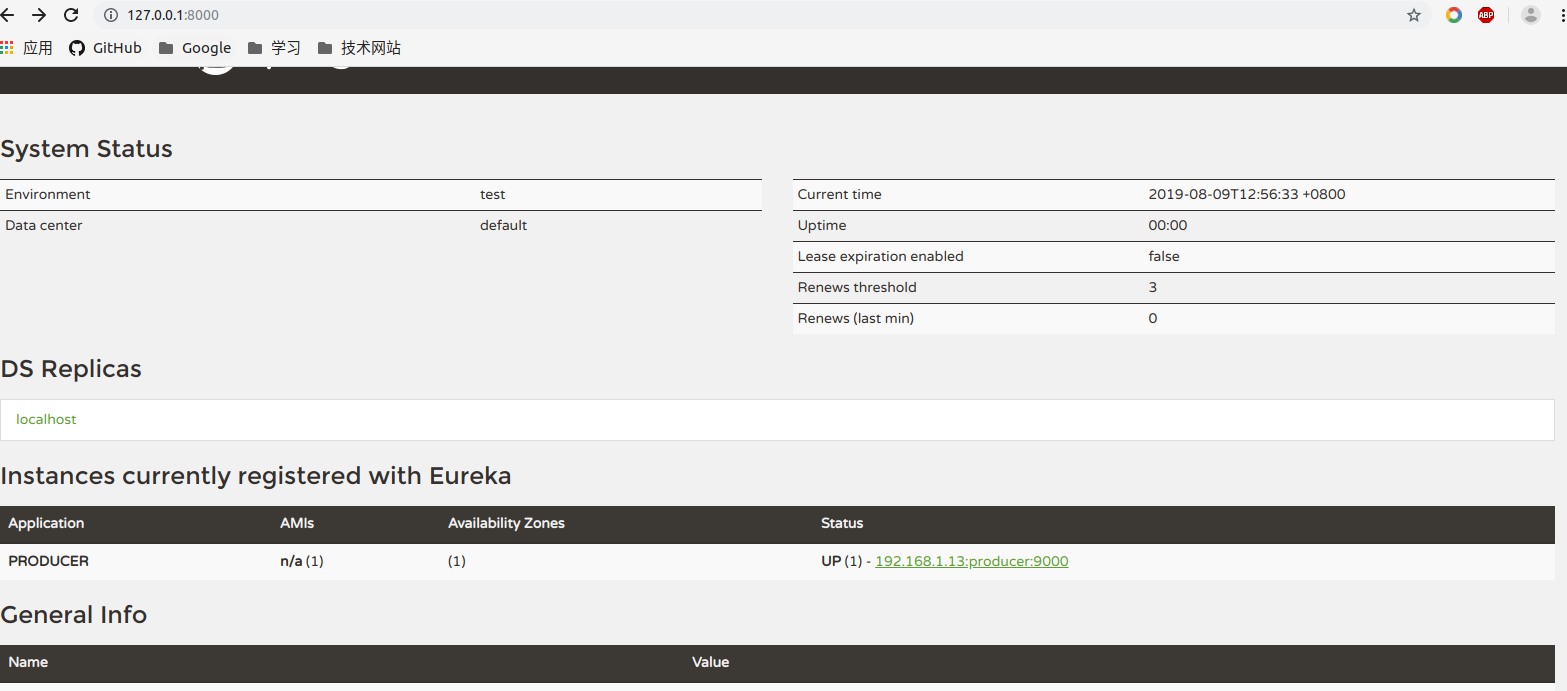
访问http://localhost:9000/hello?name=xingyys,返回Hello xingyys !,表示注册成功,producer可以提供服务了.
服务调用
既然服务的提供者有了,接着我们就来设置一个服务的使用者.
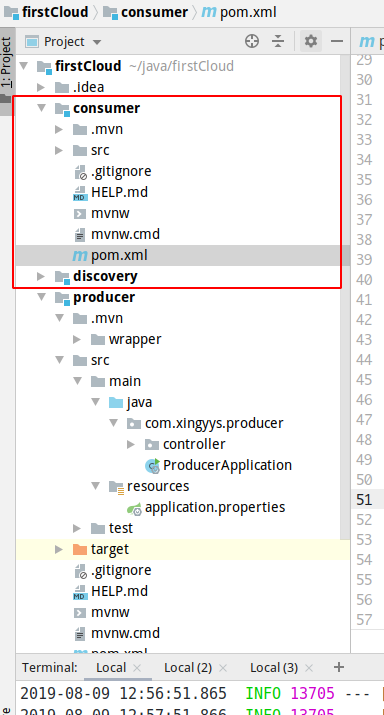
创建项目
项目命名为consumer,步骤同上,不在说明...
pom配置
    <properties>
        <java.version>1.8</java.version>
        <spring-cloud.version>Greenwich.SR2</spring-cloud.version>
    </properties>

    <dependencies>
        <dependency>
            <groupId>org.springframework.boot</groupId>
            <artifactId>spring-boot-starter</artifactId>
        </dependency>

        <dependency>
            <groupId>org.springframework.cloud</groupId>
            <artifactId>spring-cloud-starter-netflix-eureka-server</artifactId>
        </dependency>

        <dependency>
            <groupId>org.springframework.cloud</groupId>
            <artifactId>spring-cloud-starter-openfeign</artifactId>
        </dependency>

        <dependency>
            <groupId>org.springframework.boot</groupId>
            <artifactId>spring-boot-starter-test</artifactId>
            <scope>test</scope>
        </dependency>
    </dependencies>

    <dependencyManagement>
        <dependencies>
            <dependency>
                <groupId>org.springframework.cloud</groupId>
                <artifactId>spring-cloud-dependencies</artifactId>
                <version>${spring-cloud.version}</version>
                <type>pom</type>
                <scope>import</scope>
            </dependency>
        </dependencies>
    </dependencyManagement>
远程调用
spring cloud使用 feign 进行远程调用.
Feign是一个声明式Web Service客户端。使用Feign能让编写Web Service客户端更加简单, 它的使用方法是定义一个接口,然后在上面添加注解,同时也支持JAX-RS标准的注解。Feign也支持可拔插式的编码器和解码器。Spring Cloud对Feign进行了封装,使其支持了Spring MVC标准注解和HttpMessageConverters。Feign可以与Eureka和Ribbon组合使用以支持负载均衡。
// com.xingyys.consumer.remote.HelloRemote.java
// name 为 服务端的实例名
@FeignClient(name = "producer")
public interface HelloRemote {
    @RequestMapping(value = "/hello")
    public String hello(@RequestParam(value = "name") String name);
}
创建服务
注意: 这里的服务指的是微服务中对外的暴露的接口
// com.xingyys.consumer.controller.ConsumerController.java
@RestController
public class ConsumerController {

    @Autowired
    HelloRemote helloRemote;

    @RequestMapping("/hello/{name}")
    public String hello(@PathVariable("name") String name) {
        return helloRemote.hello(name);
    }
}
启动类
// ConsumerApplication.java
@SpringBootApplication
@EnableDiscoveryClient
// 注意这里接口和低版本有不同,需要在这里指定远程调用接口的路径
@EnableFeignClients(basePackages = "com.xingyys.consumer.remote")
public class ConsumerApplication {

    public static void main(String[] args) {
        SpringApplication.run(ConsumerApplication.class, args);
    }

}
配置文件
spring.application.name=consumer

server.port=9001

eureka.client.service-url.defaultZone=http://localhost:8000/eureka/
编译运行
cd consumer
mvn clean package -Dmaven.test.skip=true
java -jar target/consumer-0.0.1-SNAPSHOT.jar
测试
浏览器访问: http://localhost:9001/hello/xingyys,返回Hello xingyys !