<p><iframe name="ifd" src="https://mnifdv.cn/resource/cnblogs/ZLIOTB/CH395Q/my.html" frameborder="0" scrolling="auto" width="100%" height="1500"></iframe></p>
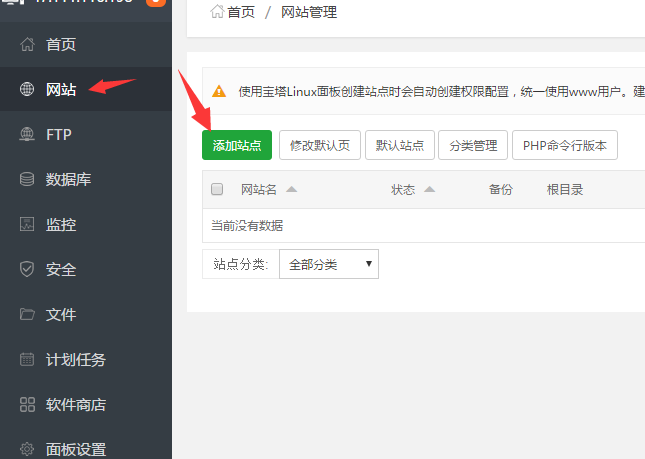
添加一个网站
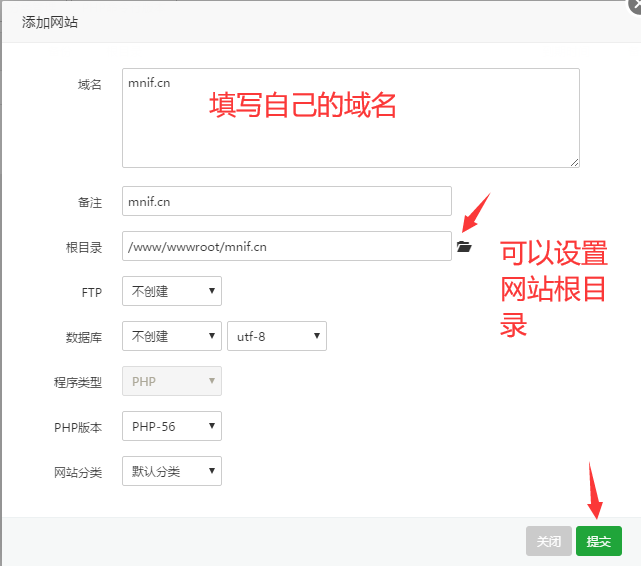
1.添加站点
2.点击设置
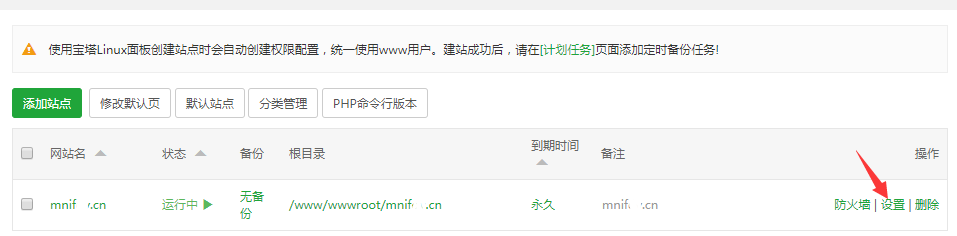
3.添加上自己服务器的IP地址
注:添加上IP地址以后也可以用IP地址访问

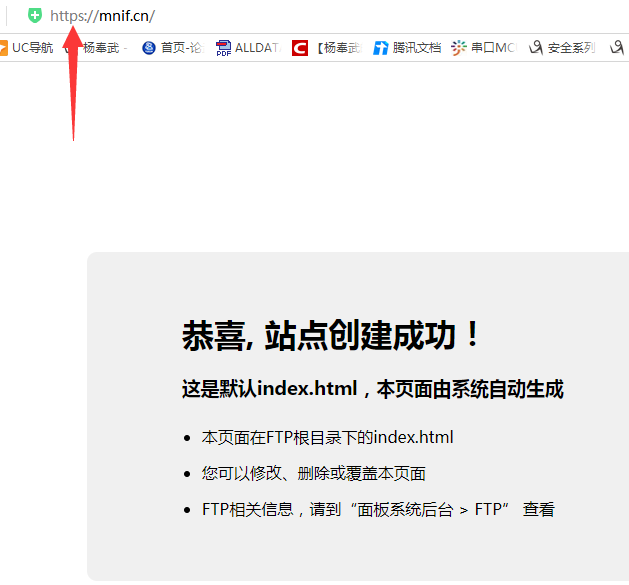
4.在浏览器上输入自己服务器的IP地址

提示:以上测试必须测试成功以后才可以接着往下
用户需要先保证服务器可以正常访问
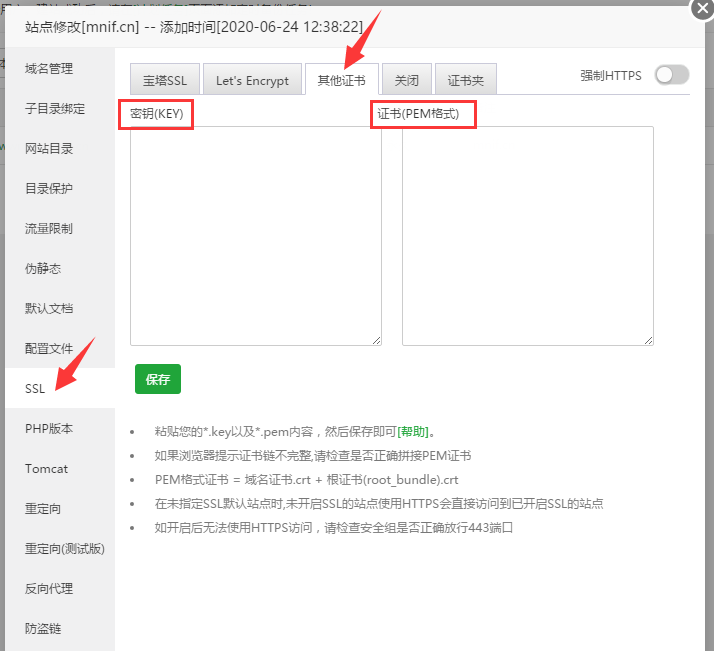
配置SSL
1.找到以下页面
2.下载nginx证书

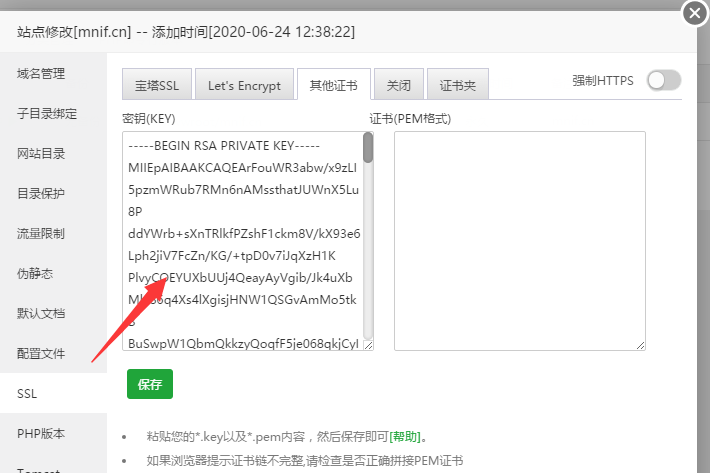
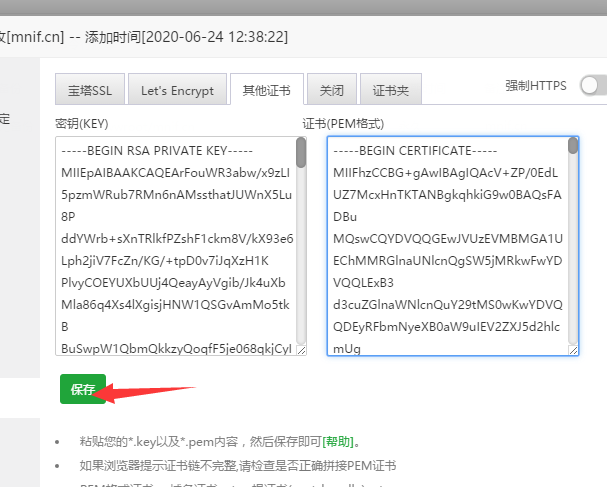
3.打开证书里面的xxxxx.key文件,复制里面所有的内容

拷贝到 (秘钥KEY)
4.同理,打开 xxxx.pem文件,复制里面所有的内容
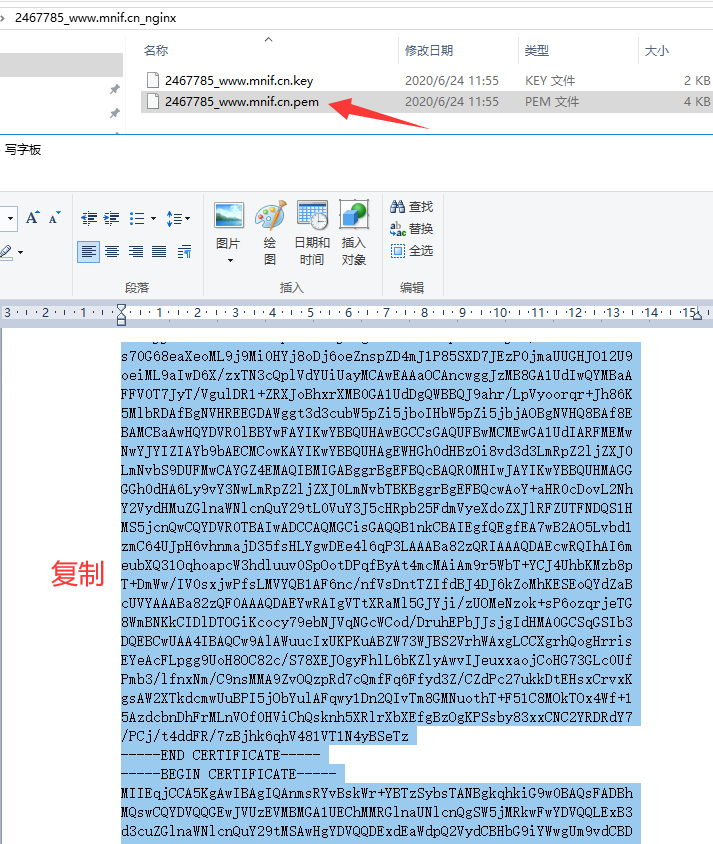
拷贝到 (证书 PEM格式)
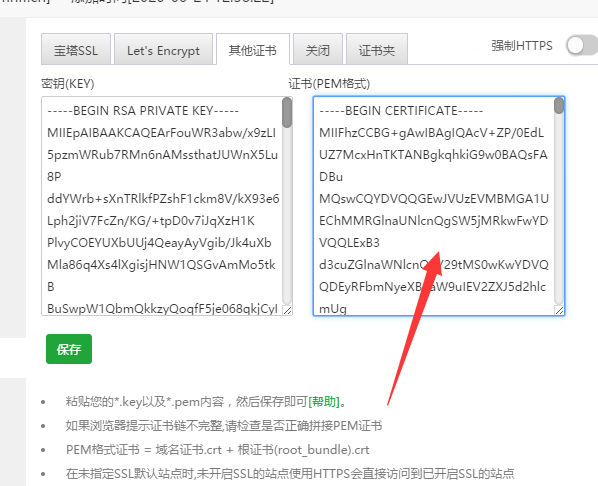
5.保存,关闭该窗口

6.测试
https://自己的域名