<p><iframe name="ifd" src="https://mnifdv.cn/resource/cnblogs/LearnESP32" frameborder="0" scrolling="auto" width="100%" height="1500"></iframe></p>
下载程序到开发板
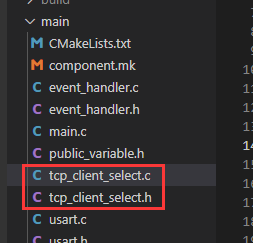
1.把这节的代码放到英文目录

2.鼠标右键选择使用VScode打开

3.鼠标右键选择使用VScode打开
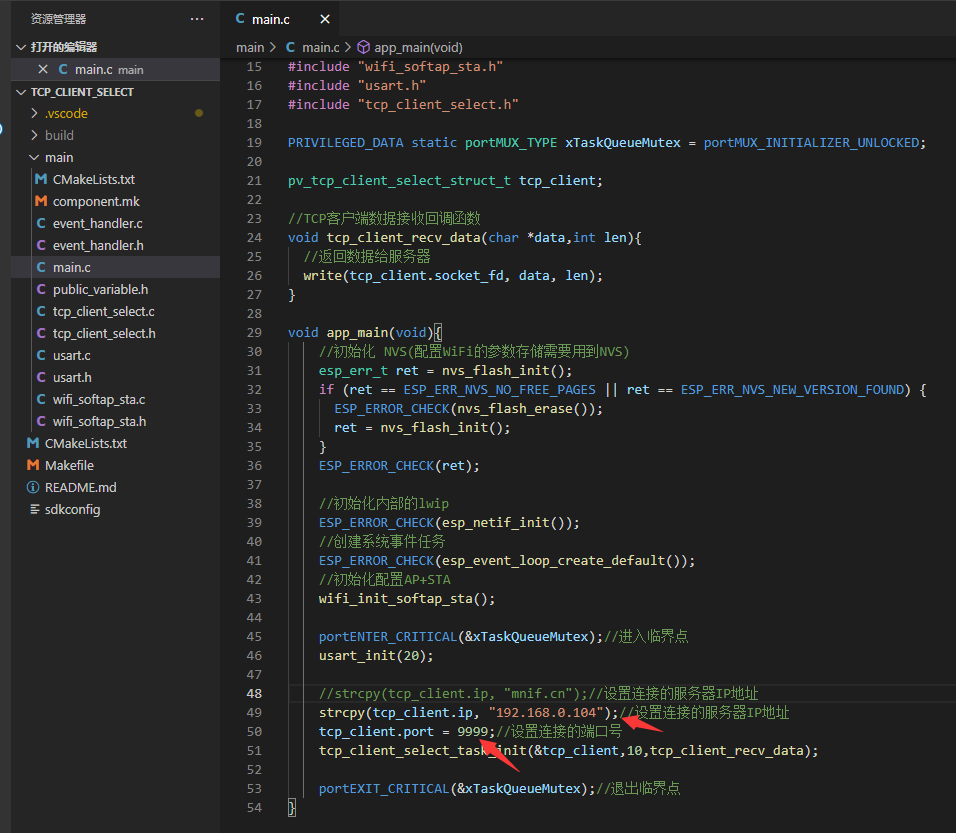
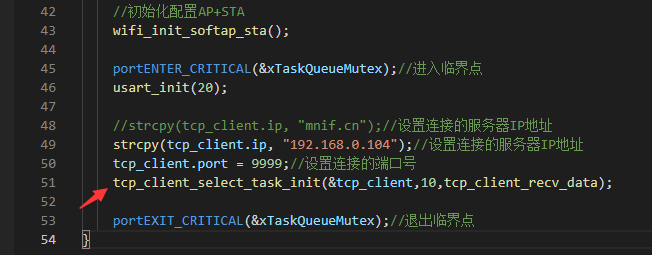
设置所连接服务器的IP地址和端口号
4.注意,如果设置的地址是域名,因为需要DNS把域名解析成IP,所以需要设置一下连接的路由器

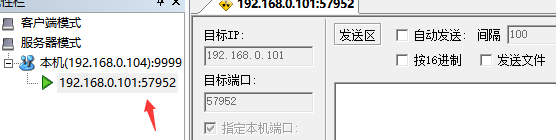
5.下载测试
现在是服务器发送给客户端什么,客户端就回复什么

5.测试断线重连
把服务器关掉,会看到客户端每隔一段时间尝试重新连接

重新打开服务器,客户端就连接了

程序使用说明(先说下如何使用)
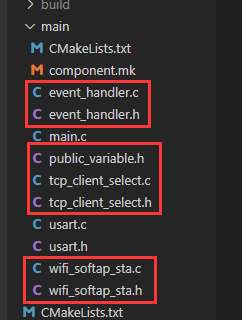
1.如果用户需要移植使用的话直接把下面的文件放到自己的工程里面就可以
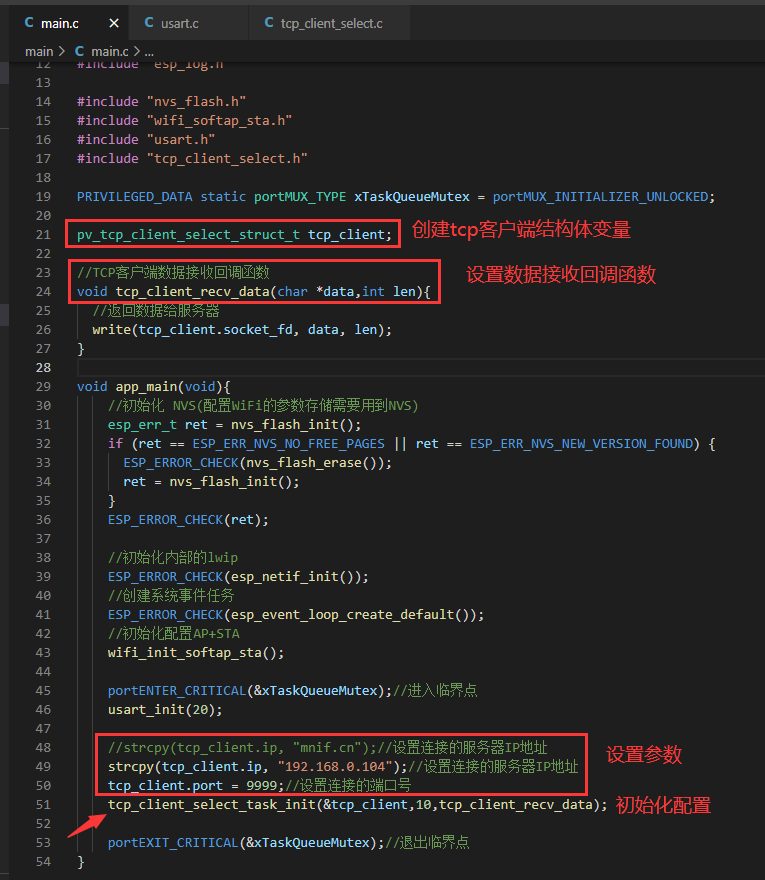
2.配置连接服务器

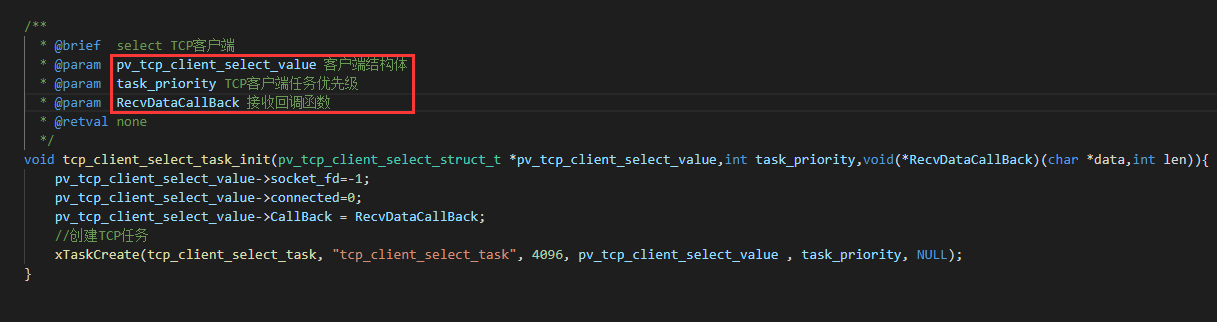
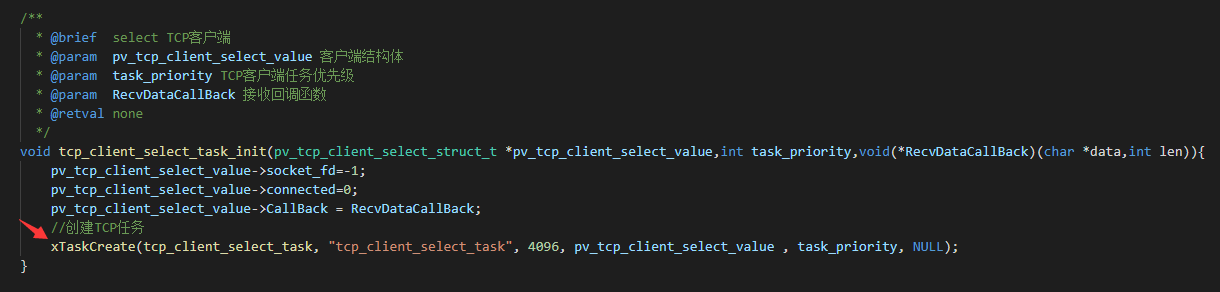
3.关于 tcp_client_select_task_init 函数
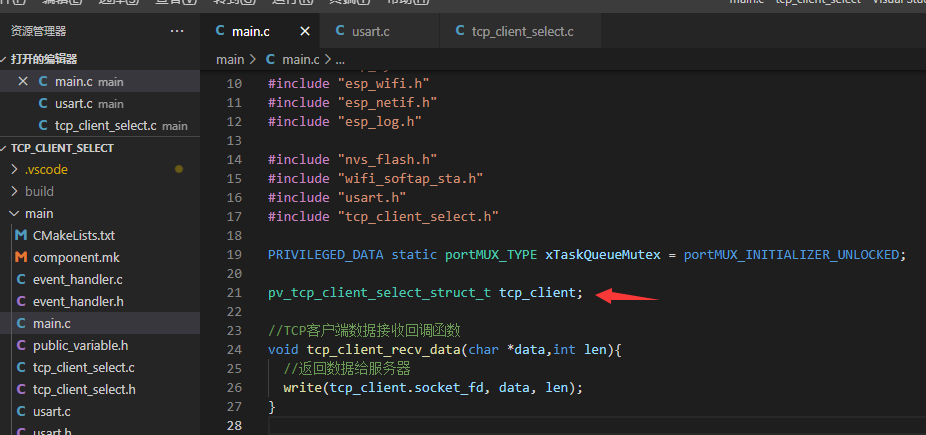
4.客户端发送数据
如果在接收回调函数里面发送直接调用下面的函数就可以
第一个参数 tcp_client.socket_fd固定,后面分别是发送的数据和数据长度

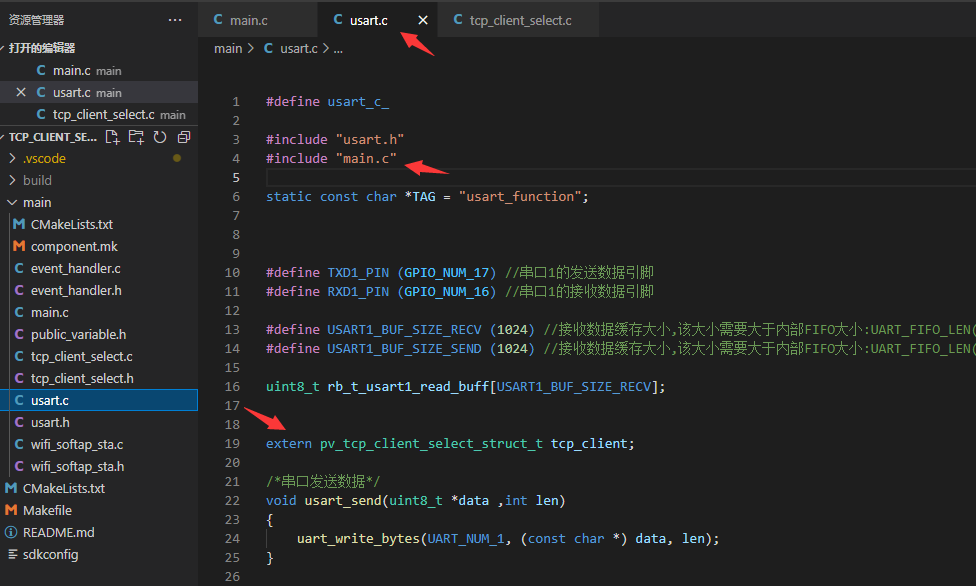
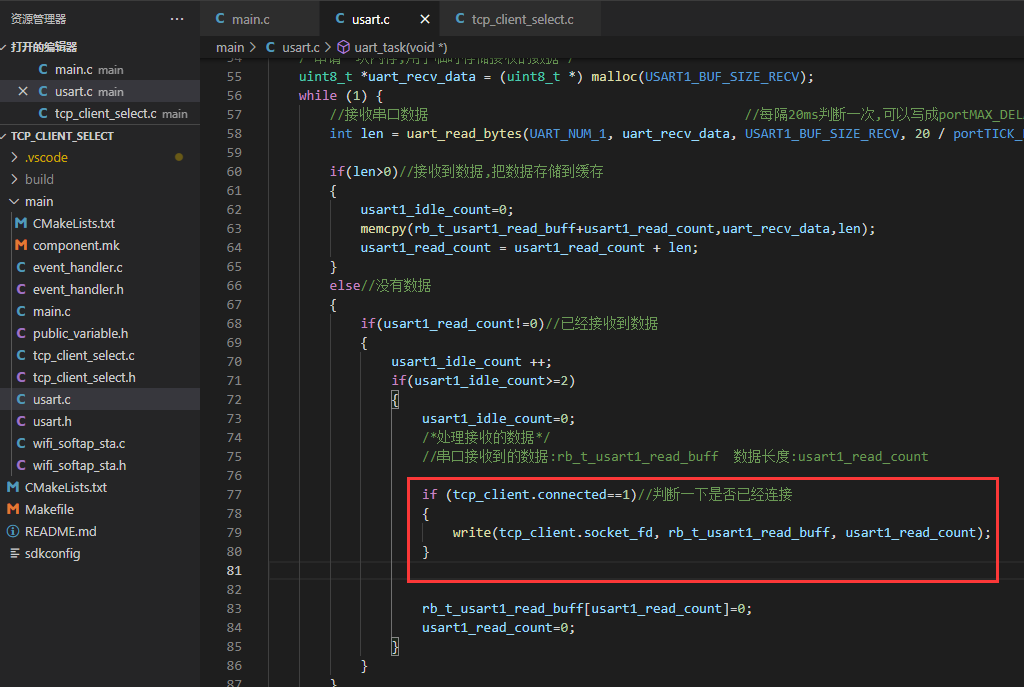
假设把串口接收的数据发送给服务器, ,引用一下 tcp_client 变量
程序说明
1.
2.启动任务
3.如果需要解析域名,则等待连接上路由器
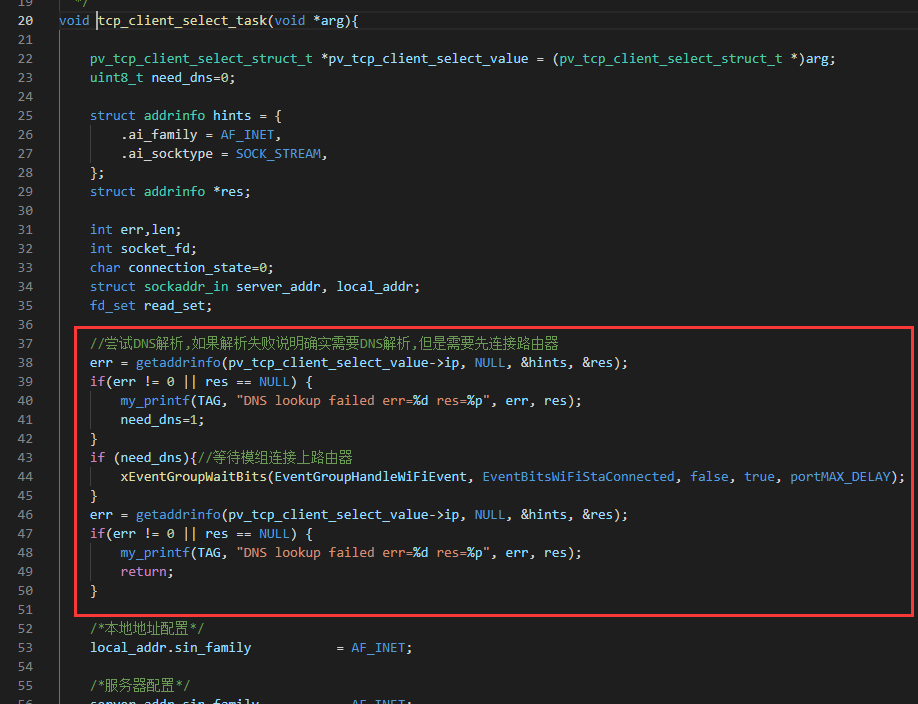
4.创建socket 尝试连接服务器,连接成功以后就进入 select 阻塞函数

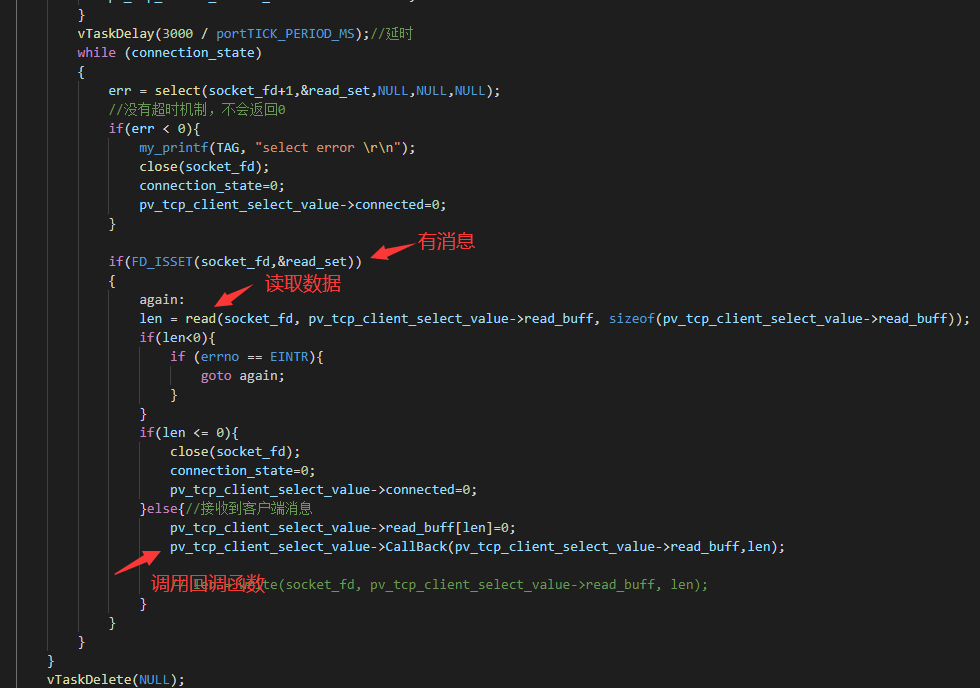
5.读取数据,调用数据回调函数
如果需要多个客户端
复制出来几份就OK了