环境:
64bit操作系统(win10)+64bit python(3.7.0)+64位autoIT
1、python安装成功后,下载AutoItLibrary
下载地址:https://pypi.org/project/AutoItLibrary/#files

2、管理员安装AutoItLibrary
1)进入管理员命令行

2)切换到AutoItLibrary-1.1.post1的解压目录
cd ....AutoItLibrary-1.1.post1
输入:python setup.py install
如果报错:

原因:python2与python3的语法的差异
在print打印时,python2是print语句,python3用print()函数实现相同的功能
解决方式:
编辑setup.py文件,将print “xxxxxxx”改为print("xxxxxx")
3)继续管理员执行python setup.py install命令
报错:

原因:与2)报错原理相同,python2与python3语法差异
解决方式:进入AutoItLibrary的安装目录,在Libsite-packagesAutoItLibrary
将Logger.py里面的print"xxxxx"改为print("xxxxxx")
将_init_.py里面的raise Exception,"xxxxx"改为 raise Exception("xxxxxxx") 也就是将,换成()

3)继续管理员执行python setup.py install命令
发现此次没有报错

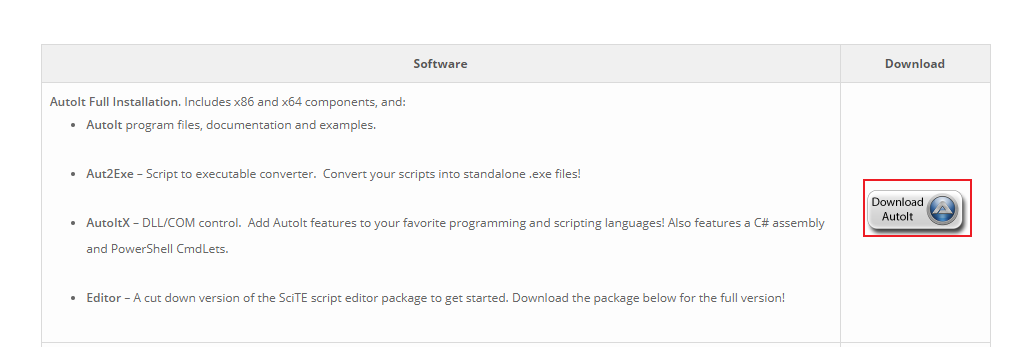
4)安装依赖的autoit-v3-setup.exe
下载地址:https://www.autoitscript.com/site/autoit/downloads/

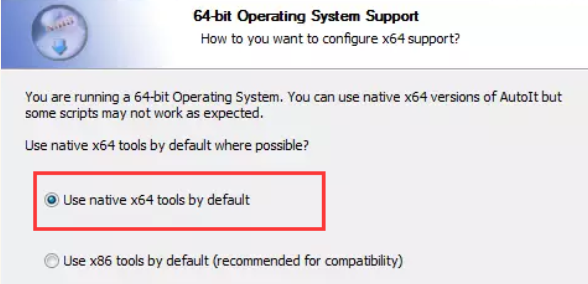
【注意】在安装过程中的注意事项:如果你的python是64位的那就选择 Use native x64tools by default. 如果是32位的就行选择 Use x86 toolsby default;
如果不小心安装86,则卸载重装即可:

5)查看AutoItLibrary是否安装成功
打开命令行,输入python
输入:import AutoItLibrary

如果没有报错证明安装成功,如果报错 no module Logger
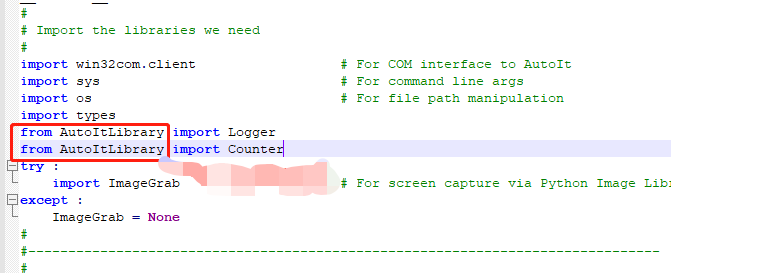
原因:在__init__.py文件中,import Logger import Counter 是找不到模块
解决方法:
将import Logger import Counter改为

再次尝试安装,并查看是否安装成功
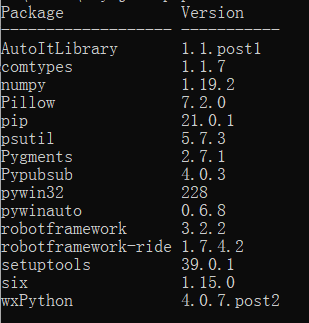
再次附上我的环境python环境,可以尝试将AutoItLibrary最后安装

非常感谢:https://blog.csdn.net/weixin_43794324/article/details/115602161