基于Ambari的WebUI实现集群扩容案例
作者:尹正杰
版权声明:原创作品,谢绝转载!否则将追究法律责任。
一.将HDP的服务托管给Ambari服务
1>.点击“Service Auto Start”

2>.进入到"Server Auto Start"的管理界面
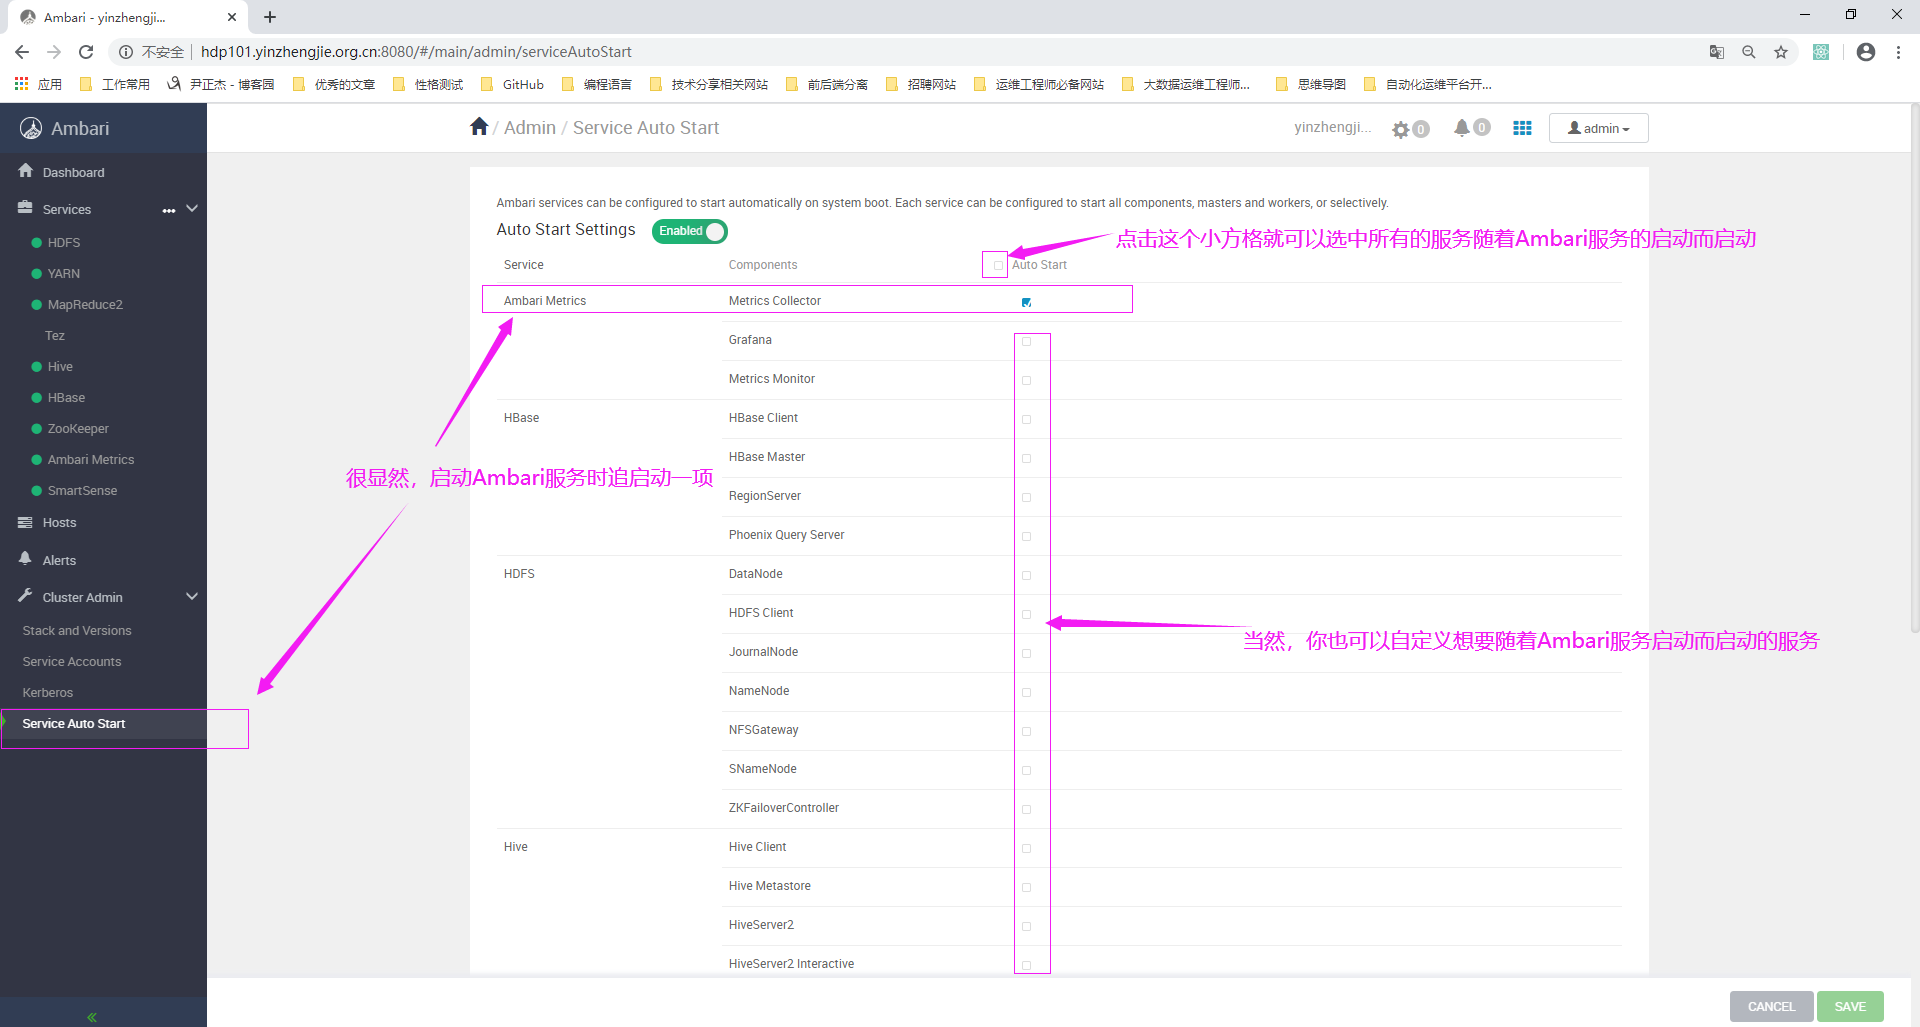
3>.勾选需要随着Ambari启动而启动的HDP服务组件
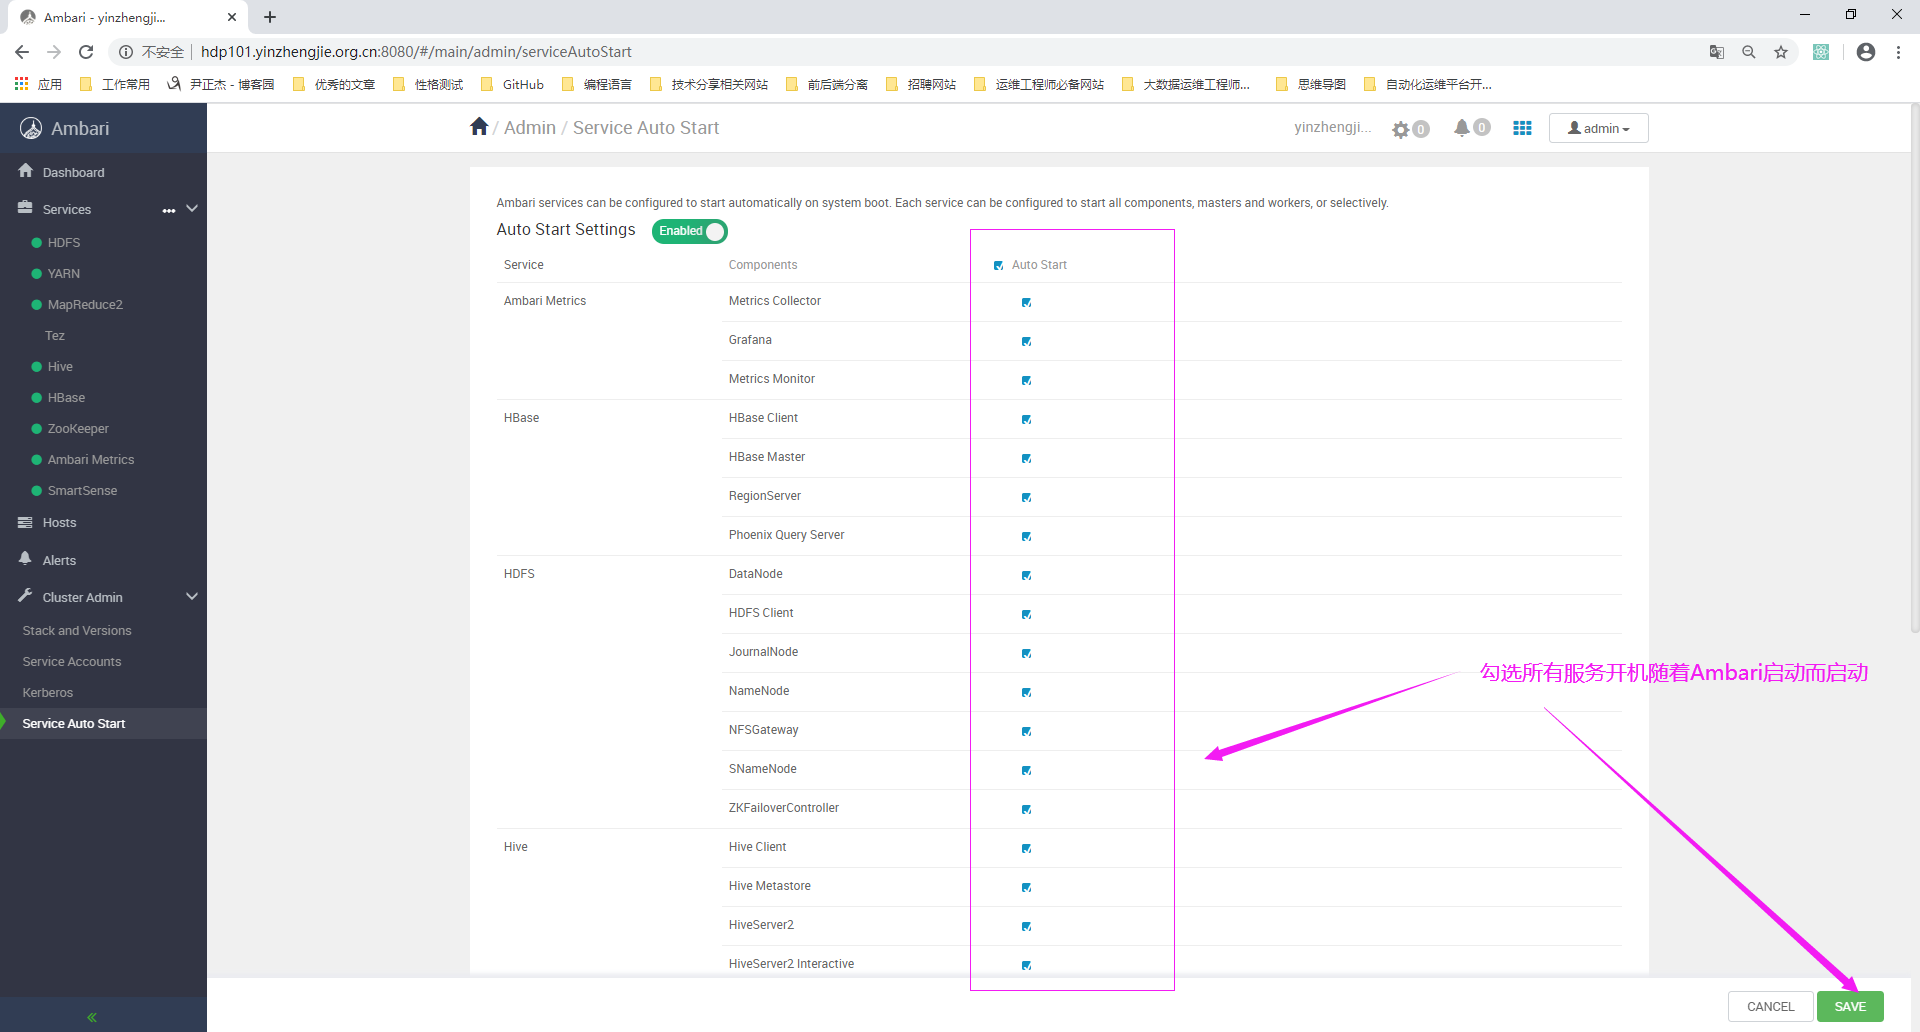
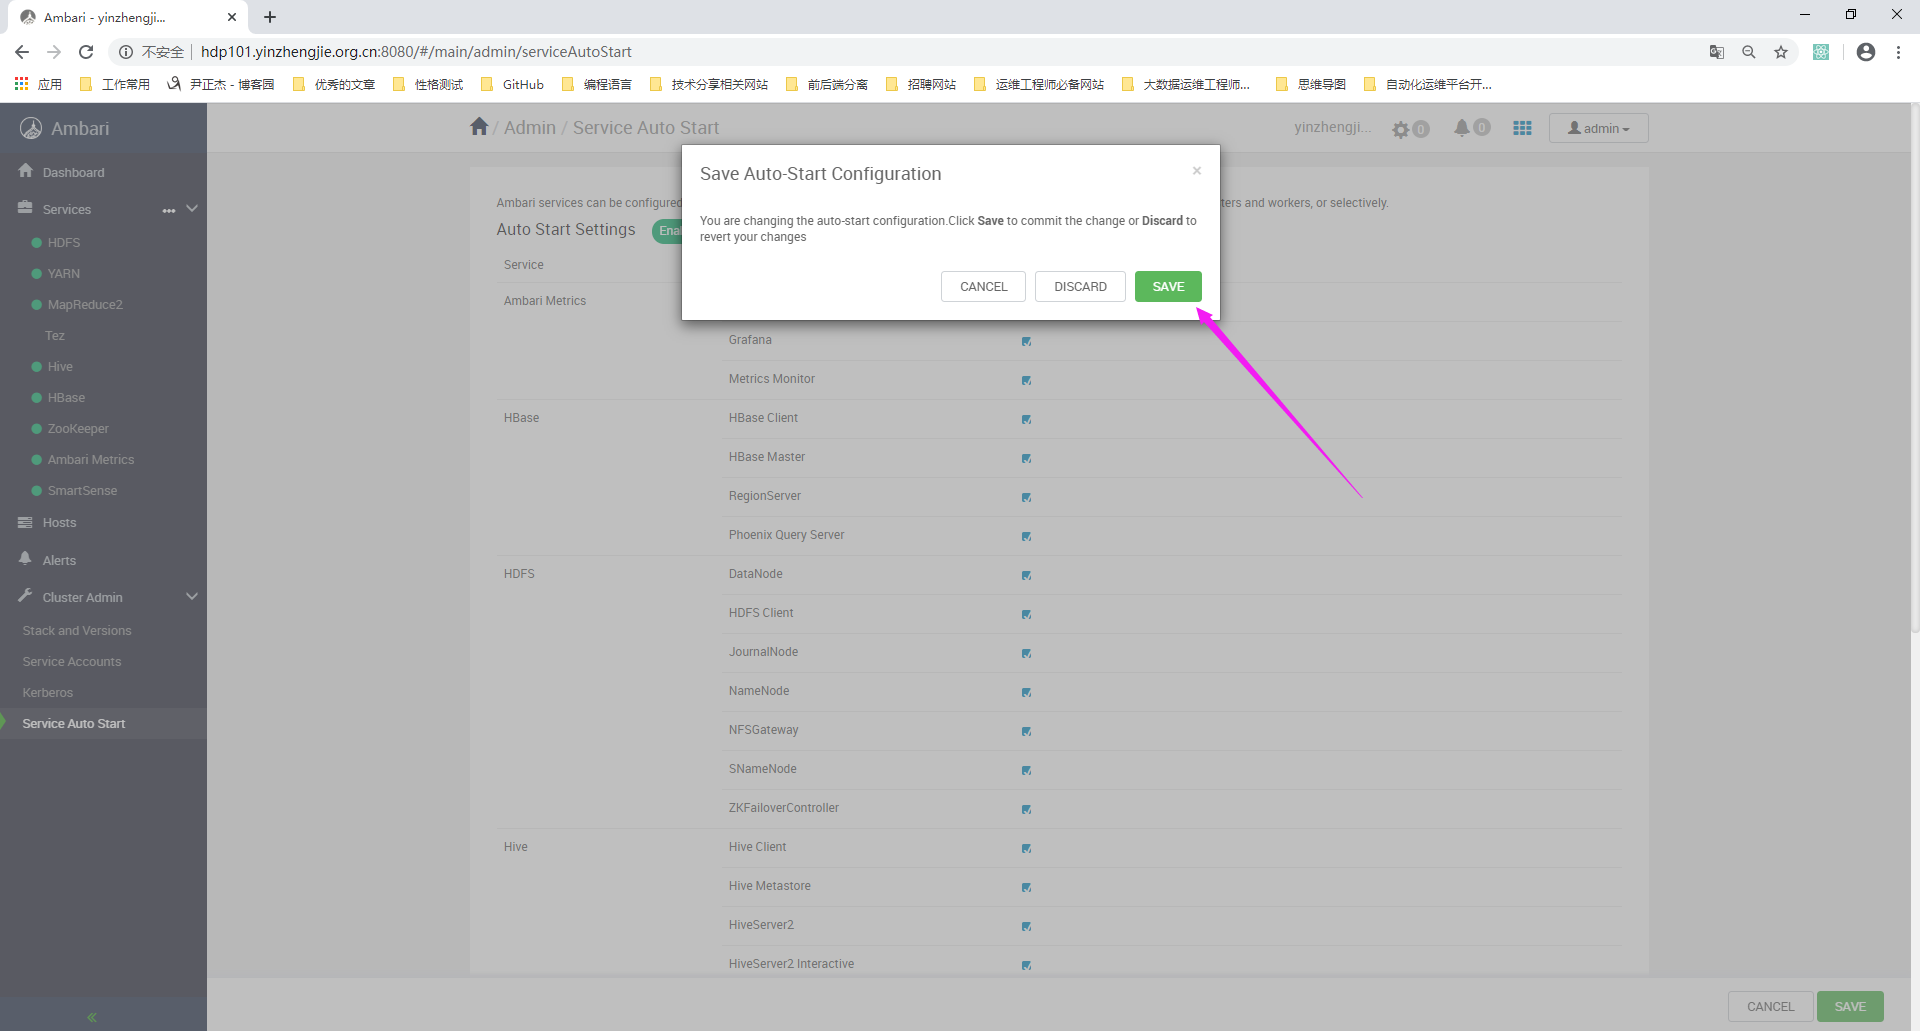
4>.确认保存
二.扩容节点准备环境
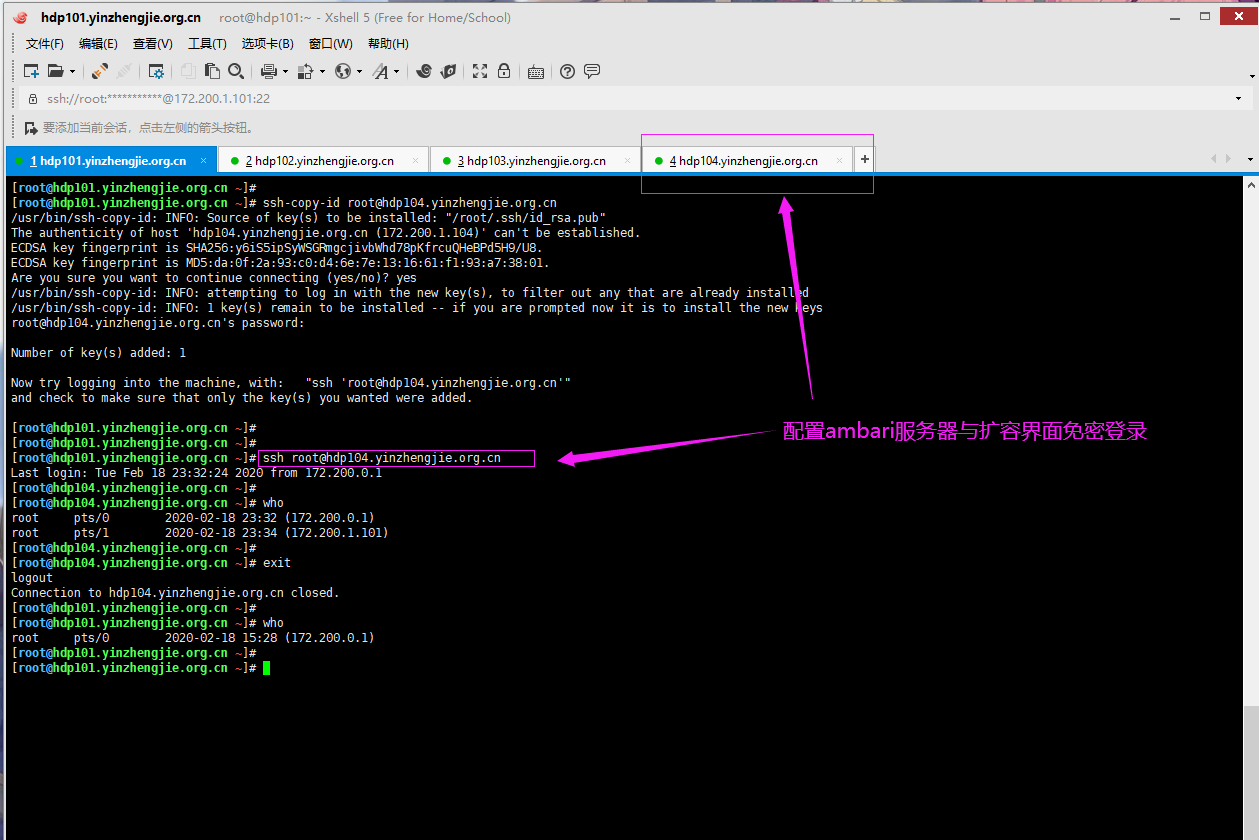
1>.配置Ambari服务器与将要扩容的节点免密登录


[root@hdp101.yinzhengjie.org.cn ~]# ssh-copy-id root@hdp104.yinzhengjie.org.cn
/usr/bin/ssh-copy-id: INFO: Source of key(s) to be installed: "/root/.ssh/id_rsa.pub"
The authenticity of host 'hdp104.yinzhengjie.org.cn (172.200.1.104)' can't be established.
ECDSA key fingerprint is SHA256:y6iS5ipSyWSGRmgcjivbWhd78pKfrcuQHeBPd5H9/U8.
ECDSA key fingerprint is MD5:da:0f:2a:93:c0:d4:6e:7e:13:16:61:f1:93:a7:38:01.
Are you sure you want to continue connecting (yes/no)? yes
/usr/bin/ssh-copy-id: INFO: attempting to log in with the new key(s), to filter out any that are already installed
/usr/bin/ssh-copy-id: INFO: 1 key(s) remain to be installed -- if you are prompted now it is to install the new keys
root@hdp104.yinzhengjie.org.cn's password:

Number of key(s) added: 1

Now try logging into the machine, with:   "ssh 'root@hdp104.yinzhengjie.org.cn'"
and check to make sure that only the key(s) you wanted were added.

[root@hdp101.yinzhengjie.org.cn ~]#
[root@hdp101.yinzhengjie.org.cn ~]#
[root@hdp101.yinzhengjie.org.cn ~]# ssh root@hdp104.yinzhengjie.org.cn
Last login: Tue Feb 18 23:32:24 2020 from 172.200.0.1
[root@hdp104.yinzhengjie.org.cn ~]#
[root@hdp104.yinzhengjie.org.cn ~]# who
root     pts/0        2020-02-18 23:32 (172.200.0.1)
root     pts/1        2020-02-18 23:34 (172.200.1.101)
[root@hdp104.yinzhengjie.org.cn ~]#
[root@hdp104.yinzhengjie.org.cn ~]# exit
logout
Connection to hdp104.yinzhengjie.org.cn closed.
[root@hdp101.yinzhengjie.org.cn ~]#
[root@hdp101.yinzhengjie.org.cn ~]# who
root     pts/0        2020-02-18 15:28 (172.200.0.1)
[root@hdp101.yinzhengjie.org.cn ~]#
[root@hdp101.yinzhengjie.org.cn ~]#
2>.扩容节点配置chrony服务指向ambari服务器的时钟服务器
[root@hdp104.yinzhengjie.org.cn ~]# yum -y install chrony
Loaded plugins: fastestmirror
Determining fastest mirrors
 * base: mirrors.tuna.tsinghua.edu.cn
 * extras: mirrors.tuna.tsinghua.edu.cn
 * updates: mirrors.tuna.tsinghua.edu.cn
base                                                                                                                                                    | 3.6 kB  00:00:00
extras                                                                                                                                                  | 2.9 kB  00:00:00
updates                                                                                                                                                 | 2.9 kB  00:00:00
(1/2): extras/7/x86_64/primary_db                                                                                                                       | 159 kB  00:00:00
(2/2): updates/7/x86_64/primary_db                                                                                                                      | 6.7 MB  00:00:01
Resolving Dependencies
--> Running transaction check
---> Package chrony.x86_64 0:3.4-1.el7 will be installed
--> Processing Dependency: libseccomp.so.2()(64bit) for package: chrony-3.4-1.el7.x86_64
--> Running transaction check
---> Package libseccomp.x86_64 0:2.3.1-3.el7 will be installed
--> Finished Dependency Resolution

Dependencies Resolved

===============================================================================================================================================================================
 Package                                     Arch                                    Version                                       Repository                             Size
===============================================================================================================================================================================
Installing:
 chrony                                      x86_64                                  3.4-1.el7                                     base                                  251 k
Installing for dependencies:
 libseccomp                                  x86_64                                  2.3.1-3.el7                                   base                                   56 k

Transaction Summary
===============================================================================================================================================================================
Install  1 Package (+1 Dependent package)

Total download size: 306 k
Installed size: 788 k
Downloading packages:
(1/2): libseccomp-2.3.1-3.el7.x86_64.rpm                                                                                                                |  56 kB  00:00:00
(2/2): chrony-3.4-1.el7.x86_64.rpm                                                                                                                      | 251 kB  00:00:00
-------------------------------------------------------------------------------------------------------------------------------------------------------------------------------
Total                                                                                                                                          1.8 MB/s | 306 kB  00:00:00
Running transaction check
Running transaction test
Transaction test succeeded
Running transaction
  Installing : libseccomp-2.3.1-3.el7.x86_64                                                                                                                               1/2
  Installing : chrony-3.4-1.el7.x86_64                                                                                                                                     2/2
  Verifying  : libseccomp-2.3.1-3.el7.x86_64                                                                                                                               1/2
  Verifying  : chrony-3.4-1.el7.x86_64                                                                                                                                     2/2

Installed:
  chrony.x86_64 0:3.4-1.el7

Dependency Installed:
  libseccomp.x86_64 0:2.3.1-3.el7

Complete!
[root@hdp104.yinzhengjie.org.cn ~]#
[root@hdp104.yinzhengjie.org.cn ~]# egrep -v "^#|^$" /etc/chrony.conf
server hdp101.yinzhengjie.org.cn iburst
driftfile /var/lib/chrony/drift
makestep 1.0 3
rtcsync
logdir /var/log/chrony
[root@hdp104.yinzhengjie.org.cn ~]#
[root@hdp104.yinzhengjie.org.cn ~]# systemctl restart chronyd
[root@hdp104.yinzhengjie.org.cn ~]#
3>.将扩容节点的chrony服务设置为开机自启动
[root@hdp104.yinzhengjie.org.cn ~]# systemctl enable chronyd
[root@hdp104.yinzhengjie.org.cn ~]#
[root@hdp104.yinzhengjie.org.cn ~]# systemctl list-unit-files | grep chronyd
chronyd.service                               enabled
[root@hdp104.yinzhengjie.org.cn ~]#

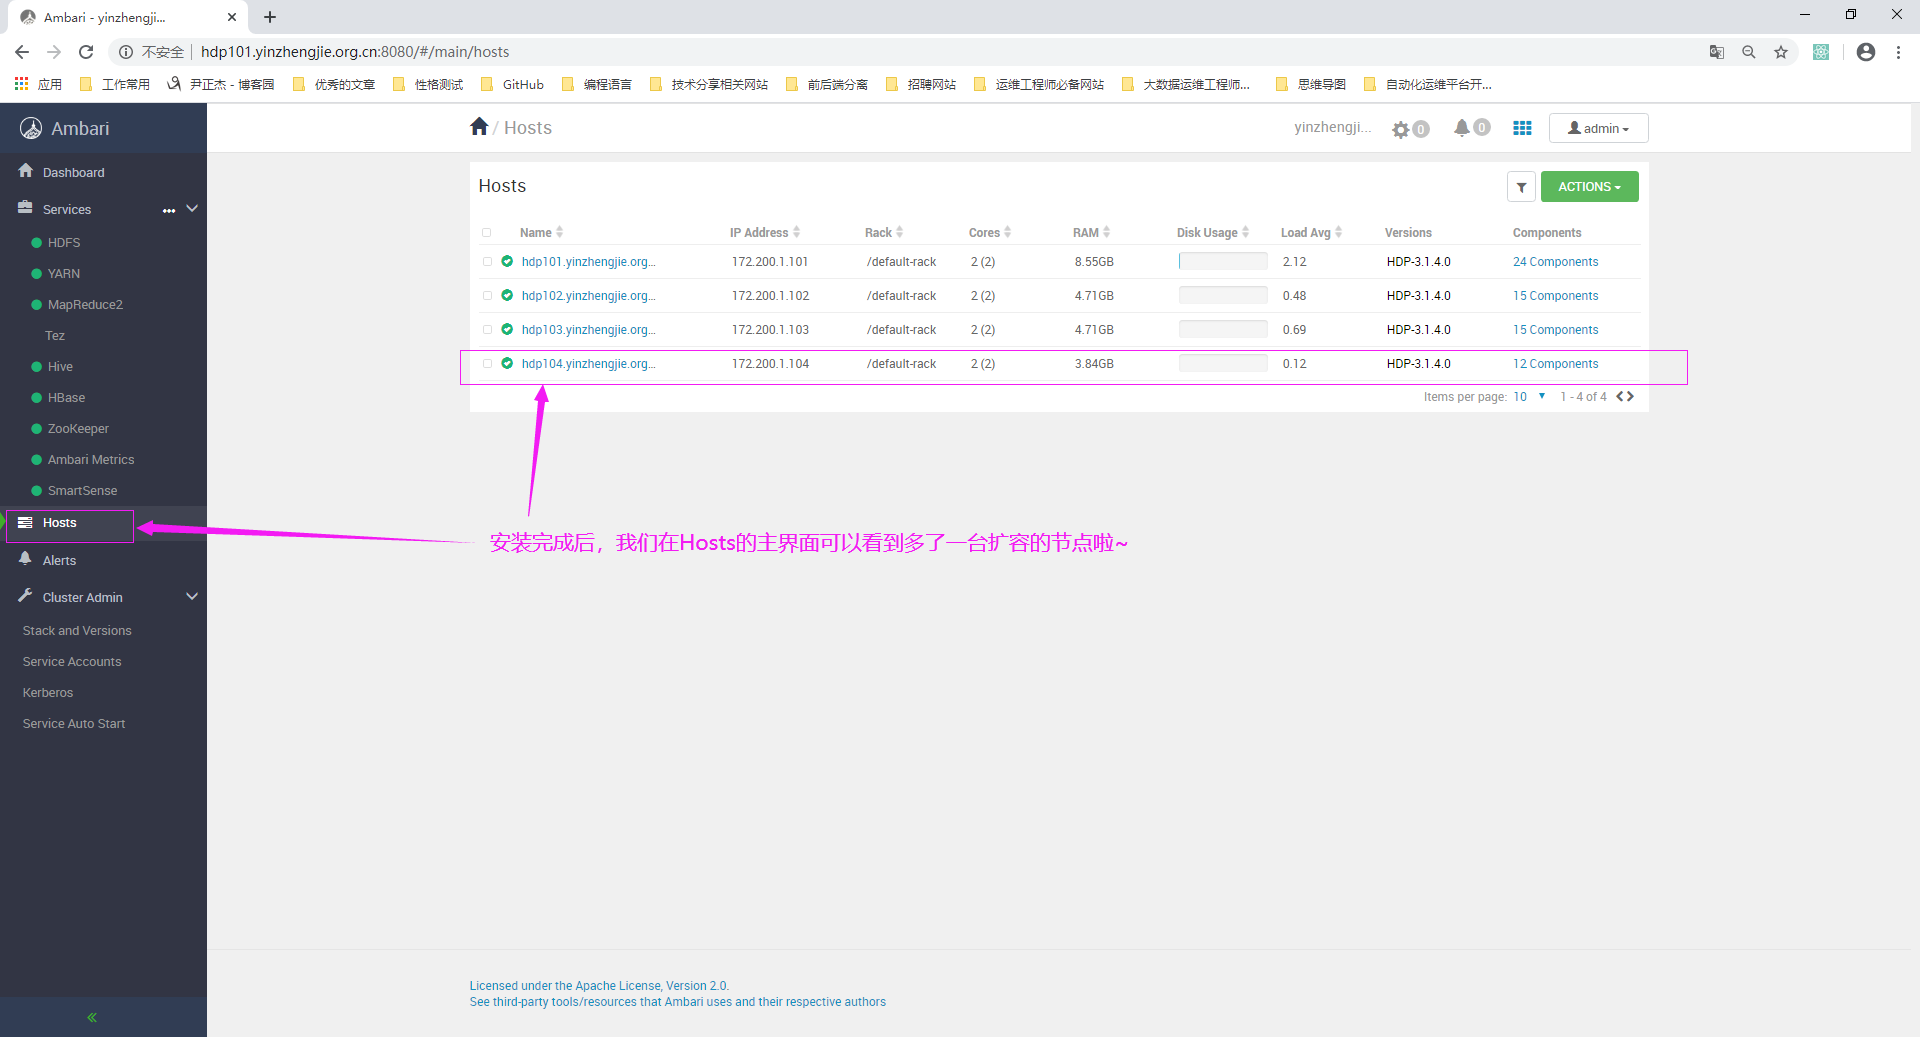
三.基于Ambari的WebUI将扩容节点加入现有集群
1>.点击"Hosts",进入到主机的管理界面
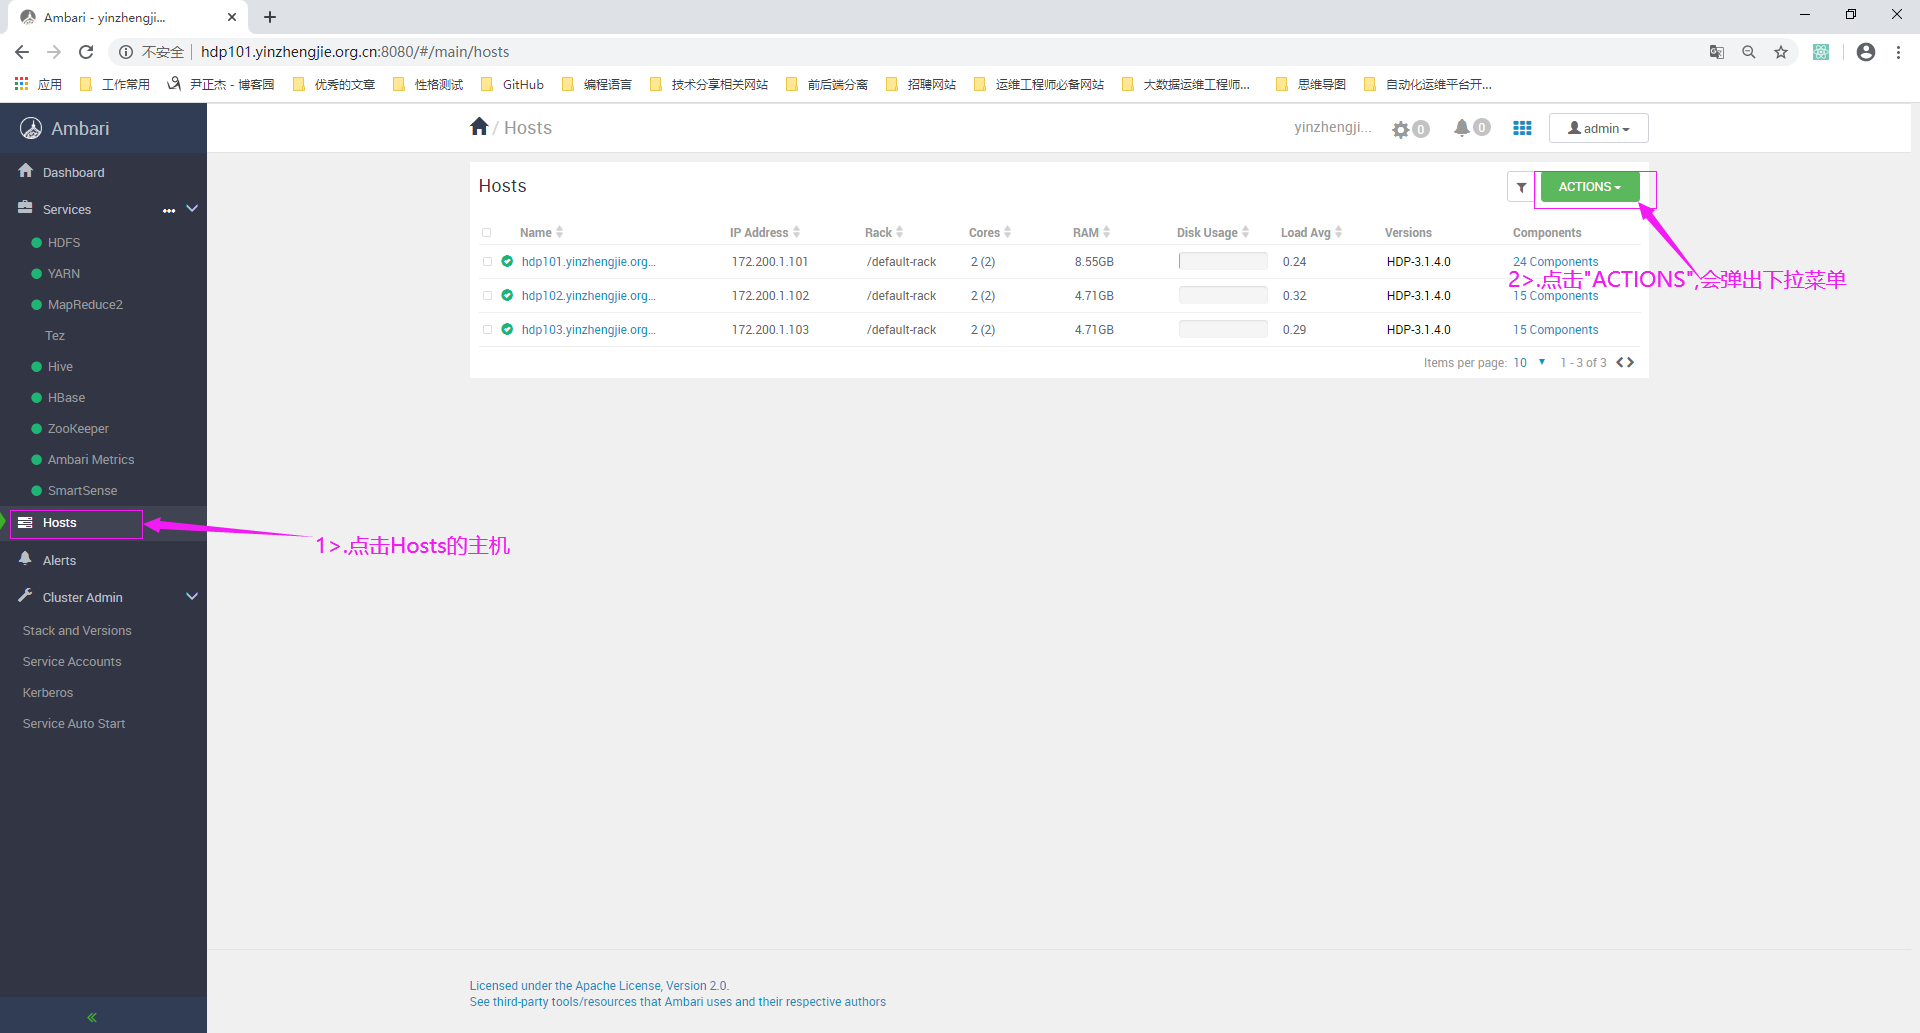
2>.点击"Add New Hosts"

3>.填写目标主机和Ambari私钥(可以直接在Ambari服务中将私钥下载下来)信息
[root@hdp101.yinzhengjie.org.cn ~]# sz ~/.ssh/id_rsa

4>.等待安装完成

5>.等待主机检查
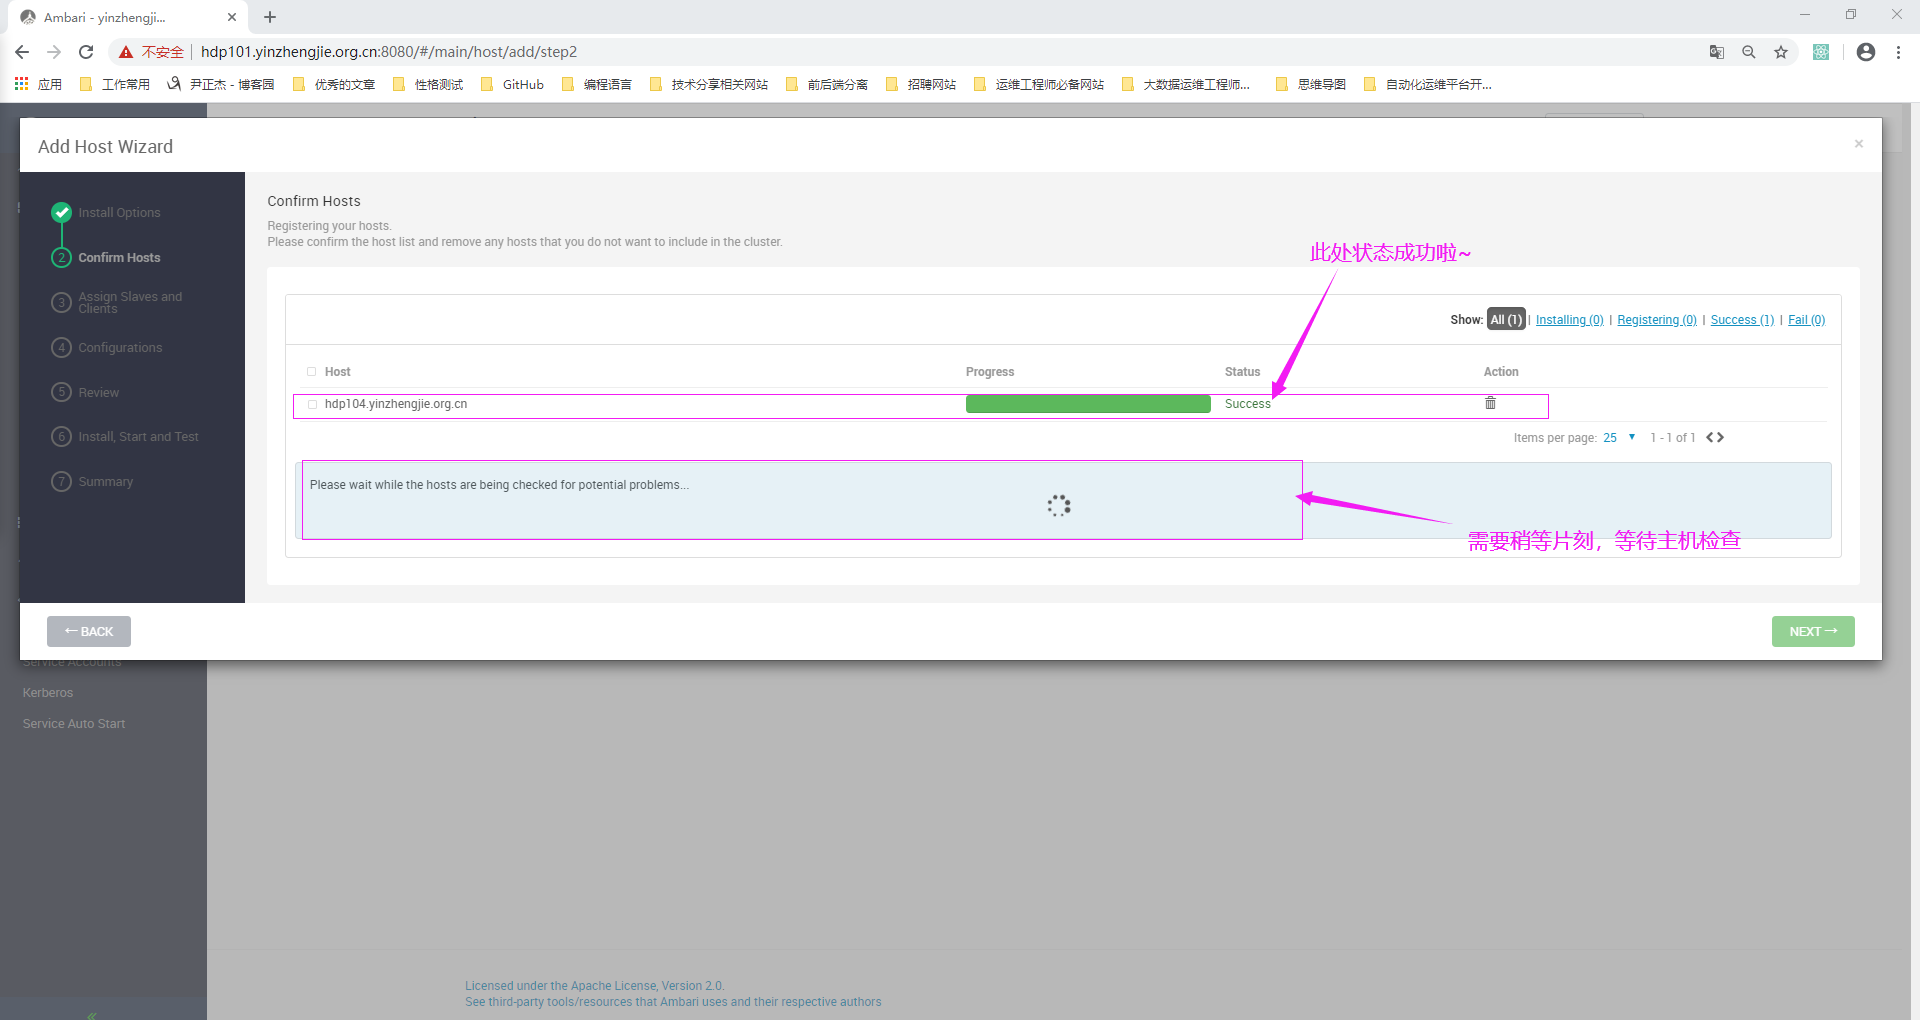
6>.主机检查完毕(若宿主机环境配置正常则检查主机时并不会有异样,可以自行查看检查结果),点击下一步

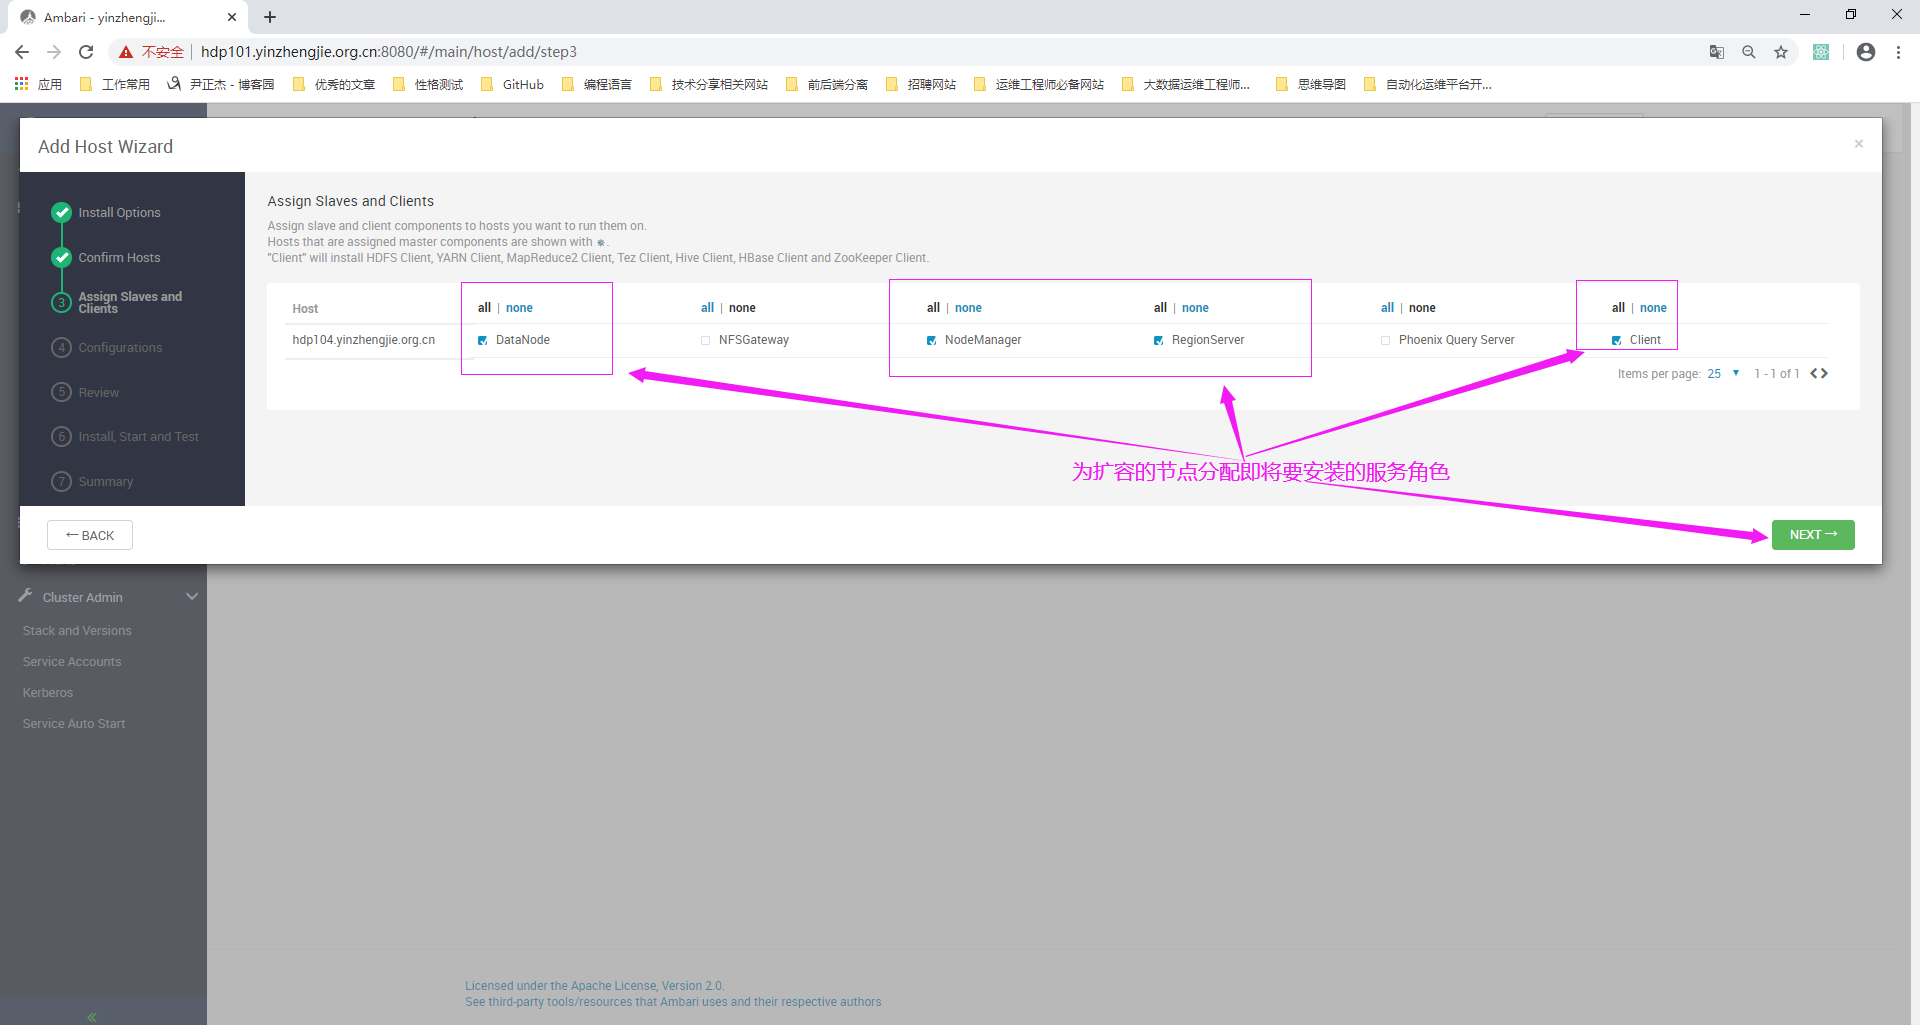
7>.为扩容节点分配即将安装服务的角色
8>.分配配置群组(一般配置群组来管理不同节点的硬件配置,如果你生产环境中分配了多个组根据你的需求选择相应的分组即可)

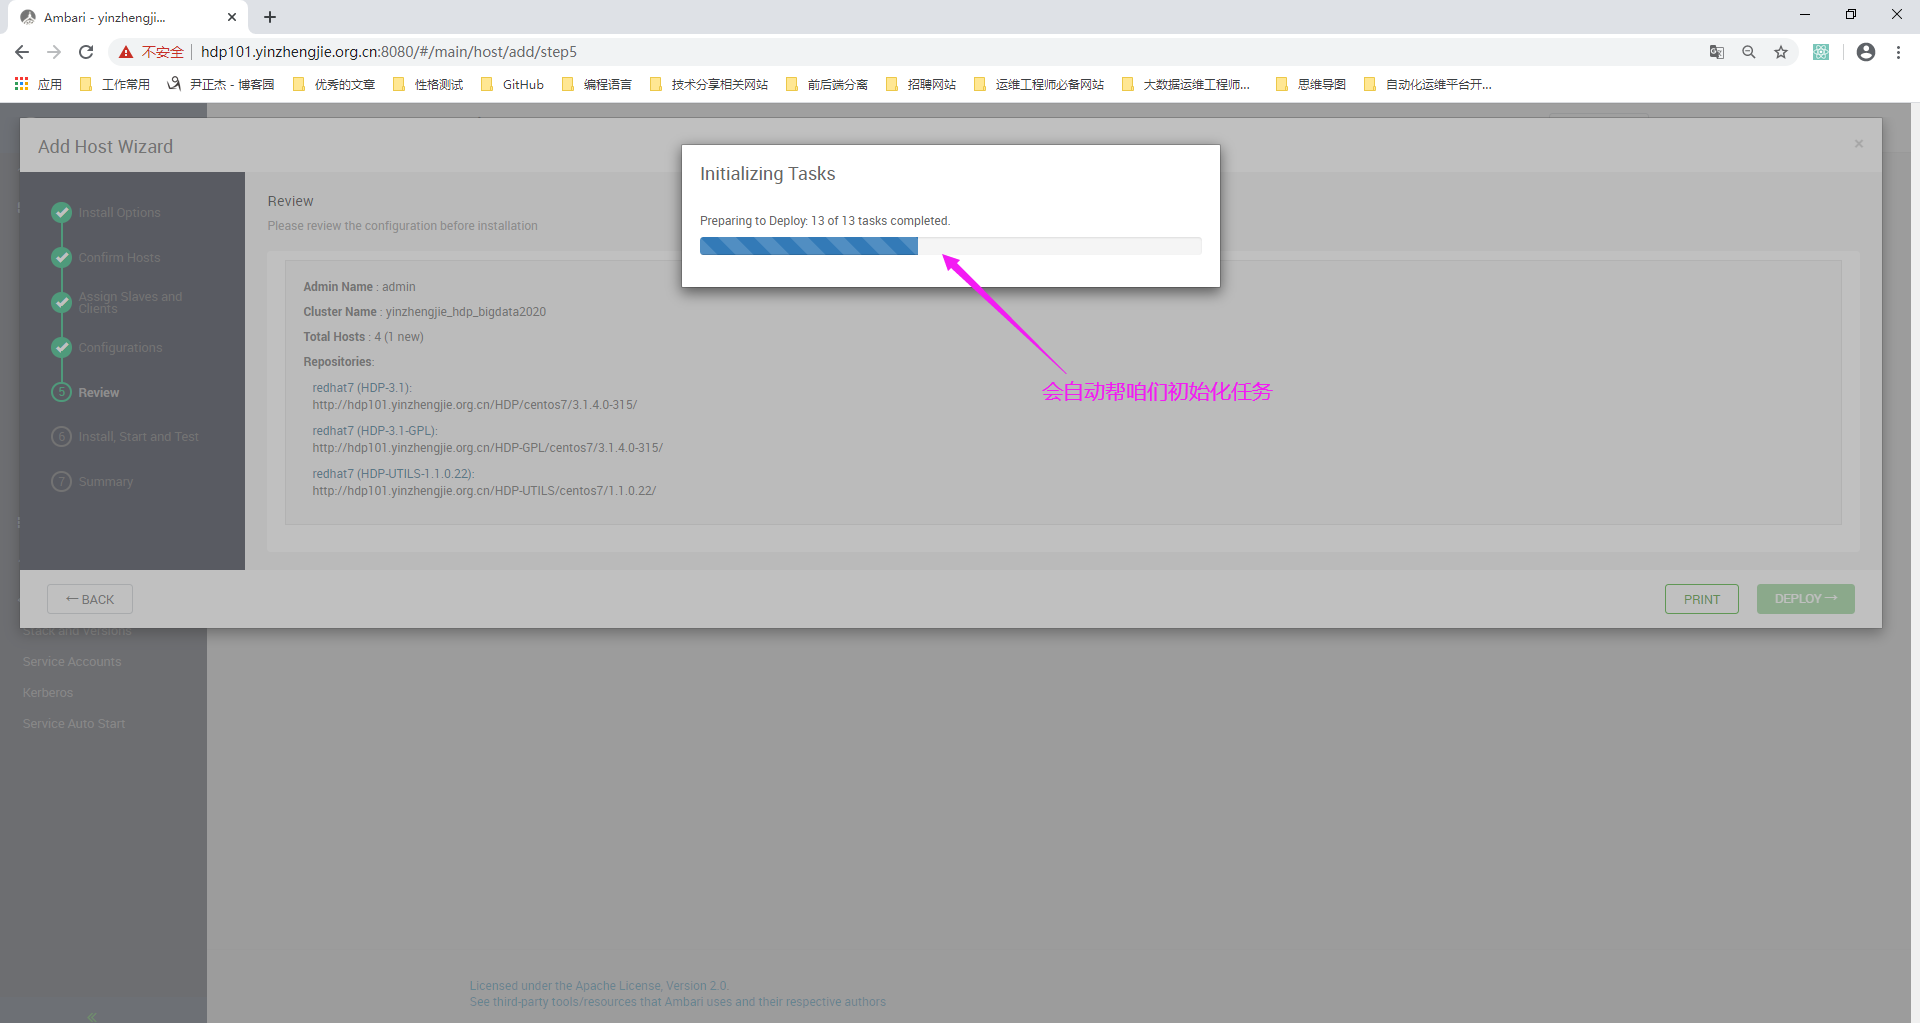
9>.点击部署

10>.等待自动分配任务
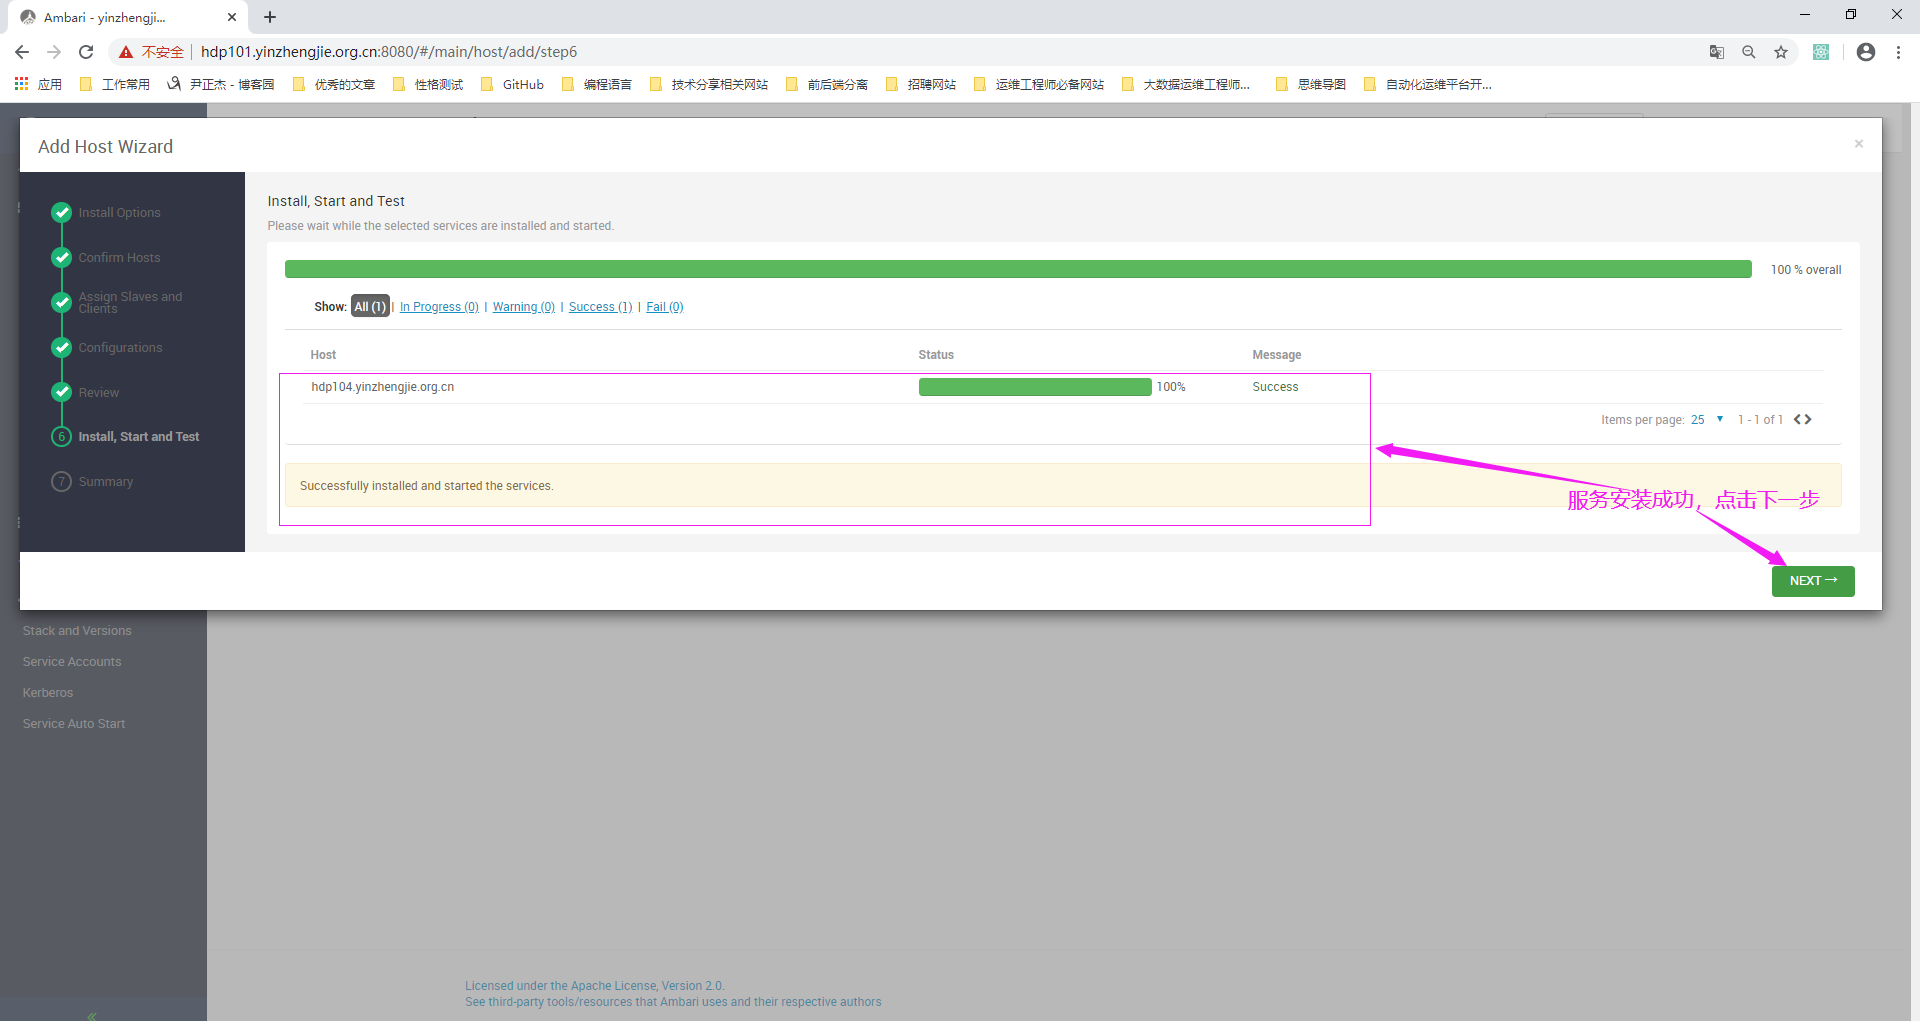
11>.等待我们为扩容节点分配的角色服务安装完毕

12>.等待服务安装成功,点击下一步
13>.查看概要信息,并点击"COMPLETE"

14>.节点扩容成功