Struts2中实现简单的文件上传功能:
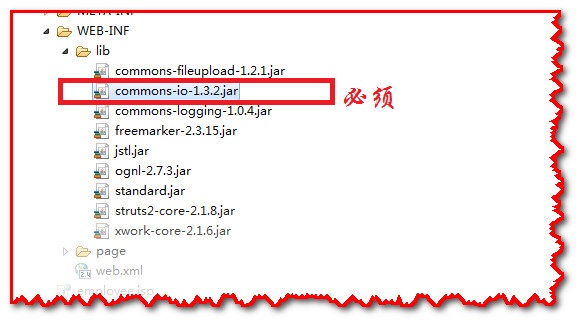
第一步:将如下文件引入到WEB_INF/lib目录下面,对应的jar文件可自行下载

第二步:在包test.struts2下建立类UploadFile
package test.struts2;

import java.io.File;
import java.io.IOException;

import org.apache.commons.io.FileUtils;
import org.apache.struts2.ServletActionContext;

import com.opensymphony.xwork2.ActionContext;

public class UploadFile {

    private File file;
    private String fileFileName;
    private String fileContentType;
    public File getFile() {
        return file;
    }
    public void setFile(File file) {
        this.file = file;
    }
    public String getFileFileName() {
        return fileFileName;
    }
    public void setFileFileName(String fileFileName) {
        this.fileFileName = fileFileName;
    }
    public String getFileContentType() {
        return fileContentType;
    }
    public void setFileContentType(String fileContentType) {
        this.fileContentType = fileContentType;
    }
    public String upLoad() throws IOException
    {
        String realpath=ServletActionContext.getServletContext().getRealPath("/File");
        if(file!=null)
        {
            File savefile=new File(new File(realpath),fileFileName);
            if(!savefile.getParentFile().exists())savefile.getParentFile().mkdirs();
            FileUtils.copyFile(file, savefile);
            System.out.println(realpath);
            ActionContext.getContext().put("message", "上传成功");

        }
        else
        {
            ActionContext.getContext().put("message", "上传失败");
        }
        return "upload";
    }
}
第三步:在struts.xml文件中添加如下代码
 <constant name="struts.multipart.maxSize" value="10701096"/>
<package name="test1" extends="struts-default">
                  <action name="uploadTest" class="test.struts2.UploadFile" m            ethod="upLoad">
                       <result name="upload">/WEB-INF/page/hello.jsp</result>
              </action>
</package>
第四步:在Webroot下建立upload.jsp
<body>
     <form action="${pageContext.request.contextPath }/test1/uploadTest.action" method="post" enctype="multipart/form-data">
     文件:<input type="file" name="file">
     <input type=submit value="上传">
     </form>
 </body>
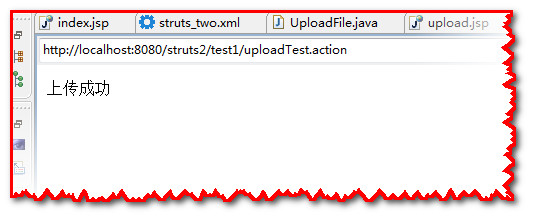
第五步:在hello.jsp文件中添加 ${message}
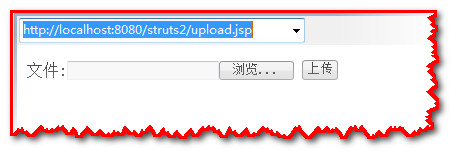
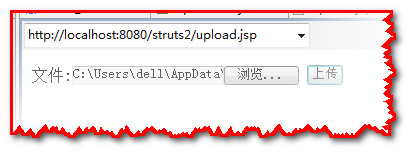
重新部署之后:


下图为System.out.println(realpath);的输出结果(即上传后文件的绝对路径)
