第一个spring程序。
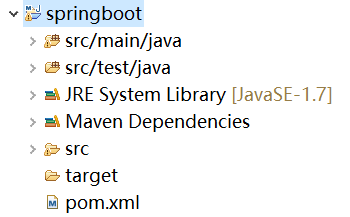
1、首先新建一个maven工程,打包方式为jar。
2、在pom中添加springboot为父模块
    <parent>
        <groupId>org.springframework.boot</groupId>
        <artifactId>spring-boot-starter-parent</artifactId>
        <version>1.5.9.RELEASE</version>
    </parent>
假如该项目已经有一个父工程,不能再配置父工程为springboot,可以采用下面这种方式
<dependencyManagement>
     <dependencies>
        <dependency>
            <!-- Import dependency management from Spring Boot -->
            <groupId>org.springframework.boot</groupId>
            <artifactId>spring-boot-dependencies</artifactId>
            <version>1.2.3.RELEASE</version>
            <type>pom</type>
            <scope>import</scope>
        </dependency>
    </dependencies>
</dependencyManagement>
3、由于我们的是一个web项目,因此要引入springboot中web相关的包
  <dependencies>
      <dependency>
          <groupId>org.springframework.boot</groupId>
          <artifactId>spring-boot-starter-web</artifactId>
      </dependency>
  </dependencies>
4、添加spring-boot-maven-plugin插件,该插件拥有多种功能,最常见的有两种:一是将项目打包为jar包,二是使用默认的tomcat启动项目。同时在该插件中配置springloaded,可以对工程开启热部署。
  <build>
      <plugins>
          <plugin>
              <groupId>org.springframework.boot</groupId>
              <artifactId>spring-boot-maven-plugin</artifactId>
              <dependencies>
                  <dependency>
                      <groupId>org.springframework</groupId>
                      <artifactId>springloaded</artifactId>
                      <version>1.2.5.RELEASE</version>
                  </dependency>
              </dependencies>
          </plugin>
      </plugins>
  </build>
5、创建application类。本文为了方便简单,将所有属性与方法全部配置在这一个类中。正常情况下,该类应该只有一个main方法,其余配置与方法,应该按照实际架构进行编写。
package com.yxf.demo.springboot;

import java.util.Date;

import org.springframework.boot.SpringApplication;
import org.springframework.boot.autoconfigure.EnableAutoConfiguration;
import org.springframework.web.bind.annotation.RequestMapping;
import org.springframework.web.bind.annotation.RestController;

@RestController
@EnableAutoConfiguration
public class Application {

    @RequestMapping("/")
    String home(){
        return "hello world";
    }

    @RequestMapping("/now")
    String hehe(){
        return "现在时间:"+(new Date()).toLocaleString();
    }

    public static void main(String[] args) {
        SpringApplication.run(Application.class, args);
    }
}
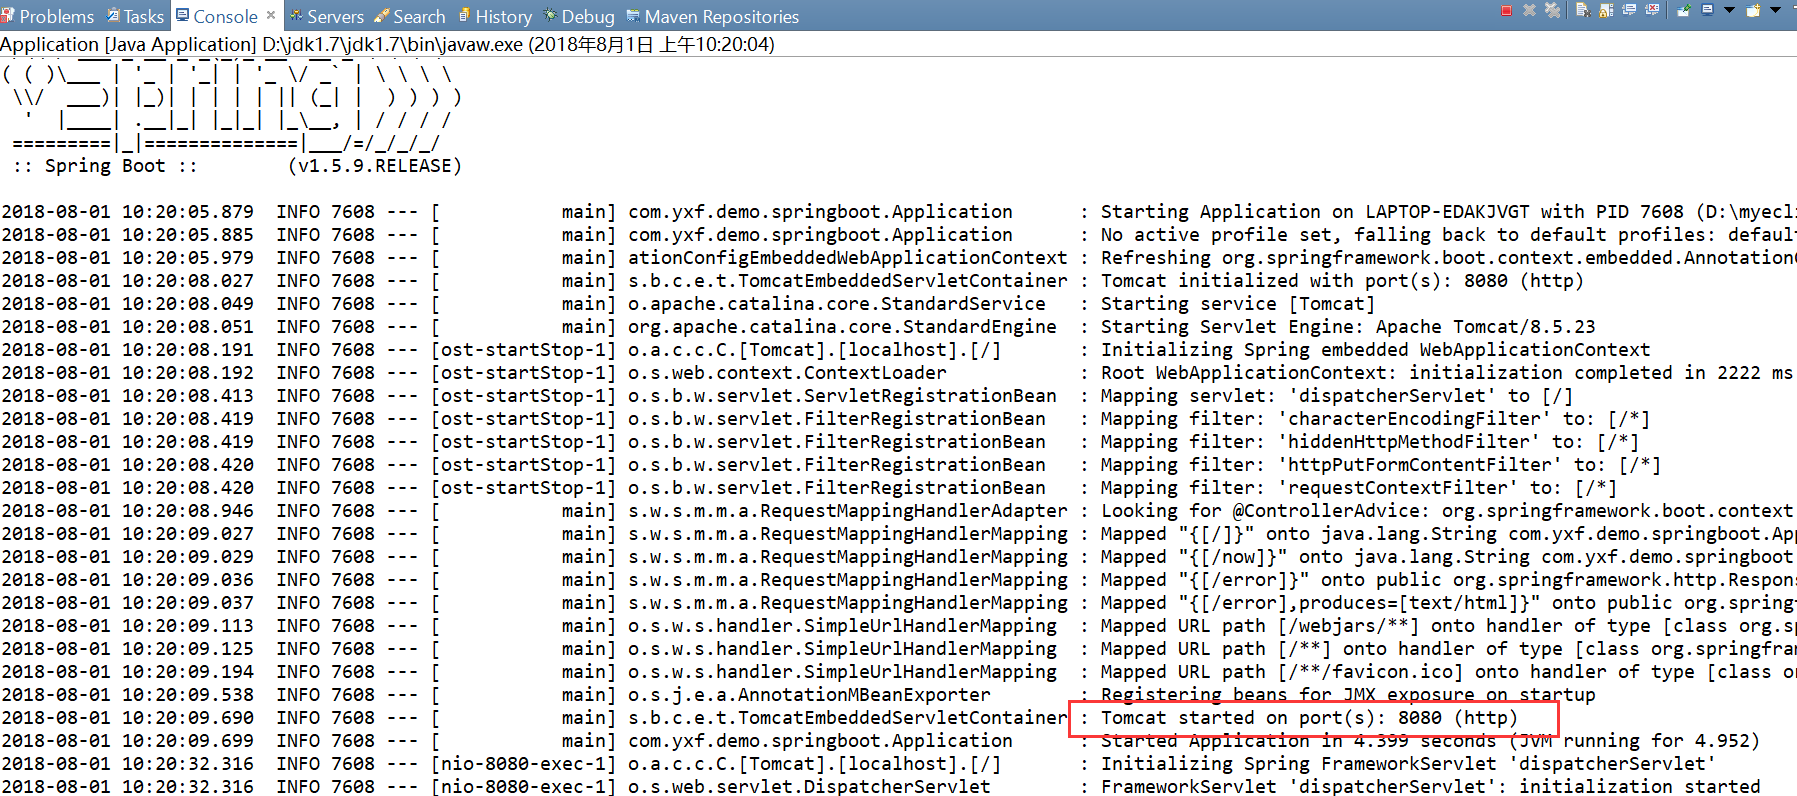
6、右键运行main方法,出现如下内容,表示启动成功。
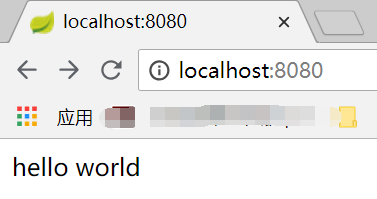
7、在浏览器中输入地址:http://localhost:8080,进入对应的home方法,返回hello world
8、输入地址:http://localhost:8080/now,进入对应的hehe方法,返回当前时间
