使用JPA持久化对象的操作步骤:
1)创建persistence.xml,在这个文件中配置持久化单元:
--- 需要指定跟哪个数据库进行交互;
--- 需要指定JPA使用哪个持久化的框架以及配置该框架的基本属性。
2)创建实体类,使用annotation来描述实体类跟数据库表之间的映射关系。
3)使用JPA API完成数据增加、删除、修改和查询擦操作:
--- 创建EntityManagerFactory(对应hibernate中的SessionFactory)
--- 创建EntityManager(对应hibernate中的Session)
4)JPA规范要求在类路径的MATA-INF目录下放置persistence.xml,文件的名字是固定的。
演示HelloWord工程:
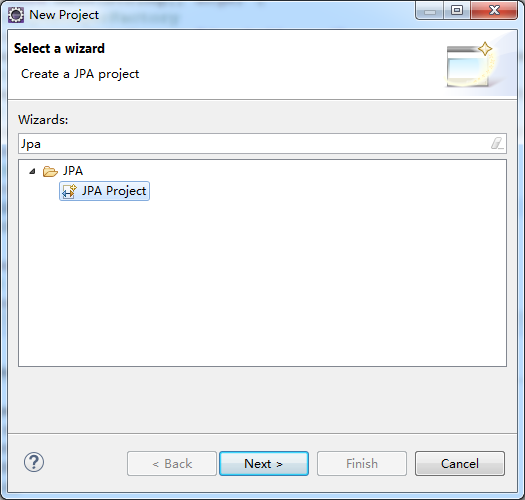
1)创建jpa project
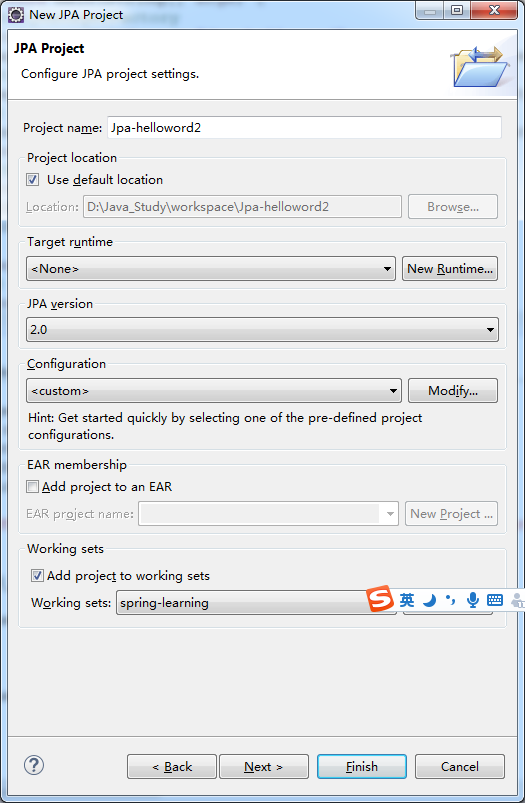
之后点击“Finish”按钮完成工程创建。
工程创建好后,会发现在src下的META-INF文件夹下包含一个persistence.xml文件,该文件是用来配置jpa相关信息的。

2)导入依赖包:
a、从hibernate官网下载hibernate开发包:hibernate-release-5.3.0.Final.zip,把解压后的文件中的数据拷贝到工程下新建的lib文件夹中:

备注:把上图中选中的两个文件夹下的所有包拷贝到lib中
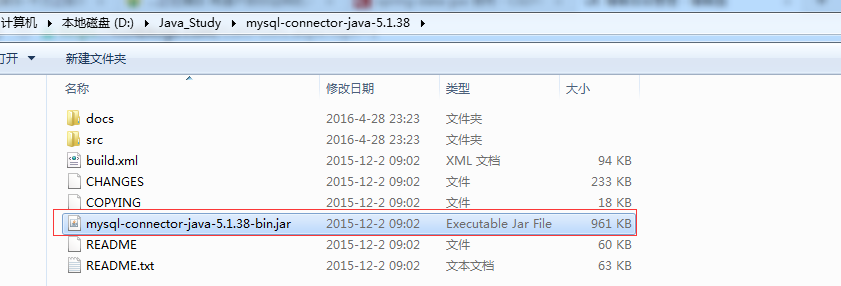
b、导入mysql驱动包:
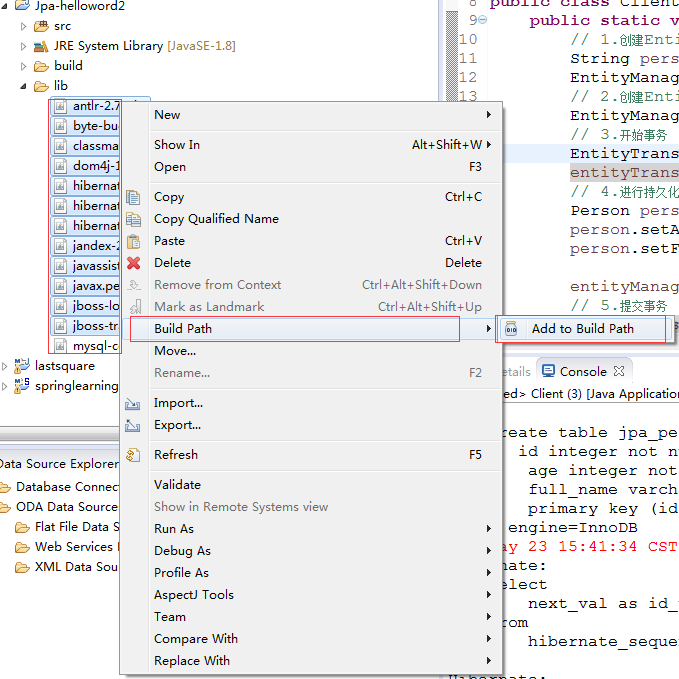
c、右键lib文件夹下所有jar文件,弹出菜单中选择Build Path-> Add to Build Path
3)在src下添加Person实体类
package com.dxsoft.jpa.helloword;

import javax.persistence.Column;
import javax.persistence.Entity;
import javax.persistence.GeneratedValue;
import javax.persistence.GenerationType;
import javax.persistence.Id;
import javax.persistence.Table;

@Entity
@Table(name = "jpa_person")
public class Person {
    private Integer id;
    private String fullName;
    private int age;

    public Person() {

    }

    @GeneratedValue(strategy = GenerationType.AUTO)
    @Id
    public Integer getId() {
        return id;
    }

    public void setId(Integer id) {
        this.id = id;
    }

    @Column(name = "full_name")
    public String getFullName() {
        return fullName;
    }

    public void setFullName(String fullName) {
        this.fullName = fullName;
    }

    public int getAge() {
        return age;
    }

    public void setAge(int age) {
        this.age = age;
    }

    @Override
    public String toString() {
        return "Person [id=" + id + ", fullName=" + fullName + ", age=" + age + "]";
    }

}
备注:
1)@Id注解为唯一主键;
2)@GeneratedValue(strategy = GenerationType.AUTO)注解自增,并制定自增方式。JPA提供了四种主键生成策略,其被定义在枚举类GenerationType中,包括GenerationType.TABLE,GenerationType.SEQUENCE,GenerationType.IDENTITY和GenerationType.AUTO;
3)@Column(name="")可以重新定义数据库对应字段的名字,如果类中定义属性字段和数据不一样时需要定义,否则可省略。
4)修改persistence.xml配置内容
<?xml version="1.0" encoding="UTF-8"?>
<persistence version="2.0"
    xmlns="http://java.sun.com/xml/ns/persistence" xmlns:xsi="http://www.w3.org/2001/XMLSchema-instance"
    xsi:schemaLocation="http://java.sun.com/xml/ns/persistence http://java.sun.com/xml/ns/persistence/persistence_2_0.xsd">
    <persistence-unit name="Jpa-helloword"
        transaction-type="RESOURCE_LOCAL">
        <!-- 配置使用什么 ORM 产品来作为 JPA 的实现 -->
        <provider>org.hibernate.jpa.HibernatePersistenceProvider</provider>
        <!-- 添加持久化类 -->
        <class>com.dxsoft.jpa.helloword.Person</class>
        <properties>
            <!-- 数据库的相关配置 -->
            <property name="javax.persistence.jdbc.driver" value="com.mysql.jdbc.Driver" />
            <property name="javax.persistence.jdbc.url" value="jdbc:mysql://127.0.0.1:3306/jpa" />
            <property name="javax.persistence.jdbc.user" value="root" />
            <property name="javax.persistence.jdbc.password" value="root" />
            <!-- 指定方言
            MySQL                org.hibernate.dialect.MySQLDialect
            MySQL with InnoDB    org.hibernate.dialect.MySQLInnoDBDialect
            MySQL with MyISAM    org.hibernate.dialect.MySQLMyISAMDialect
            MySQL5                org.hibernate.dialect.MySQL5Dialect
            MySQL5 with InnoDB    org.hibernate.dialect.MySQL5InnoDBDialect
            -->
            <property name="hibernate.dialect" value="org.hibernate.dialect.MySQL5InnoDBDialect" />
            <property name="hibernate.show_sql" value="true" />
            <property name="hibernate.format_sql" value="true" />
            <!--
            create      :每次加载hibernate时都会删除上一次的生成的表,然后根据你的model类再重新来生成新表,哪怕两次没有任何改变也要这样执行,这就是导致数据库表数据丢失的一个重要原因。<br>
            create-drop :每次加载hibernate时根据model类生成表,但是sessionFactory一关闭,表就自动删除。<br>
            update      :最常用的属性,第一次加载hibernate时根据model类会自动建立起表的结构(前提是先建立好数据库),以后加载hibernate时根据 model类自动更新表结构,即使表结构改变了但表中的行仍然存在不会删除以前的行。要注意的是当部署到服务器后,表结构是不会被马上建立起来的,是要等 应用第一次运行起来后才会。<br>
            validate    :每次加载hibernate时,验证创建数据库表结构,只会和数据库中的表进行比较,不会创建新表,但是会插入新值。 <br>
            -->
            <property name="hibernate.hbm2ddl.auto" value="update" />
        </properties>
    </persistence-unit>
</persistence>
5)添加测试类:
package com.dxsoft.jpa.helloword;

import javax.persistence.EntityManager;
import javax.persistence.EntityManagerFactory;
import javax.persistence.EntityTransaction;
import javax.persistence.Persistence;

public class Client {
    public static void main(String[] args) {
        // 1.创建EntityManagerFactory
        String persistenceUnitName = "Jpa-helloword";
        EntityManagerFactory entityManagerFactory = Persistence.createEntityManagerFactory(persistenceUnitName);
        // 2.创建EntityManager
        EntityManager entityManager = entityManagerFactory.createEntityManager();
        // 3.开始事务
        EntityTransaction entityTransaction = entityManager.getTransaction();
        entityTransaction.begin();
        // 4.进行持久化操作
        Person person = new Person();
        person.setAge(31);
        person.setFullName("tommmy duan");

        entityManager.persist(person);
        // 5.提交事务
        entityTransaction.commit();

        // 6.关闭EntityManager
        entityManager.close();
        // 7.关闭EnityManagerFactory
        entityManagerFactory.close();

        System.out.println("complete..");
    }
}
执行打印信息如下:
INFO: HHH10001501: Connection obtained from JdbcConnectionAccess [org.hibernate.engine.jdbc.env.internal.JdbcEnvironmentInitiator$ConnectionProviderJdbcConnectionAccess@1950e8a6] for (non-JTA) DDL execution was not in auto-commit mode; the Connection 'local transaction' will be committed and the Connection will be set into auto-commit mode.
Hibernate:

    create table hibernate_sequence (
       next_val bigint
    ) engine=InnoDB
Hibernate:

    insert into hibernate_sequence values ( 1 )
Hibernate:

    create table jpa_person (
       id integer not null,
        age integer not null,
        full_name varchar(255),
        primary key (id)
    ) engine=InnoDB
Wed May 23 15:41:34 CST 2018 WARN: Establishing SSL connection without server's identity verification is not recommended. According to MySQL 5.5.45+, 5.6.26+ and 5.7.6+ requirements SSL connection must be established by default if explicit option isn't set. For compliance with existing applications not using SSL the verifyServerCertificate property is set to 'false'. You need either to explicitly disable SSL by setting useSSL=false, or set useSSL=true and provide truststore for server certificate verification.
Hibernate:
    select
        next_val as id_val
    from
        hibernate_sequence for update

Hibernate:
    update
        hibernate_sequence
    set
        next_val= ?
    where
        next_val=?
Hibernate:
    insert
    into
        jpa_person
        (age, full_name, id)
    values
        (?, ?, ?)
五月 23, 2018 3:41:34 下午 org.hibernate.engine.jdbc.connections.internal.DriverManagerConnectionProviderImpl stop
INFO: HHH10001008: Cleaning up connection pool [jdbc:mysql://127.0.0.1:3306/jpa]
complete..