Numpy数组操作
- Numpy包介绍https://numpy.org/
- 遍历数组中的每个像素点
- 修改数组中像素点的值
- datadtypesizeshapelen
遍历访问像素
图像属性的获取(宽 高 通道数)
def access_pixels(image):
    print(image.shape)
    height = image.shape[0]#图像的第一个维度是图像的高度
    width = image.shape[1]#图像的第二个维度是图像的宽度
    channels = image.shape[2]#图像的第三个维度是图像的通道数
    print("%s, height:%s, channels:%s"%(width, height, channels))
通过遍历像素值取图像并查看处理时间
import cv2 as cv
import numpy as np

def access_pixels(image):
    print(image.shape)
    height = image.shape[0]#图像的第一个维度是图像的高度
    width = image.shape[1]#图像的第二个维度是图像的宽度
    channels = image.shape[2]#图像的第三个维度是图像的通道数
    print("%s, height:%s, channels:%s"%(width, height, channels))
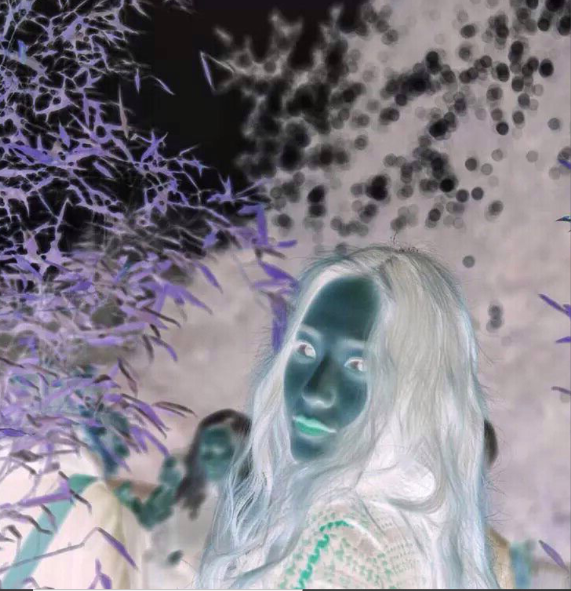
    for row in range(height):
        for col in range(width):
            for c in range(channels):
                pv = image[row, col, c]
                image[row, col, c] = 255-pv
    cv.imshow("pixel_demo", image)

src = cv.imread(r'H:codingpython_opencv_tutorial_codespracticekrystal.jpg')#blue green red
cv.namedWindow("input image", cv.WINDOW_AUTOSIZE)
cv.imshow("input image", src)
t1 = cv.getTickCount()
access_pixels(src)
t2 = cv.getTickCount()
print((t2 - t1)/cv.getTickFrequency())
cv.waitKey(0)
cv.destroyAllWindows()
得到输出为8s 太慢了
直接用现成API
def inverse(image):
    dst = cv.bitwise_not(image)#像素取反
    cv.imshow("inverse demo", dst)

创建图像
def create_image():
    img = np.zeros([400, 400, 3],dtype= np.uint8) #产生纯黑的图
    img[:, :, 1] = np.ones([400, 400]) * 255 #2通道全是255,为纯255矩阵,产生绿色的图
    cv.imshow("new image", img)
创建单通道灰度图像
def create_image():

    img = np.ones([400, 400, 1], dtype=np.uint8)#生成单通道图像
    img[:, :, 0] = np.ones([400, 400]) * 127
    #上一行也可以直接写成
    #img = img * 127
    cv.imshow("new image", img)