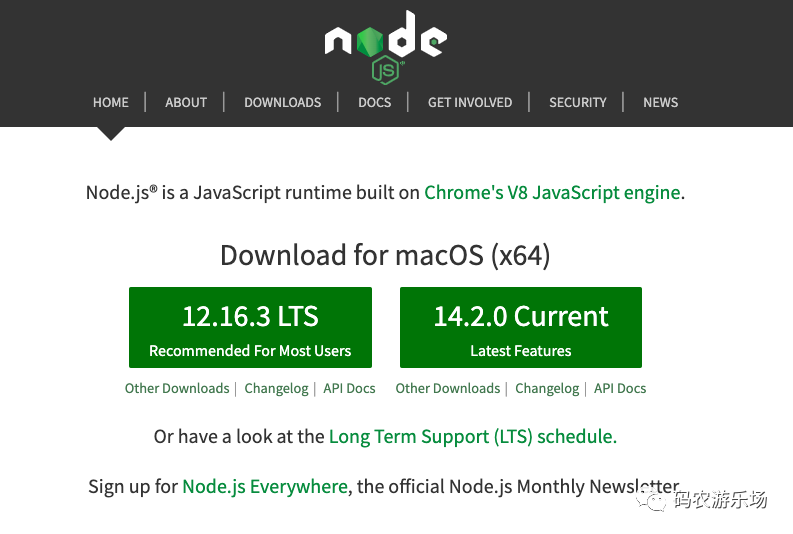
安装node
-
双击安装,接下来都是默认选择即可,直至安装成功
-
测试是否安装成功,分别输入以下命令:
node -v
npm -v
如下图所示,说明安装成功了。

若提示没有找到命令,则需要解决了,这里不赘述了。
安装react
- 设置npm源
zhanweideMacBook-Air:~ zhanwei$ npm config set registry https://registry.npm.taobao.org --global
npm ERR! code EACCES
npm ERR! syscall mkdir
npm ERR! path /usr/local/etc
npm ERR! errno -13
npm ERR! Error: EACCES: permission denied, mkdir '/usr/local/etc'
npm ERR!  [Error: EACCES: permission denied, mkdir '/usr/local/etc'] {
npm ERR!   errno: -13,
npm ERR!   code: 'EACCES',
npm ERR!   syscall: 'mkdir',
npm ERR!   path: '/usr/local/etc'
npm ERR! }
npm ERR!
npm ERR! The operation was rejected by your operating system.
npm ERR! It is likely you do not have the permissions to access this file as the current user
npm ERR!
npm ERR! If you believe this might be a permissions issue, please double-check the
npm ERR! permissions of the file and its containing directories, or try running
npm ERR! the command again as root/Administrator.

npm ERR! A complete log of this run can be found in:
npm ERR!     /Users/zhanwei/.npm/_logs/2020-04-29T15_10_56_578Z-debug.log
看到上面的报错信息,结果显然易见,权限不足,以失败告终。
解决权限不足的问题
然而实际上,node官网早已对这种情况作出了合理的修改方法,并且官网强烈建议用户不要使用root、sudo等方法覆盖权限。链接如下: node官网给出的修改方法
- 使用nvm重新安装node
nvm 即node version manager,这是node官网的推荐方法,使用nvm安装node时会自动申请各种权限,在之后的使用中就不会有权限问题了
安装方法如下: node官网给出的安装方式
- 改变npm的默认路径
第二个方法是我目前使用的方法,这也是不想重新安装node的用户可以采用的方法。可以将默认的全局安装路径修改到当前用户的home目录下
- 新建一个全局安装的路径
mkdir ~/.npm-global
- 配置npm使用新的路径
npm config set prefix ‘~/.npm-global’
- 打开或新建~/.bash_profile文件,在末尾加入
export PATH=~/.npm-global/bin:$PATH
- 更新系统环境变量
source ~/.bash_profile
- PS: 如果你不想去修改.bash_profile文件的话,你也可以使用如下命令
 # 配置npm config的路径
 NPM_CONFIG_PREFIX=~/.npm-global
以下是我执行以上命令的顺序及结果:
zhanweideMacBook-Air:~ zhanwei$ mkdir .npm-global
zhanweideMacBook-Air:~ zhanwei$ npm config set prefix '~/.npm-global'
zhanweideMacBook-Air:~ zhanwei$ export PATH=~/.npm-global/bin:$PATH
zhanweideMacBook-Air:~ zhanwei$ PM_CONFIG_PREFIX=~/.npm-global
以上权限问题解决了,然后就可以来设置npm源了。
设置npm源
zhanweideMacBook-Air:~ zhanwei$ npm config set registry https://registry.npm.taobao.org --global
zhanweideMacBook-Air:~ zhanwei$ npm config set disturl https://npm.taobao.org/dist --global
安装全局create-react-app
zhanweideMacBook-Air:~ zhanwei$ npm install -g create-react-app
/Users/zhanwei/.npm-global/bin/create-react-app -> /Users/zhanwei/.npm-global/lib/node_modules/create-react-app/index.js
+ create-react-app@3.4.1
updated 1 package in 21.579s
创建工程
在工作区下创建第一个APP,在终端输入如下命令
create-react-app myapp
可能需要等个几分钟
Success! Created myapp at /Users/zhanwei/workspace/myapp
Inside that directory, you can run several commands:

  npm start
    Starts the development server.

  npm run build
    Bundles the app into static files for production.

  npm test
    Starts the test runner.

  npm run eject
    Removes this tool and copies build dependencies, configuration files
    and scripts into the app directory. If you do this, you can’t go back!

We suggest that you begin by typing:

  cd myapp
  npm start

Happy hacking!
到最后看到上面的输出,代表工程创建成功了,然后进入到app根目录中。
zhanweideMacBook-Air:workspace zhanwei$ cd myapp/
运行项目
zhanweideMacBook-Air:workspace zhanwei$ npm start
接下来我们可以看到正在编译。。。
Compiled successfully!

You can now view myapp in the browser.

  Local:            http://localhost:3000
  On Your Network:  http://192.168.124.4:3000

Note that the development build is not optimized.
To create a production build, use npm run build.
如上就运行成功了,默认是3000端口,在浏览器上看到到画面: