不做过多介绍了,下面直接记录下centos7系统下安装配置vncserver的操作记录
0)更改为启动桌面或命令行模式
|
1
2
3
4
5
6
7
8
9
10
11
12
13
14
15
16
17
18
19
20
21
22
23
24
25
26
27
28
29
|
获取当前系统启动模式[root@localhost ~]# systemctl get-defaultmulti-user.target查看配置文件[root@localhost ~]# cat /etc/inittab# inittab is no longer used when using systemd.## ADDING CONFIGURATION HERE WILL HAVE NO EFFECT ON YOUR SYSTEM.## Ctrl-Alt-Delete is handled by /usr/lib/systemd/system/ctrl-alt-del.target## systemd uses 'targets' instead of runlevels. By default, there are two main targets:## multi-user.target: analogous to runlevel 3 //命令行模式# graphical.target: analogous to runlevel 5 //图形界面模式## To view current default target, run:# systemctl get-default## To set a default target, run:# systemctl set-default TARGET.target#[root@localhost ~]# systemctl set-default graphical.target //由命令行模式更改为图形界面模式[root@localhost ~]# systemctl set-default multi-user.target //由图形界面模式更改为命令行模式[root@localhost ~]# systemctl get-defaultgraphical.target |
1)关闭防火墙
centos的防火墙是firewalld,关闭防火墙的命令
[root@localhost ~]# systemctl stop firewalld.service #停止firewall
[root@localhost ~]# systemctl disable firewalld.service #禁止firewall开机启动
[root@localhost ~]# setenforce 0
[root@localhost ~]# getenforce
[root@localhost ~]# cat /etc/sysconfig/selinux
SELINUX=disabled
SELINUXTYPE=targeted
2)安装软件:
[root@localhost ~]# yum update
[root@localhost ~]# yum groupinstall "GNOME Desktop" "X Window System" "Desktop"
[root@localhost ~]# yum install tigervnc-server tigervnc vnc vnc-server
3)配置vnc连接
[root@localhost ~]# cp /lib/systemd/system/vncserver@.service /etc/systemd/system/vncserver@:1.service
修改/etc/systemd/system/vncserver@:1.service
找到这一行
ExecStart=/sbin/runuser -l <USER> -c "/usr/bin/vncserver %i"
PIDFile=/home/<USER>/.vnc/%H%i.pid
这里直接用root 用户登录,所以我替换成
ExecStart=/sbin/runuser -l root -c "/usr/bin/vncserver %i"
PIDFile=/root/.vnc/%H%i.pid
如果是其他用户的话比如john替换如下
ExecStart=/sbin/runuser -l john -c "/usr/bin/vncserver %i"
PIDFile=/home/john/.vnc/%H%i.pid
由于直接root用户登录,所以配置如下:
[root@localhost ~]# cat /etc/systemd/system/vncserver@:1.service
.........
[Unit]
Description=Remote desktop service (VNC)
After=syslog.target network.target
[Service]
Type=forking
# Clean any existing files in /tmp/.X11-unix environment
ExecStartPre=/bin/sh -c '/usr/bin/vncserver -kill %i > /dev/null 2>&1 || :'
ExecStart=/usr/sbin/runuser -l root -c "/usr/bin/vncserver %i"
PIDFile=/root/.vnc/%H%i.pid
ExecStop=/bin/sh -c '/usr/bin/vncserver -kill %i > /dev/null 2>&1 || :'
[Install]
WantedBy=multi-user.target
为VNC设密码
[root@localhost ~]# vncpasswd
123456
[root@localhost ~]# vim /etc/libvirt/qemu.conf
vnc_password = "123456"
vnc_listen = "0.0.0.0"
重加载 systemd
[root@localhost ~]# systemctl daemon-reload
启动vnc
[root@localhost ~]# systemctl enable vncserver@:1.service
[root@localhost ~]# systemctl start vncserver@:1.service
注意,此处关闭了防火墙
如果防火墙开了,需要开通一下规则:
[root@localhost ~]# firewall-cmd --permanent --add-service vnc-server
[root@localhost ~]# systemctl restart firewalld.service
如果是iptable,则需要在/etc/sysconfig/iptables里添加:
-A INPUT -m state --state NEW -m tcp -p tcp --dport 5900:5903 -j ACCEPT
关闭vnc连接
[root@localhost ~]# /usr/bin/vncserver -kill :1
测试vnc连接:
[root@localhost ~]# novnc_server --vnc 192.168.1.8:5901 --listen 6081
Warning: could not find self.pem
Starting webserver and WebSockets proxy on port 6081
WebSocket server settings:
- Listen on :6081
- Flash security policy server
- Web server. Web root: /usr/share/novnc
- No SSL/TLS support (no cert file)
- proxying from :6081 to 192.168.1.8:5901
Navigate to this URL:
http://kvm-server:6081/vnc.html?host=kvm-server&port=6081 #http访问方式
Press Ctrl-C to exit
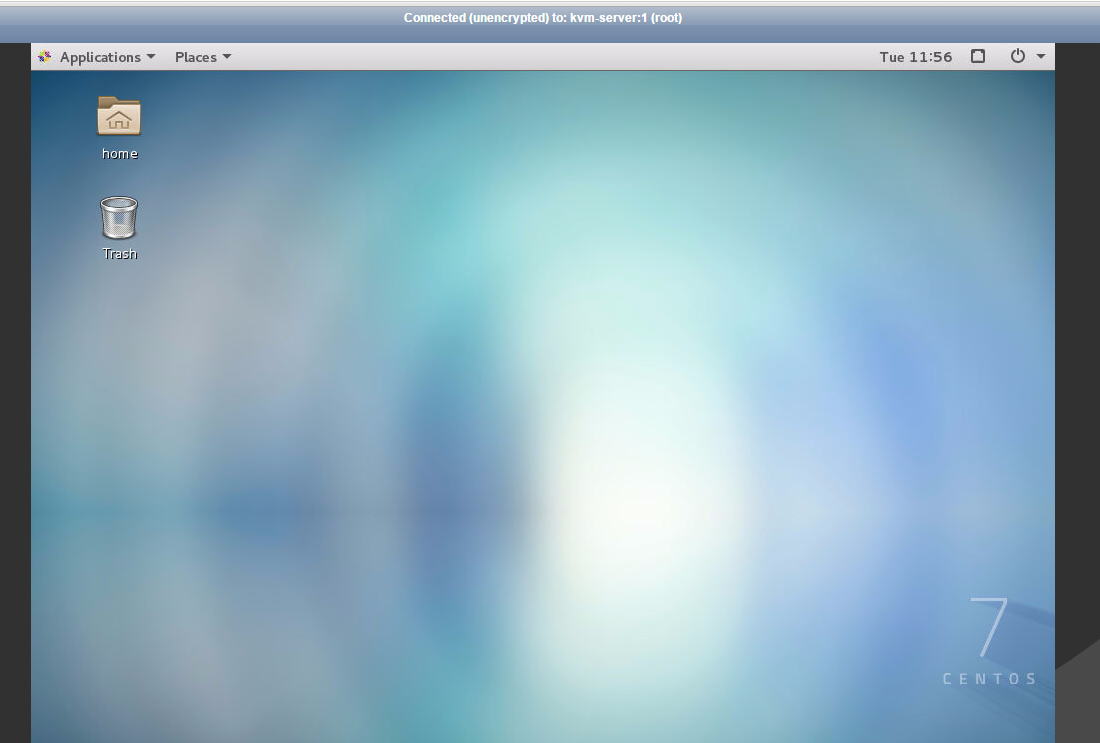
由于kvm-server的主机名对于ip是112.112.113.56,所以在浏览器里输入:
http://112.112.113.56:6081/vnc.html?host=112.112.113.56&port=6081

|
1
2
3
4
5
6
7
8
9
10
|
也可以在本地windows机器上安装vnc viewer,远程访问在windows下安装vnc客户端,下载地址:https://pan.baidu.com/s/1hrSIr4K提取密码:dqdt VNC远程连接信息(下面ip是VNC服务端的地址):VNC Server: 112.112.113.56:5901Encrytion:Let VNC Server choose 然后输入vncpasswd的密码即可完成VNC远程连接! |