2018-2019-2 网络对抗技术 20165227 Exp4 恶意代码分析
实验步骤:
- 使用的设备:Win7(虚拟机)、kali(虚拟机)
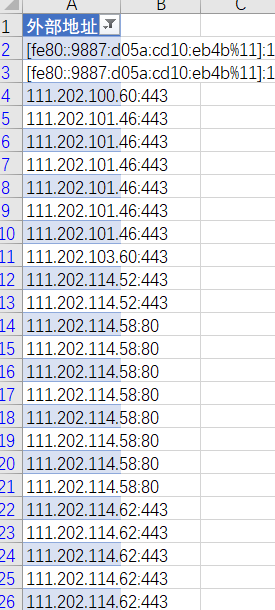
实验一:使用如计划任务,每隔一分钟记录自己的电脑有哪些程序在联网,连接的外部IP是哪里。运行一段时间并分析该文件,综述一下分析结果。目标就是找出所有连网的程序,连了哪里,大约干了什么(不抓包的情况下只能猜),你觉得它这么干合适不。如果想进一步分析的,可以有针对性的抓包。
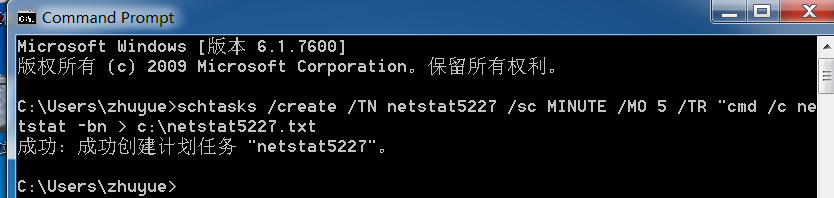
1、在win7命令行中输入命令,创建任务计划
2、创建文本文档,另存为脚本“netstat5227.bat”,再拖入C盘中
date /t >> c:
etstat5227.txt
time /t >> c:
etstat5227.txt
netstat -bn >> c:
etstat5227.txt
3、打开“任务计划程序”,找到刚刚创建的进程任务,双击进行设置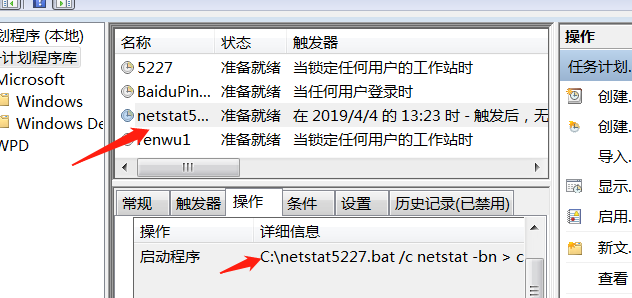
(PS:需要在常规页面里开启以最高权限执行 否则会出现不能运行的情况)
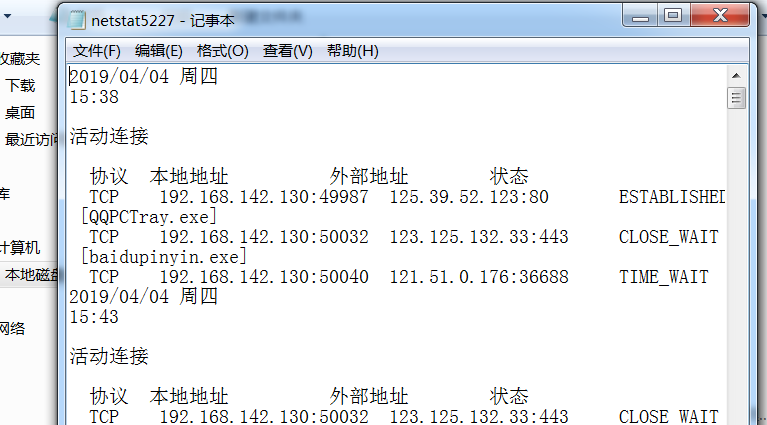
4、过了第一个五分钟后,txt中就会有更新的内容
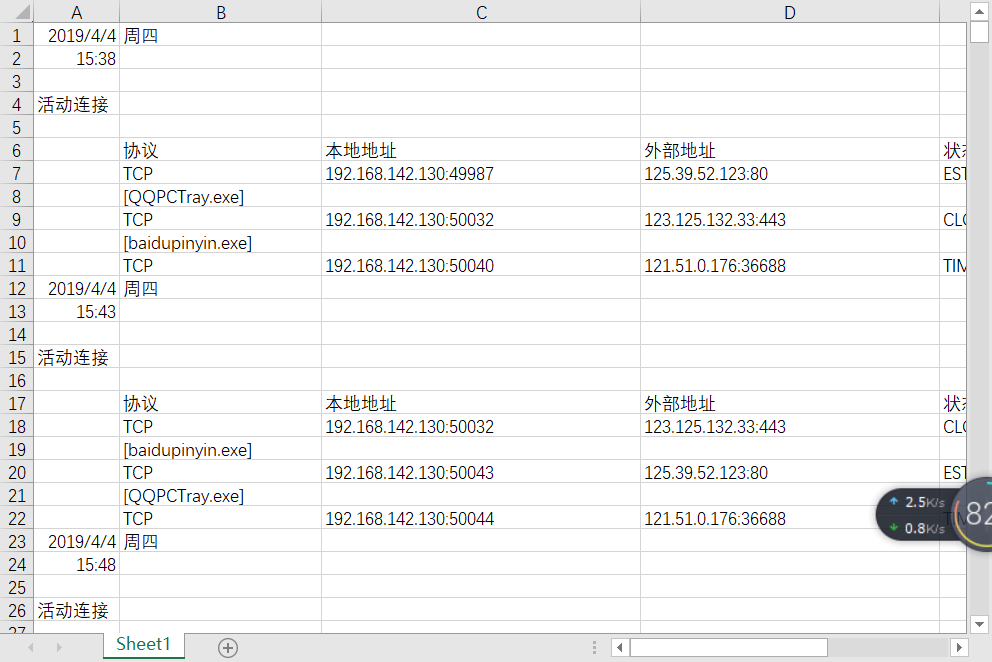
5、将txt文件导入excel进行统计分析


实验二:安装配置sysinternals里的sysmon工具,设置合理的配置文件,监控自己主机的重点事可疑行为
1、创建 sysmon5227.txt 作为配置文件
<Sysmon schemaversion="4.20">
  <!-- Capture all hashes -->
  <HashAlgorithms>*</HashAlgorithms>
  <EventFiltering>
    <!-- Log all drivers except if the signature -->
    <!-- contains Microsoft or Windows -->
    <ProcessCreate onmatch="exclude">
      <Image condition="end with">chrome.exe</Image>
    </ProcessCreate>

    <FileCreateTime onmatch="exclude" >
      <Image condition="end with">chrome.exe</Image>
    </FileCreateTime>

    <NetworkConnect onmatch="exclude">
      <Image condition="end with">chrome.exe</Image>
      <SourcePort condition="is">137</SourcePort>
      <SourceIp condition="is">127.0.0.1</SourceIp>
    </NetworkConnect>
    <NetworkConnect onmatch="include">
      <DestinationPort condition="is">80</DestinationPort>
      <DestinationPort condition="is">443</DestinationPort>
    </NetworkConnect>

    <CreateRemoteThread onmatch="include">
      <TargetImage condition="end with">explorer.exe</TargetImage>
      <TargetImage condition="end with">svchost.exe</TargetImage>
      <TargetImage condition="end with">winlogon.exe</TargetImage>
      <SourceImage condition="end with">powershell.exe</SourceImage>
    </CreateRemoteThread>
  </EventFiltering>
</Sysmon>
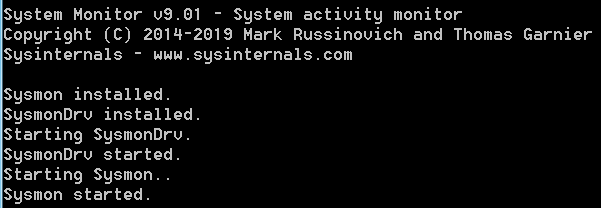
2、进入sysmon 解压的路径执行sysmon.exe -i C:sysmonsysmon5227.txt 进行安装
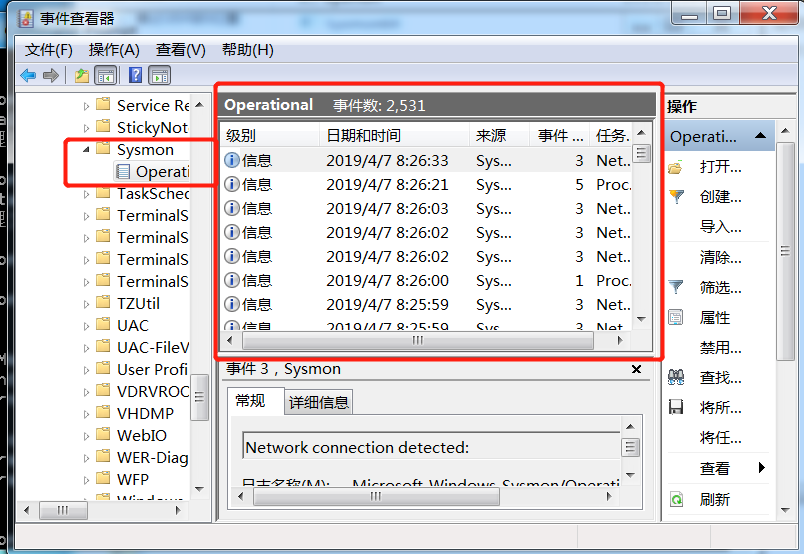
3、进入事件查看器
4、进入kali,打开msfconsole,win7运行后门进行回连
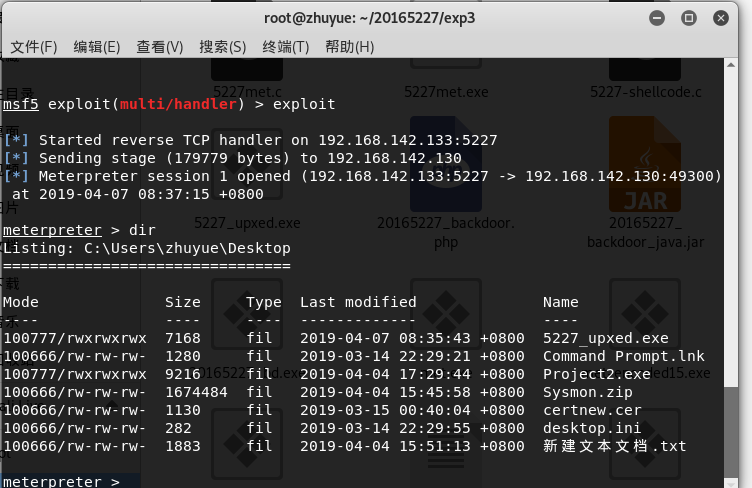
5、查询到进程号

6、在事件查看器里以进程号查找关键字
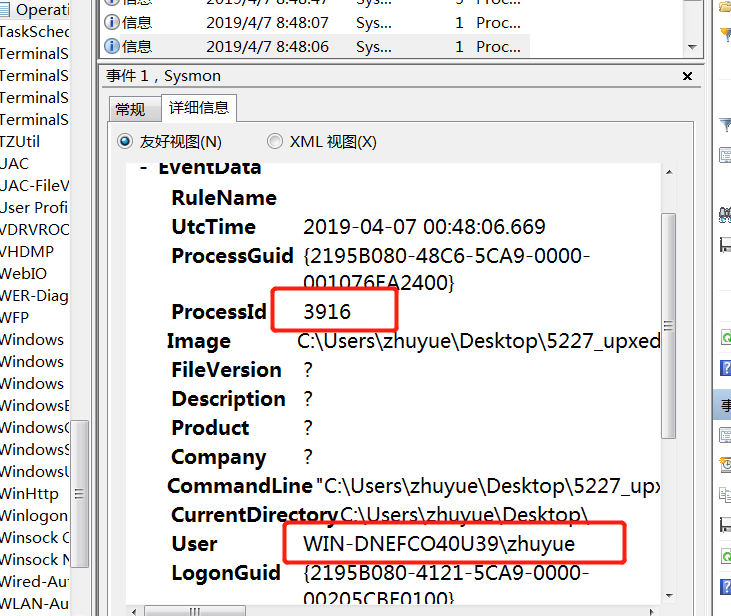
实验三:使用各种软件进行恶意软件分析
1、使用VirusTotal分析恶意软件
- 在其中能得到SHA-1、MD5摘要值、文件类型、大小、TRiD文件类型识别结果和算法库支持情况

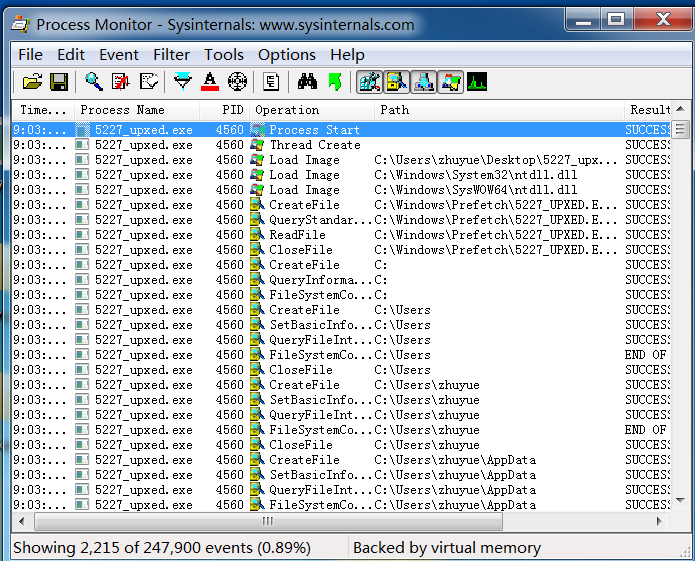
2、使用Process Monitor分析恶意软件
-
得到进程号

-
使用程序中的
filter功能查找到进程
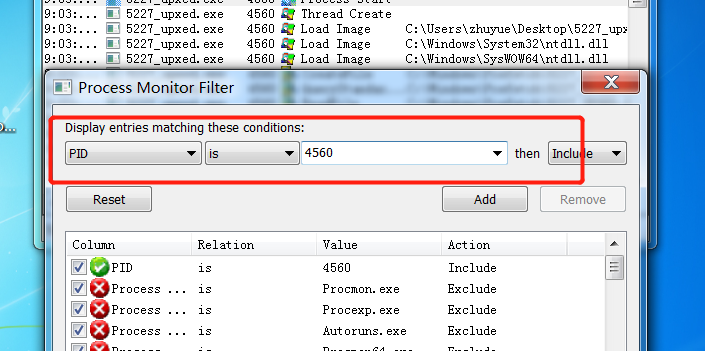
-
得到结果
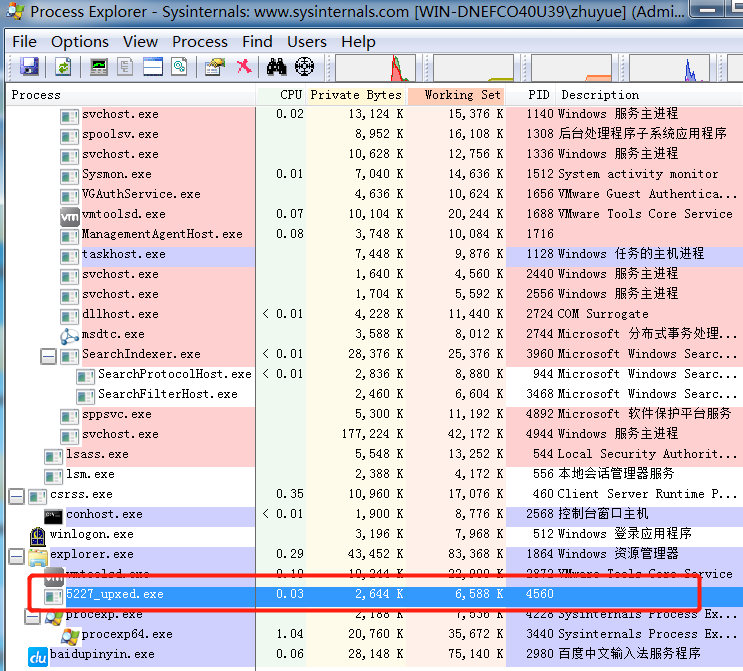
3、使用Process Explorer分析恶意软件
- 运行后门,打开软件分析
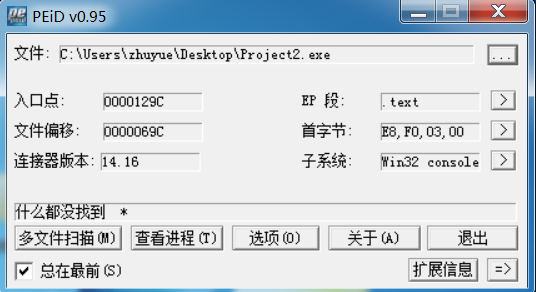
4、使用PEiD分析恶意软件
-
打开软件,先分析未带壳的后门程序
-
再分析带壳的

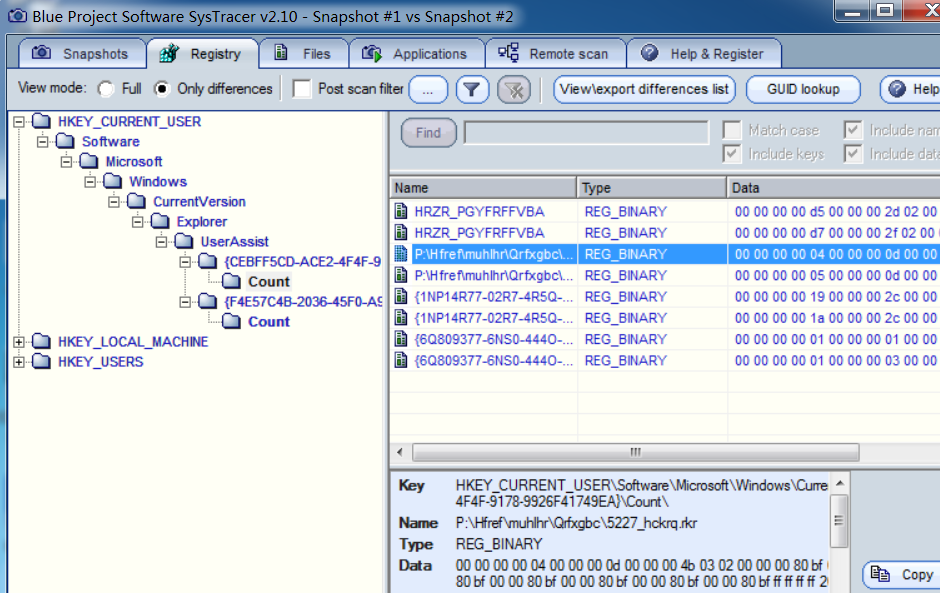
5、使用systracer分析恶意软件
-
合理运用快照比对分析,能够分析恶意软件运行情况
-
保存了两个快照:Snapshot #1是运行后门前;Snapshot #2是运行后门后

-
通过compare发现注册表出现了改动
-
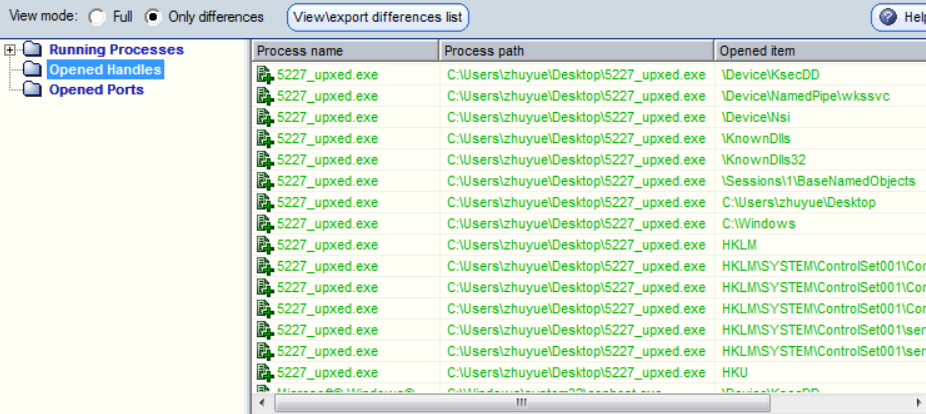
查看“opened handles”,进行对比
-
查看"open port",进行对比

实验问题
- 在创建
netstat5227.bat时候,运行发现对应的txt文件没有更新 - 解决:在任务计划程序中的设置应该改为
以最高权限运行,否则权限不够不能运行
实验感想
- 这次的实验目的是分析恶意代码,在实验过程中知道了许多分析软件,也是知道了杀毒软件干不了的活,分析软件能很好地完成,自己相当于多了一项技能,同时也对后门程序的运行状况有了更深的理解