概要
由于gRPC主要是谷歌开发的,由于一些已知的原因,gRPC跑demo还是不那么顺利的。单独写这一篇,主要是gRPC安装过程中的坑太多了,记录下来让大家少走弯路。
主要的坑:
- 如果使用PHP、Python开发gRPC的客户端,需要编译gRPC命令行工具,生成proto的代码生成插件,否则proto里定义的service无法编译出来。编译需要使用GCC4.8级以上版本,否则报不支持C++11。然后需要龟速下周grpc源码,并下载一大堆第三方依赖。这个过程非常痛苦。使用golang、java的可以忽略。
- PHP还需要按照grpc的c扩展。编译需要使用GCC4.8级以上版本。
- 如果使用golang开发服务,依赖的第三方服务基本是下载不下来的,需要使用
go mod增加映射规则到github仓库,github下载也是龟速。
本文讲解gRPC demo的同时,会介绍如何解决这些坑。本文对应的Github地址:https://github.com/52fhy/grpc-sample 。该仓库存储了demo示例,以及部分系统编译好的二进制包,大家觉得有些步骤里耗时实在太长了,可以直接clone该仓库,复制二进制包到对应目录(仅限测试开发,生产环境还是老老实实自己编译吧)。
升级GCC
gRPC命令行工具编译需要使用 GCC4.8及以上版本。CentOS6系列的内置版本是GCC4.7。
使用
gcc --version可以查看版本。
如果你的系统GCC版本>=4.8,可以忽略本节。如果仅使用golang、java,请忽略本节。
注:不建议大家下载GCC源码包或者使用yum下载GCC4.8及以上版本,原因:
- 源码包安装真的是非常非常的慢 2) yum 源下载速度慢的像蜗牛。下面的SCL安装方法是推荐大家用的,安装好后原来的版本还能用。
如果需要升级gcc至4.8或更高版本,建议直接采用安装SCL源之后安装devtoolset-6(devtoolset-6目前gcc版本为6.3),因为devtoolset-4及之前的版本都已经结束支持,只能通过其他方法安装。
升级到gcc 6.3:
yum -y install centos-release-scl
yum -y install devtoolset-6-gcc devtoolset-6-gcc-c++ devtoolset-6-binutils
scl enable devtoolset-6 bash
需要注意的是scl命令启用只是临时的,退出shell或重启就会恢复原系统gcc版本。如果要长期使用gcc 6.3的话:
echo "source /opt/rh/devtoolset-6/enable" >>/etc/profile
这样退出shell重新打开就是新版的gcc了。其它版本同理。
升级到gcc 7.3:
yum -y install centos-release-scl
yum -y install devtoolset-7-gcc devtoolset-7-gcc-c++ devtoolset-7-binutils
scl enable devtoolset-7 bash
已经停止支持的devtoolset4(gcc 5.2)及之前版本的安装方法,可能比较慢,大家感兴趣的话可以尝试。
升级到gcc 4.8:
wget http://people.centos.org/tru/devtools-2/devtools-2.repo -O /etc/yum.repos.d/devtoolset-2.repo
yum -y install devtoolset-2-gcc devtoolset-2-gcc-c++ devtoolset-2-binutils
scl enable devtoolset-2 bash
升级到gcc4.9:
wget https://copr.fedoraproject.org/coprs/rhscl/devtoolset-3/repo/epel-6/rhscl-devtoolset-3-epel-6.repo -O /etc/yum.repos.d/devtoolset-3.repo
yum -y install devtoolset-3-gcc devtoolset-3-gcc-c++ devtoolset-3-binutils
scl enable devtoolset-3 bash
升级到gcc 5.2:
wget https://copr.fedoraproject.org/coprs/hhorak/devtoolset-4-rebuild-bootstrap/repo/epel-6/hhorak-devtoolset-4-rebuild-bootstrap-epel-6.repo -O /etc/yum.repos.d/devtoolset-4.repo
yum install devtoolset-4-gcc devtoolset-4-gcc-c++ devtoolset-4-binutils -y
scl enable devtoolset-4 bash
编译gRPC命令行工具
如果仅使用golang、java,请忽略本节。
gRPC分C、JAVA、GO、NodeJS版本,C版本包括C++, Python, Ruby, Objective-C, PHP, C#,这些语言都是基于C版本开发的,共用代码库一个代码库。
- C版本:https://github.com/grpc/grpc
- JAVA版本:https://github.com/grpc/grpc-java
- GO版本:https://github.com/grpc/grpc-go
- Node版本:https://github.com/grpc/grpc-node
如果使用C版本的gRPC,最终要从源码里编译出下列工具:
grpc_cpp_plugin
grpc_csharp_plugin
grpc_node_plugin
grpc_objective_c_plugin
grpc_php_plugin
grpc_python_plugin
grpc_ruby_plugin
这些工具作为插件供proto编译器使用。需要先下载 grpc/grpc github上的源码。
git clone -b $(curl -L https://grpc.io/release) https://github.com/grpc/grpc
cd grpc
git submodule update --init
make && sudo make install

# 生成的插件路径
ll ./bins/opt/

# 复制到bin目录
cp -r ./bins/opt/* /usr/local/bin/
这里有2个坑:
1、grpc/grpc仓库比较大,鉴于国内访问的网速,建议使用国内镜像。码云(https://gitee.com)提供了同步更新的镜像地址:
git clone https://gitee.com/mirrors/grpc-framework grpc
这样下载速度提高了不少。
2、git submodule update这个命令实际就是在下载.gitmodules文件里定义的第三方依赖项到third_party目录,这个依赖项有很多,大家可以打开.gitmodules文件查看下详情。依赖的仓库都在github上,下载没几个小时是下载不下来的,就等着慢慢下载吧。
回头想想,我们花费了很多时间,结果只是为了得到grpc的proto编译插件。
福利:Mac下已编译完成的二进制包:https://files.cnblogs.com/files/52fhy/bins.tar.gz 。下载以上文件解压,将
bins/opt/里的所有文件复制到/usr/local/bin/。
PHP相关支持
如果仅使用golang、java,请忽略本节。
PHP暂时不支持作为grpc的服务端。作为客户端是可以的,需要机器安装:
- protoc编译工具
- protobuf c扩展
- gRPC命令行工具(grpc_php_plugin)
- grpc c扩展
- grpc php库
其中protoc和protobuf c扩展已经在 Protobuf 小试牛刀 介绍过了,这里不再赘述。上一小节里如果安装成功,那么grpc_php_plugin也是有了的。下面介绍如何安装PHP版的gRPC库。
安装grpc c扩展:
要求:GCC编译器需要4.8及以上版本。可以使用pecl安装:
pecl install grpc
也可以指定版本:
pecl install grpc-1.12.0
或者下载源码(http://pecl.php.net/package/grpc)安装:
wget http://pecl.php.net/get/grpc-1.21.3.tgz
tar zxvf grpc-1.21.3.tgz && cd grpc-1.21.3
phpize
./configure
make
make install
grpc/grpc代码库里也有PHP扩展的C源码,在grpc/src/php/ext/grpc目录,进去也可以直接编译。
编译完成后在php.ini里添加,使用php --ri grpc可以查看信息。
安装完C扩展后,还需要使用composer安装grpc的库:
composer require grpc/grpc
gRPC示例
编写gRPC proto
一共定义了三个文件:
└── proto
    ├── GreeterService.proto
    ├── Response.proto
    └── User.proto
其中 User 作为 Model定义,Response 用于 RPC统一返回定义,GreeterService 则是服务接口定义。
限于篇幅,proto文件详见 https://github.com/52fhy/grpc-sample 仓库的proto目录。
GreeterService.proto文件内容如下:
syntax = "proto3";
package Sample.Model; //namesapce

import "User.proto";
import "Response.proto";

service Greeter {
  // Sends a greeting
  rpc SayHello (User) returns (Response) {}
}
这里面定义了一个service,相当于定义了一个服务接口,我们把方法名、参数定义好了,后面需要去实现它。由于gRPC不支持PHP作为服务端,这里我们使用Golang作为服务端。
首先需要使用proto工具编译出golang的代码:
mkdir -p Pb_Go

#编译
cd proto
protoc --go_out=plugins=grpc:../Pb_Go/ *.proto
cd -
如果提示
protoc-gen-go找不到,请根据文章介绍(https://www.cnblogs.com/52fhy/p/11106670.html#autoid-2-0-0)进行安装。
执行成功,会在 Pb_Go目录里生成Go代码:
Pb_Go
├── GreeterService.pb.go
├── Response.pb.go
└── User.pb.go
如果需要生成PHP客户端的代码,则需要使用grpc php的命令行工具grpc_php_plugin,前面小结如果执行成功,这个工具已经有了。然后:
out=output/php
mkdir -p $out

#编译
cd proto
protoc --php_out=../$out --grpc_out=../$out --plugin=protoc-gen-grpc=/usr/local/bin/grpc_php_plugin   *.proto
cd -

# 修改命名空间
cd $out
mv GPBMetadata Sample/Model/
find . -name '*.php' ! -name example.php -exec sed -i "" -e 's#GPBMetadata#Sample\Model\GPBMetadata#g' -e 's#\Sample\Model\GPBMetadata\Google#\GPBMetadata\Google#g' {} ;
上面是在Mac下操作的,命令和Linux有些不同。CentOS下gRPC编译工具未编译。
最终生成的文件:
├── output
│   └── php
│       └── Sample
│           └── Model
│               ├── GPBMetadata
│               │   ├── GreeterService.php
│               │   ├── Response.php
│               │   └── User.php
│               ├── GreeterClient.php
│               ├── Response.php
│               ├── User.php
│               └── UserList.php
注意:编译那里如果我们不加--grpc_out=../$out --plugin=protoc-gen-grpc=/usr/local/bin/grpc_php_plugin,生成的PHP类是没有GreeterClient的。这个文件是gRPC编译工具自动生成的,用于连接gRPC服务端。
go编写服务
我们用Golang写服务端。上面虽然生成了Golang的部分代码,但真正的服务还没有写呢。
main.go
首先我们新建个main.go,代码不多,我直接贴出来:
package main

import (
	"fmt"
	"log"
	"net"
	"time"

	pb "grpc-sample/Pb_Go"
	"golang.org/x/net/context"
	"google.golang.org/grpc"
)

const (
	addr = ":50051"
)

// server is used to implement helloworld.GreeterServer.
type server struct{}

// SayHello implements helloworld.GreeterServer
func (s *server) SayHello(ctx context.Context, u *pb.User) (*pb.Response, error) {
	return &pb.Response{ErrCode: 0, ErrMsg: "success", Data: map[string]string{"name": "Hello " + u.Name}}, nil
}

func main() {
	lis, err := net.Listen("tcp", addr)
	if err != nil {
		log.Fatalf("failed to listen: %v", err)
	}

	fmt.Printf("%s server start at %s
", time.Now(), addr)

	s := grpc.NewServer()
	pb.RegisterGreeterServer(s, &server{})
	s.Serve(lis)
}
然后就可以编译了。
有个大坑:go build main.go的时候会先下载go.mod里定义的依赖(依赖比较多,详情查看:https://github.com/52fhy/grpc-sample/blob/master/go.mod),其中下面这条非常慢,仓库太大了,虽然重定向到github:
replace google.golang.org/api => github.com/googleapis/google-api-go-client v0.6.1-0.20190616000641-99157d28da34
为了快速下载,我在码云上做了镜像,地址:gitee.com/52fhy/google-api-go-client 。改了之后下载快多了。
编译成功后,生成了二进制文件main。我们可以直接运行:
$ ./main

2019-06-30 17:16:07.752508 +0800 CST m=+0.028838467 server start at :50051
go test
为了测试我们写的服务是否正常,可以写测试用例:
test_client.go
package main

import (
	"context"
	"google.golang.org/grpc"
	pb "grpc-sample/Pb_Go"
	"testing"
)

func TestExec(t *testing.T)  {
	conn, err := grpc.Dial(":50051", grpc.WithInsecure())
	if err != nil {
		t.Errorf("dial error: %v
", err)
	}
	defer conn.Close()

	// 实例化客户端
	client := pb.NewGreeterClient(conn)

	// 调用服务

	user := pb.User{}
	user.Id = 1
	user.Name = "test"
	result, err := client.SayHello(context.Background(), &user)
	if err != nil {
		t.Errorf("grpc error: %v
", err)
	}
	t.Logf("Recevied: %v
", result)
}
运行:
$ go test -v client_test.go

=== RUN   TestExec
--- PASS: TestExec (0.01s)
    client_test.go:29: Recevied: errMsg:"success" data:<key:"name" value:"Hello test" >
PASS
ok  	command-line-arguments	0.021s
运行有点慢,感觉依赖的库多了。
php客户端
使用gRPC PHP客户端,确保你已经安装了:
- protobuf c扩展
- grpc c扩展
- grpc php库
示例:
client_test.php
<?php

use GrpcChannelCredentials;
use SampleModelUser;
use SampleModelUserList;
use SampleModelGreeterClient;

ini_set("display_errors", true);
error_reporting(E_ALL);
require_once "autoload.php";
$user = new User();
$user->setId(1)->setName("test");

$client = new GreeterClient("192.168.99.1:50051", [
    'credentials' => ChannelCredentials::createInsecure(), //不加密
//    'timeout' => 3000000,
]);

//分别是响应、状态对象
list($reply, $status) = $client->SayHello($user)->wait();

if (!$reply) {
    echo json_encode($status);
    return;
}

//序列化为string
echo $reply->serializeToJsonString(true) . PHP_EOL;
echo $reply->getErrCode() . PHP_EOL; //errCode
echo $reply->getErrMsg() . PHP_EOL; //errMsg

//data
foreach ($reply->getData() as $key => $value) {
    echo $key . "-" . $value . PHP_EOL;
}
运行后输出:
$ php tests/client_test.php

{"errMsg":"success","data":{"name":"Hello test"}}
0
success
name-Hello test
常见问题
1、CentOS6使用 go mod获取第三方依赖包unknown revision xxx错误
解决:其实go mod调用链中会用到一些git指令,当git版本比较旧时,调用失败产生错误,并给出歧义的提示信息。方法就是升级git版本,CentOS6自带的git是1.7版本。升级完毕后,再尝试go mod。
快速升级方法:
centos6:
# 安装yum源
wget http://opensource.wandisco.com/centos/6/git/x86_64/wandisco-git-release-6-1.noarch.rpm && rpm -ivh wandisco-git-release-6-1.noarch.rpm

## 安装git 2.x
yum install git -y

## 验证
git --version
git version 2.14.1
2、PHP报错:Fatal error: Class 'GoogleProtobufInternalMessage' not found
解决:请安装PHP的protobuf c扩展。
3、PHP报错:Fatal error: Class 'GrpcBaseStub' not found
解决:使用composer require grpc/grpc安装grpc。另外对应的grpc C扩展也要安装。
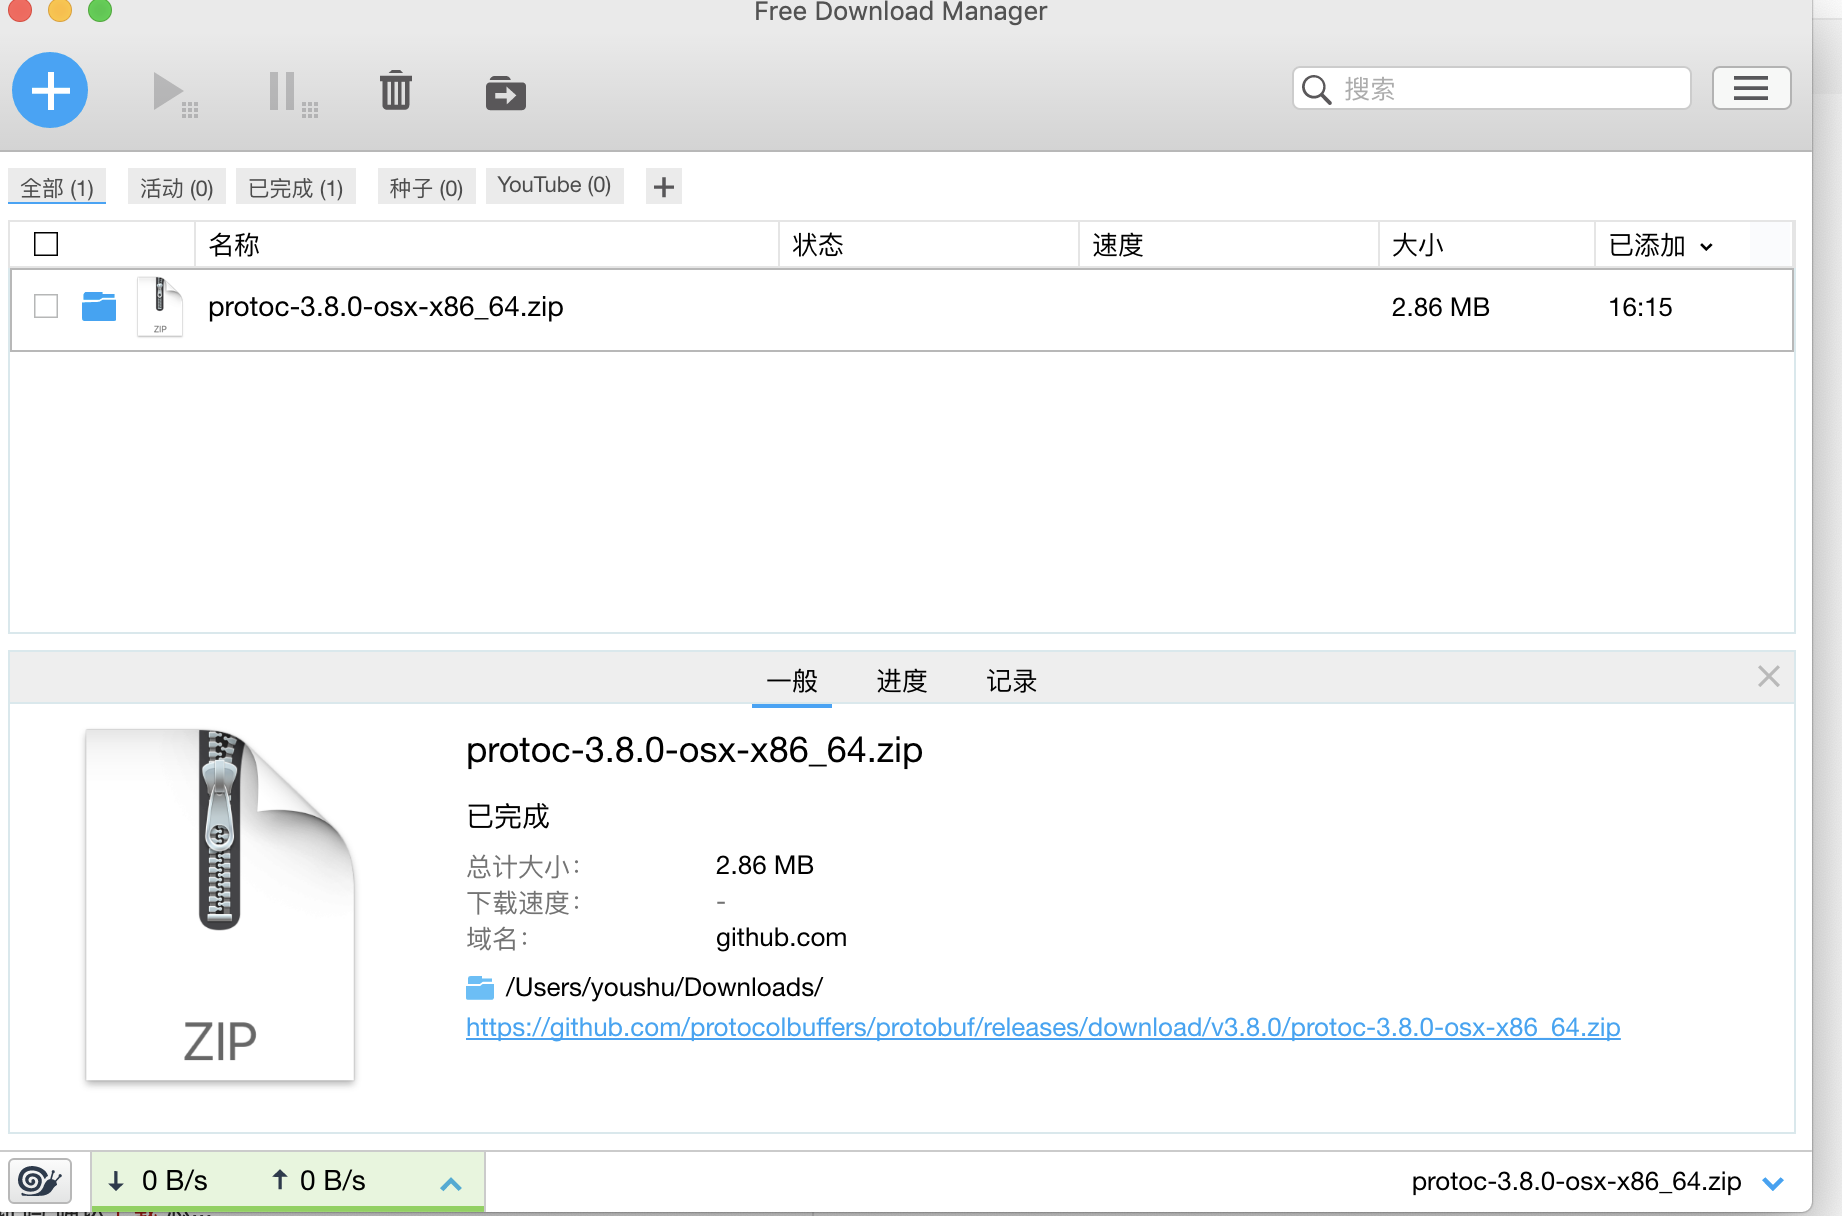
4、下载 github release包很慢怎么办?
解决:下载Mac版 Free Download Manager 下载工具可以解决Github 下载缓慢或失败问题。速度嗖嗖的。
参考
1、为CentOS 6、7升级gcc至4.8、4.9、5.2、6.3、7.3等高版本
http://www.vpser.net/manage/centos-6-upgrade-gcc.html
2、centos 6.x/7.x使用yum升级git版本 - 夜空
https://blog.slogra.com/post-721.html
3、Protobuf 小试牛刀 - 飞鸿影
https://www.cnblogs.com/52fhy/p/11106670.html