有很多时候,我们需要创建Windows Service。 这篇文章可以算是一个入门指南吧,希望对初学者有帮助.
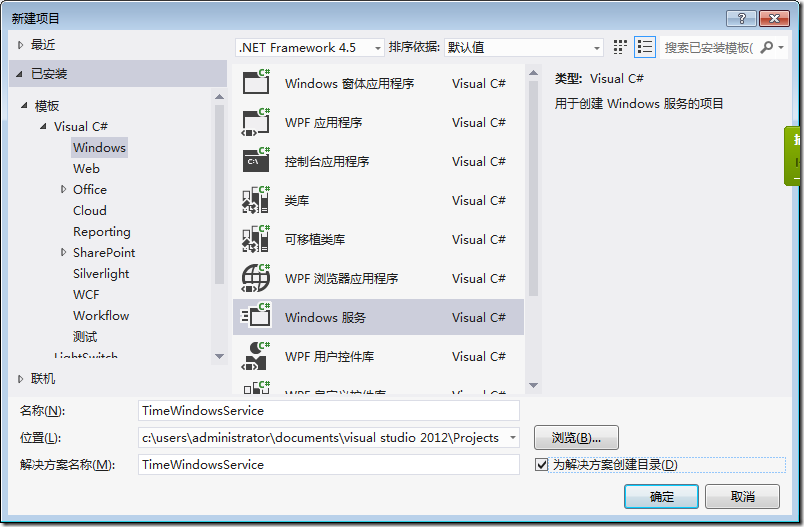
要创建Windows Service, 首先选择Windows服务项目,如下图:
这里我想创建一个Windows服务,定时的执行一些任务。
public partial class Service1 : ServiceBase
{
    public Service1()
    {
        InitializeComponent();
    }

    protected override void OnStart(string[] args)
    {
    }

    protected override void OnStop()
    {
    }
}
OnStart :服务启动的时候执行,
OnStop:服务停止的时候执行
为了定时的执行任务,我修改代码如下:
namespace TimeWindowsService
{
    public partial class Service1 : ServiceBase
    {
        System.Timers.Timer timer = null;

        public Service1()
        {
            InitializeComponent();
        }

        protected override void OnStart(string[] args)
        {
            timer = new System.Timers.Timer();
            timer.Elapsed += timer_Elapsed;
            timer.Interval = 1000;
            timer.Start();
        }

        void timer_Elapsed(object sender, System.Timers.ElapsedEventArgs e)
        {
            Console.WriteLine("Time elapsed");
        }

        protected override void OnStop()
        {
            if (timer != null)
            {
                timer.Stop();
            }
        }
    }
}
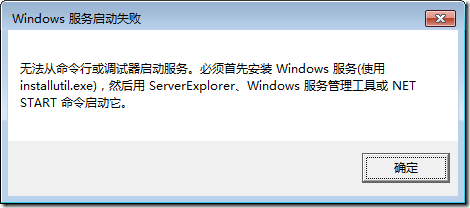
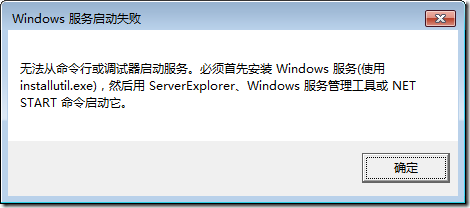
按F5运行代码,会提示:
这代表我们必须先使用Installutil.exe 来安装服务。
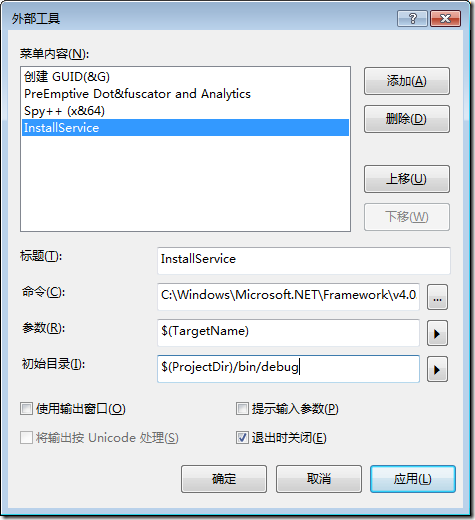
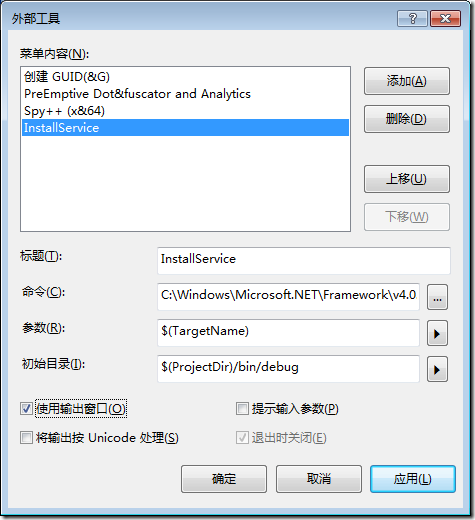
当然你可以打开命令行,然后输入命令来安装服务,不过在这里我打算使用外部工具来执行InstallUtil.exe。
其中命令是:C:\Windows\Microsoft.NET\Framework\v4.0.30319\InstallUtil.exe
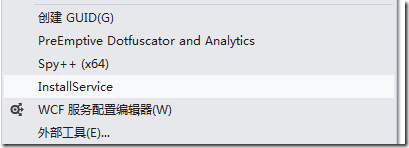
点击确定,可以发现一个InstallService 命令。
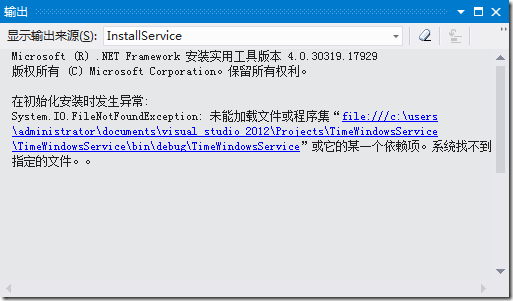
点击InstallService,可以发现屏幕闪了一下,然后又过了,很明显是因为我们的命令出错了。
注意,我们在添加InstallService的时候,选择的是![]() ,所以即使有错误信息,也会一闪而过。
,所以即使有错误信息,也会一闪而过。
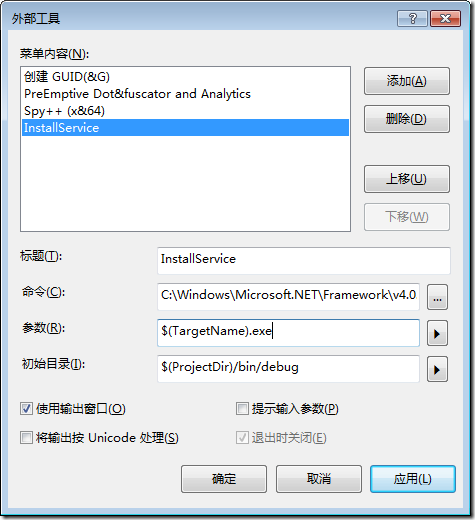
修改InstallService的命令如下:
再次运行InstallService,可以看到:
这代表InstallService 的时候出错了,找不到文件,我们希望它找的是TimeWindowsService.exe,
而不是\bin\debug\TimeWindowsService
所以正确的设置InstallService命令应该是下面这样:
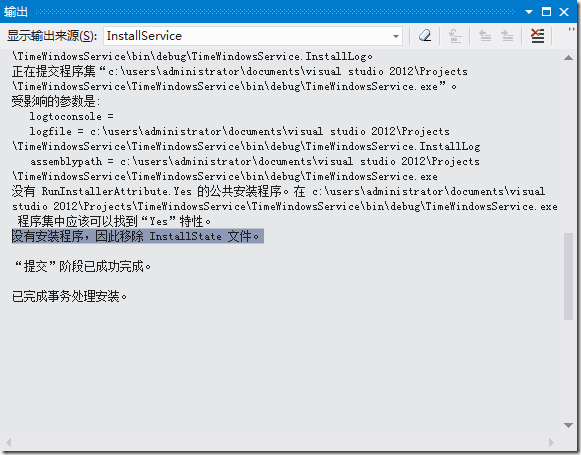
保存,然后运行,结果如下:
还是没有安装成功,因为没有安装程序。
有很多教程会告诉你,需要添加一个像下面这样的类:http://www.cnblogs.com/jjstar/articles/20353.aspx
using System.Collections;
using System.Configuration.Install;
using System.ServiceProcess;
using System.ComponentModel;

namespace WindowsService1
{
 /// <summary>
 /// myInstall 的摘要说明。
 /// </summary>
 ///
 [RunInstaller(true)]
 public class myInstall : Installer
 {

  private ServiceInstaller serviceInstaller;
  private ServiceProcessInstaller processInstaller;
  public myInstall()
  {
   processInstaller = new ServiceProcessInstaller();
   serviceInstaller = new ServiceInstaller();

   processInstaller.Account = ServiceAccount.LocalSystem;
   serviceInstaller.StartType = ServiceStartMode.Automatic;
   serviceInstaller.ServiceName = "WindowsService1";

   Installers.Add(serviceInstaller);
   Installers.Add(processInstaller);
  }
 }
}
对于记性不好的人来说,很容易问的一个问题是:VS有提供相关的快捷键吗?,当然,VS提供了。
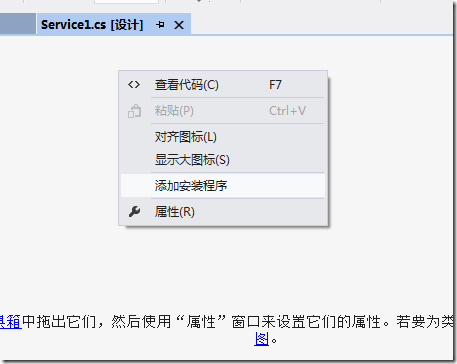
在Service1.cs 设计页面点击,添加安装程序,vs 就会自动帮你生成一个Installer 的类。
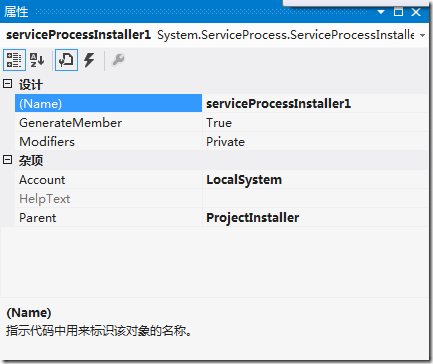
添加的类是:
serviceProcessInstaller1 :
安装一个可执行文件,该文件包含扩展 System.ServiceProcess.ServiceBase 的类。 该类由安装实用工具(如 InstallUtil.exe)在安装服务应用程序时调用。
serviceInstall1:
安装一个类,该类扩展 System.ServiceProcess.ServiceBase 来实现服务。 在安装服务应用程序时由安装实用工具调用该类。
细心的读者看看他们的属性就知道区别在哪里了。
为了简单,将account 设置为LocalSystem.
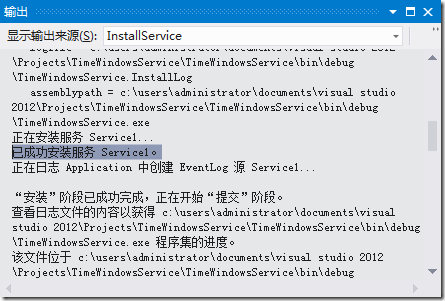
好了,安装程序已经弄完了,接着上面的InstallService 吧,注意要编译程序啊。
可以看到已经成功的安装服务了。
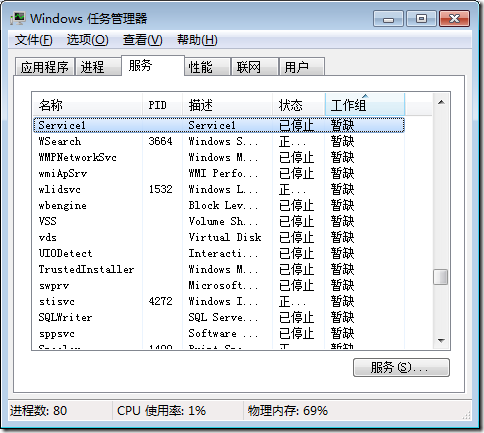
从任务管理器中,你也可以看到安装的服务:
OK,接着按F5 调试吧,可是:
依然出现了这个提示框,很显然,我们不能按F5 来调试windows服务。
有很多文章讲述了如何调试windows服务。
1:比如这篇文章:http://www.cnblogs.com/downmoon/archive/2009/09/16/1567643.html,所采用的AttachProcess 方法。
可是有时候,由于各种各样的原因,服务无法启动,或者是服务由于某些原因而自动停止,所以也就不太容易附加到进程去调试了。
2:还有一些修改代码的方法,比如:
添加一个DebugOnStart 的方法
public void DebugOnStart()
        {
            this.OnStart(null);
        }

        protected override void OnStart(string[] args)
        {
            timer = new System.Timers.Timer();
            timer.Elapsed += timer_Elapsed;
            timer.Interval = 1000;
            timer.Start();
        }
然后修改main函数如下:
static void Main()
        {
            //ServiceBase[] ServicesToRun;
            //ServicesToRun = new ServiceBase[]
            //{
            //    new Service1()
            //};
            //ServiceBase.Run(ServicesToRun);

            new Service1().DebugOnStart();
        }
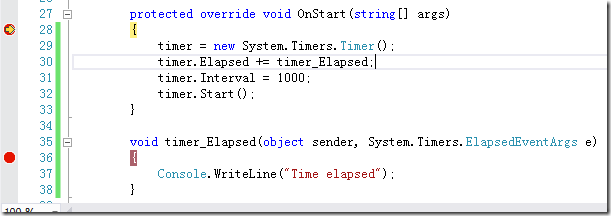
效果如下:
3:在构造函数中用Thread.Sleep. 然后快速的附加到进程。
这样,服务就会需要10秒才能启动,有10秒的时间,肯定可以”附加到进程”的吧
我个人比较喜欢的一种方式:
void timer_Elapsed(object sender, System.Timers.ElapsedEventArgs e)
        {
            if (!Debugger.IsAttached)
            {
                Debugger.Launch();
            }

            Console.WriteLine("Time elapsed");
        }
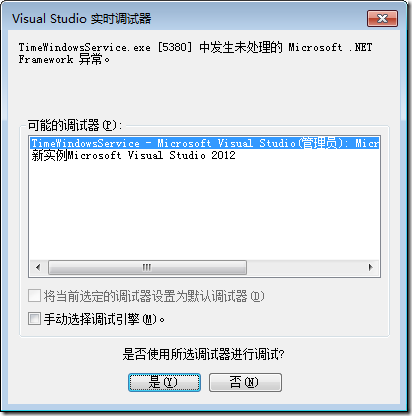
这样在启动Service的时候,会提示:
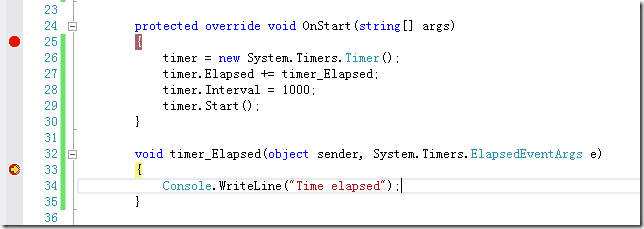
点击确定后:
这种方式是,你可以在任何时间,任何需要调试的地方添加上面的语句。
具体的可以参考Debugger 类。
参考的文章:http://www.codeproject.com/Articles/19914/How-to-debug-a-Windows-Service-and-not-die-in-the
