CentOS 6.8 安装TigerVNC 实现 Linux 远程桌面并安装火狐浏览器
vnc客户端地址:https://files.cnblogs.com/files/MYSQLZOUQI/vnc-4_1_2-x86_win32_viewer.rar
火狐浏览器下载地址:http://www.firefox.com.cn/download/
系统版本:centos6.8 64位
注意:TigerVNC默认已经在centos的yum源,不需要额外安装epel这些yum源了
0. 安装 x window 图形用户界面和中文包,x window用的是gnome
yum groupinstall -y "Desktop" ; yum groupinstall -y "X Window System" ;yum groupinstall -y "Chinese Support"
1. 安装 TigerVNC-Server
yum install -y tigervnc-server
2.配置显示分辨率、用户, 编辑配置:
vim /etc/sysconfig/vncservers
添加下面两行

VNCSERVERS="2:root"
VNCSERVERARGS[2]="-geometry 1280x768 "
这里 直接参照 配置文件最后两 写就行了
第一行VNCSERVERS的用户名直接写的 root ,2 表示的是 2号桌面 ,端口号 5902,注意,启动vncservers的时候要用root用户启动,因为这里填写的是root用户
第二行VNCSERVERARGS把 -localhost 和-nolisten tcp 去掉,分辨率为1280x720
VNC使用TCP端口从5900开始,对应关系如下
桌面号为“1” ----端口号为5901
桌面号为“2” ----端口号为5902,因为VNCSERVERS="2:root"指定了2,所以用vnc客户端连接的时候是ip:5902
桌面号为“3” ----端口号为5903
3. 配置 VNC 桌面环境及密码
启动vncserver,第一次启动要直接输入下面命令,而不能用service vncserver start的方式启动否则会报错
报错信息
Starting VNC server: 2:root
You will require a password to access your desktops.

getpassword error: Inappropriate ioctl for device
Password: [FAILED]
输入下面命令启动vncserver,这里的2对应/etc/sysconfig/vncservers文件中的VNCSERVERS="2:root",输入两次密码,以后要改密码只能用vncpasswd命令
vncserver :2
vncserver 会加载相应用户的本地路径和环境信息等,从而把/etc/sysconfig/vncservers文件中的用户(这里是root用户)的 VNC 认证、日志等存储到当前用户的家目录下~/.vnc,也就是root用户的家目录下
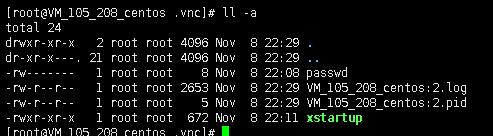
4. 配置 gnome 会话或kde会话
vi ~/.vnc/xstartup
最后两行注释
#xterm -geometry 80x24+10+10 -ls -title "$VNCDESKTOP Desktop" &
#twm &

加上一行
gnome-session &
如果kde桌面则是 "startkde &" , gnome 桌面则是 "gnome-session &"
重启服务
service vncserver restart
5. 查看端口是否在侦听
netstat -lntp
Active Internet connections (only servers)
Proto Recv-Q Send-Q Local Address Foreign Address State PID/Program name
tcp 0 0 0.0.0.0:5902 0.0.0.0:* LISTEN 3241/Xvnc
tcp 0 0 0.0.0.0:6002 0.0.0.0:* LISTEN 3241/Xvnc
tcp 0 0 0.0.0.0:22 0.0.0.0:* LISTEN 2612/sshd
tcp 0 0 127.0.0.1:25 0.0.0.0:* LISTEN 1153/master
6.用vnc viewer客户端连接服务器端
用啥vnc客户端是没有限制的,我这里用的是vnc viewer 4.1版
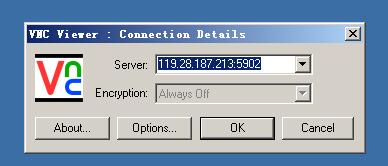
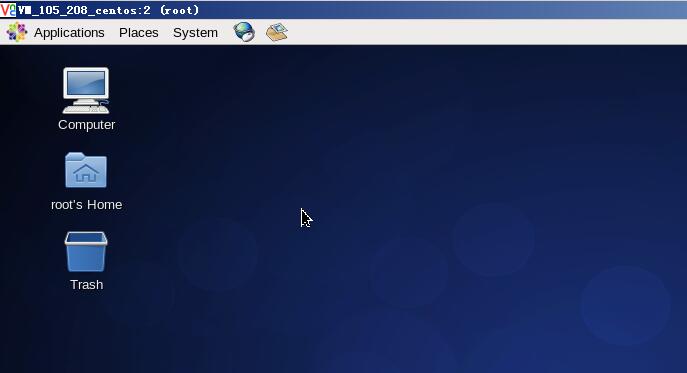
输入第三步中的密码
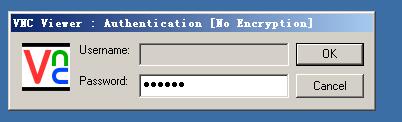
完成
7. 关闭vncserver中的某个桌面,n是桌面号(服务器端)
vncserver -kill :n
8.列出当前用户建立的所有远程桌面,例如
vncserver -list
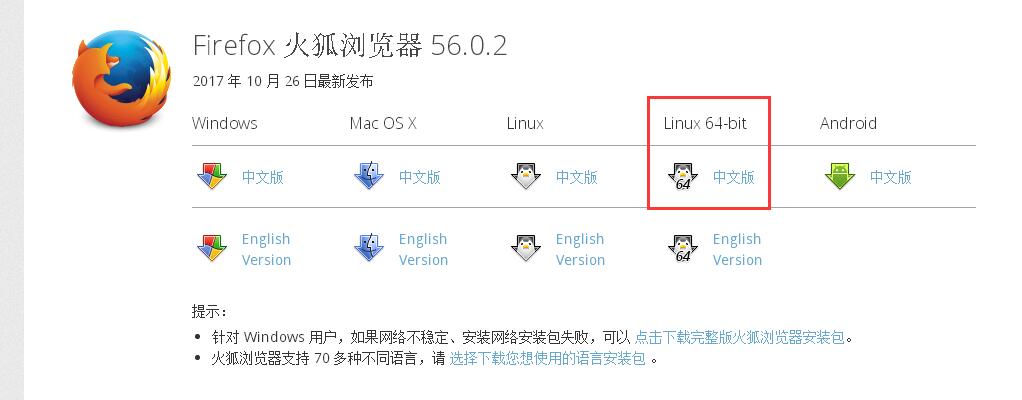
9.下载火狐浏览器安装包
cd /tmp ;wget https://ftp.mozilla.org/pub/firefox/releases/45.0.2/linux-x86_64/zh-CN/firefox-45.0.2.tar.bz2
10.使用shell脚本自动安装firefox浏览器
cd /tmp ;vi firefox452_install.sh
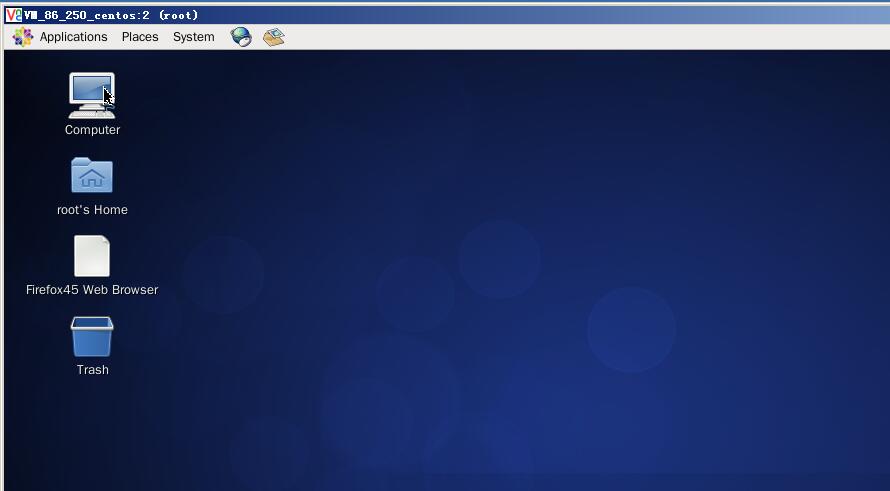
#!/bin/bash
#script  by
#date : 2017-08-13 20:30
#说明:此脚本是在centos 6.5版系统上下载并全新安装一个firefox45.0.2版到/usr/local/firefox目录,并在当前用户家目录的桌面创建firefox软件图标,
#并且不影响旧的firefox17版的使用。
#注意:Centos 6.5只能支持到firefox45.0.2版,如果想升级到firefox55版,需要升级系统的lib库文件,否则无法正常打开firefox新版本。
#以下是从官网下载firefox-45.0.2.tar.bz2版本的软件包,然后解压到指定目录。
#wget https://ftp.mozilla.org/pub/firefox/releases/45.0.2/linux-x86_64/zh-CN/firefox-45.0.2.tar.bz2
[ -f firefox-45.0.2.tar.bz2 ] && tar -xjvf firefox-45.0.2.tar.bz2 -C /usr/local/ || echo  'firefox not found'
#以下是生成firefox45图标文件。
cat > ~/Desktop/firefox45.desktop <<-EOF
#!/usr/bin/env xdg-open

[Desktop Entry]
Version=1.0
Encoding=UTF-8
Name=Firefox45 Web Browser
Name[ca]=Navegador web Firefox
Name[cs]=Firefox Webovy prohlíe
Name[es]=Navegador web Firefox
Name[fa]=  Firefox
Name[fi]=Firefox-selain
Name[fr]=Navigateur Web Firefox
Name[hu]=Firefox webbngész
Name[it]=Firefox Browser Web
Name[ja]=Firefox ウェブブラウザ
Name[ko]=Firefox
Name[nb]=Firefox Nettleser
Name[nl]=Firefox webbrowser
Name[nn]=Firefox Nettlesar
Name[no]=Firefox Nettleser
Name[pl]=Przegldarka WWW Firefox
Name[pt]=Firefox Navegador Web
Name[pt_BR]=Navegador Web Firefox
Name[sk]=Internetovy prehliada Firefox
Name[sv]=Webblsaren Firefox
GenericName=Web Browser
GenericName[ca]=Navegador web
GenericName[cs]=Webovy prohlíe
GenericName[es]=Navegador web
GenericName[fa]=
GenericName[fi]=WWW-selain
GenericName[fr]=Navigateur Web
GenericName[hu]=Webbngész
GenericName[it]=Browser Web
GenericName[ja]=ウェブブラウザ
GenericName[ko]=
GenericName[nb]=Nettleser
GenericName[nl]=Webbrowser
GenericName[nn]=Nettlesar
GenericName[no]=Nettleser
GenericName[pl]=Przegldarka WWW
GenericName[pt]=Navegador Web
GenericName[pt_BR]=Navegador Web
GenericName[sk]=Internetovy prehliada
GenericName[sv]=Webblsare
Comment=Browse the Web
Comment[ca]=Navegueu per el web
Comment[cs]=Prohlíení stránek World Wide Webu
Comment[de]=Im Internet surfen
Comment[es]=Navegue por la web
Comment[fa]=
Comment[fi]=Selaa Internetin WWW-sivuja
Comment[fr]=Navigue sur Internet
Comment[hu]=A világháló bngészése
Comment[it]=Esplora il web
Comment[ja]=ウェブを閲覧します
Comment[ko]=
Comment[nb]=Surf p nettet
Comment[nl]=Verken het internet
Comment[nn]=Surf p nettet
Comment[no]=Surf p nettet
Comment[pl]=Przegldanie stron WWW
Comment[pt]=Navegue na Internet
Comment[pt_BR]=Navegue na Internet
Comment[sk]=Prehliadanie internetu
Comment[sv]=Surfa p webben
Exec=/usr/local/firefox/firefox %u
Icon=firefox
Terminal=false
Type=Application
StartupWMClass=Firefox-bin
MimeType=text/html;text/xml;application/xhtml+xml;application/vnd.mozilla.xul+xml;text/mml;
StartupNotify=true
X-Desktop-File-Install-Version=0.15
Categories=Network;WebBrowser;
EOF

#赋予执行权限
chmod  +x   ~/Desktop/firefox45.desktop
11.运行脚本
sh firefox452_install.sh
f
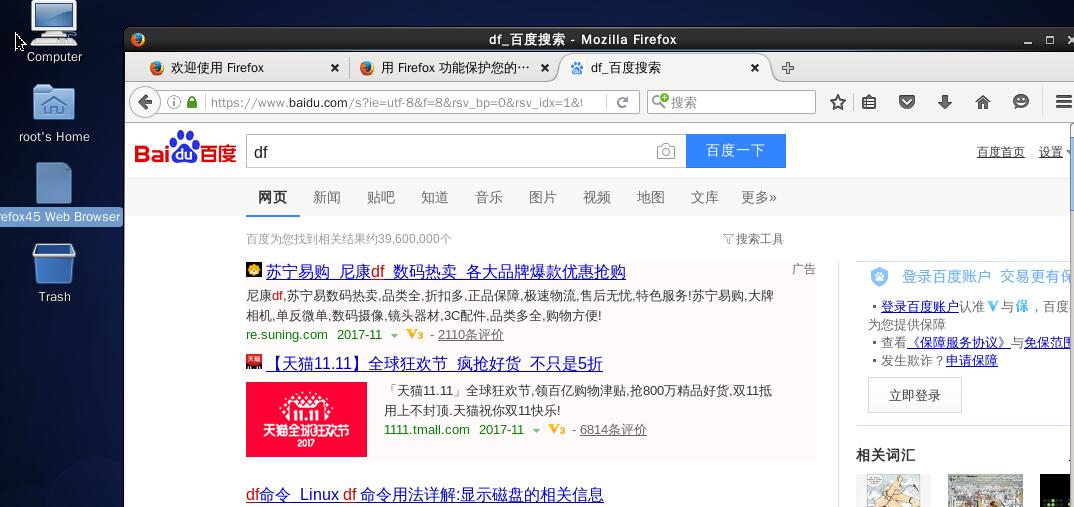
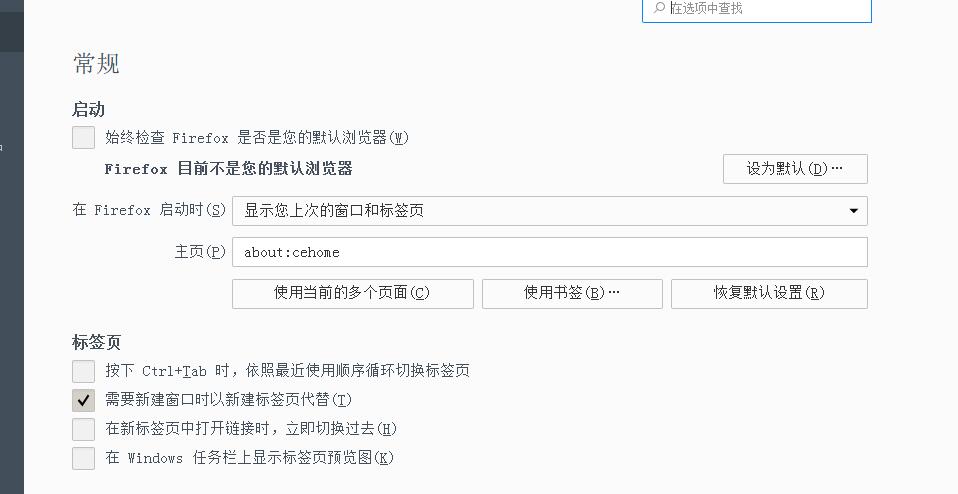
设置一下firefox浏览器