spring boot为各种场景定义了各种starter,称之为场景启动器,引入starter依赖后,SpringBoot就能自动扫描到要加载的信息并启动相应的默认配置,你也可以自己配置一些属性。现在我们自己写一个Starter。
首先看看官方文档对一个starter的要求:
一:准备一个空项目
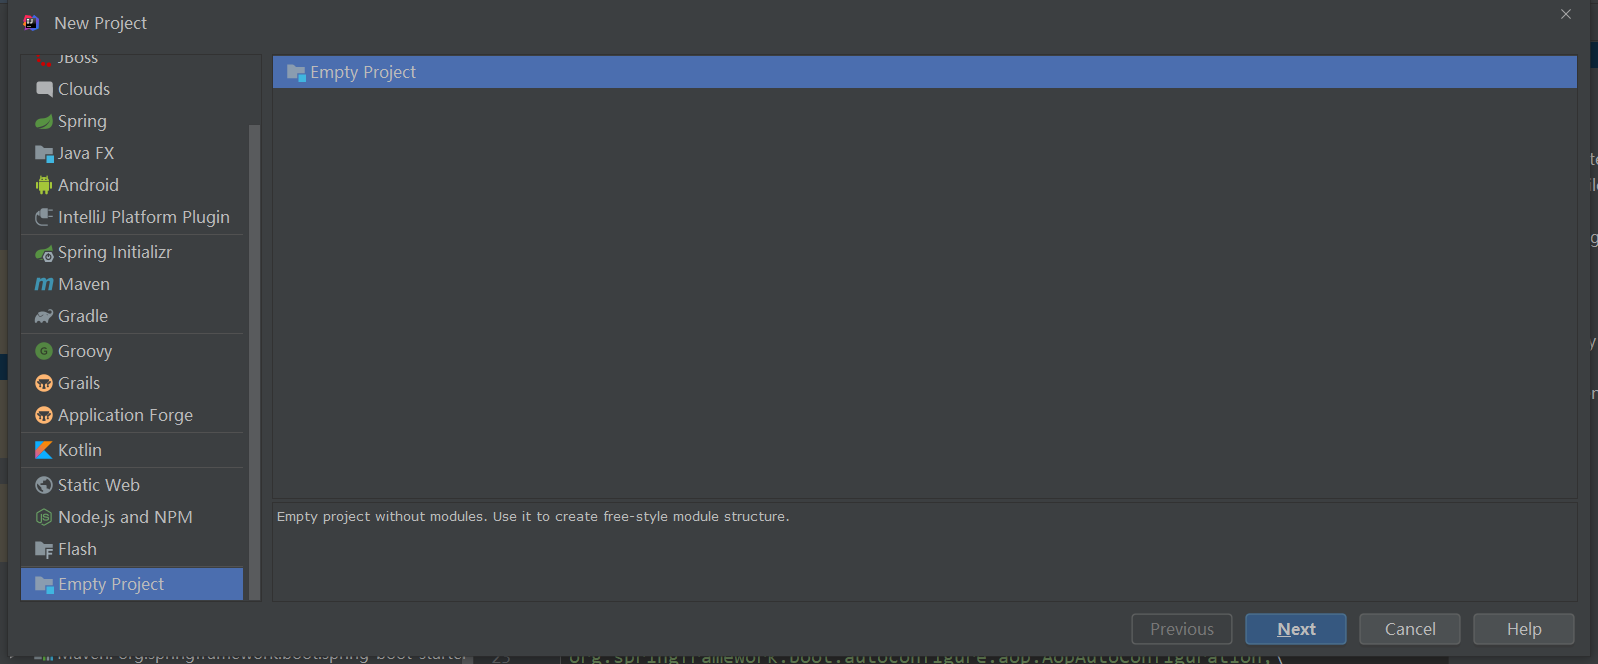
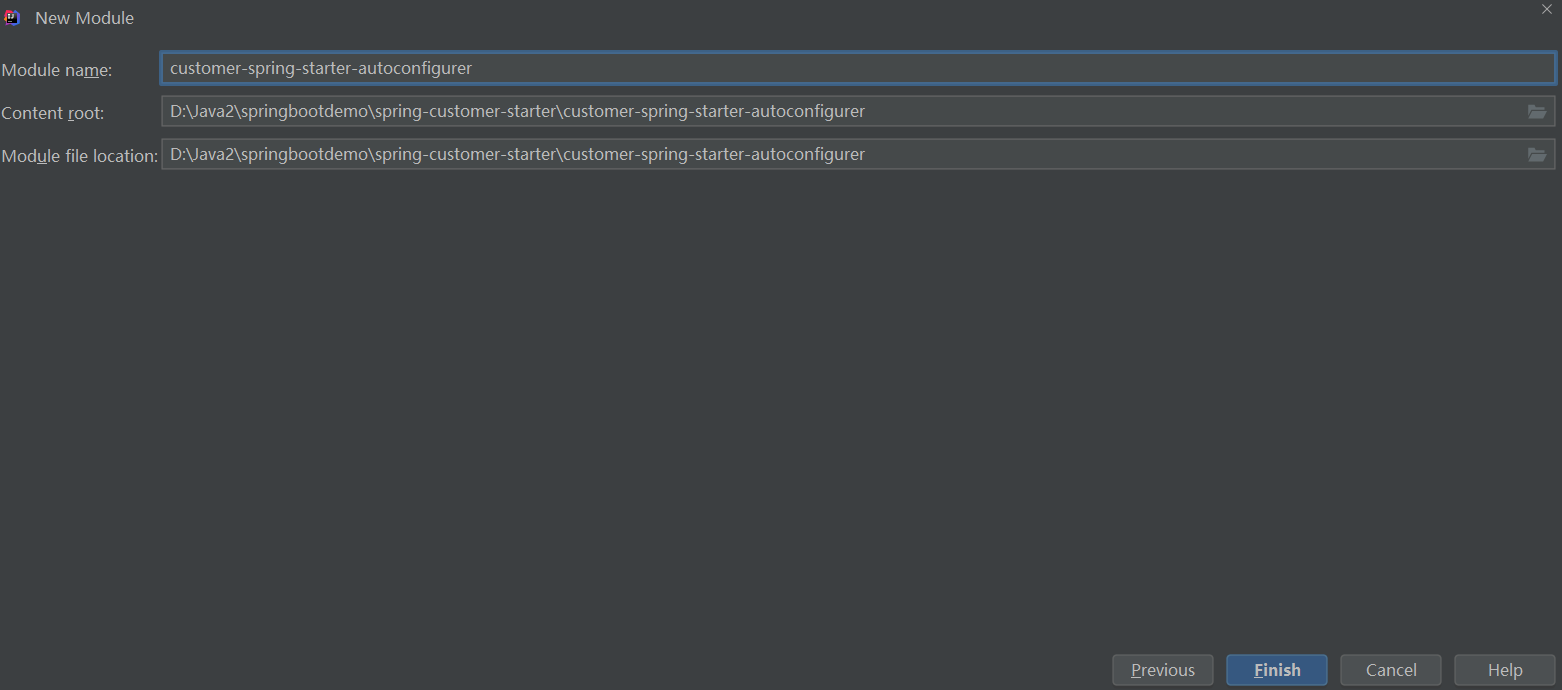
空项目会要求新建module

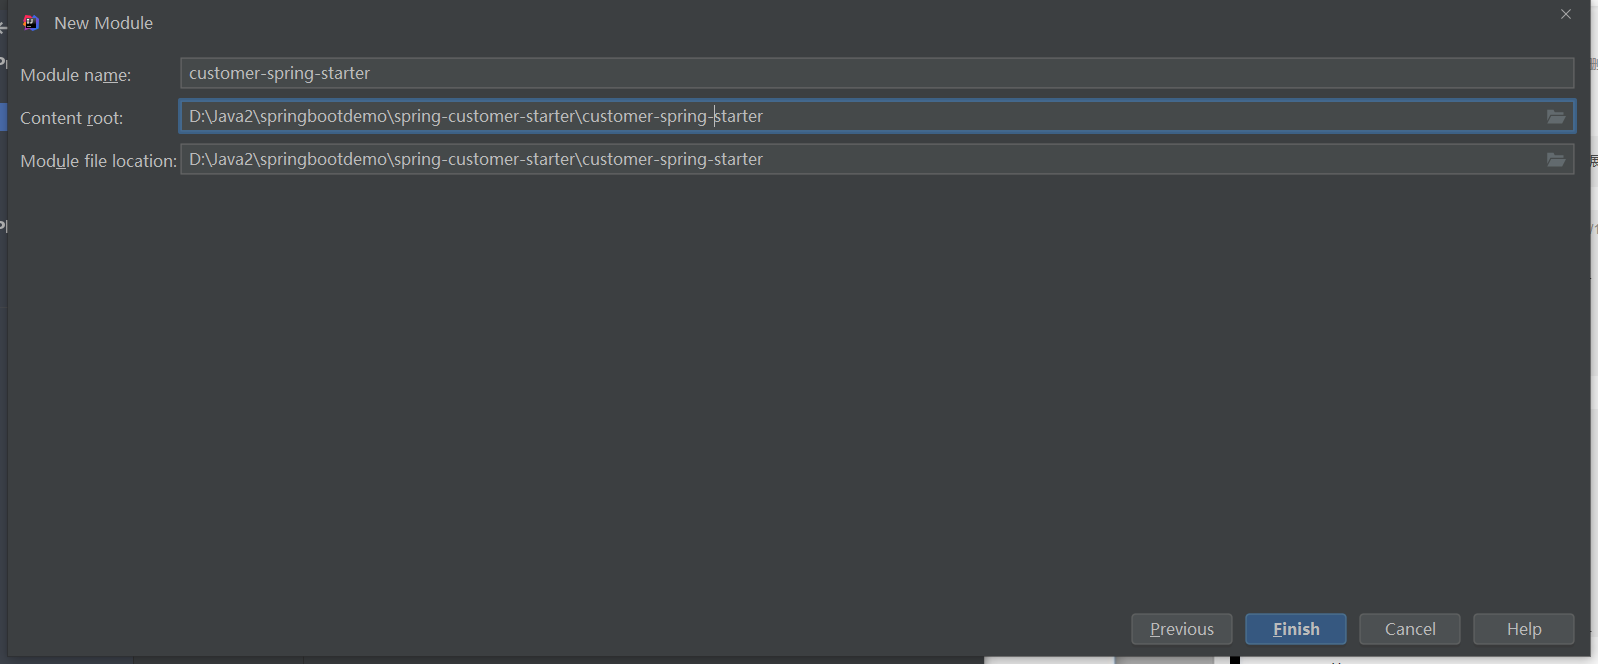
首先建立maven项目(starter)

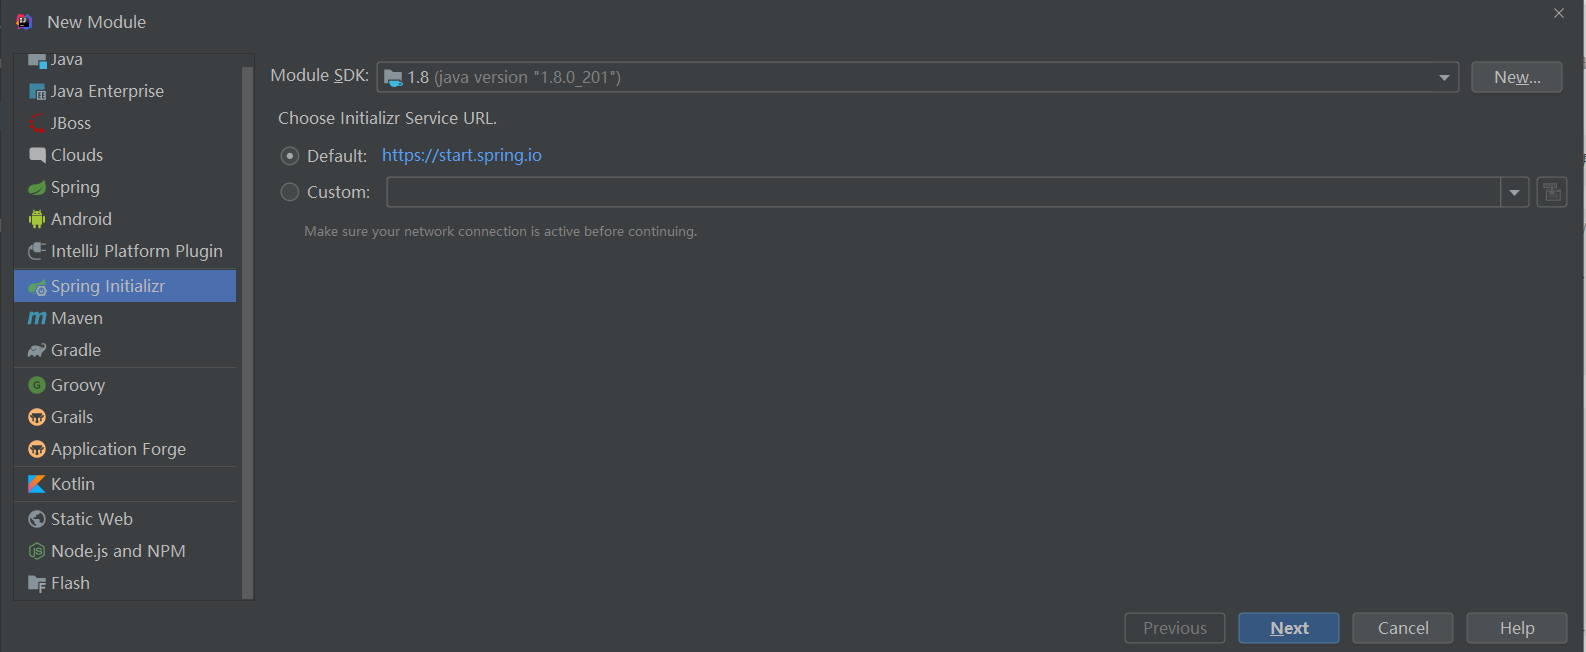
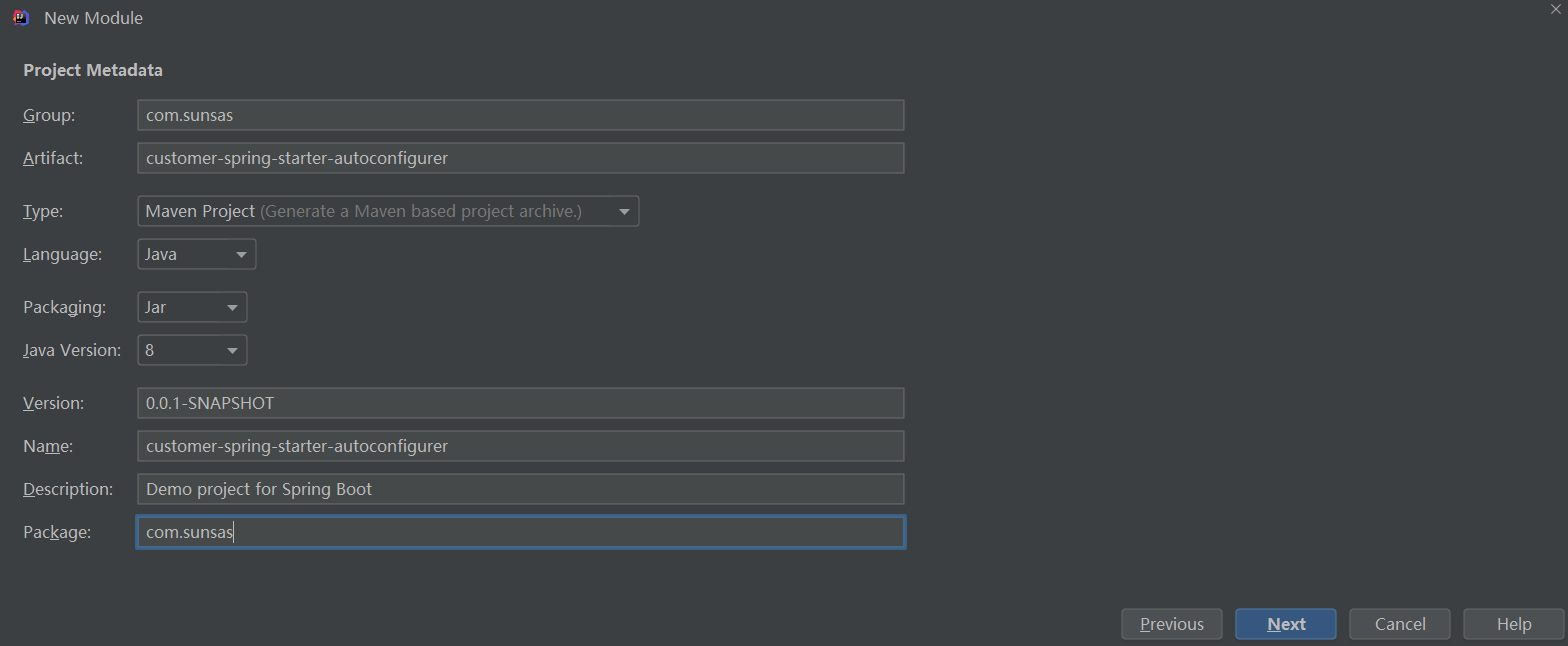
第二个项目,使用spring Initializr:
不引入模块:
apply->ok:

二:改造starter和configure
starter的pom.xml引入configure的依赖:
<dependencies>
        <dependency>
            <groupId>com.sunsas</groupId>
            <artifactId>customer-spring-starter-autoconfigurer</artifactId>
            <version>0.0.1-SNAPSHOT</version>
        </dependency>
    </dependencies>
starter改造完毕。
configure中删除不用的东西:
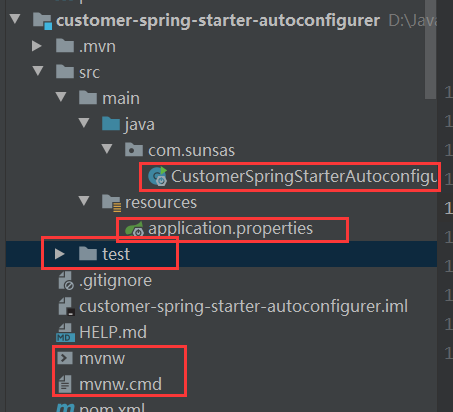
pom.xml中删除:
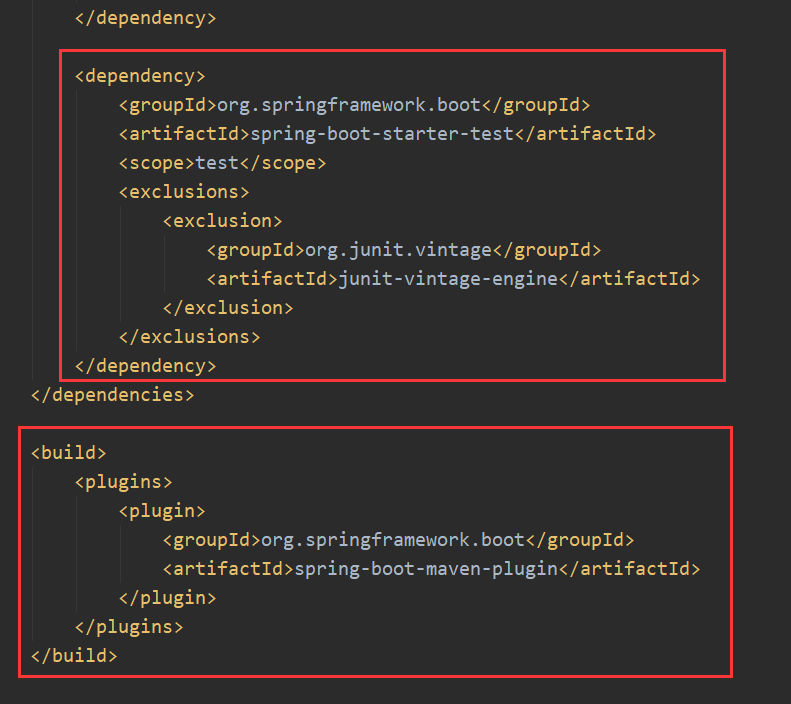
上面是test模块,我们不需要。下面是打包插件,我们这里只是一个自动配置工具包,不需要。只有你的项目是一个web项目时,含有Main方法的程序入口类,要加该打包插件。
否则会报错误:
repackage failed: Unable to find main class
configure继续添加一个类,这个类将会自动配置到项目中,如果别人引入了我们的starter,就可以使用此类的bean。
public class HelloService {

    private HelloProperties helloProperties;

    public HelloProperties getHelloProperties() {
        return helloProperties;
    }

    public void setHelloProperties(HelloProperties helloProperties) {
        this.helloProperties = helloProperties;
    }

    public String hello(String name){
        return helloProperties.getPre() + "--" + name + "--" + helloProperties.getAfter();
    }
}
这里的HelloProperties是属性配置。
import org.springframework.boot.context.properties.ConfigurationProperties;

@ConfigurationProperties(prefix = "sunsas.hello")
public class HelloProperties {
    private String pre;

    private String after;

    public String getPre() {
        return pre;
    }

    public void setPre(String pre) {
        this.pre = pre;
    }

    public String getAfter() {
        return after;
    }

    public void setAfter(String after) {
        this.after = after;
    }
}
@ConfigurationProperties:
告诉SpringBoot将本类中的所有属性和配置文件中相关的配置进行绑定;
prefix = "xxx":配置文件中哪个下面的所有属性进行一一映射
idea在此类会报错,不用管:

但是HelloProperties在HelloService没有初始化对象,那他是怎么调用的?
那就需要下面的自动配置类了,需要HelloSerive中加上HelloProperties的get set方法。
import org.springframework.beans.factory.annotation.Autowired;
import org.springframework.boot.autoconfigure.condition.ConditionalOnWebApplication;
import org.springframework.boot.context.properties.EnableConfigurationProperties;
import org.springframework.context.annotation.Bean;
import org.springframework.context.annotation.Configuration;

@Configuration
@ConditionalOnWebApplication//只有web应用才起效
@EnableConfigurationProperties(HelloProperties.class)//让HelloProperties生效,直接可以Autowired使用
public class HelloServiceAutoConfiguration {

    @Autowired
    private HelloProperties helloProperties;

    @Bean
    public HelloService helloService(){
        HelloService helloService = new HelloService();
        helloService.setHelloProperties(helloProperties);
        return helloService;
    }
}
在这个配置类中,我们把HelloProperties给了HelloService,并且通过@Bean像容器中注册了HelloService。
但是我们还得让这个配置类生效,我们仿造spring boot starter的配置类:

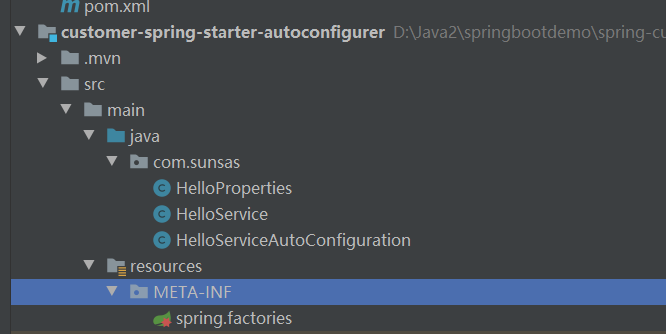
# Auto Configure
org.springframework.boot.autoconfigure.EnableAutoConfiguration=
com.sunsas.HelloServiceAutoConfiguration
至此我们starter就改造完毕。
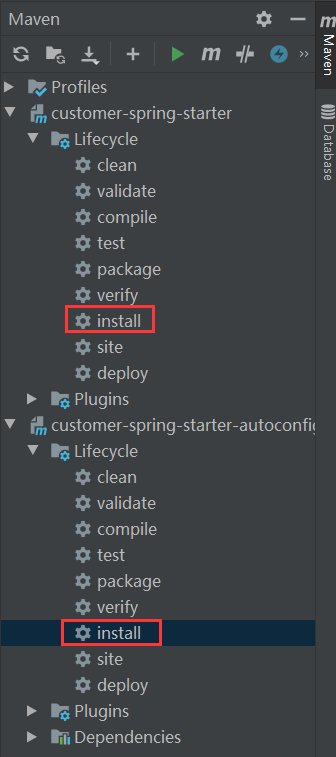
然后把两个项目安装到仓库中,注意首先安装自动配置类的,因为starter依赖于它:
三:测试
新建web工程,pom.xml引入我们的starter依赖:
<dependency>
            <groupId>com.sunsas</groupId>
            <artifactId>customer-spring-starter</artifactId>
            <version>1.0-SNAPSHOT</version>
        </dependency>
我们的starter和配置类就导入进来了:

写一个contorller:
import com.sunsas.HelloService;
import org.springframework.beans.factory.annotation.Autowired;
import org.springframework.web.bind.annotation.GetMapping;
import org.springframework.web.bind.annotation.RestController;


@RestController
public class TestController {
    @Autowired
    private HelloService helloService;

    @GetMapping("/hello")
    public String test(){
        return helloService.hello("sunsas");
    }
}
@Autowired可能报错,不用管它。
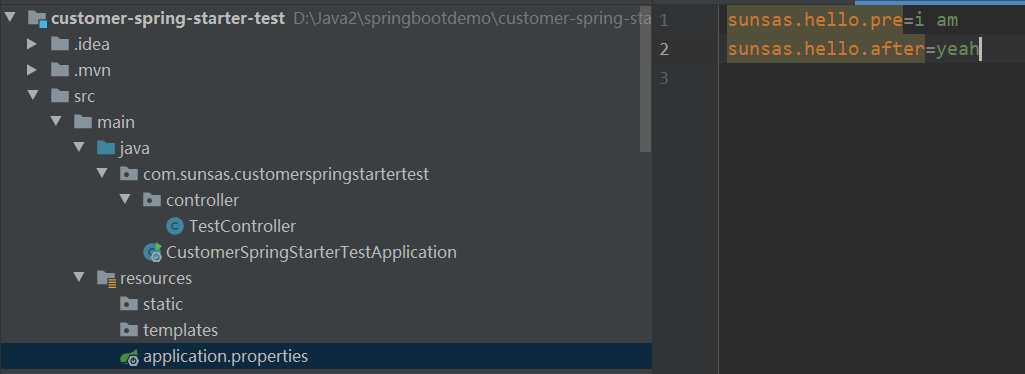
可以在配置文件中自定义配置我们starter的属性:
启动项目,访问http://localhost:8080/hello:
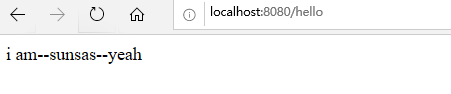
成功