本教程主要讲述struts的简单入门操作
使用的是myeclipse工具
1.创建web项目


2.复制struts必要的jar包到 WebRoot/WEB-INF/lib 下
jar包列表如下:
asm-3.3.jar
asm-commons-3.3.jar
asm-tree-3.3.jar
commons-fileupload-1.2.2.jar
commons-io-2.0.1.jar
commons-lang3-3.1.jar
freemarker-2.3.19.jar
javassist-3.11.0.GA.jar
ognl-3.0.5.jar
struts2-core-2.3.4.jar
xwork-core-2.3.4.jar
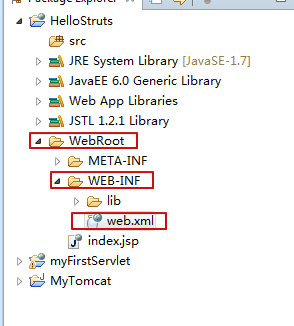
导入后的项目结构如图

3.在 WebRoot/WEB-INF 下添加 web.xml
内容如下:
<?xml version="1.0" encoding="UTF-8"?>
<web-app xmlns:xsi="http://www.w3.org/2001/XMLSchema-instance" xmlns="http://java.sun.com/xml/ns/javaee" xsi:schemaLocation="http://java.sun.com/xml/ns/javaee http://java.sun.com/xml/ns/javaee/web-app_2_5.xsd" id="WebApp_ID" version="2.5">
  <display-name>01struts2_helloworld</display-name>
  <!-- struts2的核心过滤器配置 -->
  <filter>
      <filter-name>struts2</filter-name>
      <filter-class>org.apache.struts2.dispatcher.ng.filter.StrutsPrepareAndExecuteFilter</filter-class>
  </filter>
  <filter-mapping>
      <filter-name>struts2</filter-name>
      <url-pattern>*.action</url-pattern>
  </filter-mapping>
  <welcome-file-list>
    <welcome-file>index.html</welcome-file>
    <welcome-file>index.htm</welcome-file>
    <welcome-file>index.jsp</welcome-file>
    <welcome-file>default.html</welcome-file>
    <welcome-file>default.htm</welcome-file>
    <welcome-file>default.jsp</welcome-file>
  </welcome-file-list>
</web-app>
目录结构如下:
4.在src下添加java类来接收请求
public class HelloAction {

    ////struts2的处理方法 都是 public String的  默认执行execute,并且处理方法没有参数
    public String execute(){
        System.out.println("请求被接收了...");
        return "success";
    }
}
5.在src下,添加struts.xml
<?xml version="1.0" encoding="UTF-8"?>
<!DOCTYPE struts PUBLIC
    "-//Apache Software Foundation//DTD Struts Configuration 2.3//EN"
    "http://struts.apache.org/dtds/struts-2.3.dtd">
<struts>
    <package name="default" extends="struts-default" namespace="/">
        <action name="hello" class="cn.qm.action.HelloAction">
            <result name="success">/index.jsp</result>
        </action>
    </package>
</struts>
注意:文件名需要是 struts.xml ,如果文件名拼写错误,
或者是struts.xml文件的路径错误,或者struts.xml内容有错误,
后面请求时都会报 "There is no Action mapped for namespace / and action name" 错误
目录结构如下图:

6.修改请求时项目的映射路径
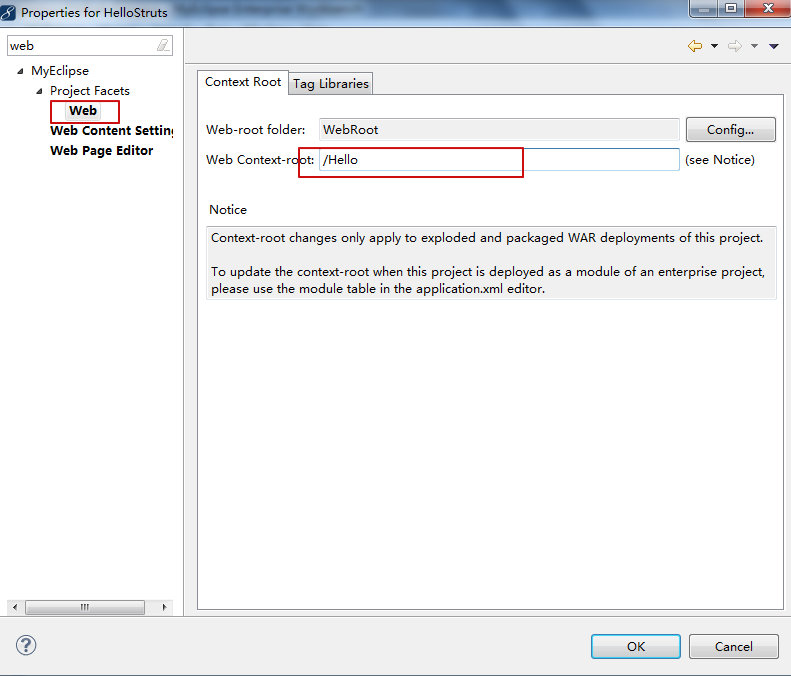
点击项目右键,选择 Properties

输入web,找到Context Root ,并且修改Web Context-root 为 /Hello ,如图
7.配置项目到服务器
在Servers下,Tomcat 8.x 上右键 Add Deployment

选择HelloStruts项目

效果图
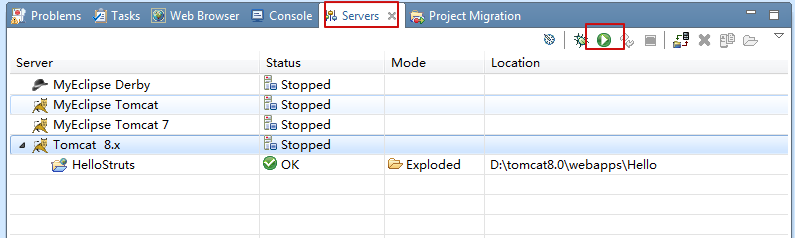
8.点击上图绿色三角,运行
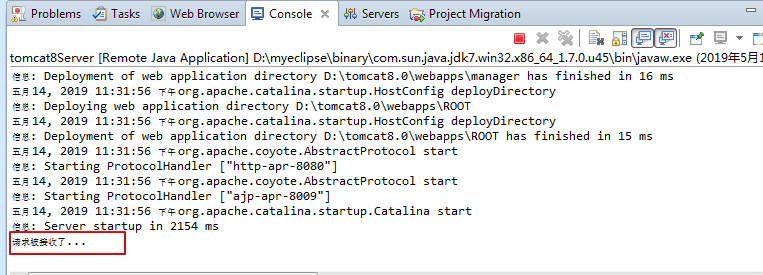
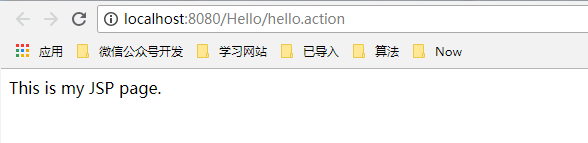
9.在浏览器输入 http://localhost:8080/Hello/hello.action 检测是否接收到请求
效果如下
myeclipse的console中显示如下:
浏览器效果
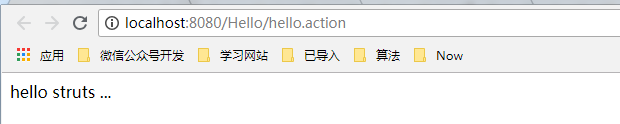
10.为了是浏览器显示效果更明显,可以把This is my JSP page 替换为 hello struts
index.jsp修改如下
注意:pageEncoding 修改为 utf-8 的编码方式
<%@ page language="java" import="java.util.*" pageEncoding="utf-8"%>
<%
String path = request.getContextPath();
String basePath = request.getScheme()+"://"+request.getServerName()+":"+request.getServerPort()+path+"/";
%>

<!DOCTYPE HTML PUBLIC "-//W3C//DTD HTML 4.01 Transitional//EN">
<html>
  <head>
    <base href="<%=basePath%>">

    <title>My JSP 'index.jsp' starting page</title>
	<meta http-equiv="pragma" content="no-cache">
	<meta http-equiv="cache-control" content="no-cache">
	<meta http-equiv="expires" content="0">
	<meta http-equiv="keywords" content="keyword1,keyword2,keyword3">
	<meta http-equiv="description" content="This is my page">
	<!--
	<link rel="stylesheet" type="text/css" href="styles.css">
	-->
  </head>

  <body>
    hello struts ... <br>
  </body>
</html>
效果图:
ok,本教程结束
因为参考的是之前的一些老的资料,所以操作方式相比现在回相对落后,
但是,这里只是为了帮助自己记录知识,以及回忆操作
后面如果有机会,会使用相对较新的方式来创建struts
这里附上 struts官网教程
大致看了一下,这里用到了maven进行jar包管理,
并且其中对于jar使用方便了很多