在配置application.yml文件的时候,原本写的是MySQL的连接池以及hibernate的配置文件:
server.servlet.context-path=/scitc
spring.datasource.url= jdbc:mysql://localhost:3306/xxx?serverTimezone=GMT%2B8
spring.datasource.username=xxx
spring.datasource.password=xxx
spring.jpa.hibernate.naming.physical-strategy=org.hibernate.boot.model.naming.PhysicalNamingStrategyStandardImpl
但总是启动错误,错误的类型让我很是崩溃,无论百度或者其他办法,总是解决不了或许一些大神能够解决,但是我就直接放弃了,用其他的来代替:
Error starting ApplicationContext. To display the auto-configuration report re-run your application with 'debug' enabled.
2019-07-011 09:27:31.846 ERROR 6852 --- [  restartedMain] o.s.b.d.LoggingFailureAnalysisReporter   :

***************************
APPLICATION FAILED TO START
***************************

Description:

Cannot determine embedded database driver class for database type NONE

Action:

If you want an embedded database please put a supported one on the classpath. If you have database settings to be loaded from a particular profile you may need to active it (no profiles are currently active).
在application.yml文件中,我们可以配置阿里的druid的方法,达到相同的效果:
首先,我们要创建自己的项目(这里我是用的hibernate框架+mysql数据库,所以我就直接讲hibernate的里面怎么配置这些)。
1.在项目中引入阿里的druid的依赖:
<dependency>
            <groupId>com.alibaba</groupId>
            <artifactId>druid</artifactId>
            <version>1.1.0</version>
        </dependency>
注意:引这些依赖的时候一定要注意一些细节问题,例如什么在前,什么应该在后。
2.之后再application.yml文件夹下面进行配置:
spring:
  datasource:
    driver-class-name: com.mysql.cj.jdbc.Driver
    url: jdbc:mysql://localhost:3306/xxx?serverTimezone=GMT%2B8
    username: xxx
    password: xxx
    type: com.alibaba.druid.pool.DruidDataSource
 jpa:
    hibernate:
      ddl-auto: update
    show-sql: true
配置完这些,我们就要进行一个最核心的配置,这个配置是一个大佬教我的,确实好用:
在项目下面创建一个config的包,包下面创建一个类叫做DruidConfig:
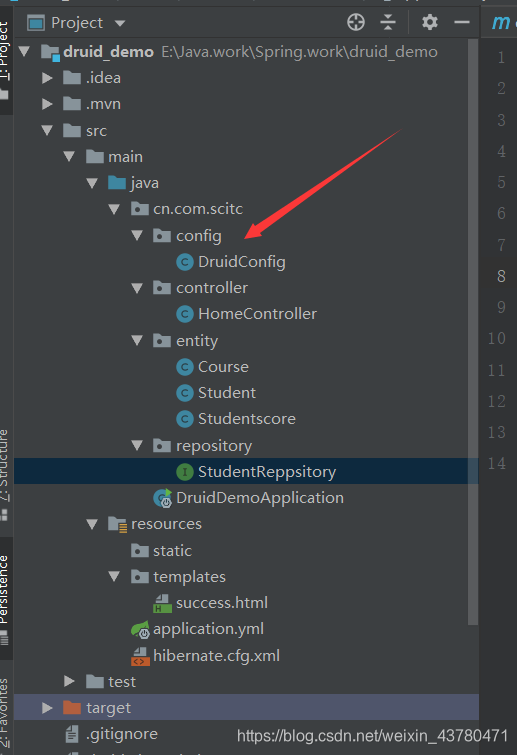
在DruidConfig的类下面我们进行代码的书写:用来写入方法
@Configuration
public class DruidConfig {
	@ConfigurationProperties(prefix = "spring.datasource")//这个注解非常重要,有了它,可以少配置很多东西
    @Bean
   public DruidDataSource dataSource () {
        return new DruidDataSource();
    }
}
这个配置完之后,就进入hibernate.xml文件中去,引入这个驱动:
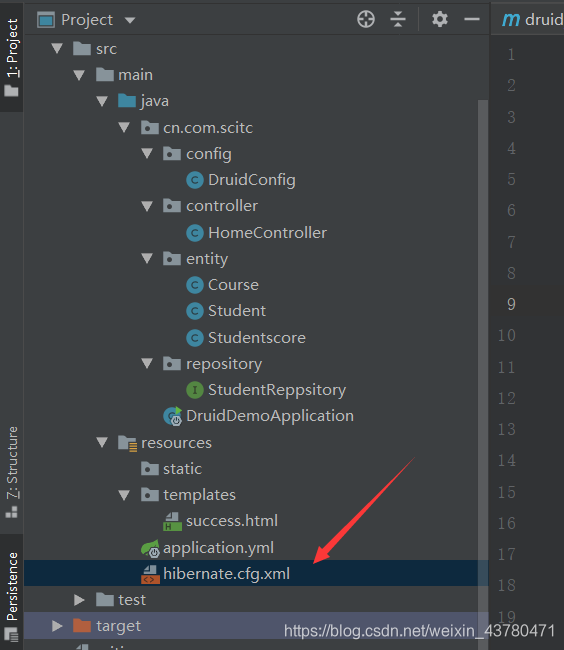
在hibernate.cfg.xml文件里面,我们讲驱动引入:
<?xml version='1.0' encoding='utf-8'?>
<!DOCTYPE hibernate-configuration PUBLIC
    "-//Hibernate/Hibernate Configuration DTD//EN"
    "http://www.hibernate.org/dtd/hibernate-configuration-3.0.dtd">
<hibernate-configuration>
  <session-factory>
    <property name="connection.url">
        <![CDATA[jdbc:mysql://localhost:3306/xxx?useUnicode=true&characterEncoding=utf-8&serverTimezone=GMT]]></property>

        <!--引入的驱动就是数据库的驱动-->
    <property name="connection.driver_class">com.mysql.cj.jdbc.Driver</property>
      <mapping class="cn.com.scitc.entity.Course"/>
      <mapping class="cn.com.scitc.entity.Student"/>
      <mapping class="cn.com.scitc.entity.Studentscore"/>
      <!-- <property name="connection.username"/> -->
    <!-- <property name="connection.password"/> -->

    <!-- DB schema will be updated if needed -->
    <!-- <property name="hbm2ddl.auto">update</property> -->
  </session-factory>
</hibernate-configuration>
做好以上步骤,那么恭喜你,已经完成druid的配置。
如果大家有更好的方法,欢迎提出意见!